HUGS ’N KISSES

DIFFICULTY:

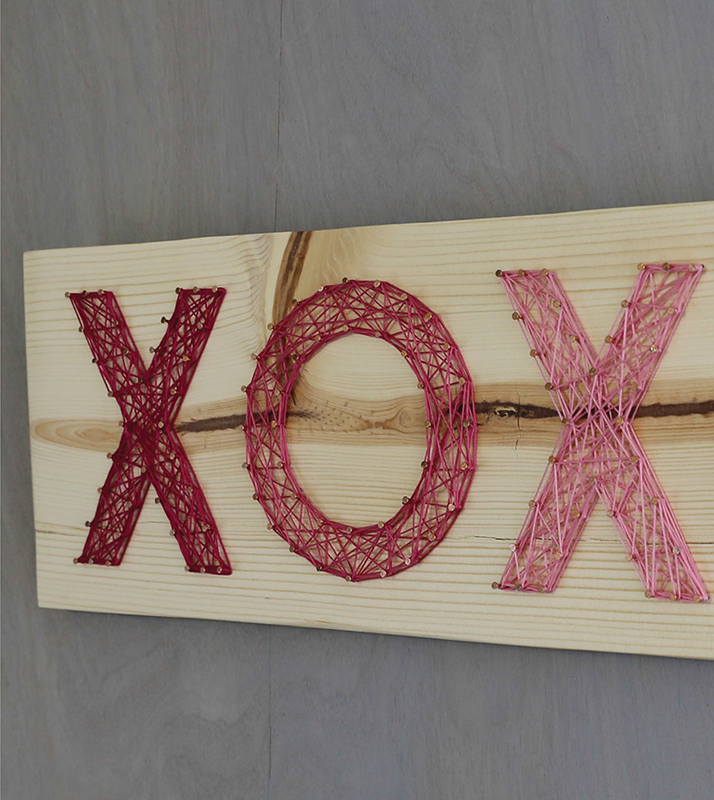
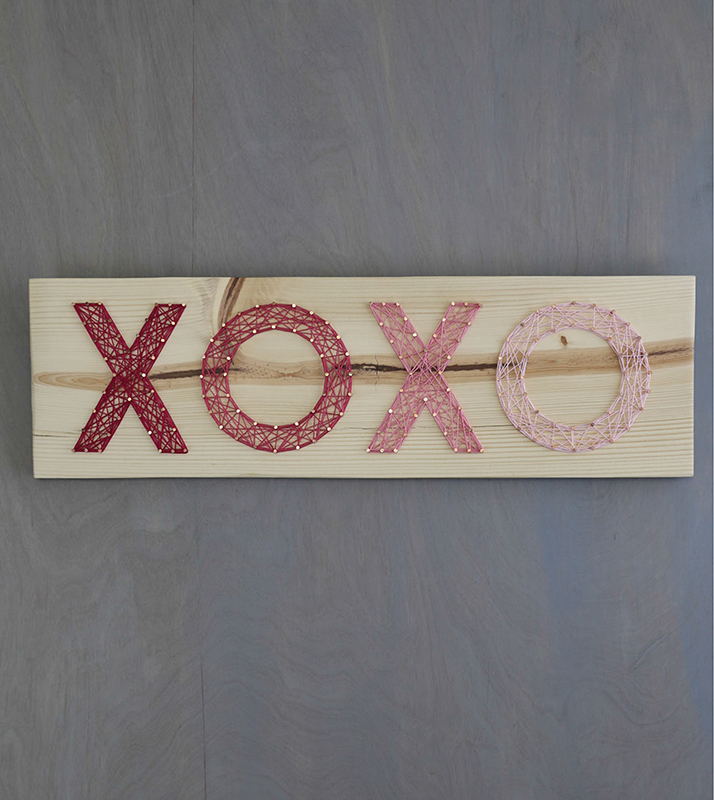
Hugs and kisses, X’s and O’s! In this project, we will fill the letters with random string patterns. This technique gives the letters depth and dimension, and the nail heads provide a little sparkle. Here, you can see we did a gradual blend from one color hue to another for an ombré effect, which looks great in many colors. Take your time measuring and centering the letters to get them right. Measure twice, nail once!

Materials

Pine board: 1" × 8" (2.5cm × 20.5cm), cut to 24" (61cm) long and sealed (Shown: Minwax Polycrylic)

58" (1.6cm) silver nails

Embroidery floss in 4 colors (Shown: DMC 600/Very Dark Cranberry, 335/Rose, 894/Very Light Carnation, 963/Ultra Very Light Dusty Rose)

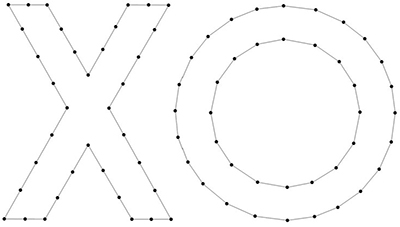
2 photocopies of pattern (page 118)

2 sets of picture-hanging hardware

2 felt furniture pads

Tools: Hammer, needle-nose pliers

Basic supplies: Superglue, scissors, ruler, transparent tape

Techniques Used

Preparing a board (page 8)

Applying a nail pattern (page 9)

Stringing basics (pages 1011)

Double-wrap technique (page 13)

Finished Size (h × w)

7.5" × 24" (19cm × 61cm)

  1. Trim your pattern and position it on your board. Before you start, align and tape your two copies of the pattern together. Then, use your ruler to center it. I like to move the pattern edge (left side) entirely to the left of my board and measure the remaining distance from the pattern edge (right side) to the right edge of my board. Divide that number in half for the distance that should be on each side of your pattern. Remember to center the letters of your pattern, not the actual paper itself, since your letters may not be centered on your paper. Secure the pattern with tape in several places.
  2. Hammer the nails directly through the pattern, on every black dot. Since I hammer with my right hand and hold the nails with my left, I like to start from the right side of the pattern and work toward the left. Tear off the pattern, using your needle-nose pliers to remove any leftover paper.
  3. Decide which colors will go where before you start. I chose to lay my string from darkest to lightest, adding an ombré effect. Tie your first color onto a letter, making sure to seal the knot with glue as you go.
  4. Start with the outline of your letter so it’s easier to see where the string should go. If the letter shape isn’t obvious, refer back to your pattern page.
  5. Zigzag your string randomly through the letter. I used an entire skein of floss per letter. To keep the letter looking clean, add the double-wrap technique to the border. Don’t forget to seal your ending knot.
  6. Repeat steps 3–5 for the remaining letters.
  7. Attach the two sets of picture-hanging hardware to the back, each 4" (10cm) from the side and 1" (2.5cm) from the top. Add felt pads to the lower corners on the back. Be sure to sign and date your work.

HUGS ’N KISSES PATTERN

Enlarge at 200%.