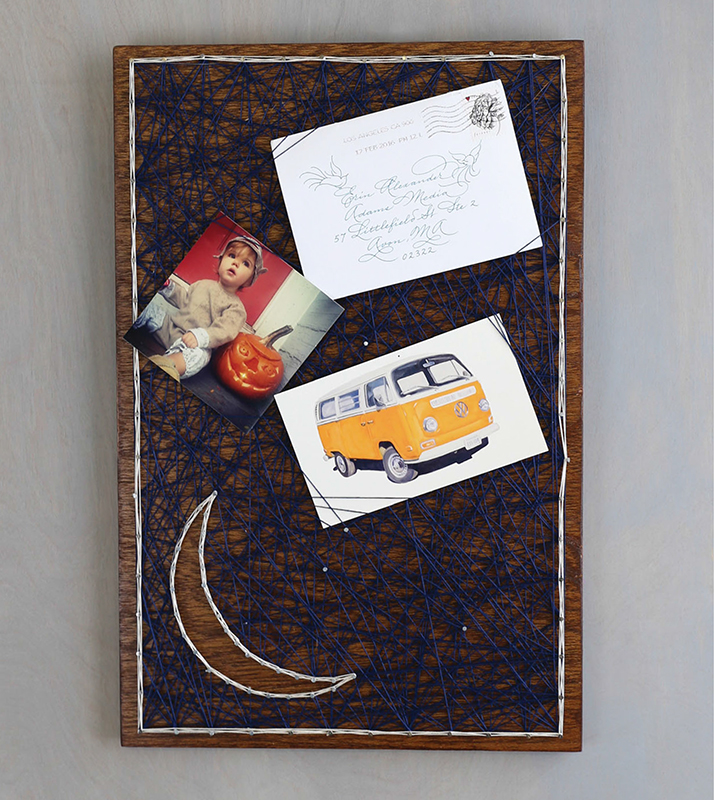
MOON MEMORY BOARD

DIFFICULTY:

Here’s a different take on string art, where it becomes more of a functional piece than a showpiece: a memory board! The idea here is the same as a ribbon memory board, where the tension of the ribbon (or string, in this case) gives just enough strength to hold lightweight notes, mementos, and reminders. I strongly suggest you use a spool of crochet thread for at least the fill on this piece—it’s going to take a lot.

Materials

Plywood plank, 12" × 18" (30.5cm × 45.5cm), stained (Shown: Minwax Wood Finish in Dark Walnut)

58" (1.6cm) silver nails

Size 10 crochet thread in 2 colors (Shown: Navy blue and white)

Photocopy of pattern (page 36)

Picture-hanging hardware

2 felt furniture pads

Tools: Hammer, needle-nose pliers

Basic supplies: Superglue, transparent tape, painter’s tape, ruler, thumbtacks, pen

Techniques Used

Preparing a board (page 8)

Applying a nail pattern (page 9)

Stringing basics (pages 1011)

Making a nail border (page 12)

Double-wrap technique (page 13)

Finished Size (h × w)

18" × 12" (45.5cm × 30.5cm)

  1. Start by putting a nail border around the entire board. I chose to space them 1" (2.5cm) apart since the board is pretty big.
  2. Trim your moon pattern to the shape you’d like, in the phase you want. I went for crescent moon here, which is the two left arcs on the pattern. Position the moon in your desired location, making sure to leave room between the moon and the edge; at least an inch (2.5cm) should be fine. Secure your pattern with tape.
  3. Nail through your pattern, removing the paper and debris afterwards. Add a few random nails throughout the fill (sky) area—these will not only help keep the longer sections of string tight, but will look like stars.
  4. Start stringing the sky first—navy blue in this case. Tie on (sealing your knot) and zigzag randomly throughout the entire piece. This is where a spool of string comes in handy; you’ll want to cover the sky thickly with string. You can loop onto the star nails now and then to help vary your lengths of string, while adding to the overall random appearance.
  5. Once the fill is to your liking, tie off and seal your knot. Outline the moon and the border with the white string, using the double-wrap technique.
  6. Attach your picture-hanging hardware. If your board is on the wider side, you may want to attach two sets of hardware to the back. Add your felt pads to the lower back side, then sign and date your work.
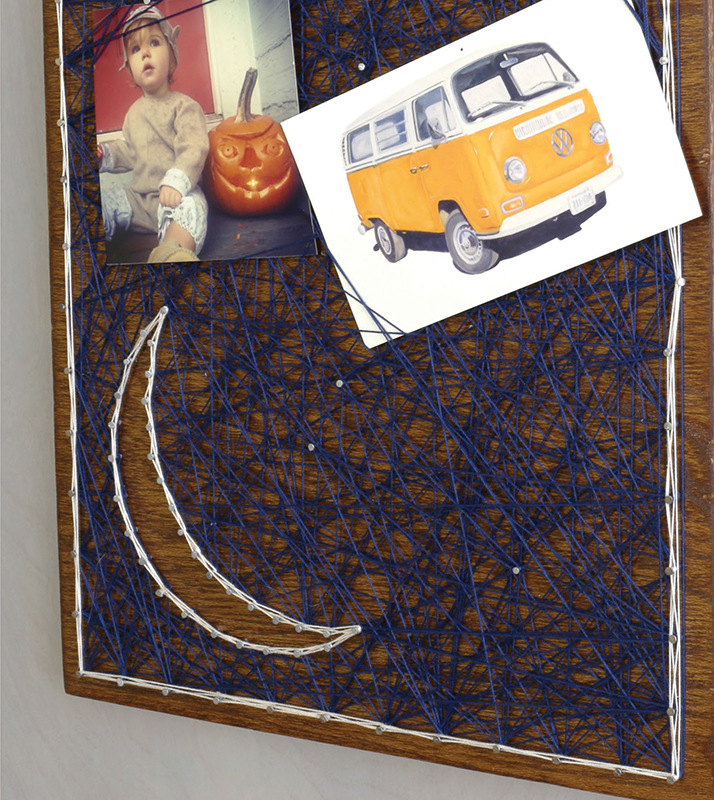
  7. Add notes, photos, and mementos! To attach papers to this board, just nestle the corners of the paper in between the strings. The tension in the filler should keep them snugly in place.

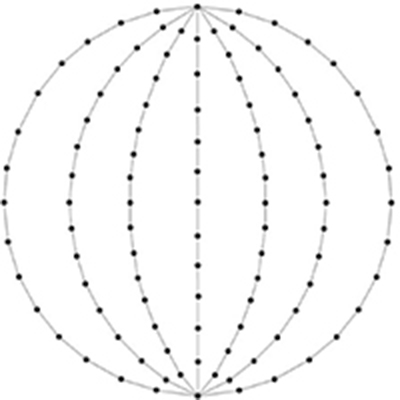
MOON MEMORY BOARD PATTERN

Enlarge at 200%.