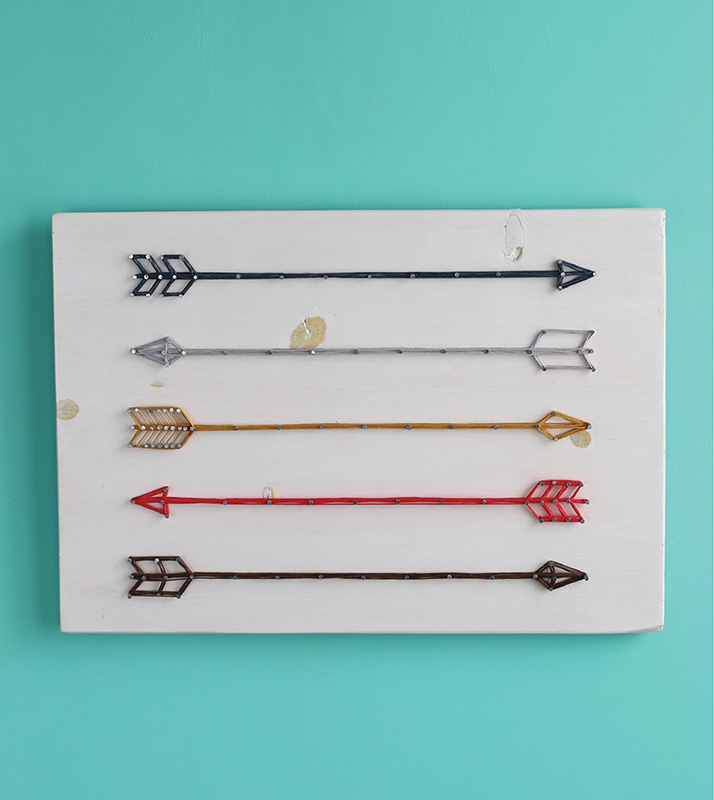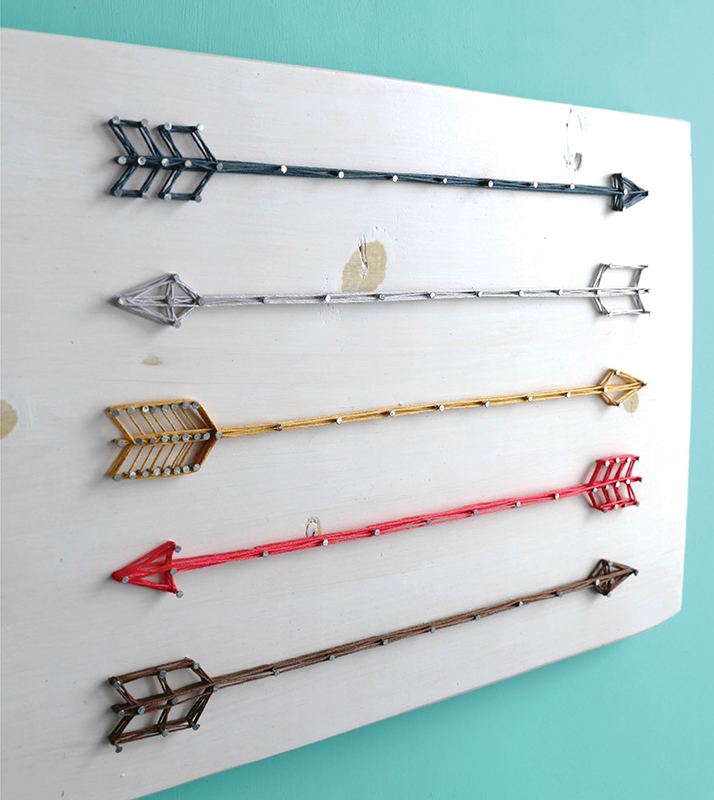


Here’s a fun, simple shape that looks fantastic in string: the humble arrow. The project variations you could do with this pattern are endless; I’m choosing to do a stack of five. What’s fun about this project is that all the arrows appear the same at first glance, but upon closer inspection you can spot the differences in the arrow heads and tails.
Pine board: 1" × 12" (2.5cm × 30.5cm), cut to 16" (40.5cm) long and painted with white acrylic craft paint (see step 1)
5⁄8" (1.6cm) silver nails
Embroidery floss in 5 colors (Shown: DMC 924/Very Dark Gray Green, 415/Pearl Gray, 729/Medium Old Gold, 891/Dark Carnation, 3787/Dark Brown Gray)
5 photocopies of pattern (page 52)
Picture-hanging hardware
2 felt furniture pads
Tools: Hammer, needle-nose pliers
Basic supplies: Superglue, scissors, transparent tape, ruler, pencil
Preparing a board (page 8)
Applying a nail pattern (page 9)
Stringing basics (pages 10–11)
Double-wrap technique (page 13)
11.25" × 16" (28.5cm × 40.5cm)

FOLLOW YOUR ARROW PATTERN
Enlarge at 200%.
