
Kitchen Science
What’s Going On in There?

Test Your Cooking IQ
Food Science Fill-in-the-Blank
Cheat Sheet
The Science of Seasoning
Good science makes great food. Of course, you also need quality ingredients and some modest equipment. But success in a home kitchen really does benefit from a basic understanding of biology, chemistry, and physics. Put another way: If you know how and why something works, you are much more likely to get it right the first time—and every time. Something as simple as understanding the way heat and flavor interact on your tastebuds can have an enormous impact on how you think about seasoning—and thus on how good your food tastes. But you don’t need to go back to school for a triple grad degree in the hard sciences before making dinner. We’ve done the kitchen experiments (with lab-level precision) to figure out what’s really happening when you cook, and we’re here to explain the science you need to make food taste better.
Choose the option that accurately completes each of these food science facts.
1
You should refrigerate peaches only before/after they are fully ripe or they can become mealy.
2
If your piece of fresh ginger has a blue-gray tint, it is/is not still edible.
3
Cold food needs less/more seasoning than hot food because of the way the receptors in our mouths respond to temperature.
4
You should always/never store nuts in the freezer.
5
A flour with a high/low gluten content is the best option for bread with a high rise and good texture.
6
Skim/Whole milk is better for creating milk foam because of the way substances in fat affect the milk’s ability to form froth.
7
The darker a roux is, the less/more thickening power it has.
8
Whisky with water added tastes less/more flavorful than straight whisky.
9
Most of the flavor in a pot of coffee develops in the late/early stages of brewing.
10
It’s important to heat oil until it’s just shimmering/smoking for successful searing.
Answers
The flavor of some dishes seems to improve when they are made in advance. Why do soups and stews taste better the next day?

You’re not imagining this—some flavor reactions need more time to develop.
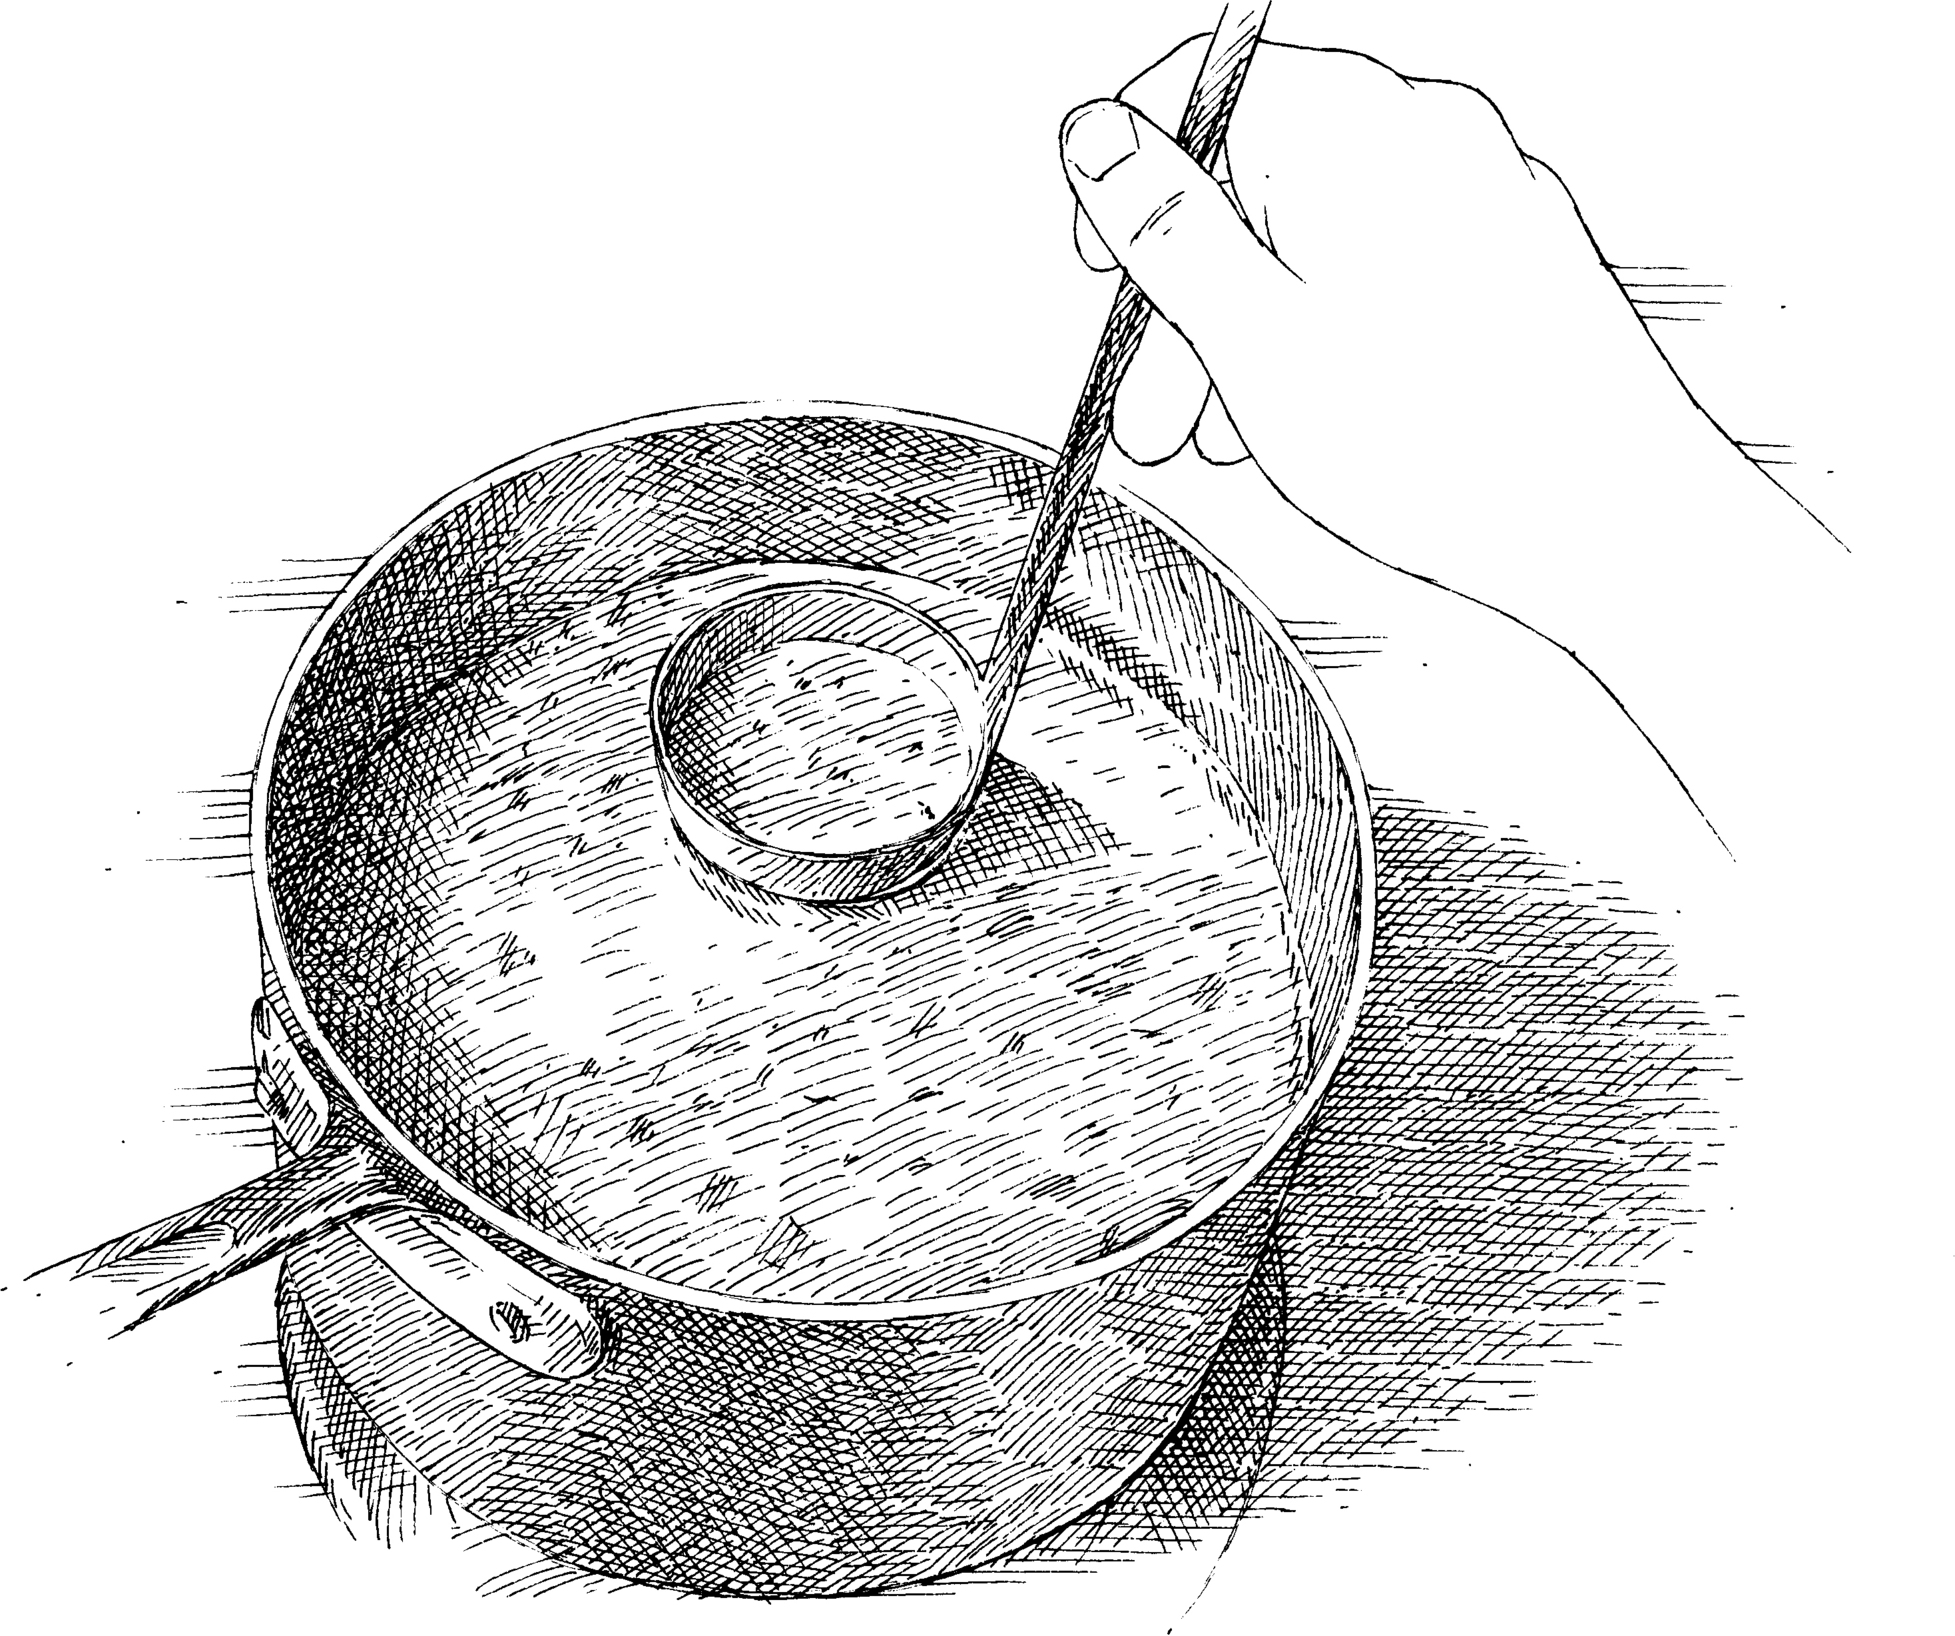
Even after cooking ceases, many chemical reactions continue to take place in foods. In the case of a soup or stew containing milk or cream, the lactose breaks down into sweeter-tasting glucose. Similarly, the carbohydrates in onions develop into sugars such as fructose and glucose. Proteins in meat turn into individual amino acids that act as flavor enhancers. Finally, starches in potatoes and flour break down into flavorful compounds.
To verify this, we made batches of onion soup, cream of tomato soup, beef chili, and black bean soup and refrigerated them. Two days later, fresh batches of each recipe were served hot alongside the reheated soups and stews. Tasters unanimously preferred the onion, tomato, and black bean soups that had been held for two days, calling them “sweeter,” “more robust-tasting,” and “well rounded.” When it came to the chili, most tasters made the same comments, but some preferred the fresh sample—as it sat, the flavors of the chile peppers became sweeter and less sharp. If you like vibrant chile pepper flavor, it’s best to serve chili the same day you make it. If a recipe specifically calls for you to let the dish sit so the flavors can meld, do it; it will result in a more balanced dish.
My roast chicken tastes great straight out of the oven, but the refrigerated leftovers are always bland. Why is that?

Temperature affects both your ability to taste and the way flavors interact with your senses.
The explanation is twofold. First, scientists have discovered that our ability to taste is heightened by microscopic receptors in our tastebuds that are extremely temperature-sensitive. These receptors, known as TRPM5 channels, perform far better at warm temperatures than at cooler ones. In fact, studies have shown that when food cooled to 59 degrees and below is consumed, the channels barely open, minimizing flavor perception. However, when food is heated to 98.5 degrees, the channels open up and TRPM5 sensitivity increases more than 100 times, making food taste markedly more flavorful.
Second, most of our perception of flavor comes from aroma, which we inhale as microscopic molecules diffuse from food. The hotter the food, the more energetic these molecules are, and the more likely they are to travel from the table to our nose. Chilling dulls all flavors, making them more difficult for us to perceive.
So, dishes meant to be served hot should be reheated, and dishes served chilled (like gazpacho or potato salad) must be aggressively seasoned to make up for the flavor-dulling effects of cold temperatures. But next time you make a dish to serve cold, don’t jump the gun by oversalting while the food is still hot. Instead, season as you would normally. Once the food is chilled, taste and add more salt as needed.
Why does my banana bread smell so fragrant and banana-y right out of the oven but lose most of its aroma as it cools? Does it mean that the cool bread will have less flavor than the warm, fragrant bread?

Yes, that’s pretty much true. But that doesn’t mean you should try to eat the whole loaf the minute it comes out of the oven.
A little background on the chemistry of bananas may help answer your questions. The dominant aromatic compound in bananas, isopentyl acetate (IPA), also known as banana oil, is very volatile—more volatile than oils such as lemon, cinnamon, and peppermint—and evaporates readily at room temperature, taking with it that great banana aroma. In fact, in tests in which we placed IPA bought from a chemical supply company on preweighed cellulose filter paper and weighed the paper every minute, we found that an average of 85 percent of the IPA had evaporated in less than 10 minutes.
Since flavor is perceived not only by our tastebuds but also by our sense of smell, when the IPA in banana bread evaporates (which may take longer in a real loaf than in our contrived test), the bread won’t taste quite as banana-y as a loaf straight out of the oven. But we don’t recommend that you tuck into a steaming-hot loaf of banana bread in order to experience 100 percent of its fruity flavor: It’s important to let banana bread (and all quick breads) cool before serving for optimal texture.
Why do herbs and spices that are “bloomed” in oil have more flavor than those that are just added during cooking?

The main flavor compounds in many spices and some herbs are fat-soluble, so you can extract tons of flavor by heating them in oil before using them in a dish.
We’ve long advocated “blooming” spices and certain herbs in oil or fat before adding liquid to the pot. Our tastebuds tell us that this yields more flavor, but we wondered whether we could get at a more objective assessment of blooming’s impact.
We steeped crushed red pepper flakes in canola oil and another batch in water, holding both liquids at a constant 200 degrees and steeping for 20 minutes. We then strained out the pepper flakes and sent the oil and water to a lab to test for capsaicin (the compound responsible for a chile pepper’s heat). We repeated the experiment with thyme and sent the oil and water samples to the lab to test for its main flavor compound, thymol.
The pepper-infused oil had a stronger flavor than the pepper-infused water, and more than double the amount of heat-producing capsaicin. The results for thyme were even more dramatic: The herb-infused oil contained 10 times as much thymol as the herb-infused water.
So our tastebuds are right: Briefly heating spices and some herbs (including thyme, rosemary, lavender, sage, savory, and bay leaves) in fat before they go into the pot yields far more flavor than simply simmering these ingredients in water.
Why do fattier cuts of meat need more salt in order to taste properly seasoned?

Fat makes it harder for tastes to come through, including saltiness.
Several recent studies have concluded that fat has a dulling effect on taste. To put this to the test, we rounded up five meats ranging in fat content: turkey breast, pork loin, strip steak, and both 80 percent and 90 percent lean ground beef. We cooked the meats and chopped them into pieces. We then tossed 10-gram portions of each meat with increasing amounts of salt (0.1 percent, 0.25 percent, 0.5 percent, 0.75 percent, 1 percent, and 1.5 percent by weight of each sample). We had tasters try the samples in order, starting with an unsalted control, and had them record at what percentage the meat tasted properly seasoned. We also sent samples of each type of meat to a lab to determine fat content.
Sure enough, the fattier the meat, the more salt it needed to taste properly seasoned. Tasters preferred the lean turkey breast (0.7 percent fat) and pork loin (2.6 percent fat) seasoned with 0.5 percent salt by weight. The strip steak (6 percent fat) and 90 percent lean ground beef (10 percent fat) required about 0.75 percent salt by weight to taste seasoned. And finally, the 80 percent lean ground beef (20 percent fat) tasted seasoned to a majority of tasters only when it reached 1 percent salt by weight.
So when you season meat, remember to use a heavier hand on fatty burgers than you would on moderately fatty meats like strip steak and 90 percent ground beef. Use an even lighter hand on lean meats like turkey breast and pork loin.

What’s so special about dry-aged beef, and can I make my own?

Dry aging is a process used to tenderize and develop flavor in beef, and you can absolutely do it at home.
Beef is aged to develop its flavor and improve its texture. This process depends on certain enzymes that help the animal digest proteins. After the animal is slaughtered, the cells that contain these enzymes start to break down, releasing the enzymes into the beef, where they break down proteins into more flavorful amino acids, and also break down muscle tissue, making it softer. This process can take up to several weeks.
Beef can be either wet-aged or dry-aged. In the former method, the beef is sealed in plastic; in the latter, it is left open and exposed. Wet-aged beef is tender, but it doesn’t dehydrate in the same fashion as dry-aged beef and is thus milder in flavor. (Dry-aged beef has nutty, buttery notes that aren’t present in wet-aged beef.) Two processes occur in dry aging. In one, called proteolysis, an enzyme turns stiff muscle fibers into tender meat. The other process is simple dehydration. In dry aging, a roast can lose up to 25 percent of its original weight. Less water means more concentrated flavors.
By letting a wet-aged roast from the supermarket age in the refrigerator for just a short period, we found we could approximate the dehydrating effects of dry aging at home, with an eye to improving the flavor of the beef. It’s just a matter of making room in the refrigerator and remembering to buy the roast ahead of time, up to one week before you plan on roasting it. (For the sake of safety, meat should not be aged for more than one week at home; beyond that time it must be done under carefully controlled conditions.)
When you get the roast home, pat it dry and place it on a wire rack set over a cake pan or plate lined with paper towels. Set the racked roast in the refrigerator and let it age until you are ready to roast it, up to seven days. (Aging begins to have a dramatic effect on the roast after three or four days, but we also detected some improvement in flavor and texture after just one day of aging.) Before roasting, shave off any exterior meat that has completely dried out. Between the trimming and dehydration, count on a 7-pound roast losing a pound or so during a week of aging.
Why does ice cream make me thirsty? Is it just me, or does this happen to everyone?

You’re not imagining that post–ice cream thirst. Go ahead and treat yourself to a tall glass of water.
We asked around the office to learn whether this was a common affliction, and about half of the people said that yes, ice cream does leave them with a parched mouth. (Most also said that they had thought they were alone in their thirstiness.)
Our research revealed that sweet foods (like ice cream) behave much like salty foods when eaten in quantity. As ice cream is digested and sugar is rapidly absorbed into the blood, the concentration of sugar in the blood becomes higher than the concentration of sugar in the body’s other cells. Since nature abhors an imbalance, osmosis kicks in, forcing water out of the cells, through membranes, and into the blood to equalize the relative concentrations of sugar. The brain senses that the cells are losing moisture, resulting in a craving for a glass of water.
I’ve heard that humidity can affect how baked goods turn out. Is that true? Is there anything I can do to counteract the weather?

Long-term exposure to humidity can mess with flour, but using an airtight container for storage can prevent any problems.
Many baking experts claim that baking on very dry or very humid days can affect flour. We were a little skeptical but thought we’d run some tests. We constructed a sealed humidity-controlled chamber in which we could simulate various types of weather. We made pie crusts at relative humidities of at least 85 percent (more humid than New Orleans in the wet season) and below 25 percent (drier than Phoenix in midsummer or the average air-conditioned office), leaving the lid to the flour container open for 8 hours beforehand. We found that over the course of the test, the flour’s weight varied by less than 0.5 percent between the two samples, and after being baked into pie crusts, the results were indistinguishable.
If an occasional humid day doesn’t make a difference, what about long-term exposure to excess humidity? According to the King Arthur Flour Company, flour held in its paper packing bag (even unopened) can gain up to 5 percent of its weight in water after several months in a very humid environment. At this level, humidity might affect baked goods. But this problem is easily avoided by transferring flour to an airtight container (preferably one wide enough to accommodate a 1-cup measure) as soon as you get it home.
Humidity can also affect storage of baked goods, especially those that contain a lot of sugar. Sugar is hygroscopic, meaning that it attracts moisture from the air. For delicate, high-sugar baked goods like meringues, this means that high humidity can turn them sticky and marshmallowy. It’s easy to avoid this, though: Just pack the meringues in an airtight container immediately after cooling them, and any humidity in the air won’t matter.

When baked goods go stale, why does bread turn hard, while crackers soften?

These are the results of two completely different scientific processes.
Crackers are manufactured to be very dry to make them shelf-stable. Once the package is opened and the crackers are exposed to air, their sugars and starches start to absorb ambient moisture. After a few days, the once-crisp crackers will be soft.
When bread turns stale, an entirely different process takes place. Once exposed to air, bread starch undergoes a process called retrogradation: The starch molecules in the bread begin to crystallize, turning the bread hard and crumbly.
Will meat still taste OK if I refreeze it once I’ve thawed it?

If you’ve thawed frozen meat, we don’t recommend refreezing it, as the texture will become overly dry and tough. It’s best to just go ahead and cook it.
We’ve all been in the situation of having thawed a piece of meat or poultry only to find that we don’t want to cook it that day after all. But then what? Can you refreeze the meat, or is it best to forge ahead and cook it?
We cut a boneless chicken breast into three pieces. We cooked one portion from its fresh state. The second we froze, thawed, and then cooked. The third we froze, thawed, refroze, thawed again, and then cooked. We cooked all the samples to 160 degrees and weighed each piece of chicken before and after cooking to measure moisture loss. We then tasted all three samples, evaluating them for moistness and overall texture. We repeated the test six times, varying which section of the breast was used in each application.
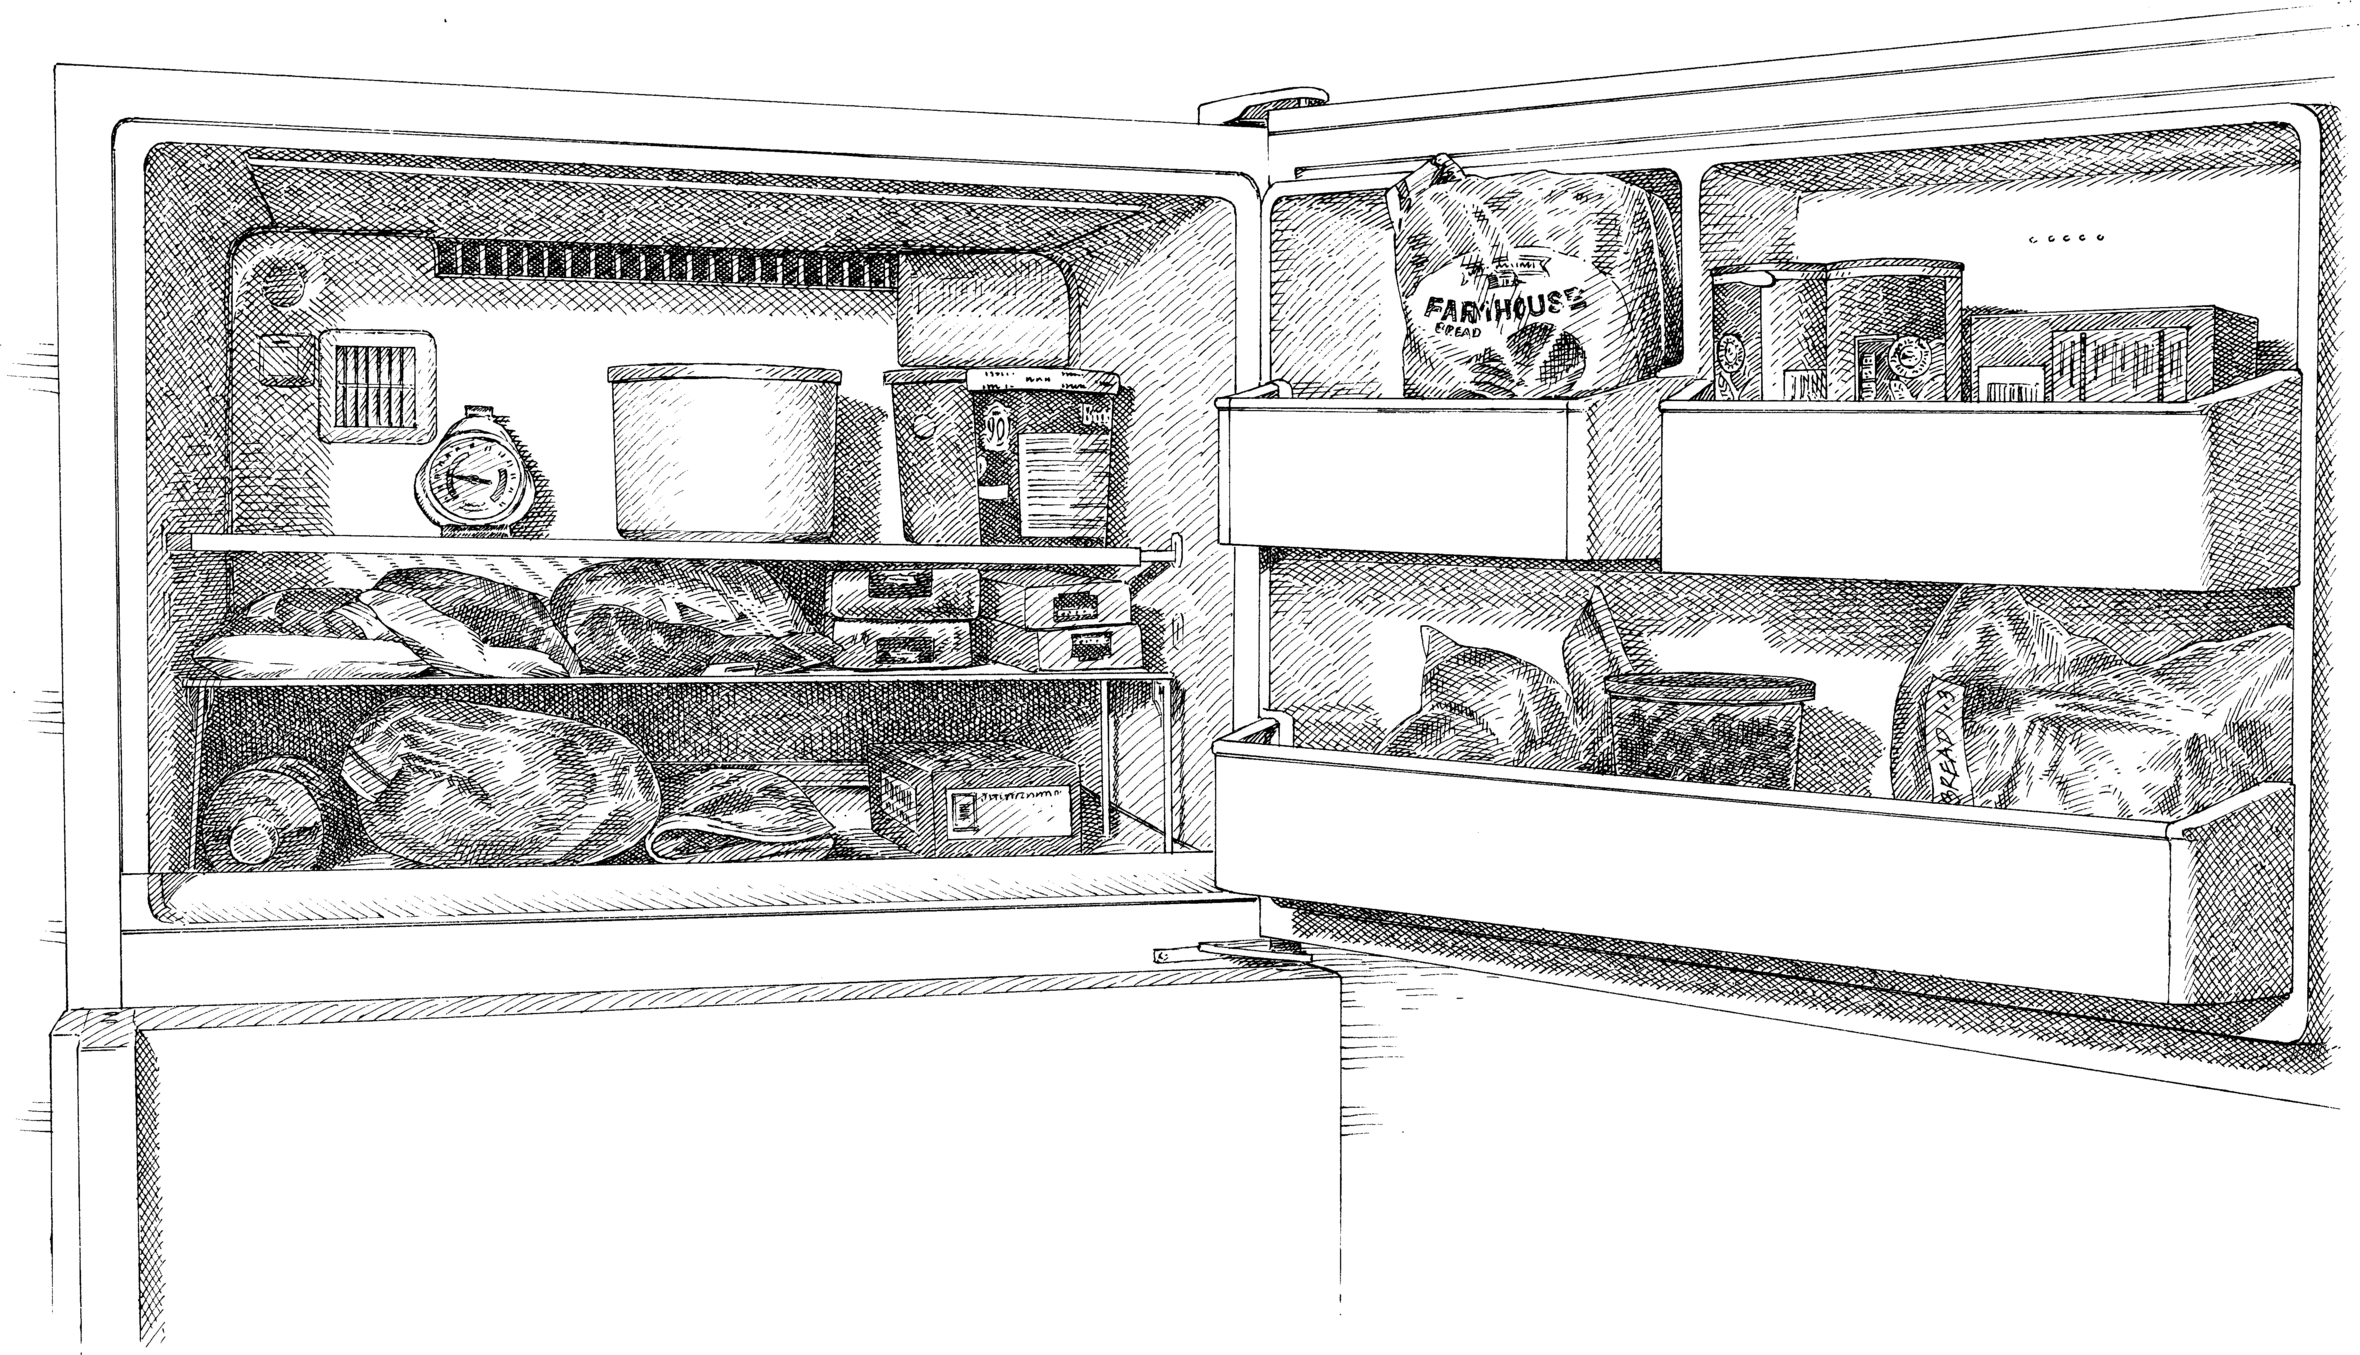
The samples cooked from raw lost approximately 20 percent of their weight when cooked, those frozen once lost around 25 percent, and those frozen twice lost an average of 26 percent. Tasters preferred the samples that had never been frozen, noting moister meat and a more tender texture. This stands to reason, given the significant difference in moisture loss. But the surprising result was that despite the small difference in moisture loss between the once-frozen and twice-frozen samples, tasters noted a dramatic difference between the two: The twice-frozen pieces seemed much drier and tougher than those frozen only once.
Cooking meat causes its muscle fibers to shrink and expel moisture. The process of freezing and then thawing leads to additional moisture loss because the sharp edges of ice crystals created during freezing damage the muscle fibers; this means that when the meat is thawed, water within the fibers is able to escape easily. However, most of this damage is done after just one freeze, so a second freeze can’t significantly exacerbate the effect. This explains why the amount of moisture loss was very similar whether the chicken was frozen once or twice.
So why would tasters notice a big difference between the once- and twice-frozen samples? It turns out that freezing water inside the meat’s protein cells causes the release of soluble salts. These salts affect some of the proteins, causing them to physically change shape and actually shorten, which leads to a tougher texture. And this effect is more noticeable after each freeze-thaw cycle.

One of the most common questions we get is “can I freeze this?” Freezing ingredients seems like a great idea, but it’s not always a smart option. Here is a guide to things you should and should not freeze. (In addition to the items mentioned, we always store whole-grain flours, bread crumbs, coffee beans and ground coffee, cornmeal, oats, grains, yeast, and nuts in the freezer to protect from humidity and rancidity.)
Can refrigerating peaches make them mealy?

Only if you refrigerate them before they get a chance to fully ripen.
Storage at temperatures at or below 40 degrees can destroy the activity of certain enzymes in a peach that normally break down pectin in its cell walls during the ripening process. If these enzymes are deactivated before the fruit is ripe, the pectin will remain intact and the peach will have a mealy texture.
To illustrate this process, we divided a case of peaches into two batches, allowing half to ripen immediately without refrigeration and storing the other half for a week in the fridge before allowing them to finish ripening for a couple of days at room temperature. Both sets of peaches were placed in containers sealed with plastic wrap in order to prevent moisture from evaporating. As expected, our tasters found that despite being soft and ripe to the touch, the peaches that spent time in the fridge were significantly mealier than those kept at room temperature. Moral of the story: Don’t refrigerate your peaches unless you’re sure they’re ripe. You may prolong their shelf life, but the loss of quality isn’t worth it.
Is there any way to speed up the process of ripening fruit?

There is a trick for some types of fruit, and all you need is a paper bag—and maybe a ripe banana.
In some fruits, known as climacteric, ripening continues after harvest. In others, known as nonclimacteric, ripening occurs only on the plant; it stops once the fruit is picked. Bland, rock-hard climacteric fruits all have a shot at becoming sweet and juicy (that is, ripe) someday. In contrast, nonclimacteric fruits may get softer over time, but they will not ripen further once picked.
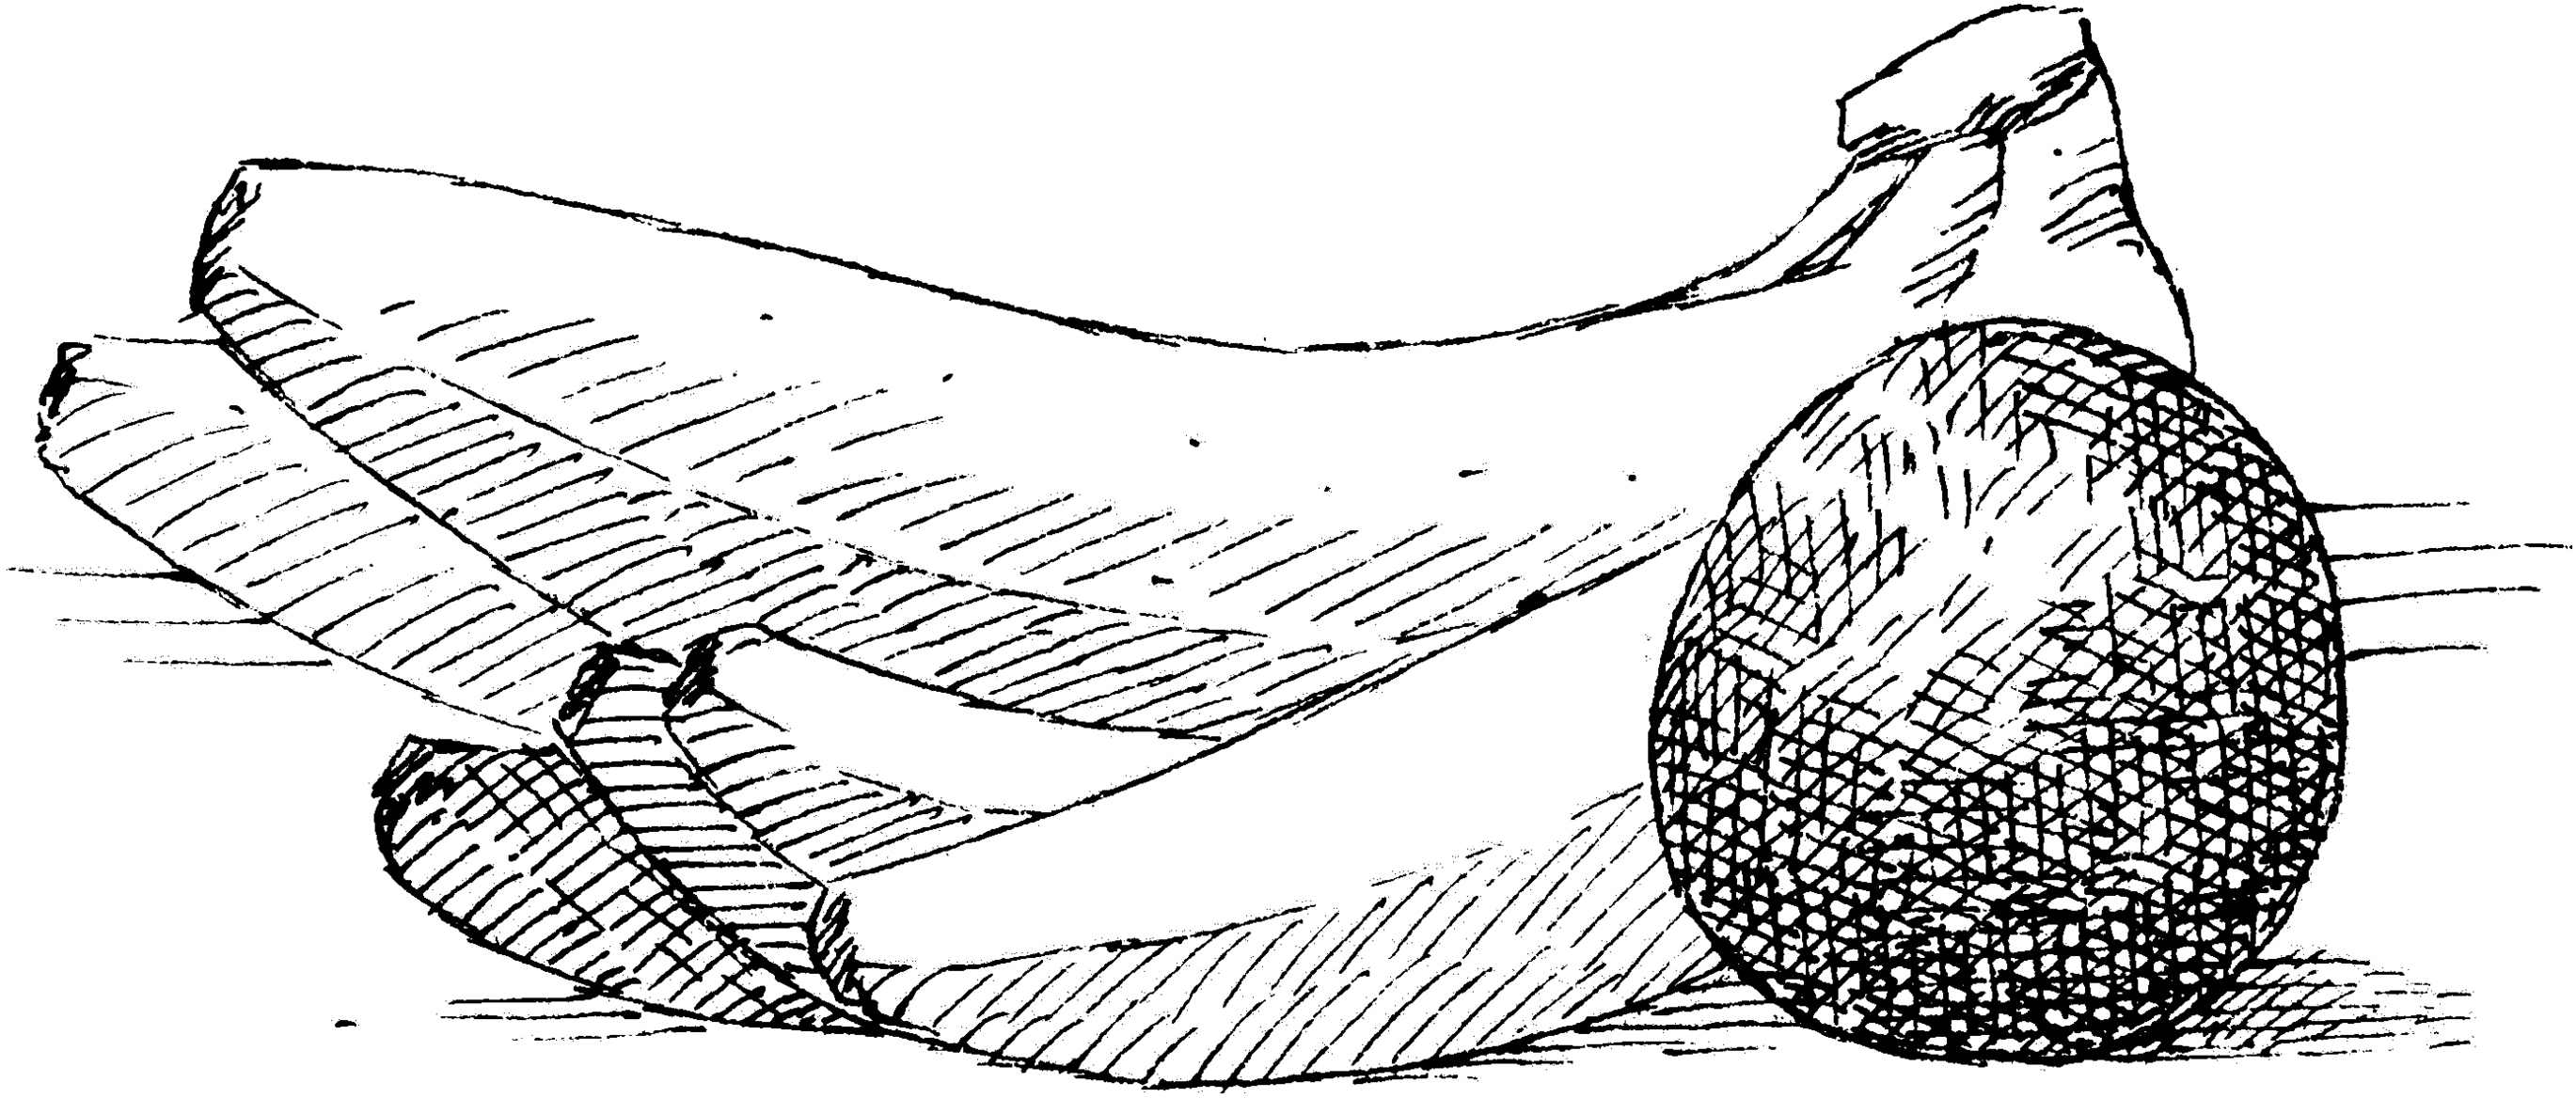
The ripening process in many fruits is controlled by ethylene, a colorless, odorless gas produced in minute quantities by the plant and its fruit. For climacteric types, once the amount of ethylene reaches a certain threshold, the fruit bursts into ripeness; in nature, this process takes some time. But what if we hastened the process by exposing unripe climacteric fruit to ripe fruit already producing copious amounts of ethylene? To test this idea, we purchased a basketful of hard, unripe supermarket pears along with a few ripe bananas. The experiment was simple: We placed three unripe pears and two very ripe bananas in a tightly rolled-up brown paper bag (to concentrate the ethylene) and three more unripe pears in a tightly rolled-up paper bag without bananas. (Don’t try to ripen fruit in plastic bags; it will spoil first. Moderately porous paper bags allow a small amount of oxygen to enter, helping the pears produce enzymes that prevent them from spoiling as they ripen.)
Three days later, we checked the progress. The pears stored by themselves (no bananas) were slightly softened but still tasted tart and astringent. The pears stored with the ripe bananas? Soft and deliciously sweet. When we gave the banana-less pears another full day, however, they reached full ripeness. So a simple paper bag works; including ethylene-bloated bananas merely speeds the process along. Our recommendation is to ripen pears in a bowl on the counter. If you need them sooner, ripen them in a bag with bananas. But check them frequently—they can go from just right to mush in a matter of hours.
I have some Parmesan cheese in my fridge that has dried out and is now rock-hard. Is there a way to revive it?

There’s no way to revive dried-out Parmesan, but it will still have lots of flavor.
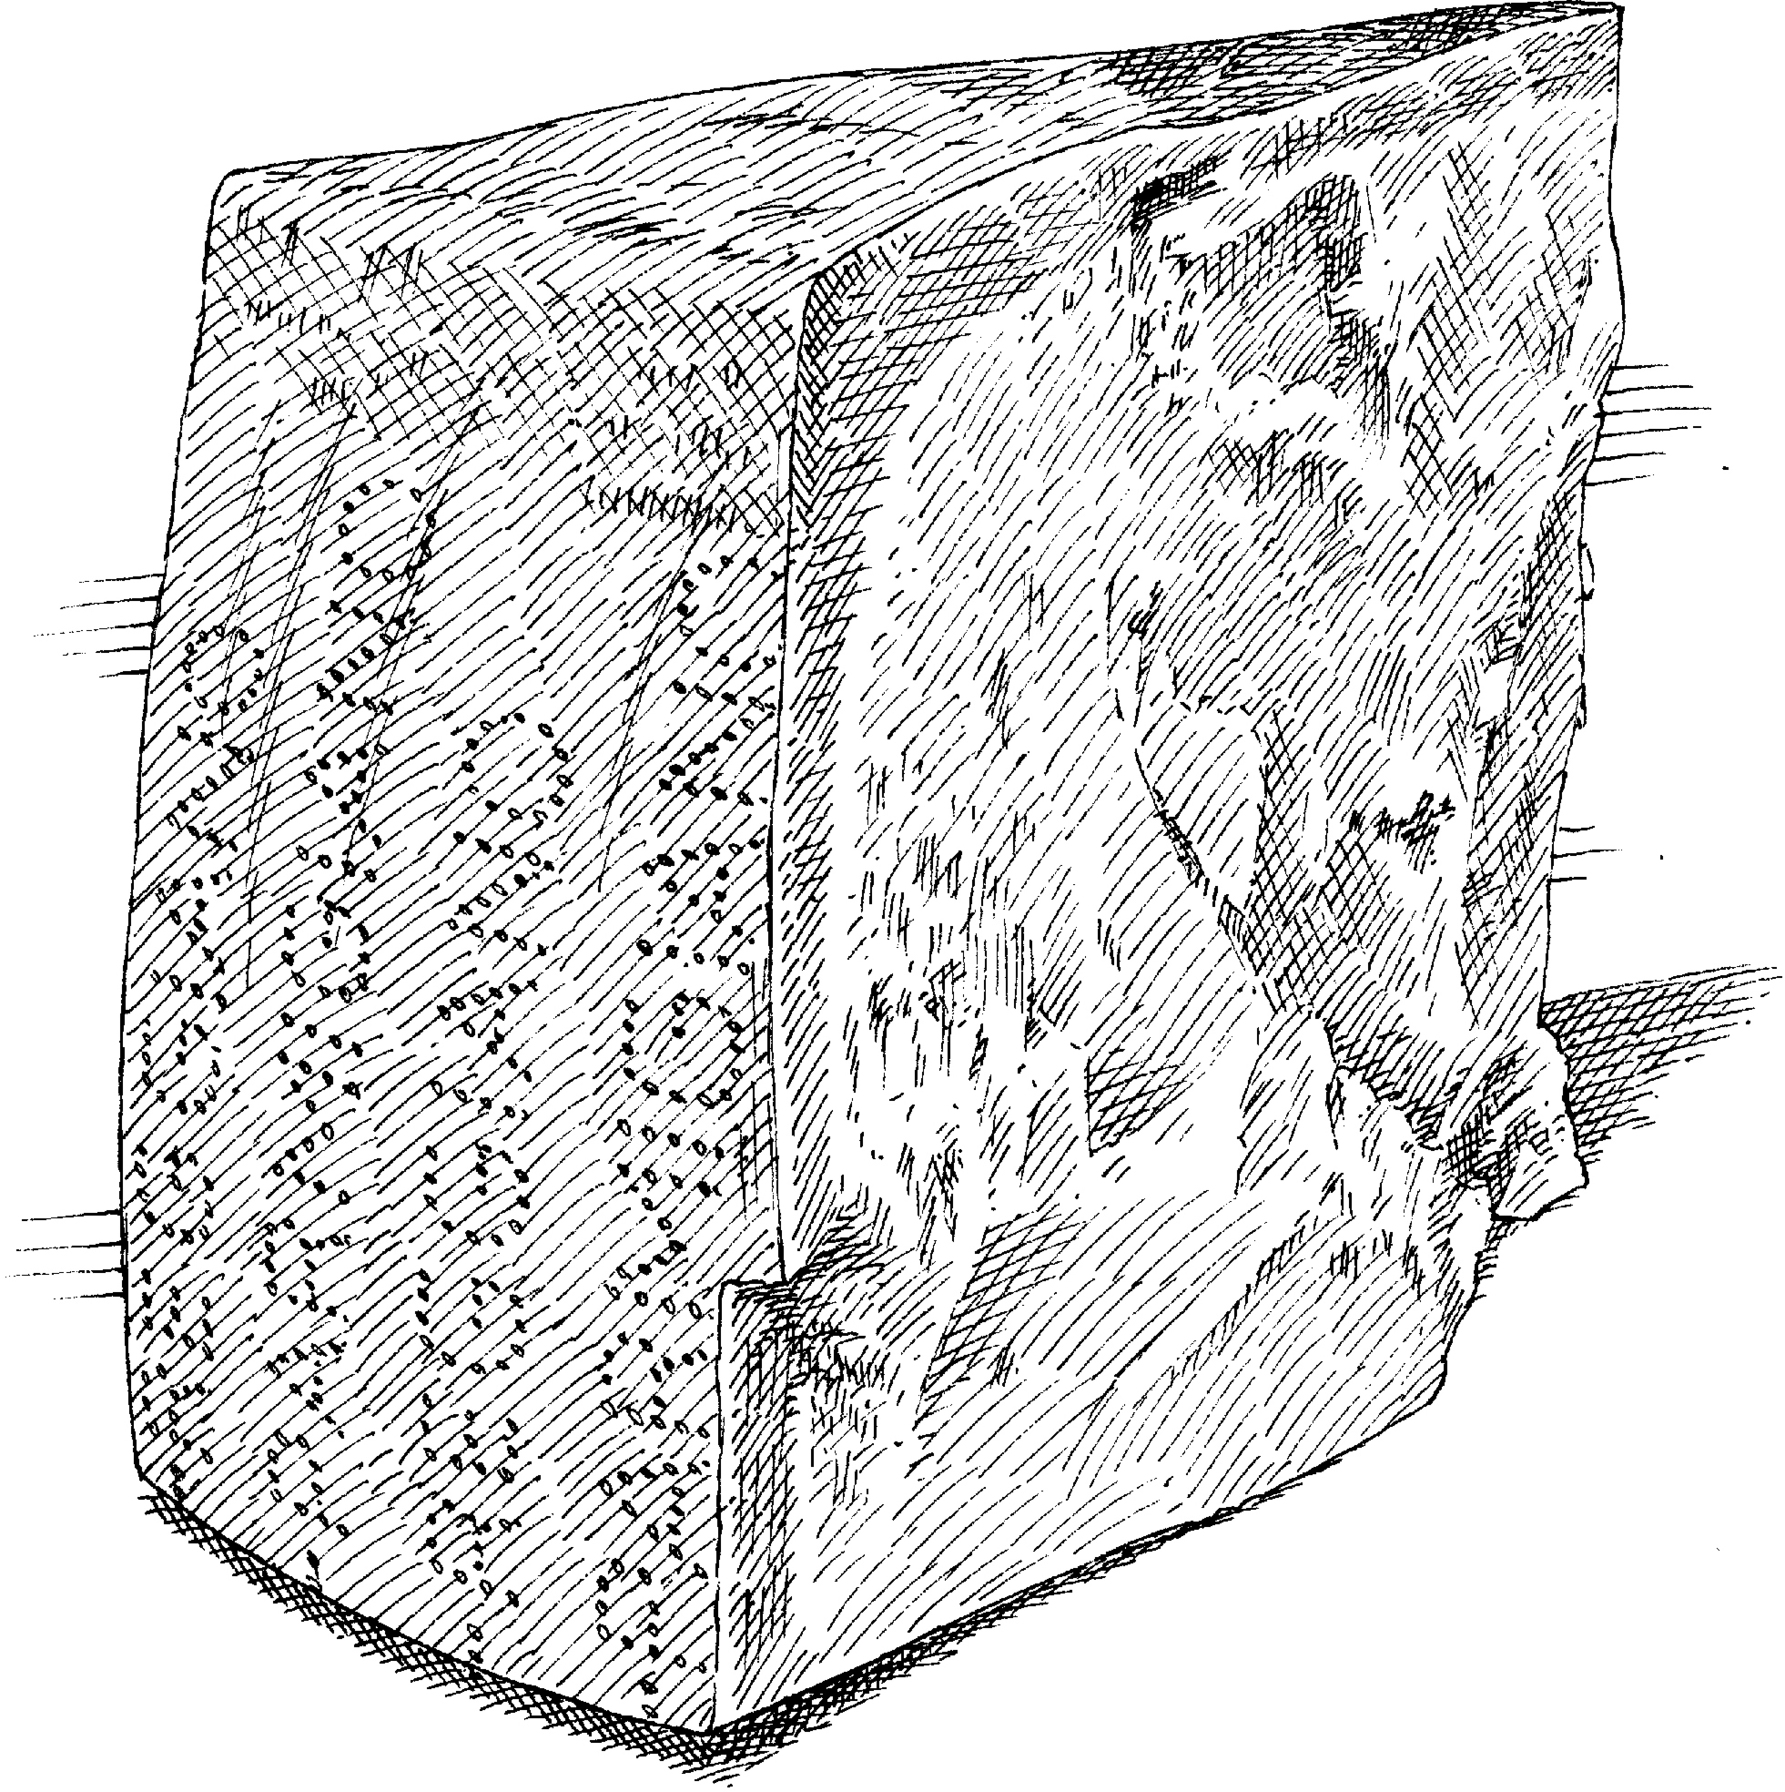
The humidity inside a refrigerator is quite low, so the longer cheese sits in there, the more it dries out and hardens. Once cheese loses moisture, there’s no effective way to get it back (we tried steaming, microwaving, coating it in butter, and wrapping it in wet towels). But smart storage can help prevent your cheese from drying out. The cheese should be allowed to breathe—but just a little. Our preferred method for storing Parmesan cheese is to wrap it in parchment paper (to allow it some airflow) and then wrap it in aluminum foil or place it in a small zipper-lock bag (be sure to squeeze out as much air as possible before sealing the bag).
If your Parmesan has dried out, it can be added to soups and stews for extra flavor and body. If it’s not too hard, it can be cut into 1-inch pieces, processed in a food processor (no more than 1 pound at a time) for about 20 seconds, and sprinkled over pasta, salads, and the like.
A friend told me that storing potato chips in the refrigerator would keep them fresher longer. Is this true?

If you have leftover chips in an open bag, this trick can help keep them fresh.
Stale potato chips make us sad, so we were excited to put this theory to the test. We opened several bags of chips, removed half of the chips from each bag, sealed the bags securely with bag clips, and stored half of the bags in the refrigerator and half in the pantry.
After two weeks, tasters could detect a slight difference, noting that the refrigerated chips were crisp and fresh-tasting, while the pantry chips were a bit stale. Not surprisingly, after a month this difference was more pronounced. After two months—longer than most of us can make a bag of chips last—tasters noted stale flavors in both samples but strongly preferred the crunchy texture of the refrigerated chips to the softer texture of the chips from the pantry.
Why does this work? First, the low-humidity environment in the fridge means that there’s not as much moisture in the air for the chips to absorb and become soft. Second, potato chips are starchy; as starch molecules cool (as they would when refrigerated), they crystallize, becoming firm and hard. This makes for crunchier chips.
What will happen if I don’t wait until the oil in the pan is smoking before adding food?

There’s more than 100 degrees difference between shimmering oil and smoking oil, so this can make a big difference in your cooking.
When searing or pan-frying, we often call for heating oil until just smoking. What happens if you add your food to the pan too soon, before it’s actually smoking? We ran an experiment to find out.
We cooked two sirloin strip steaks in identical 12-inch skillets. For one steak, we heated 1 tablespoon of vegetable oil until shimmering, which took about 2 minutes. In the other pan, we heated 1 tablespoon of oil until it reached the smoke point, which took 6 minutes. We cooked both steaks until well browned on both sides. The steak cooked in the oil heated to the smoke point browned quickly and evenly, in about 6 minutes, with a minimal overcooked gray band beneath the surface. The steak cooked in the shimmering oil took 10 minutes to brown, and the meat just beneath the surface overcooked, leaving a larger gray band.
Shimmering oil reaches only about 275 degrees, rather than the 400 degrees of vegetable oil at its smoke point. Making sure the oil is sufficiently hot helps keep the pan from cooling down too much once the food is added and guarantees quick, even browning. If the oil is below the smoke point when the food is added, browning will take too long and the food will overcook. So make sure to heat the oil until just smoking. Oil that has actually hit the smoke point is unmistakable—you’ll see multiple wisps of smoke rising from the pan. Don’t worry too much about overheating the oil; as long as you have your food at the ready, there is little risk since the oil will cool quickly once you add the food. (If you have overheated it, you will know because the oil will turn dark. In that case, discard the oil and start over.)
Does basting really do anything?

Tradition might not have it right this time—we didn’t find any convincing reasons to baste poultry during cooking.
Basting is a time-honored method for keeping a turkey or chicken moist and helping brown the skin to improve both appearance and flavor. We wondered, though, if tradition has it right, so we ran a few tests. We roasted three turkey breasts simultaneously in three 350-degree ovens until they reached 160 degrees. One breast we left in the oven undisturbed to act as a control. The second we basted every 20 minutes while roasting. The third we didn’t baste, but we opened and closed the oven door every time we basted the second breast to evaluate the effect of simply opening the door. We weighed all three turkey breasts before and after cooking to determine the percentage of moisture lost and recorded the total cooking time. We also roasted three whole chickens under the same circumstances and compared the level of browning.
The total cooking time was 59 minutes for the control turkey breast, 66 minutes for the unbasted breast exposed to the opening and closing oven door, and 69 minutes for the basted breast. Most important, the moisture loss of all three was comparable, ranging from 22.4 to 24.0 percent—a statistically insignificant difference—and tasters found all the samples comparably moist. In terms of browning, the basted chicken was evenly bronzed, while the other two exhibited slightly lighter, less glossy browning that was also a bit patchy.
Basting purportedly keeps meat moister by cooling the surface and thus slowing down the rate at which the meat cooks. And the more gently the meat cooks, the juicier it will remain. Basting did slow the cooking down more than just opening and closing the oven door but not enough to make a difference in moisture loss. In terms of browning, the drippings used for basting contain a lot of fat and protein, which encourage browning because they provide some of the starting materials (amino acids) for the Maillard reaction.
Basting not only makes a negligible difference in moisture loss but also prolongs the cooking time and requires more hands-on work. For really juicy poultry, we prefer a more hands-off approach such as brining or salting, which not only helps poultry retain moisture but also seasons the meat. And while basting did improve appearance, we don’t think the difference is significant enough to make it worth it.
If I have to let my roasted chicken rest for 15 to 20 minutes after it comes out of the oven, won’t it be too cold to serve?

Large cuts of meat hold on to heat far longer than you would expect, so don’t rush the rest.
Think of resting as part of the cooking process. During cooking, the muscle fibers contract and squeeze liquid out of their cells. Resting gives the fibers a chance to relax and draw moisture back inside. Slicing into a roast before it has sufficiently rested will result in that liquid escaping onto your cutting board rather than being reabsorbed. Since heat moves from the hotter exterior to the cooler interior of the meat, we often suggest lightly tenting the roast with foil to keep the exterior warm without trapping too much moisture inside the tent. Since even light tenting can cause crisp skin to become soggy, we don’t usually recommend tenting for chicken and turkey (see here).
But will the food cool down too much to serve warm? To find out, we roasted a chicken and checked the temperature when we removed it from the oven: 160 degrees in the breast and 175 degrees in the thigh. Then we took the temperature after 20 minutes of (untented) rest on a carving board. The chicken was still over 140 degrees—and almost too hot to carve. Since most meat tastes best when it’s above 100 degrees, the chicken was still comfortably within the serving zone.
We recommend resting all large cuts of meat, though resting times vary. Thinner cuts like steaks, pork chops, and chicken parts cool more quickly. In these cases, we usually recommend only about 5 minutes of resting time to ensure that the proteins are still optimal for serving.
When using my milk frother to make cappuccino, I’ve noticed that skim milk seems to foam up better than whole milk. Why is this?

The less milk fat, the fewer emulsifiers, and thus the foamier the milk.
We poured 4-ounce samples of both nonfat and whole milk into oversize cups, whipped them up with a handheld milk frother, and compared the results. The skim milk indeed frothed better than the whole milk: The foam was thicker and more stable, and rose up higher in the cup. The whole-milk foam took longer to form and deflated in a matter of minutes.
It turns out that milk fat contains monoglycerides and diglycerides, which happen to be good emulsifiers but have a negative effect on the formation of foam. They destabilize the air bubbles introduced into milk when foam is made, impeding the foam’s formation. Skim milk contains less of these emulsifiers, thus making frothing easier. Although most baristas wouldn’t recommend using skim milk for rich, creamy cappuccinos, if plenty of airy foam is your goal, go with lower-fat dairy.
Why do catfish and tilapia sometimes taste swampy? Is there a way to reduce or remove this unpleasant flavor?

An acidic bath can help eliminate the disagreeable muddiness of some of these fish.
In the test kitchen, we too have noticed a mysterious muddy flavor in some catfish and tilapia. Our research revealed that the flavor comes from a compound called geosmin, which is Greek for “earth smell.” Geosmin is abundant in the blue-green algae found in the bottom of the man-made ponds that catfish and tilapia are raised in. When the fish swim in the geosmin-rich water, they consume the compound as they ingest the algae. Some cookbooks claim that soaking the fish in tap water or milk will remove the unpleasant geosmin flavors, but a quick test proved this untrue. After more research, we learned that only acidic compounds can effectively break down geosmin.
Armed with this knowledge, we decided to soak fillets in lemon water and in buttermilk before cooking them. After an hour-long soak, we battered and deep-fried half of the fillets and pan-seared the other half. The acidic baths did the trick, although tasters detected a slightly mushy texture in the fish soaked in lemon water. So if you want to enjoy clean-tasting, firm catfish and tilapia, immerse it in buttermilk for an hour before cooking. When you’re ready to cook the fish, rinse off the buttermilk, pat the fish dry, and proceed with the recipe.
Why does my salmon sometimes ooze a white substance when I cook it? Am I under- or overcooking it?

It’s completely harmless, but if you don’t like it, you can either wipe it off or pretreat the fish to minimize it.
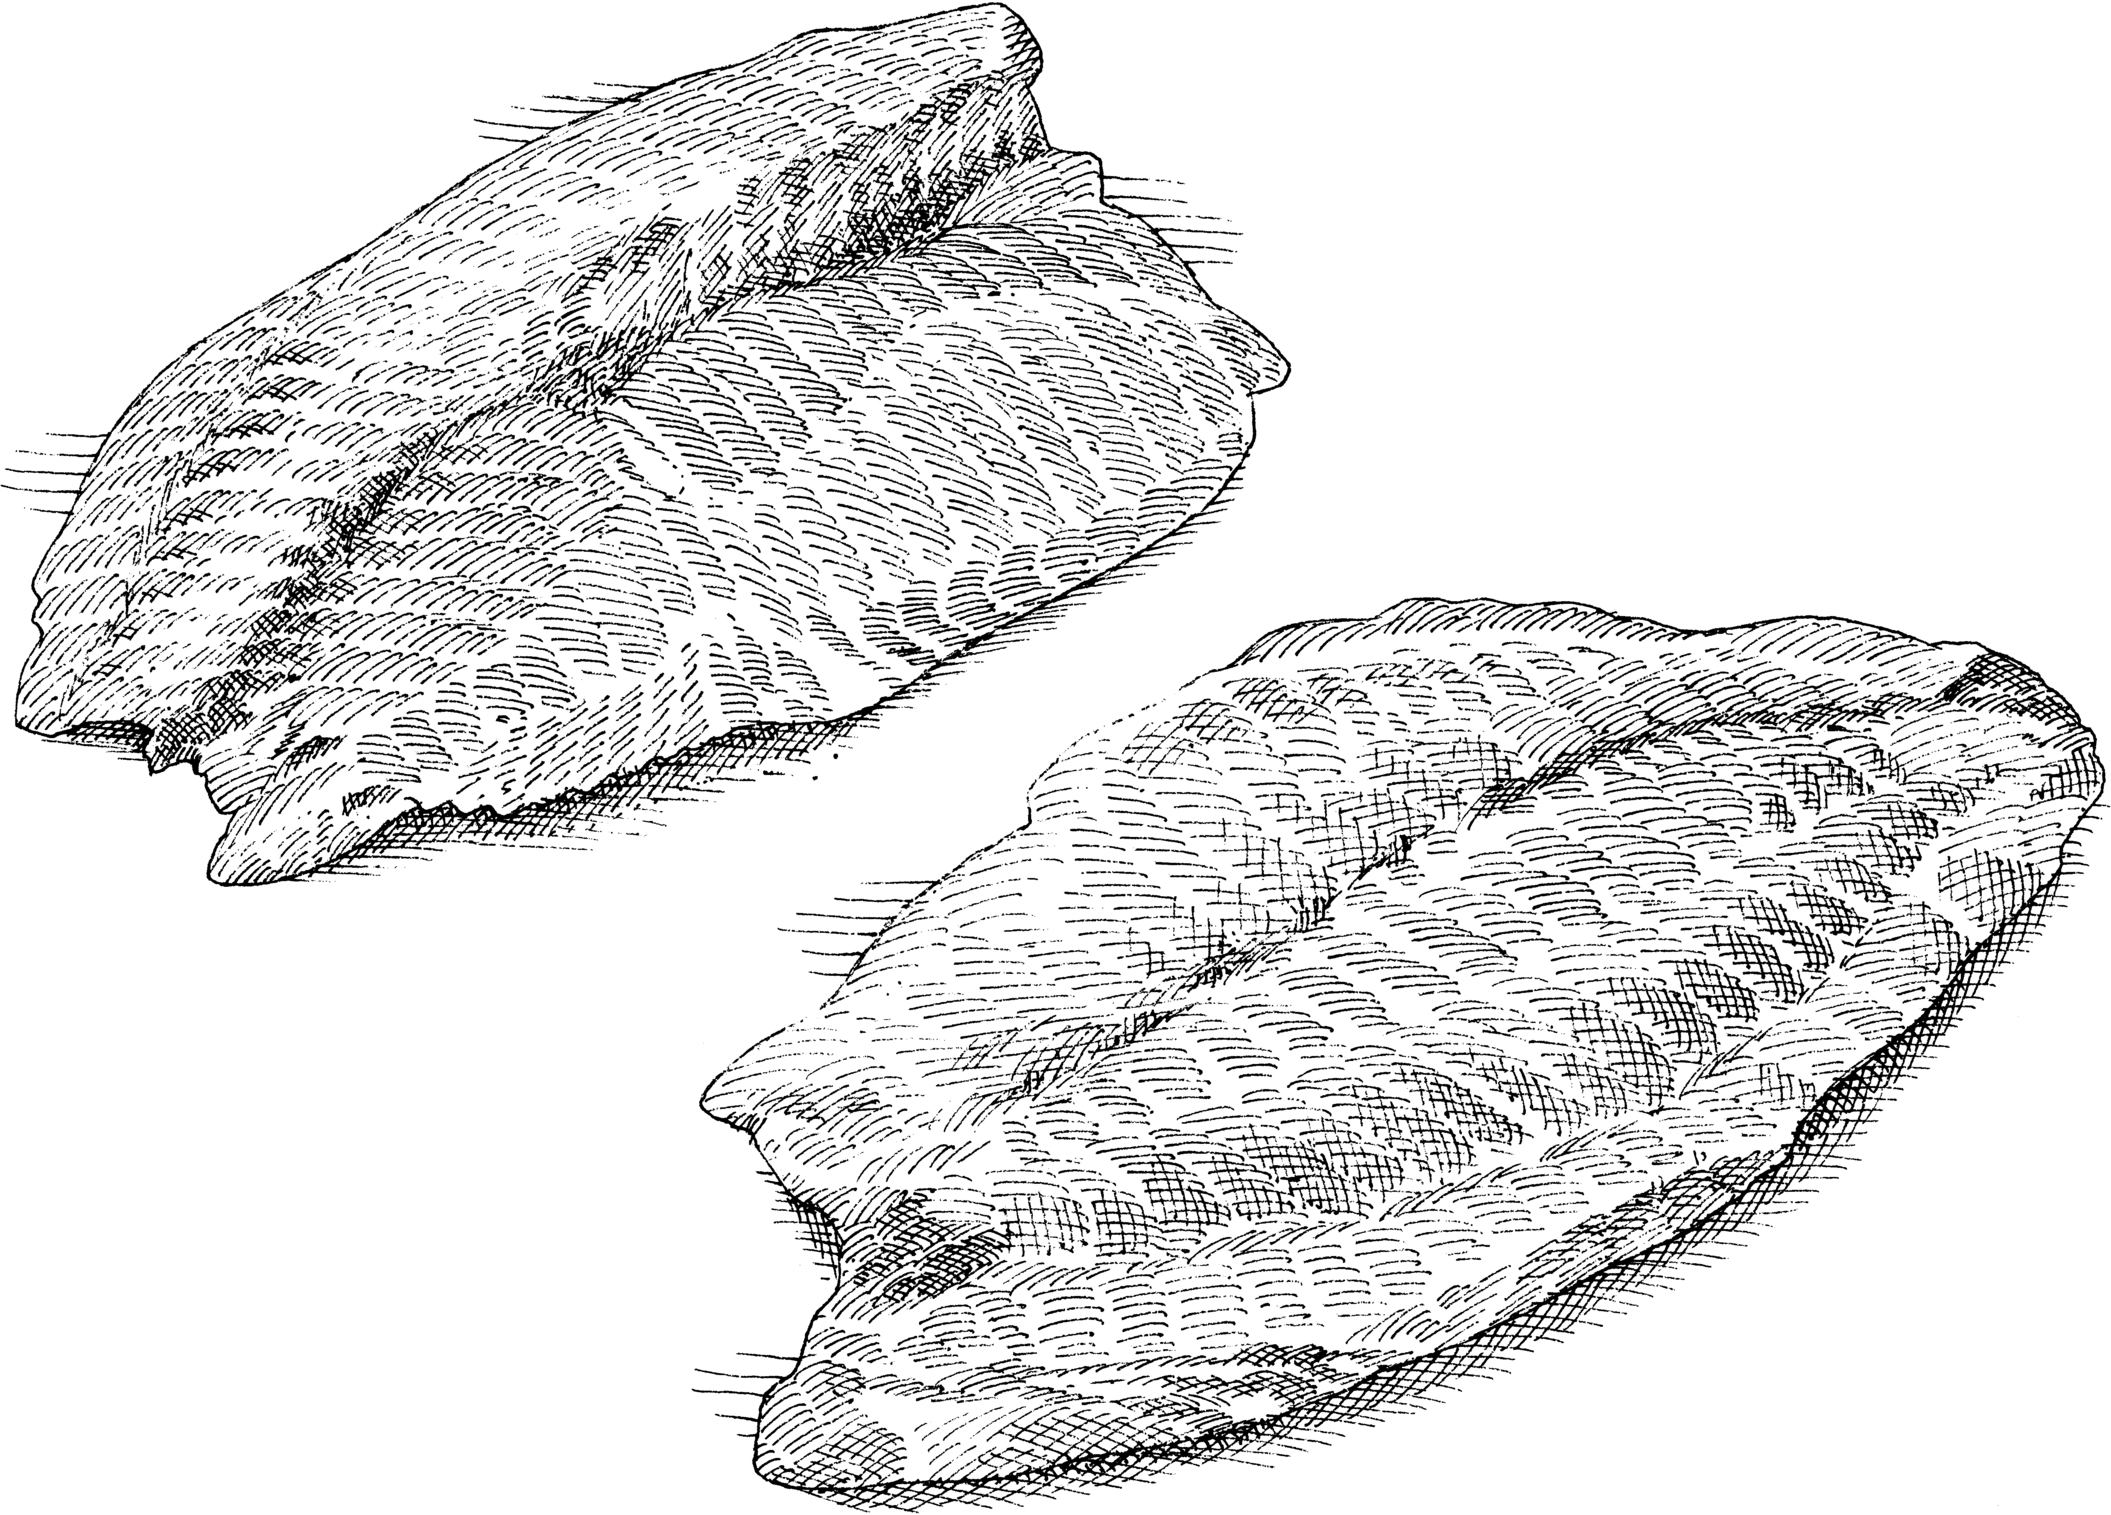
We occasionally encounter this phenomenon in the test kitchen when cooking salmon and guessed that the unattractive ooze had something to do with overcooking. But after we pan-seared a few salmon fillets, we were surprised to find that even perfectly cooked fillets (those with opaque exteriors and traces of bright orange inside) exuded a few strands of this white material along the unseared sides. Slightly more of this matter showed up on fillets that we overcooked intentionally.
We turned to Donald Kramer, professor of seafood science at the University of Alaska, Fairbanks, for an explanation. According to Kramer, this “white curd” is composed of fish albumin, soluble proteins that are squeezed out onto the surface of the fish and coagulate once they denature during the cooking process. Most often, this curd is seen when salmon is canned, smoked, or poached.
“There’s nothing harmful in it,” said Kramer. “There will always be a certain amount that comes out, and how you cook it is probably not going to affect that.”
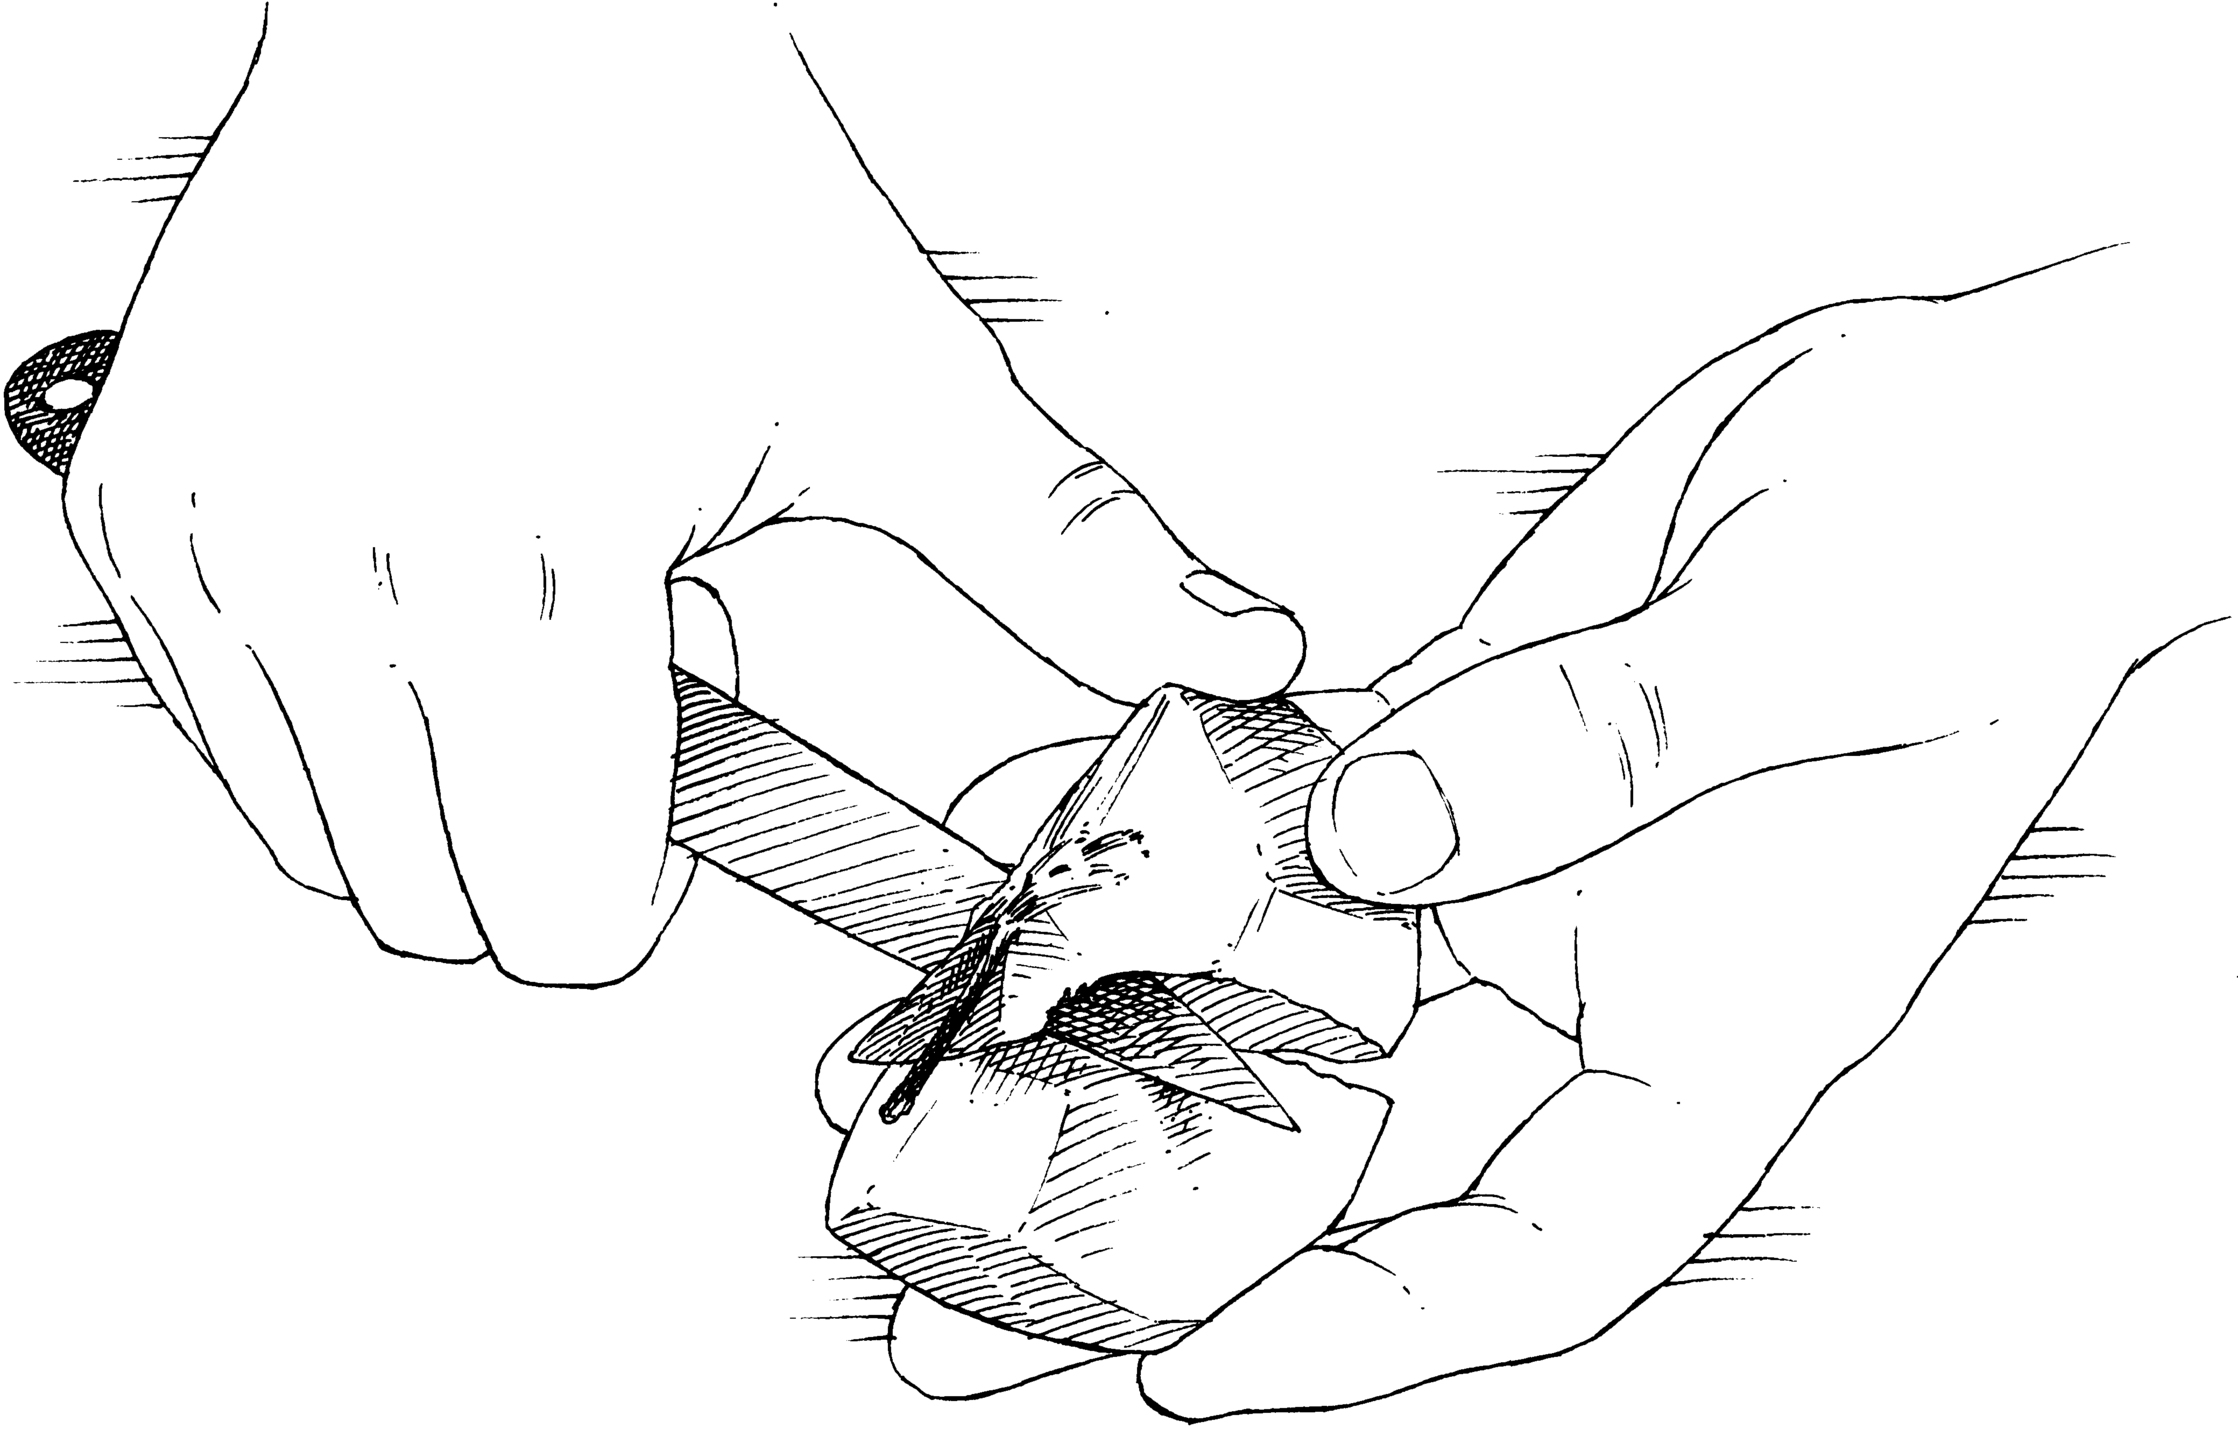
The best way to check for doneness in salmon is not to wait for albumin to appear on the surface but to peek inside the fillet with the tip of a paring knife. A little translucency is a good sign; if the salmon is opaque all the way through, the fish is overdone. If the look of the albumin really bothers you, use a damp paper towel to gently blot it off.
We often advocate brining meat (and sometimes fish and shellfish) before cooking to ensure moist, tender, flavorful results. We recently discovered another good reason to soak fish in a salt solution: A quick exposure can reduce the unsightly white layer of albumin that coagulates on the surface during cooking. Just 10 minutes in our standard 9 percent solution (1 tablespoon of salt per cup of water) is enough to minimize the effect. The method works in a similar fashion to how a longer soak improves moisture retention: The salt partially dissolves the muscle fibers near the surface of the flesh, so that when cooked they congeal without contracting and squeezing out albumin. We tested the method on salmon and saw a dramatic improvement. The brief soak also seasoned the fish’s exterior, making it unnecessary to salt it before cooking.
Since buttermilk always smells sour, how will I know whether it has gone bad?

Unless there’s visible mold on it, it’s probably fine—but it might lose some of its flavor even before it goes truly bad.
When we asked this question of the folks at the dairy farm that produces the buttermilk we use in the test kitchen, they told us to consume their product within seven days after opening. However, guidelines from agricultural programs at various universities extend that period to two weeks. Then there’s our experience, which has shown that refrigerated buttermilk won’t turn truly bad (signified by the growth of blue-green mold) until at least three weeks after opening. That it can last this long is not surprising, since buttermilk is high in lactic acid, which is hostile to the growth of harmful bacteria. That said, we wondered whether the flavor of buttermilk changes the longer it’s stored. To find out, we held a series of tastings, comparing pancakes made with freshly opened buttermilk with those made with buttermilk that had been opened and refrigerated for one week, two weeks, and three weeks. We found that as time went on, the pancakes tasted increasingly bland.
Here’s why: The bacteria in buttermilk produce lactic acid and diacetyl, a flavor compound that gives buttermilk its characteristic buttery aroma and taste (diacetyl is also the dominant flavor compound in butter). As time passes, the buttermilk continues to ferment and becomes more acidic. The abundance of acid kills off virtually all the bacteria that produce the buttery-tasting diacetyl. So three-week-old buttermilk will retain its tartness (from lactic acid) but lose much of its signature buttery taste, giving it less dimension. The good news is that there is an effective way to prolong the shelf life and preserve the flavor of buttermilk: Freeze it (see here).
What causes oil to develop a fishy odor or flavor when I’m deep-frying?

Oil used over very high heat, reused oil, and oil that’s particularly low in saturated fat are all susceptible to this issue.
Oil is composed mainly of triglycerides, or fat molecules containing free fatty acids. When oil is heated, the fatty acids oxidize to form small volatile molecules (mostly peroxides and aldehydes) that produce a strong, rancid odor. The higher the heat and the longer the oil is used, the greater the likelihood that this effect will occur. It’s also worth noting that some oils are more susceptible to oxidation than others: Saturated fats are less likely to oxidize than unsaturated fats. Therefore, oils that are very low in saturated fat will deteriorate more quickly than oils with significant amounts of more stable saturated fats. Our taste tests of fried chicken confirmed that canola oil (6 percent saturated fat) and safflower oil (9 percent saturated fat) are more likely to lend a spoiled, “fishy” flavor to fried foods than refined peanut oil (17 percent saturated fat) and vegetable shortening (25 percent saturated fat), which generally produce clean-tasting fried foods.
Why do apples turn brown when they’re cut? Is there a way to avoid that?

You can use lemon juice or honey to deactivate the enzyme that causes this reaction.
Cutting damages the cells of apples, allowing enzymes and compounds stored separately within each cell to mix with one another and with the oxygen in the air, creating brown pigments. To determine whether this brown color does anything more than mar the fresh look of the fruit, we compared an apple crumble made with just-cut fruit with crumbles made with apples that we had cut and peeled (and refrigerated in zipper-lock bags) one and two days earlier. The brown apples and the fresh apples baked up equally tender and juicy and were similar in flavor, and surprisingly all had pretty much the same light golden color. It turns out that as the apples’ cell walls rupture during baking, acids are released that partially break down the brown pigments, resulting in a lighter color. So if you’re going to cook apples, it’s fine to prep them a day or two in advance.
However, if you want raw slices that won’t get discolored, there’s an easy solution. A peptide found in lemon juice and in honey deactivates the enzyme that causes browning in apples. Most people toss cut apples and other fruits prone to browning in lemon juice, but if the acidic flavor puts you off, try honey water. We diluted 2 tablespoons of honey with 1 cup of water, added a sliced apple, and left it to soak. Compared with untreated apple slices, which began to brown after a few minutes, the apples in honey water were kept bright for more than 24 hours. Even better: We found that the fruit needed only a 30-second dunk in the honey water to inhibit browning for a solid 8 hours.
Recently, while I was making beurre blanc, the garlic in the sauce took on a startling blue color. What happened? Is a blue beurre blanc still safe to eat?

This is a normal chemical reaction; as long as you don’t mind blue sauce, you can still eat it.
Blue garlic may look off-putting, but it’s perfectly safe to consume and tastes just fine. The color change is caused by a reaction between enzymes and sulfur-containing amino acids in the garlic (the same enzymes are responsible for garlic’s flavor). When these enzymes are activated by mild acid (such as the vinegar in beurre blanc), they produce blue and green pigments. The compound responsible for this reaction, isoalliin, is formed when garlic is stored at a cool temperature for several weeks, typically in the winter, when pantries are colder.
In short: To avoid discoloration, use fresh, young garlic when making beurre blanc or any recipe that combines garlic with acidic ingredients.
I recently used red onions in a frittata and was surprised to see that they turned bluish-green during cooking. What happened?

This is a simple chemical reaction that doesn’t affect flavor—but if it bothers you, there’s an easy way to reverse it.
Red onions—as well as other red produce, including cabbage and cherries—are rich in pigments called anthocyanins. When they’re cooked with acid, their color intensifies, but when combined with an alkaline component, they can turn a startling bluish-green color. Since eggs—specifically, egg whites—are basic, ranging from 7.6 to 9.5 on the pH scale, they are most likely responsible for the blue color in your frittata. Just for fun, we decided to see whether we could reverse the color change once a fruit or vegetable with anthocyanin turns blue. We sautéed red cabbage and then added a pinch of baking soda to turn it blue. We found that a splash of vinegar brought its red color right back. (This trick may not have a practical application, but you can use it to impress your friends.)
Fresh ginger also contains anthocyanins. When it is stored for a long period of time in a cold environment, ginger becomes less acidic, and this causes some of its anthocyanin pigments to change to a blue-gray color. It is still safe to eat, and while it has a slightly milder flavor than fresh ginger of a normal color, it’s unlikely you’ll notice the difference when using it in a recipe.
I substituted sunflower seed butter for peanut butter to make allergen-free cookies—but the cookies turned green! Why did this happen? Are the cookies safe to eat?

The cookies will taste fine and are perfectly safe to eat—the color comes from the chlorophyll present in sunflower seed butter.
This was a new one on us, so we made a batch of peanut butter cookies, substituting sunflower seed butter to see whether we’d get green cookies. The cookies came out fine, but after two days they started to develop green spots on their interiors, and by six days their insides were forest green.
We did a little digging to find out why this was happening. It turns out that sunflower seed butter contains chlorophyll, the green pigment present in all green plants. The color is not visible in the jar of sunflower butter because the chlorophyll is bound by other substances. It’s released when the chlorophyll is heated in the presence of an alkali, such as baking soda, which is an ingredient in most peanut butter cookie recipes. This combination caused the color to slowly appear. While they may be unappetizing to look at, the green cookies are safe to eat and don’t taste any different once they turn green.
I sometimes notice a rainbowlike sheen on raw tuna and beef. Do you know what causes it?

This phenomenon is simply a function of how the meat is cut and has nothing to do with the freshness of the meat.
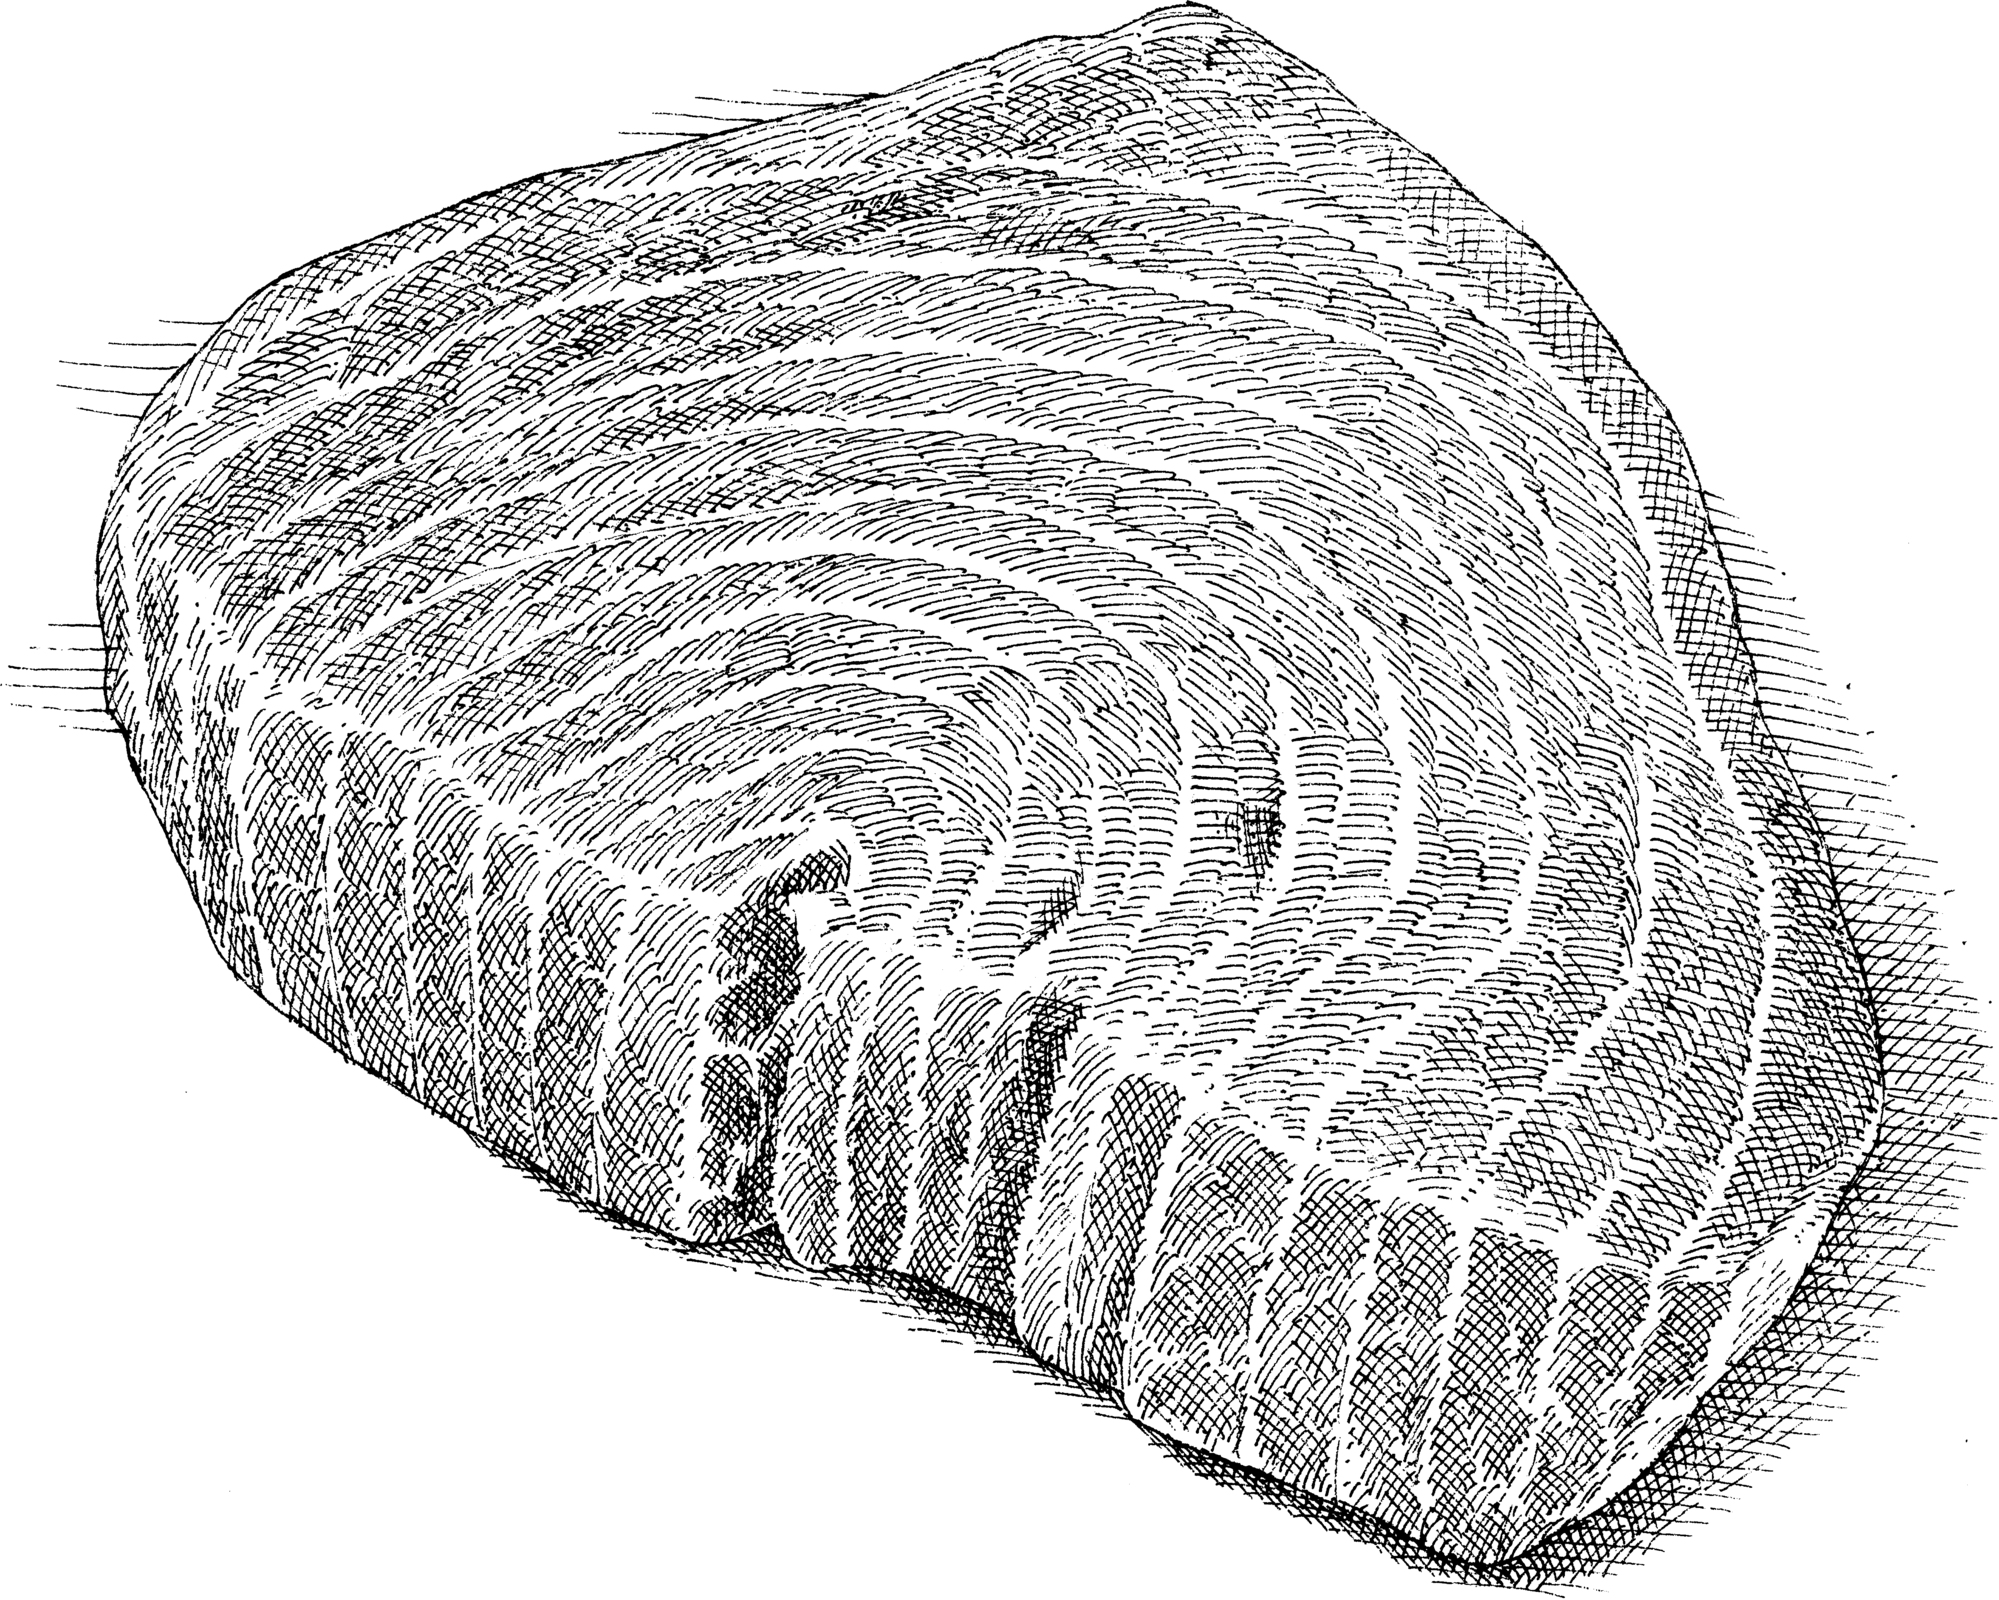
The rainbow effect is caused by the reflection of light off muscle fibers, technically known as double refraction or birefringence. It occurs when the muscle fibers are cut crosswise at a specific angle relative to the grain of the meat and is visible only when the meat is viewed at a certain angle. Light striking the ends of the fibers is reflected in two different directions, appearing to the eye as a rainbow of colors. This iridescent appearance can be observed for several days after slicing the meat.
While the rainbow effect is harmless and doesn’t offer any indication of how fresh the meat is, there is another color change that is a sign of meat that has passed its prime: the development of a green pigment. Meat with a green cast is contaminated with bacteria and should be discarded.
How does a microwave actually cook my food?

Microwave cooking is unlike any other cooking method in the kitchen.
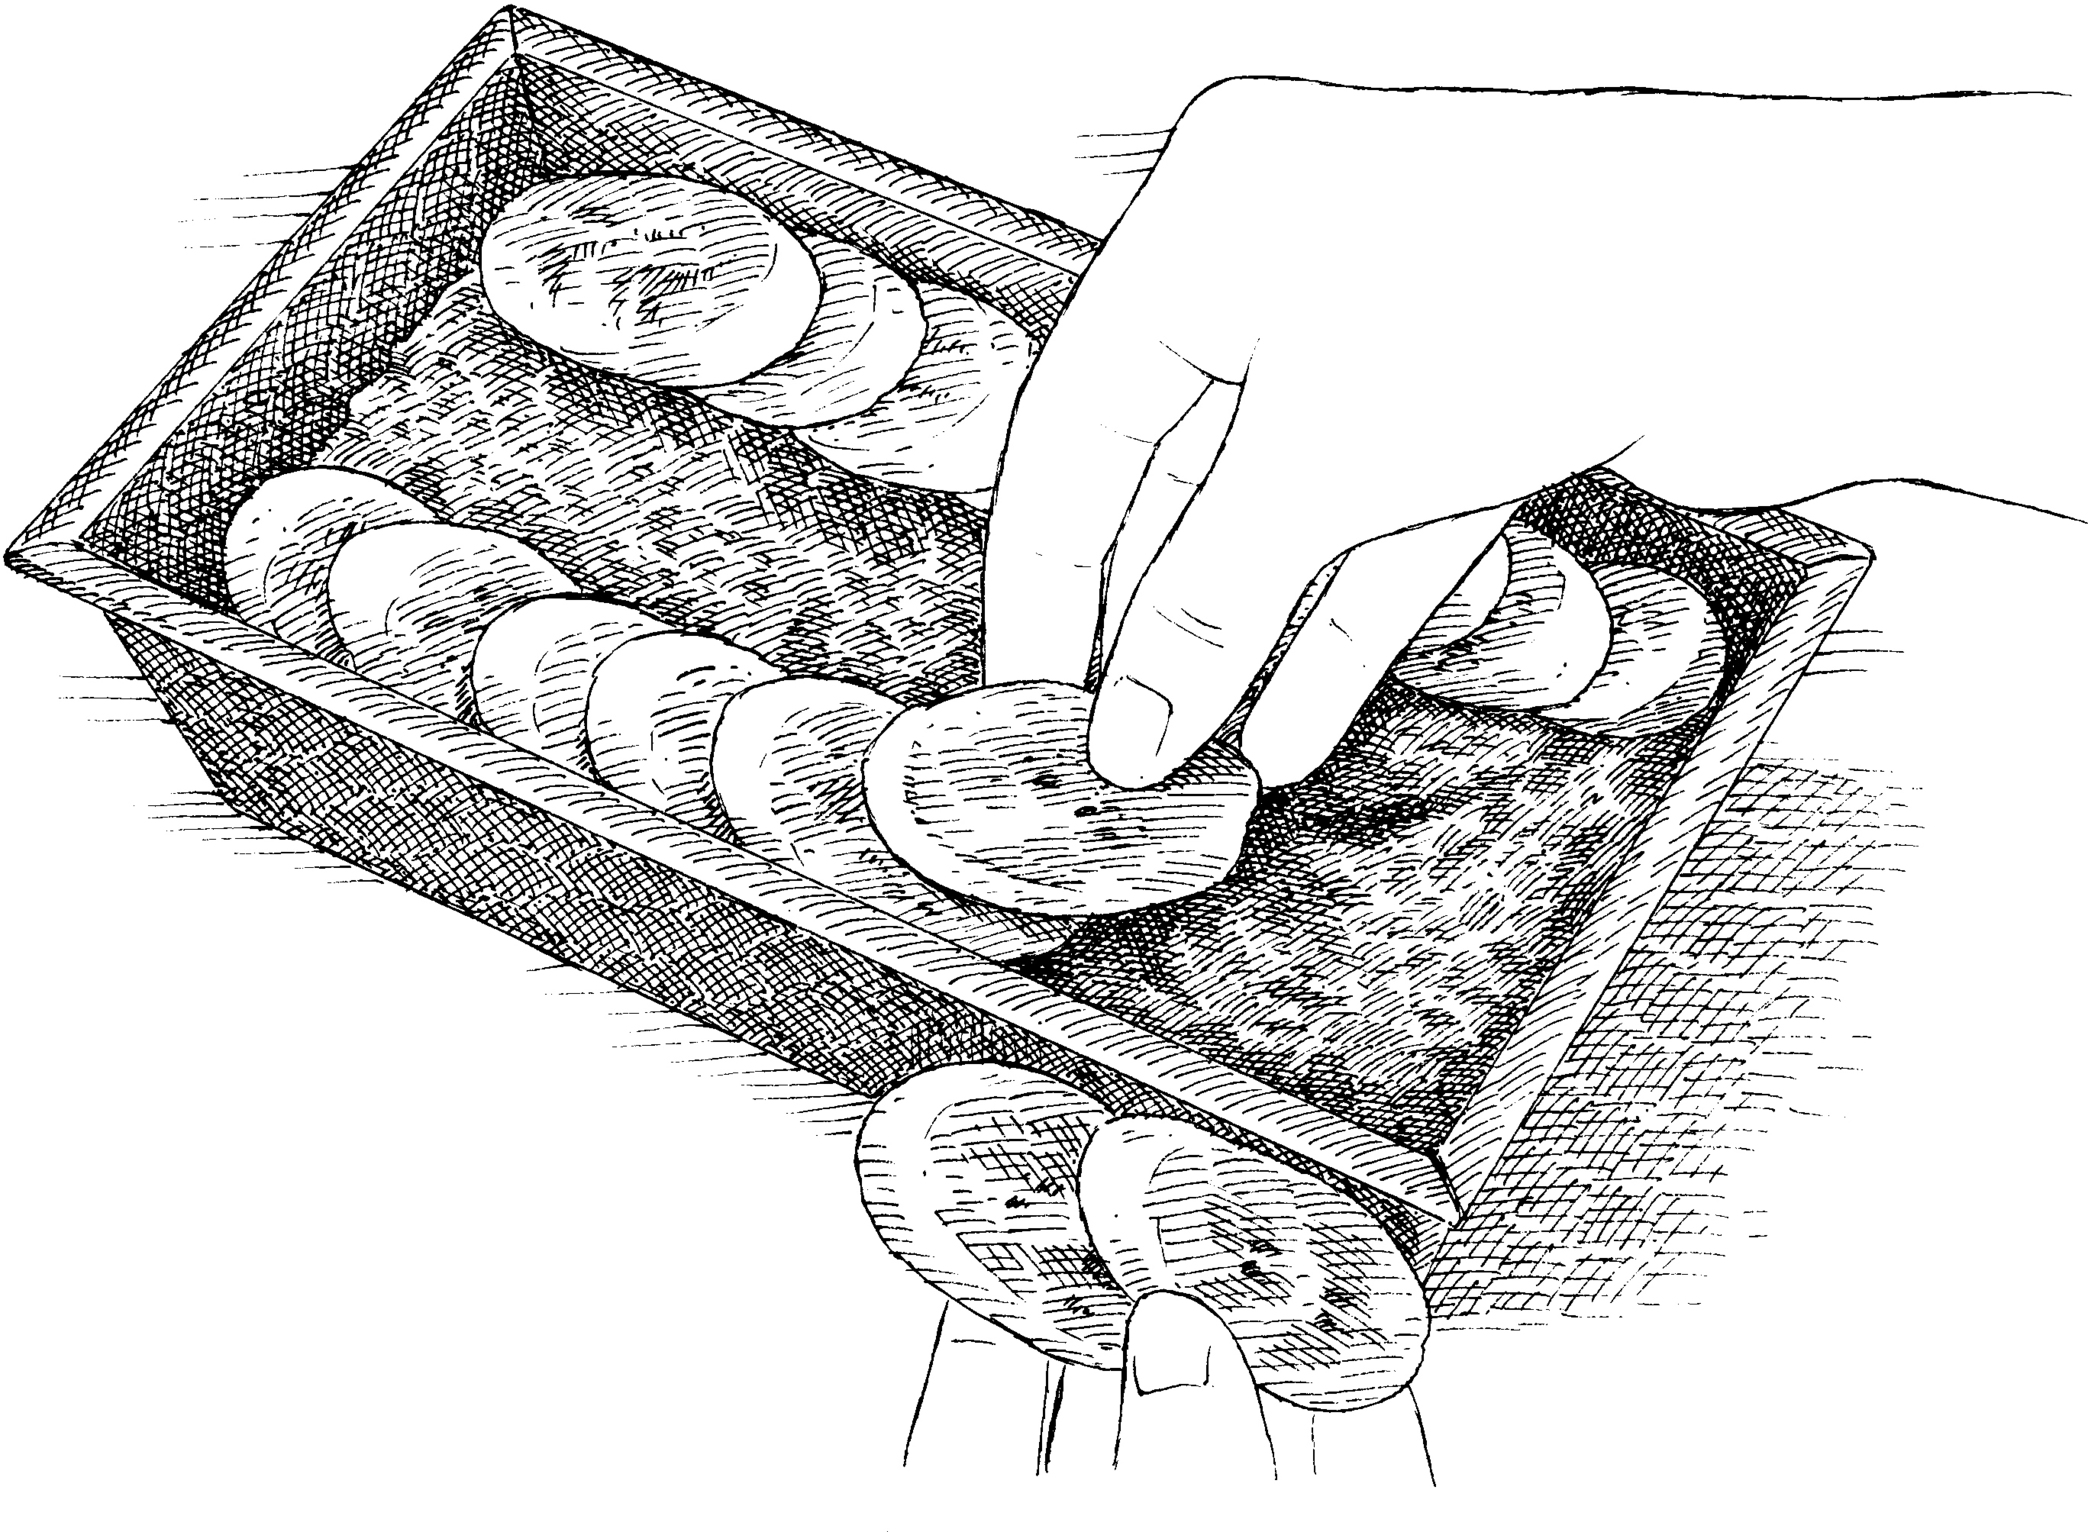
To illustrate the difference between microwave cooking and stovetop simmering, we ran the following experiment: We microwaved a potato on a plate for 3 minutes, sliced it in half, and compared it with a potato that we simmered in water for 3 minutes before slicing. The microwave cooked a large portion of the potato in just 3 minutes, but the heat penetration was very uneven. In contrast, the simmered potato featured a thin, consistent line of cooked potato around the perimeter.
The electromagnetic waves produced by a microwave oven create an electric field that reverses direction 4.9 billion times per second. Water molecules are polar, meaning that they contain a partial positive and a partial negative electrical charge. In the presence of the oscillating electric field, the water molecules in the potato (or any food) change direction at the same incredibly fast rate. This rapid reversal causes the water molecules to bump into one another, effectively increasing their temperature. The problem is that microwaves can’t penetrate more than an inch into food (the heat continues to move toward the center via conduction, just as it does in food cooked in an oven). What’s more, microwaves hit foods in an unpredictable pattern, so some parts will cook faster than others. Microwave ovens use turntables to help even out cooking to some degree, but only on one axis. To ensure even cooking, stir or flip food often, add a cover to trap steam to provide another form of cooking, and rest foods for a few minutes after cooking to allow hot and cool spots to even out (especially important for foods that can’t be stirred).
Sometimes when I’m making coffee, I steal a cup while the coffee maker is still brewing. Is there any reason I shouldn’t do that?

It’s not what you want to hear, but this is a bad habit and has a negative impact on the rest of the pot of coffee.
We know the temptation: First thing in the morning, the coffee is brewing, and you can’t help sticking your mug beneath the spigot on the coffee maker to sneak a cup before the pot has finished. But how much does removing some coffee early influence the flavor of the final pot? Armed with an array of coffee mugs and a coffee refractometer, a tool that measures the amount of soluble flavor compounds, or total dissolved solids (TDS), extracted from the beans, we put that question to the test.
We took samples from the brewing spout of a coffee maker every 30 seconds and measured the TDS in each. The coffee coming out of the spout at the beginning of the brew time was significantly stronger than the last few drops: 3.93 parts per million (ppm) versus 0.44 ppm, or more than eight times as concentrated. It was also more than twice as strong as coffee from a full pot (1.54 ppm). Only at the midway point of the brew cycle did the concentration of the sample come close to that of a full pot. So hold on to your mug. Most of the flavor in a pot of coffee comes during the first half of brewing. If you sneak a cup early on, not only will it be far too strong, but you’ll be running off with most of the good stuff and spoiling the pot for others.

What exactly is gluten, and why is it so important?

The proteins in gluten give baked goods their structure.
Gluten—an elastic protein that has the ability to trap air, much like a balloon—is formed when two important proteins in wheat flour, glutenin and gliadin, bond together in the presence of water. Whether we are trying to create more of it in rustic bread or pizza dough or working to limit its development for tender cakes and muffins, there’s no denying gluten’s importance. But beyond our conceptual understanding of it, is there a more tangible way to see and feel gluten? We ran a simple experiment to find out.
We made two basic doughs by mixing flour and water in a food processor until a smooth ball formed. For one dough we used cake flour, which contains between 6 and 8 percent protein, and for the other we used bread flour, which usually runs from 12 to 14 percent protein. After making the doughs, we placed each in a mesh strainer and massaged them under running water to wash away all the starch. Once the water ran clear (a sign that the starch was gone), we were left with two mounds of what was essentially pure gluten. The differences in the appearance and texture of the two doughs were a dramatic confirmation of the profound impact of gluten.
Low-protein cake flour formed a very small amount of sticky, weak gluten. This characteristic is a boon to cakes and muffins, in which too much gluten can turn the crumb unappealingly tough. High-protein bread flour formed a large ball of highly resilient, rubbery gluten that could be stretched very thin without tearing. This structure traps air in breads, providing high rise and good texture.
Why do some cheeses melt really well while others stay solid even when you heat them up?

The protein structure of cheese changes as it ages, and this causes lumpy melting in older cheeses.

Anyone who’s melted cheese for a sandwich knows that some types melt better than others, turning creamy without releasing fat. We’ve found that younger cheeses almost always perform better in grilled cheese sandwiches than aged ones. This is partly because aged cheeses have less moisture, making them prone to clump. To see whether there were other factors at play as well, we ran another test and controlled for moisture.
We purchased cheddars aged for 3, 16, and 24 months (all were sealed against evaporation during aging) and placed slices from each block on top of inverted metal cups that had been preheated in a 175-degree oven. We then baked the cheese until each slice had melted.
The three-month-old cheddar melted smoothly, evenly flowing down the cup’s sides. The 16-month-old cheddar showed signs of clumping as it slid down the metal, and the 24-month-old cheese actually broke into two large pieces and never melted.
Moisture plays a part in how cheese melts, but the state of its protein—specifically, its network of casein protein—affects it most. In freshly made cheeses, casein proteins are in tightly wound clusters, allowing for little interaction with one another. As cheese ages, it goes through a process called proteolysis, in which bonds between individual casein molecules are “snipped,” allowing the clusters to unwind and bind with other casein molecules, forming a matrix. Early in this process, the matrix is flexible, allowing young cheeses to melt smoothly. With time, the proteins bond together more tightly, forming a stronger network that requires more heat to melt and is less flexible when melted. This can result in more separated fat and clumps, as with our older samples.
How is a roux’s color related to its thickening power?

The darker a roux, the less thickening power it will have in your dish.
A roux, a cooked mixture of flour and fat, works primarily as a thickener or structural agent for sauces and stews, but it also provides the dish with flavor and color. Notably, the flavoring and thickening properties don’t work independently.
Roux are always cooked to a specific shade that can range from beige to dark brown. The darker the color, the more pronounced the roux’s flavor. But at the same time that a roux darkens, its thickening power lessens. This is because the intense heat from frying the flour in fat causes its starch chains to break down, and these smaller pieces are less efficient thickeners. So the longer a roux is cooked, the less effective at thickening it will be.
To quantify more precisely how cooking influences a roux’s thickening power, we borrowed a specialized tool for measuring viscosity from Brookfield Engineering Laboratories in Middleboro, Massachusetts. We prepared three roux cooked to beige, light gold, and dark brown using 4 tablespoons of unsalted butter and ¼ cup of all-purpose flour for each batch. We then added 2 cups of water to each roux and simmered the mixtures for 20 minutes. Holding each batch at the same temperature, we tested their viscosities with the borrowed viscometer. Using the beige roux (cooked for just 1 minute) as our baseline, we found that the light gold roux (cooked for 3 minutes) had 14 percent less thickening power. The dark brown roux (cooked for 5 minutes) had 26 percent less thickening power.
The takeaway? These aren’t small differences; it’s important to cook a roux to the right color. Cook the béchamel for a soufflé too long and it won’t have the same thickening power or structural integrity—and your soufflé won’t rise as much. And if you shortchange the cooking time for the roux in a stew recipe, you could end up with a gloppy, overly thickened dish.
What does the beer in a beer batter coating do? Can I substitute something else?

The important part of beer in this context is carbonation (and pH), not alcohol, so there are some easy substitutions.
Beer batter—made by combining beer (usually a lighter style such as a lager), egg, and flour—is often used to coat fish, onion rings, and other types of pub-style fare before deep-frying. Though we’ve found that including hard liquor in the batter can lead to more tender results in tempura, the alcohol in most lagers and pilsners is so low (about 5 percent by volume) that its effect would be minimal at best. Far more important is the fact that beer is carbonated, which affects the batter in two ways. First, the bubbles provide lift as they escape from the batter during frying. Second, the carbonation makes the batter slightly more acidic, which limits how much gluten can form when the beer and flour mix, preventing the batter from turning tough. This is because gluten forms most readily in a pH of 5 to 6, while most carbonated beverages have a pH of 4 (unless they contain a strongly acidic ingredient).
In theory, then, any bubbly liquid with a neutral or appropriate flavor profile could serve as a substitute for beer. We fried fish in batters made with beer, nonalcoholic beer, seltzer water, and plain tap water and found that all the batches made with a carbonated beverage did indeed lead to noticeably lighter, lacier crusts than the batter made with plain water. In sum, carbonation and pH are the biggest factors in delivering a better batter-fried crust, so feel free to use bubbly substitutes such as nonalcoholic beer or seltzer.
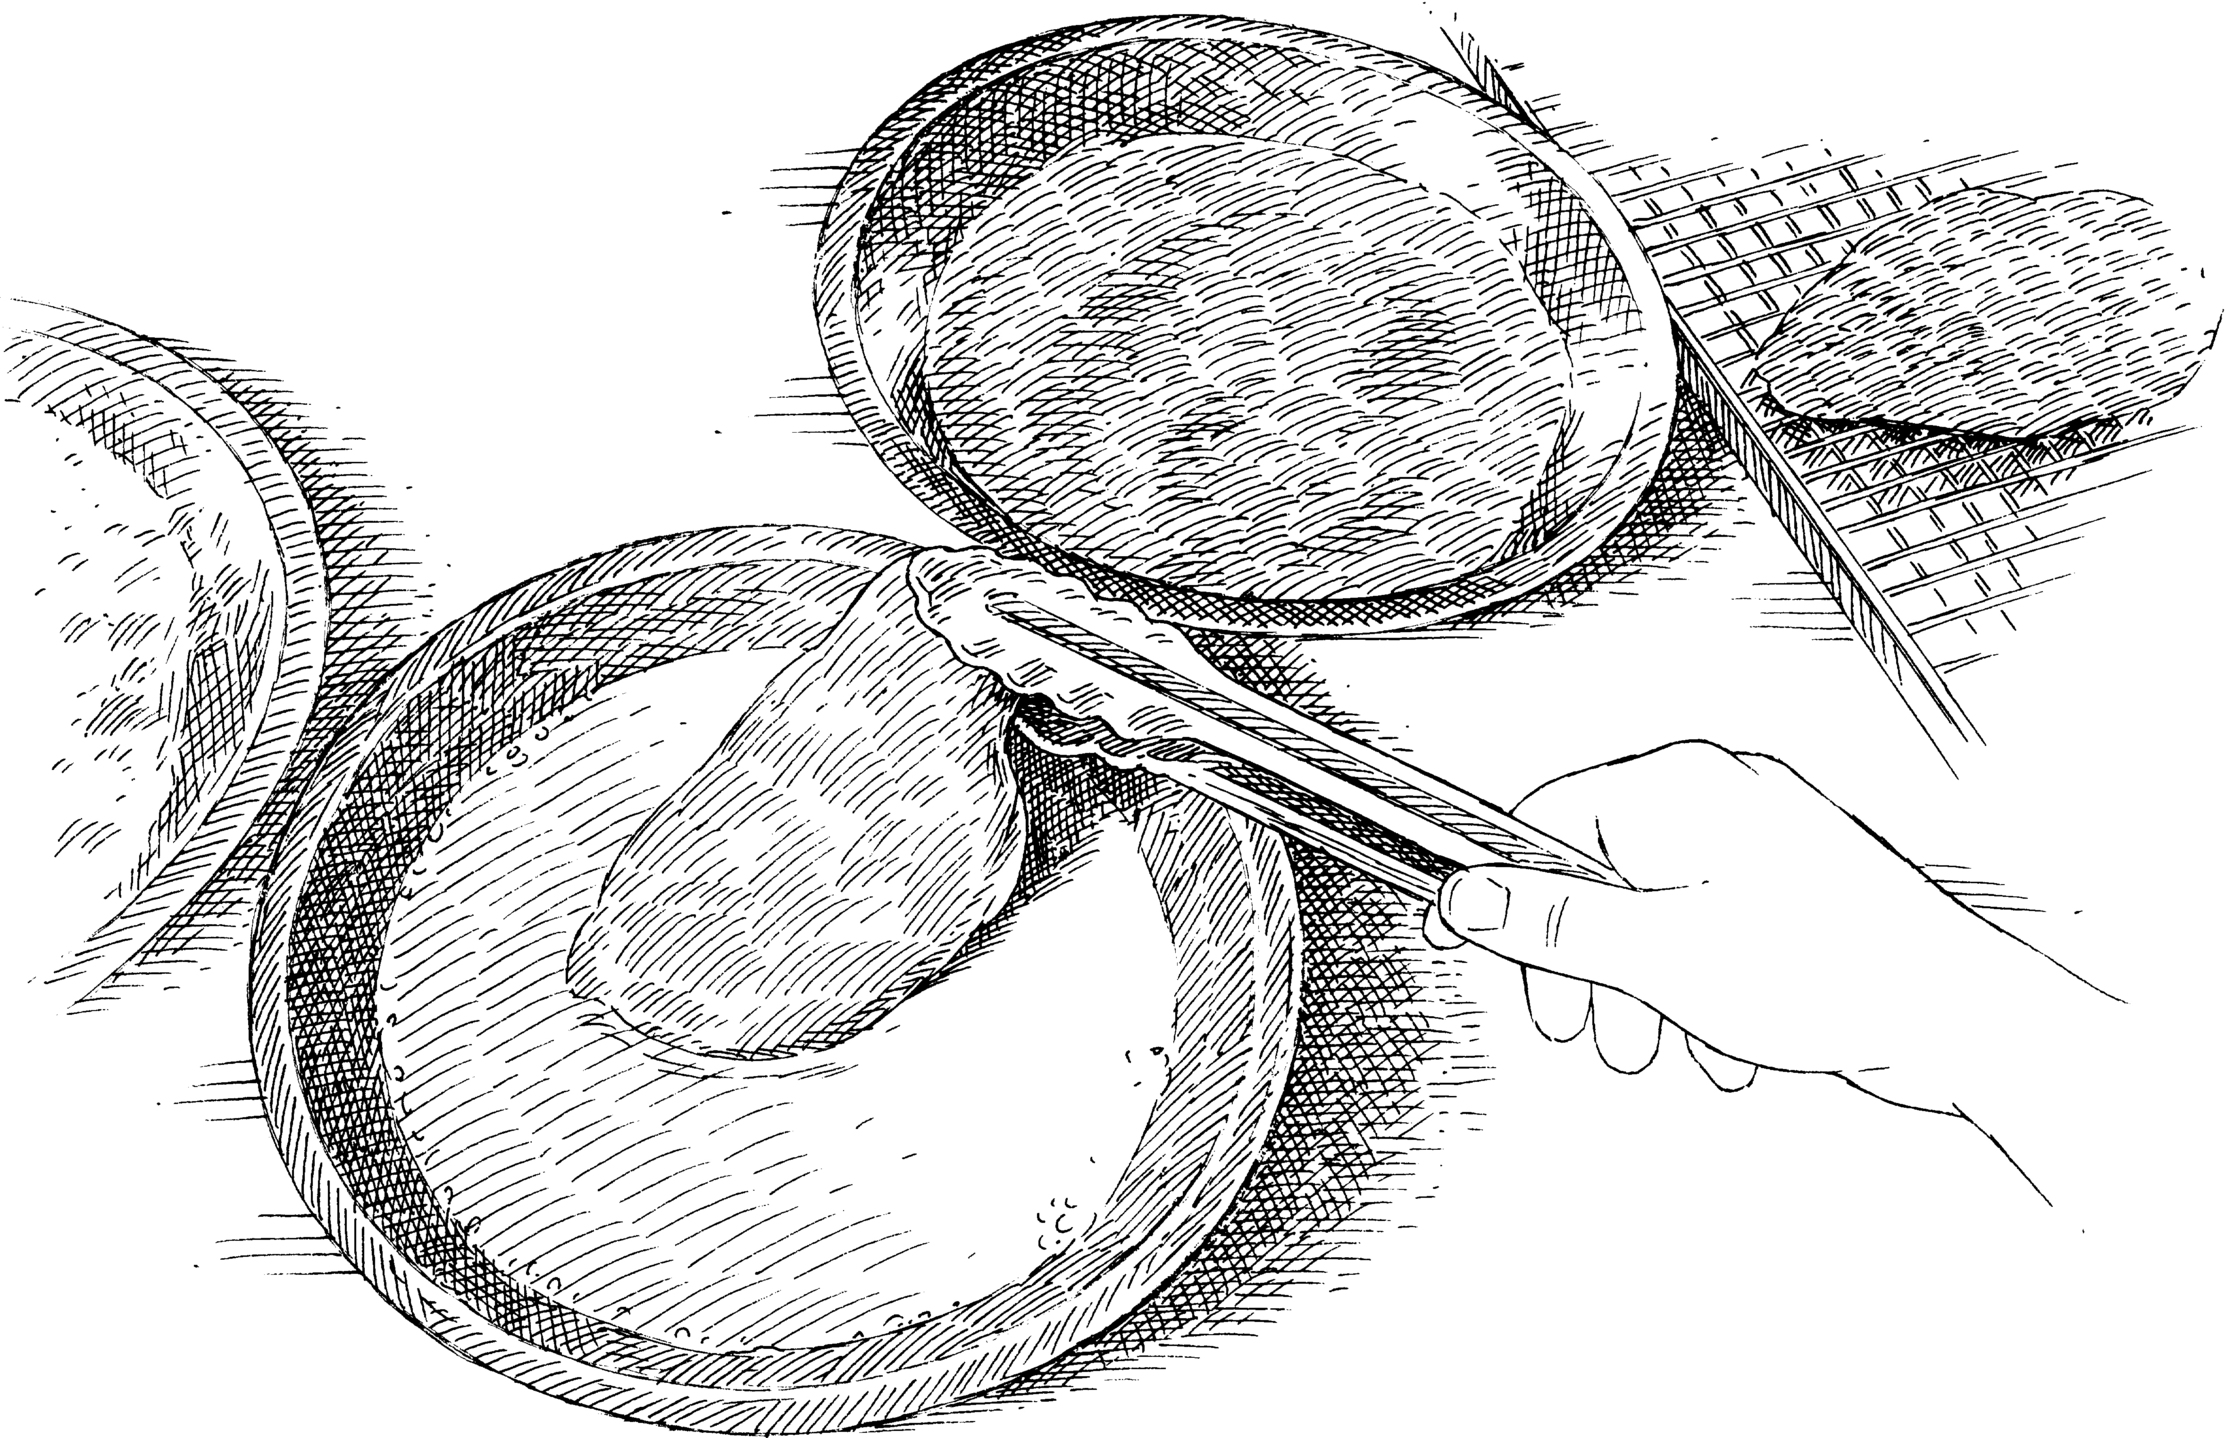
Why does starch get crispy when you fry it?

Starchy coatings make for the crispiest fried foods thanks to the chemical reactions that occur when water and starch interact at high heat.
While you can certainly fry food in hot oil as is (think skin-on chicken pieces), we often dip food in a coating first. Such coatings provide a few benefits: They help protect the food from moisture loss, and they shield the food from direct contact with the hot frying oil for more gentle cooking. And, perhaps most important, we know that these coatings—starchy coatings, specifically—become deliciously crispy when fried. But until now we’d never really asked ourselves the deeper question: What exactly is happening that makes starch the key?
Here’s what we learned. First, the starch granules in the coating absorb water, whether from the wet surface of the food itself or because they are combined with a liquid to make a slurry before coating the food. The hydrated granules swell when they are initially heated in the oil, allowing the starch molecules to move about and separate from one another. As water is driven away during the frying process, these starch molecules lock into place, forming a rigid, brittle network with a porous, open structure.
Furthermore, the two types of starch molecules (amylose and amylopectin) form some cross-links with one another at high frying temperatures, further reinforcing the coating’s structure. Thus, the molecules in this porous network have room to compress and fracture, which results in the sensation of crispiness. We also learned why cornstarch works the best for making crispy coatings on fried foods: Cornstarch contains 25 to 28 percent amylose, compared to only 20 to 22 percent in wheat or potato starch.
A chef friend says that letting salt get into my frying oil is bad. Why?

The idea is that salt can cause rancidity and other issues with the oil, but it isn’t a big deal for home cooks.
The theory is that ionic substances, such as table salt, can initiate the formation of small amounts of free radicals when heated in oil to high temperatures. These free radicals spur reactions that create impurities in the oil and, as a result, lower the oil’s smoke point, which means it can’t be reused for frying. The free radicals can also speed the development of rancid aromas and flavors.
To find out how much of a problem it can be, we added ⅛ teaspoon of table salt (an amount you would use to season potatoes before frying) to 2 quarts of peanut oil, heated the oil to 325 degrees, and made French fries. After letting the oil sit overnight, we repeated the process two more times with the same oil. We also prepared a control batch of peanut oil following the same steps but without the salt. After each round, we smelled both samples to see whether we could detect any off or rancid aromas. Next, we fried cubes of white bread in the two oils and tasted them for traces of rancidity. Finally, we heated both samples and noted at what temperature each began to smoke. None of our tasters were able to detect rancid aromas or flavors, and the salted oil started to smoke within a couple of degrees of the unsalted sample, both right around 415 degrees. Problems caused by salt in frying oil are more of an issue in restaurant kitchens, where the oil is held at high temperatures for an extended time and is used heavily. Most home cooks needn’t worry about it.
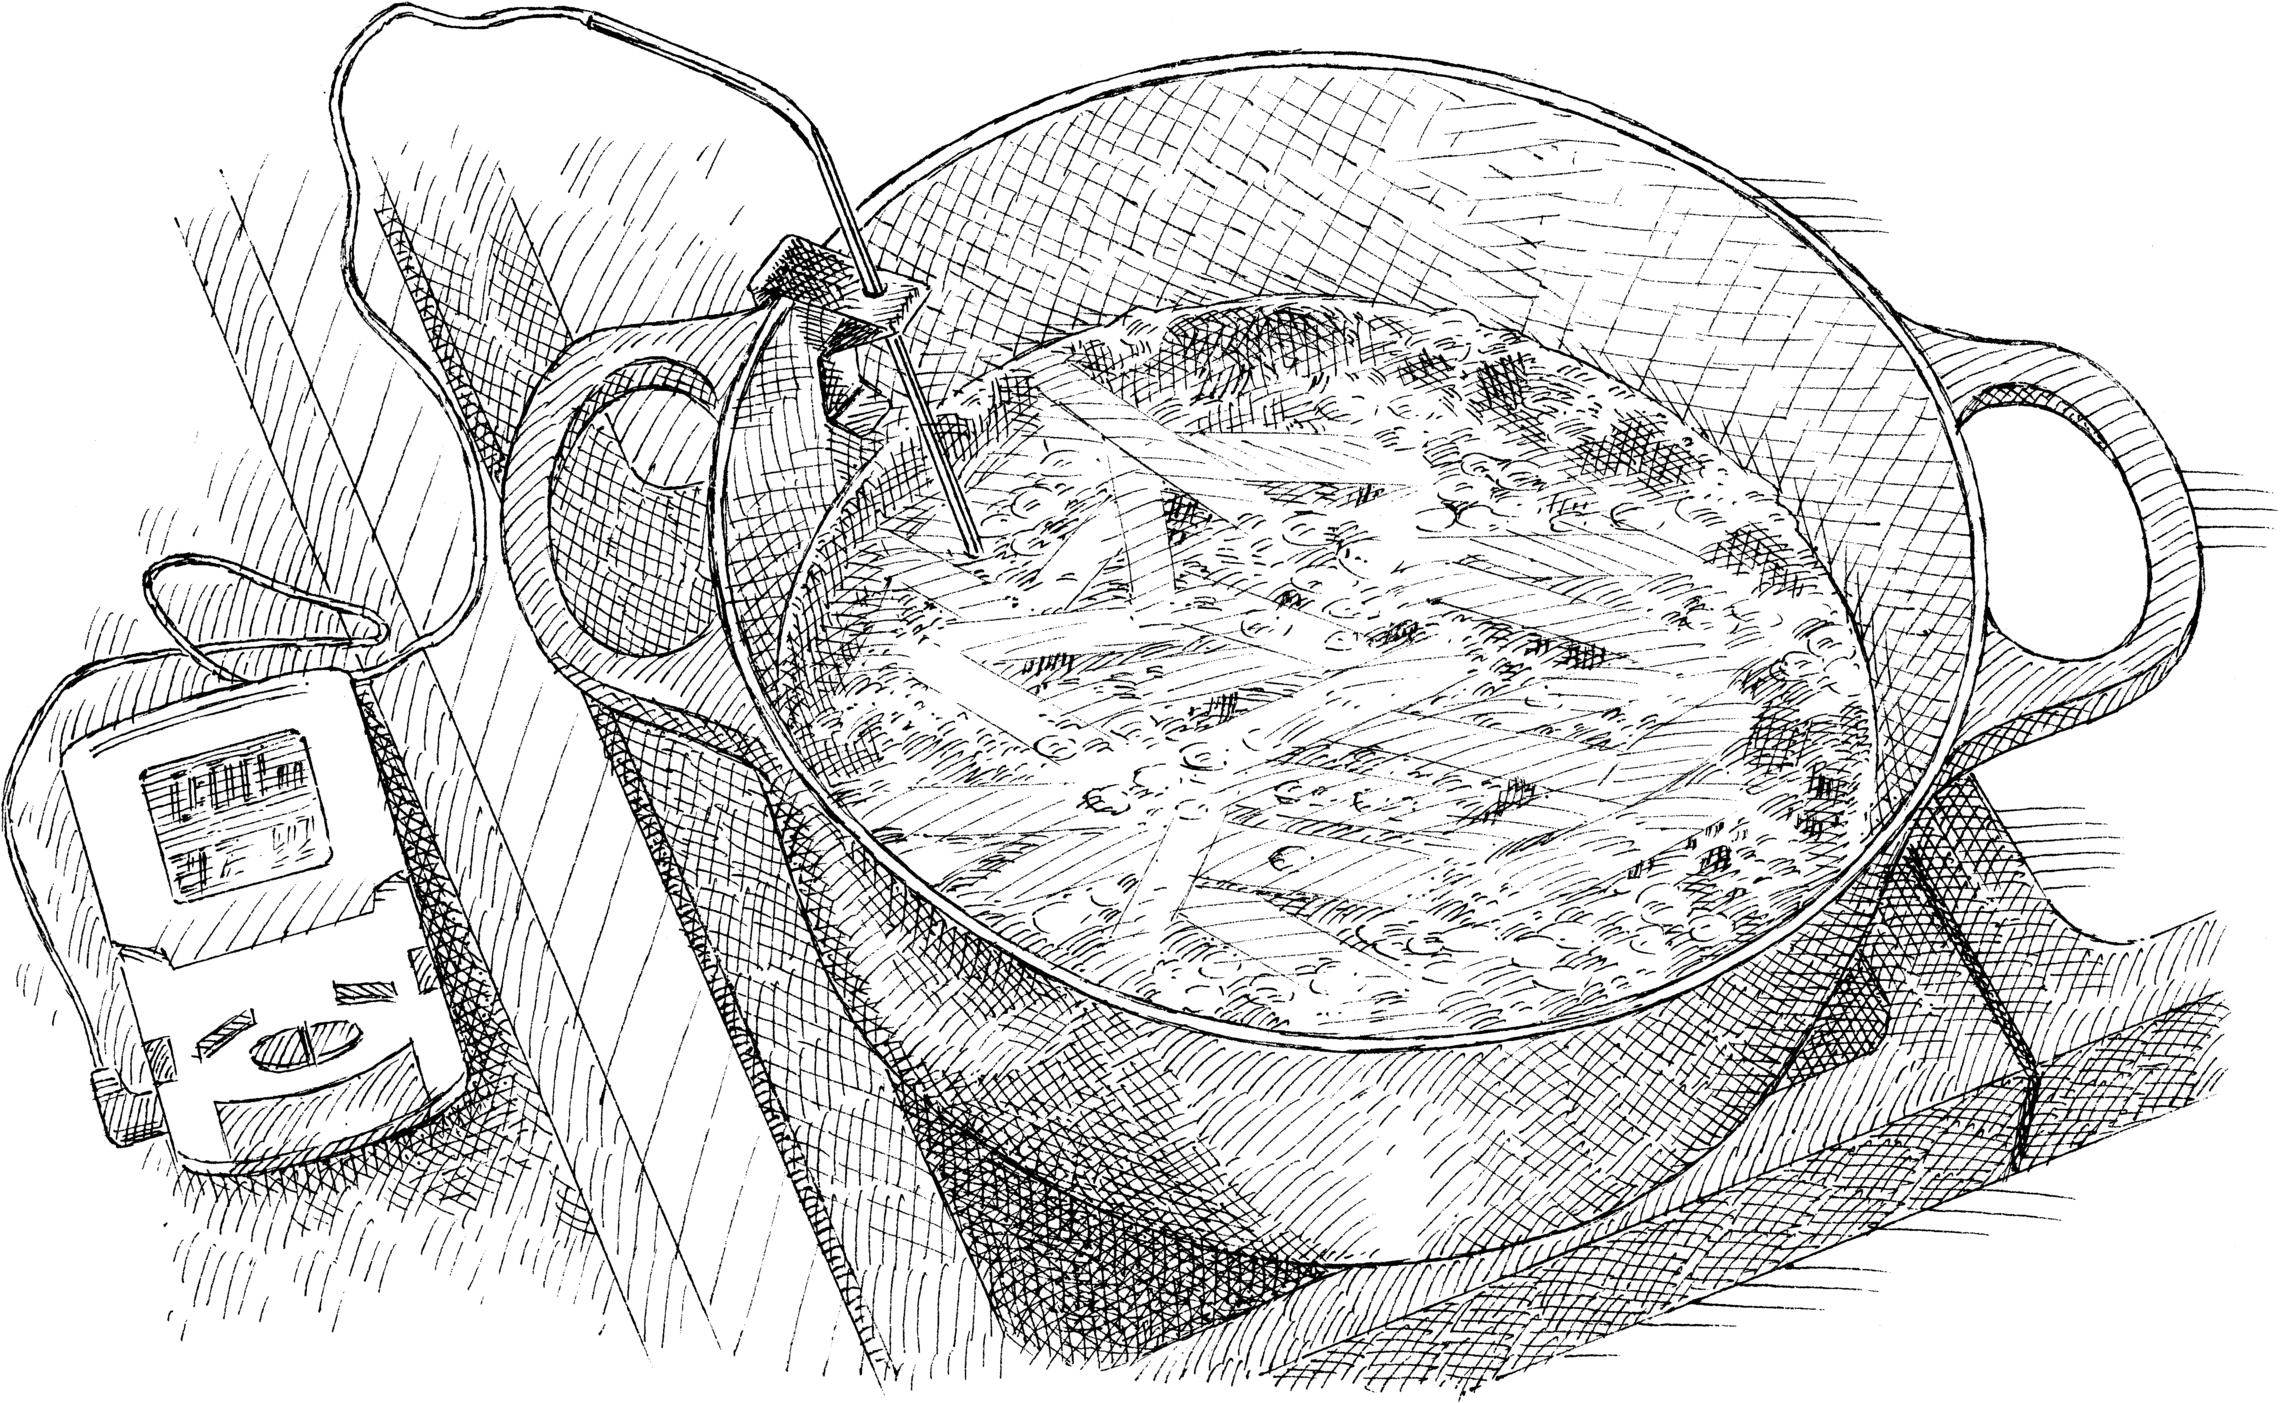
I’ve heard that adding water to whisky improves its flavor. Is this true, and if so, why?

Adding a little water to whisky will open up the nose and bring out more nuanced flavors, but the ideal amount of water will vary depending on the drinker.
The burning, pungent qualities contributed by the high proportion of alcohol in whisky can make it hard to evaluate nuances. Adding water dilutes the alcohol, which reduces the burn and allows other properties to reveal themselves. But there’s also something significant happening on a molecular level. Aroma molecules share more chemical likenesses with alcohol than they do with water, so they tend to bind with alcohol. Adding water frees up more of the aroma molecules to evaporate into the taster’s nose. Since appreciation of flavors happens at least as much in the nose as on the tongue, “watered-down” spirits actually seem more flavorful.
To experience the science at work, we had tasters sip 1½-ounce samples of 80 proof whisky neat and then with water added in increasing 1-teaspoon increments. While they noted that the neat sample of whisky had aromas of honey and caramel, flavor comments fell mostly in line with descriptions like “boozy” and “lots of burn.” With just 1 teaspoon of water added, the alcohol receded and tasters picked up on sweet, vegetal flavors and subtle aromas like hay and apple. Most tasters preferred the addition of 2 teaspoons (which diluted the alcohol to 65 proof), allowing flavors such as vanilla, apple, and pear to really come to the fore. By 3 teaspoons the whisky began to taste watered down to many tasters, though one found it beneficial to add up to 5 teaspoons.
Is it true that you can make any tea decaf by steeping it twice?

This sort of works, but given how much the flavor suffers, we don’t think it’s worth it.
Most decaf teas are generic blends that lack complexity, so many tea lovers try to decaffeinate high-quality tea at home. The most common method is to steep the leaves for a few minutes, discard the infusion, and then steep it again to produce a supposedly caffeine-free cup of tea.
When we tried this method using loose-leaf white, green, oolong, and black teas and sent the teas to an independent lab for analysis, we learned that, for the most part, the second infusions did not contain significantly less caffeine than the first, and in fact the green and oolong samples contained more. The exception was the black tea; the second infusion contained about 40 percent less caffeine than the first.
Generally speaking, it was the third infusion of each tea that had a real impact on the caffeine content. White, green, and black all showed a marked drop from their original caffeine content, but the oolong still contained a little more, likely attributable to the fact that these leaves are tightly rolled, and it took the first infusion to start to open them up. However, tasters found all the teas at this point to be noticeably weaker in flavor and body and therefore not really worth drinking.
What’s the best way to melt chocolate so that it stays glossy and smooth?

Our favorite method uses the microwave to control the temperature and thus the structure of the cocoa butter crystals.
A bar of good chocolate right out of the wrapper has an attractive sheen and a satisfying snap when you break it in two. But if you melt the chocolate to use as a coating or for drizzling and try to use it immediately, it will set up into a soft, blotchy, dull-looking mess that melts on your fingers. Why the difference? The short answer is that the crystal structure of the cocoa butter in the chocolate has changed.
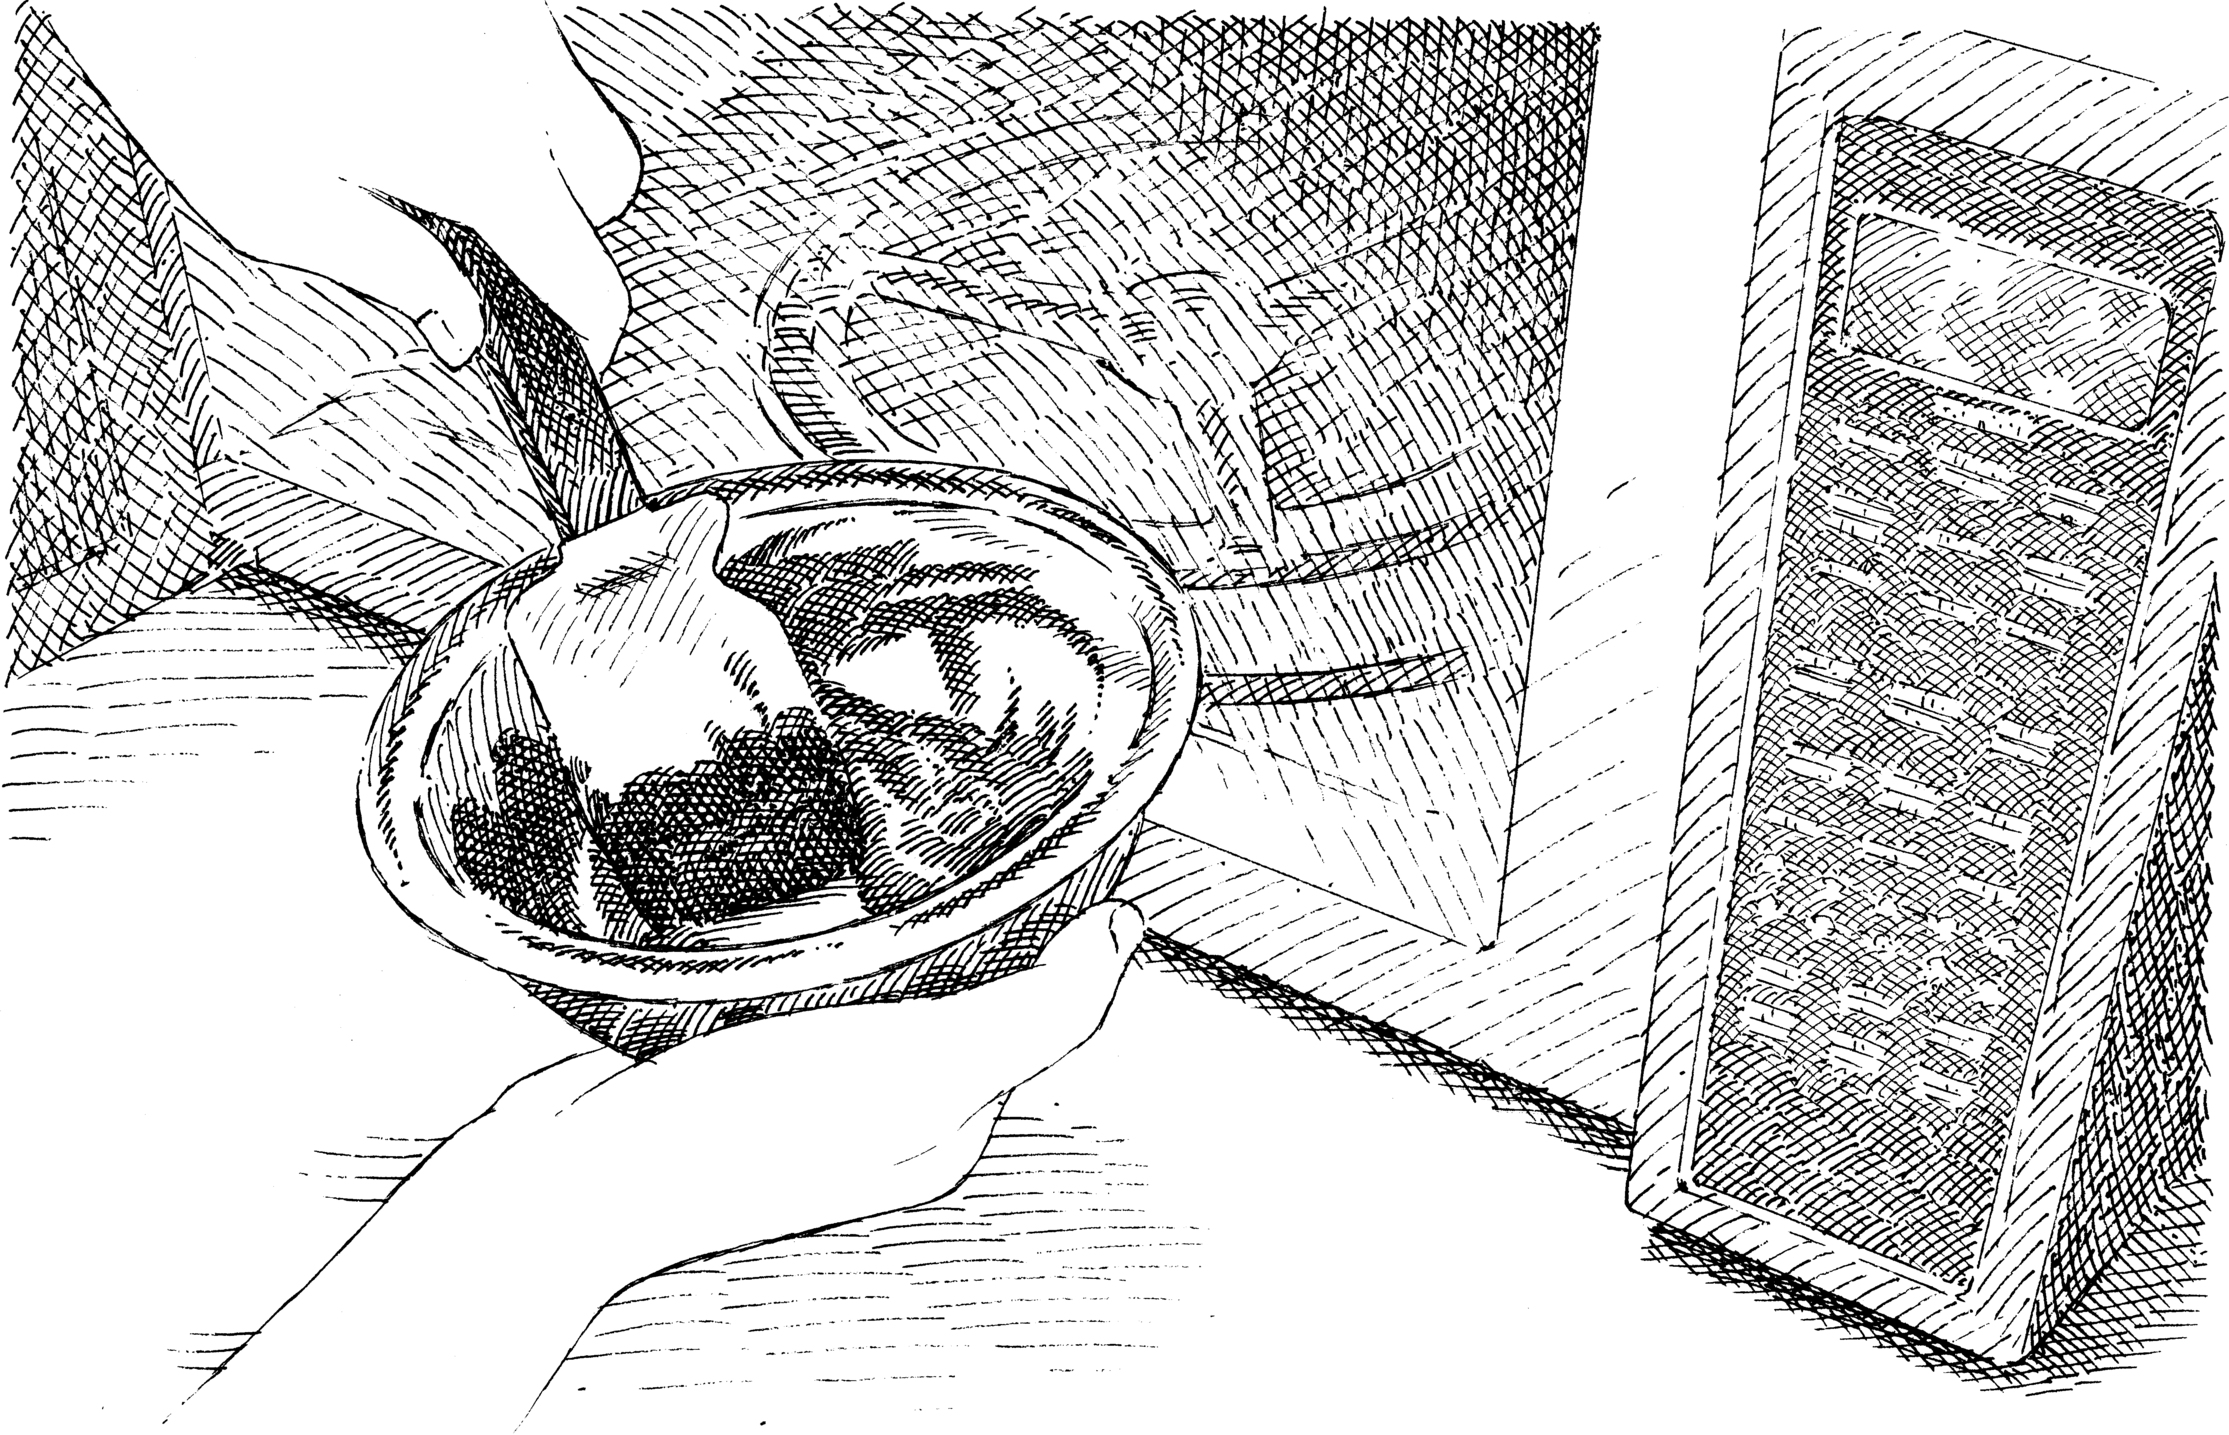
Cocoa butter can solidify into any of six different types of crystals, each of which forms at a specific temperature. But only one type—beta crystals—sets up dense and shiny and stays that way even at temperatures well above room temperature. When a chocolate is made up of beta crystals, it is said to be in temper. So how do you put melted chocolate back in temper?
The traditional way is a painstaking process known as tempering. First the chocolate is melted so that all its fat crystals dissolve. It is then cooled slightly, which allows new “starter” crystals to form. Finally, it is gently reheated to a temperature high enough to melt the less stable crystals and allow only the desirable beta crystals to remain (conveniently, both of these occur at around 88 degrees), triggering the formation of more beta crystals that eventually form a dense, hard, glossy network.
We prefer a far simpler approach: Chop the chocolate into fine shards. Microwave three-quarters of the chocolate at 50 percent power until it is mostly melted. Add the remaining chocolate and stir until it melts, returning it to the microwave for no more than 5 seconds at a time to complete the melting. While not quite as shiny as traditionally tempered chocolate, this chocolate will have a nice luster and decent snap once it has cooled and set. This method works because it keeps the temperature of the chocolate close enough to 88 degrees that mostly stable beta crystals form and act as seed crystals. It’s a great method when taking the time to carry out true tempering is too much trouble.

Taste is the most obvious sense involved in cooking. There are five primary taste sensations: salty, sweet, bitter, sour, and umami, or savory. The cells in our mouths that respond to taste are located in clusters called tastebuds or taste papillae. Buds for the various tastes are evenly distributed all over the tongue as well as the rest of the mouth. Thanks to genetic variations, different individuals have different numbers and arrangements of receptors and therefore taste things differently.
Toward the end of developing a recipe in the test kitchen, tasters often make comments such as, “It tastes just a bit flat” or “a smidge lean” or “too rich.” If you’ve added too much salt, sugar, or spice to a dish, the damage is usually done. In mild cases, however, the overpowering (or missing) taste can be fixed.
While salt and pepper are always a consideration for final tweaks, our test cooks also look to a range of other pantry ingredients that can help bring a dish into the right balance. Just a small quantity of one of these finishing touches (from a pinch to ½ teaspoon) is a good starting place. Here are a few of our favorites.

