


When a creature begins to emerge from its chrysalis there is a point at which it is neither one thing nor the other, not quite grown into a new identity nor rid of the old. . . . It is that long still moment of waiting that fascinates me utterly. The suspense of waiting for beauty to unfurl.
Meg Rosoff
In this chapter, you will learn how to mix multiple powders, mix powders into liquids, fill containers, and press compacts. Before starting on a cosmetics project, it is a good idea to practice the techniques outlined here using inexpensive ingredients to avoid waste.
My instructions and tips should help streamline your makeup-making process. But don’t worry if you make a mess! I do all the time. Just be prepared to clean up your workspace and yourself when you’re done.
Your first step in making cosmetics is to set up a sanitary workspace. This is key to protecting yourself and others by preventing the spread of germs into your makeup. Proper ventilation, such as an exhaust fan or air purifier or a box fan pointed away from your workspace, helps keep small particles from entering your lungs. In addition, always wear a face mask when working with any powdered ingredient to protect your lungs from fine particles.
Follow these steps to ensure that you don’t forget anything.
Nearly all the ingredients in my recipes come in powder form, and with the exception of lip balm, lip gloss, and mixing medium, all the recipes in this book make powdered products. Combining multiple powders is not complicated, but matte pigments and lustrous micas do require different mixing methods to preserve their trademark characteristics.
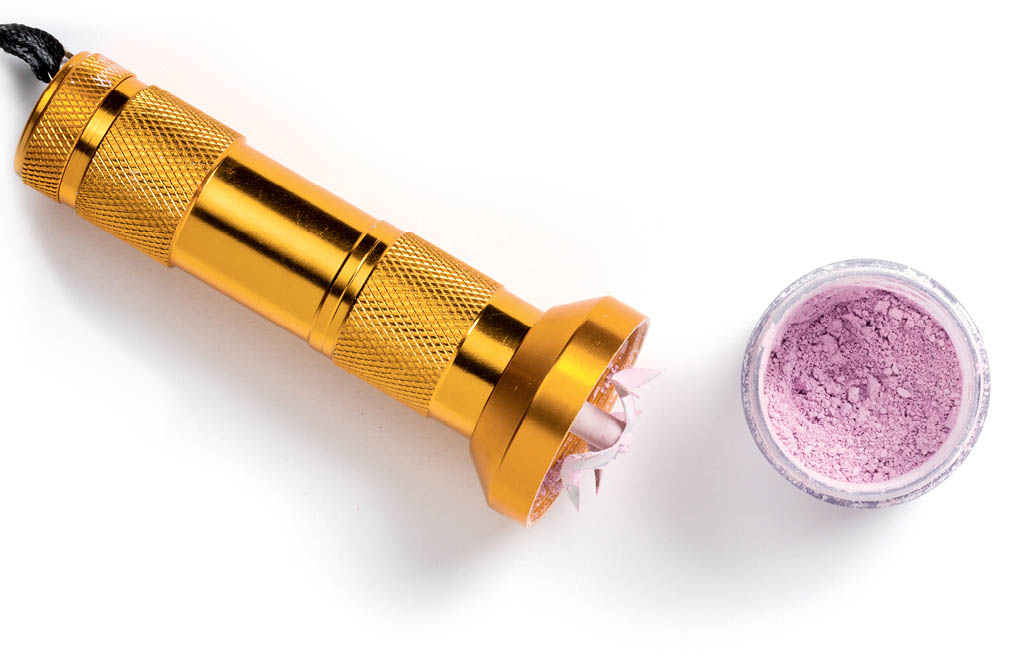
Matte powders and pigments such as iron oxides and ultramarines are very dense and should always be mixed mechanically. You can use a mini blender or a small battery-operated herb or tobacco grinder. All of these tools will help you create a finer powder and streak-free color. Hand-mixing matte pigments will result in streaks of color, which can ruin the makeup application.
Recipes in this book that need to be electrically mixed include makeup base, matte eye shadows, matte eyeliner, matte eyebrow powder, foundation bases, foundation, concealer, color correctors, finishing powder, matte blush, and matte bronzer.
|
Problem |
Solution |
|
Too sheer |
Add titanium dioxide or pigments. |
|
Too heavy |
Add sericite. |
|
Streaky |
Mix longer with an electric mixer. |
To mix micas and other pearlescent powders into matte powder, makeup base, or sheer powder like arrowroot, cornstarch, or tapioca starch, you’ll want to work by hand to ensure that their luster isn’t dulled. Mixing colored micas by machine breaks up the sparkly surface, resulting in less shine. While you are experimenting with creating your own makeup, add one mica at a time and mix after each addition. This will help you understand how every change affects the color and consistency of the final product. Once you are familiar with a recipe, you can add all of the micas at once, making sure you mix thoroughly to ensure that all of the powders are distributed evenly.

Wash your hands thoroughly.
Wear a protective face mask, clean clothing, and an apron.
Pull your hair back or wear a hat or hairnet.
Eat, drink, or smoke while making cosmetics.
Leave open food containers near your makeup ingredients or finished products.
Make cosmetics when you are sick or when you have any hand wounds.
Let animals, their fur, or their dander or children come in contact with any of your supplies, equipment, or workspace.
You can use any of the following mixing methods for recipes with mica, including shimmery eye shadow, shimmery eyeliner, highlighter, shimmery blush, and shimmery bronzer.
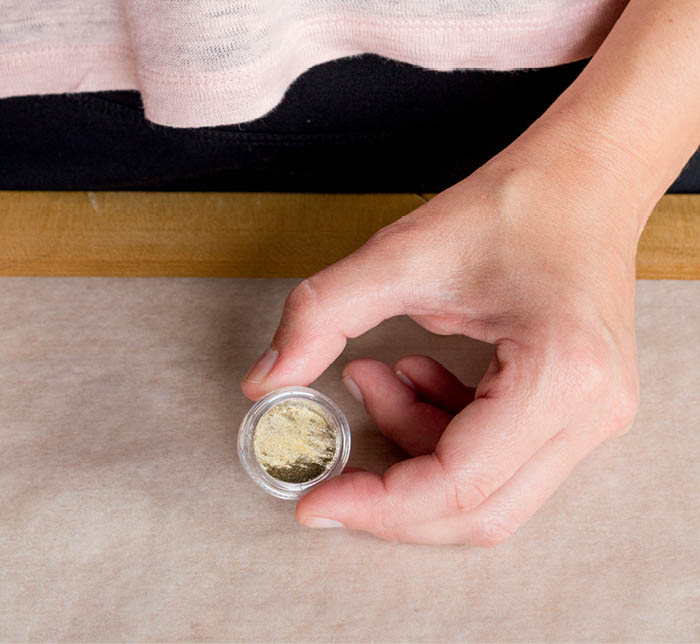
In a Jar
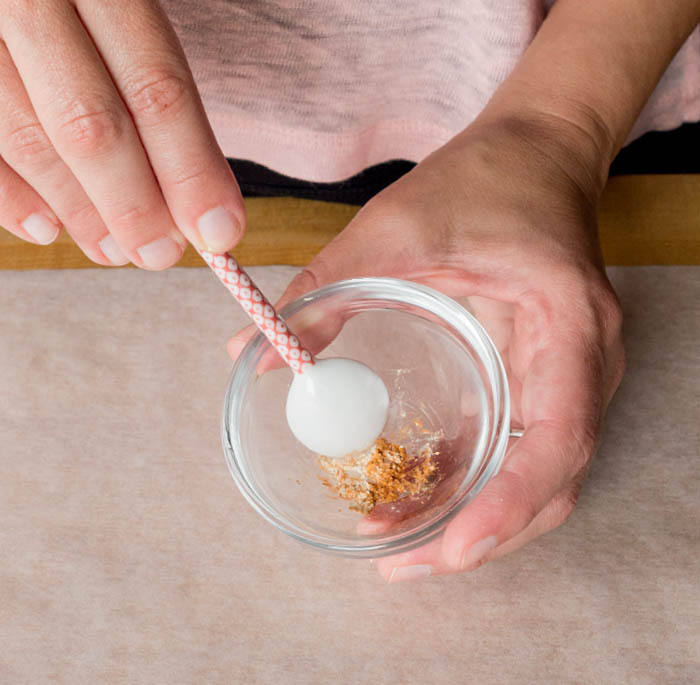
In a Cup
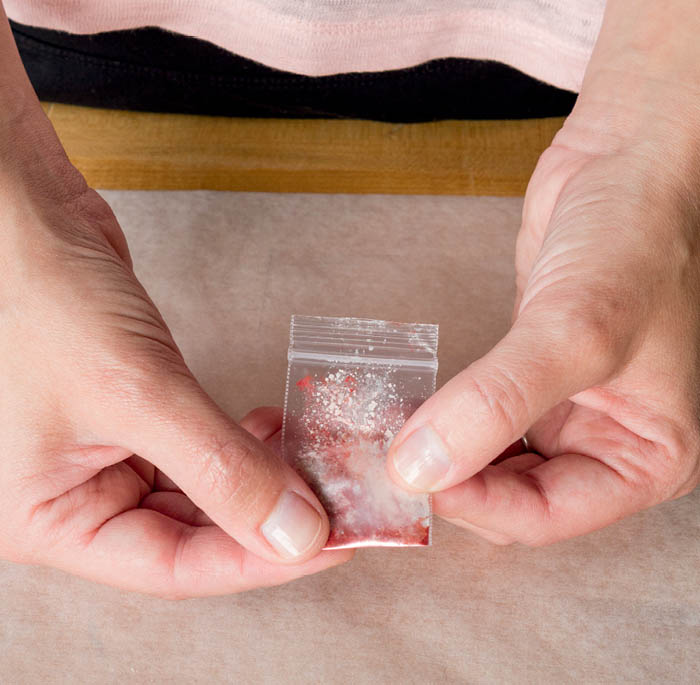
In a Bag
You will rarely work with liquids because mineral makeup tends to be in powder form. Lip gloss and lip balm bases are the only liquid products I include in this book. Complete instructions for mixing up those products are in the Recipes for the Lips section.
You will also mix liquids with mineral powders to make pressed powders, colored lip balm, or colored lip gloss. For pressed powders, you will add small amounts of a binder and rubbing alcohol to your completed powder products, stirring until you have the consistency of wet sand. Complete directions for pressing powders begin here. If you want to add color to your lip products, you can either use powdered pigments and colored mica or buy predispersed lip colorants. With the pigment already mixed into a small amount of castor oil, these predispersed products can help you avoid unwanted marbling and make a more uniformly colored lip gloss. More information about adding colors to lip products is in Color Me Safe.
Isopropyl alcohol, like all alcohol, is flammable, and the 91 percent solution is more so than the 70 percent solution. Both versions are safe to use to clean metal pans and moisten powder makeup, but be sure to keep all rubbing alcohol away from open flames and store at room temperature.
Because most mineral makeup comes in the form of loose powders, filling your cosmetic containers is fairly easy, but there are a couple things to keep in mind. When filling jars or plastic bags with powders, it is best to slowly scoop out and place the powder instead of pouring it. Dropping the powders will create a cloud of dust, which wastes product, makes a mess, and exposes you to inhaling fine powders. When filling a plastic bag, use a simple homemade paper funnel.
After mixing the pigments in with the makeup base, you can either leave your powders loose or press them into makeup jars or compacts. Pearlescent makeup presses more easily than matte powders, which are brittle and delicate. For best results when working with matte powders, leave them loose when possible. If you must press them, use small tins to minimize the cracking.
If you choose to press your mica-based powders, I recommend doing so in tin makeup pans. I find these sturdy, magnetic pans are easier to work with than aluminum pans, which are not magnetic and bend more easily. The downside to using tin is that it can rust if exposed to water. To avoid this, I clean my pans and wet my powders with 91 percent rubbing alcohol instead of the more common 70 percent solution, which has a higher water content.
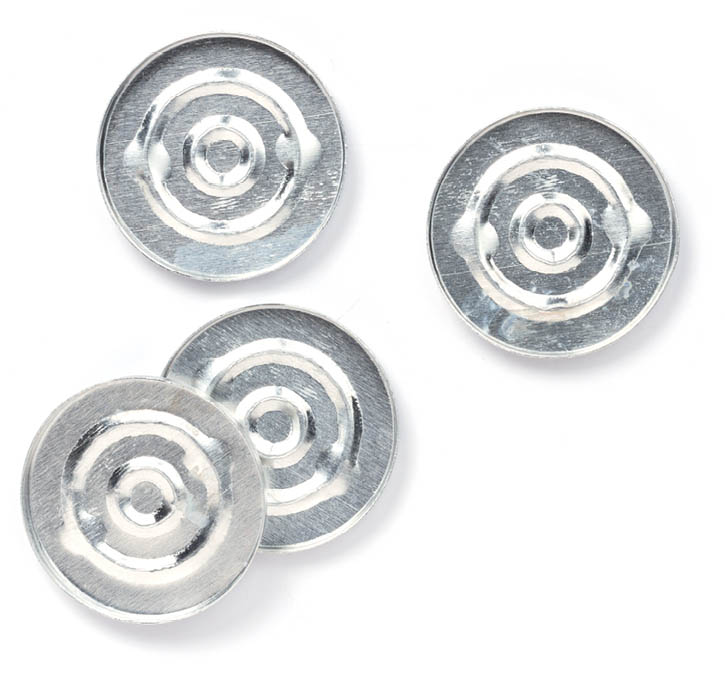
You can select from the various pan shapes and sizes available for pressed powders. Round tins are most common, but you can also find square or rectangular pans, as well as half- and quarter-circle tins, which you can piece together to form a complete circle.
To determine the size of each pan you will need, consider how much of each product you use and how often you use it. Eye shadows, eyebrow powders, and eyeliners often are pressed into 26-millimeter round metal pans, but you can opt for containers as small as 15 millimeters or as large as 36 millimeters. The most common round metal pans for blushes, bronzers, highlighters, concealers, color correctors, and foundations are 36 millimeters and 44 millimeters. A 57-millimeter round tin — the largest you can buy — fits into most single compacts.
The next step is to decide what kind of compact or palette you would like to display your makeup in. Your options are limitless; be creative! While some people purchase new palettes, others reuse old makeup containers or even make their own out of mint tins, CD or DVD cases, or other hinged boxes. As long as your container is sanitized and has a lid to keep your makeup free of dust or other contaminants, you can use practically anything as a compact.
I buy my palettes online in bulk, then line them with sticky magnetic paper so the metal pans with pressed powders stay put in the display. You can also glue your pans to the inside of the compact. Before doing so, wipe the bottom of the pans to remove all powder. Add a single drop of permanent adhesive craft glue or hot glue to the bottom of the pan, then place it in your container and gently press on the pan sides to secure. Lay the container down flat and let the glue set overnight.
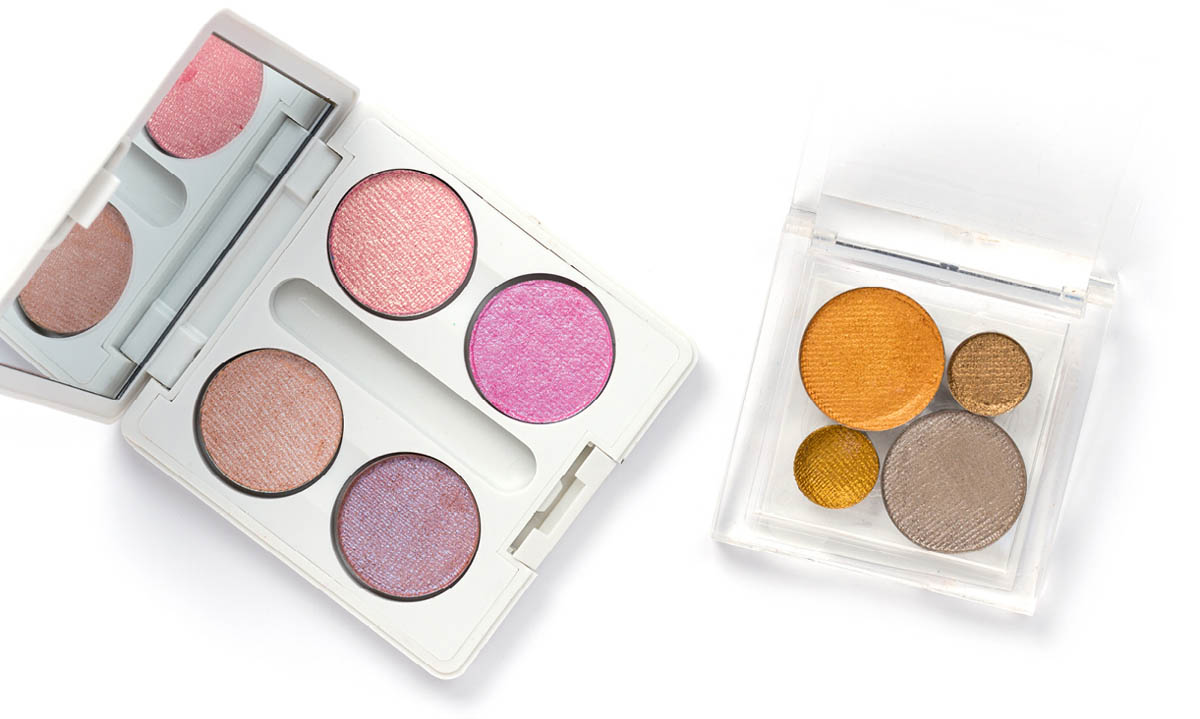
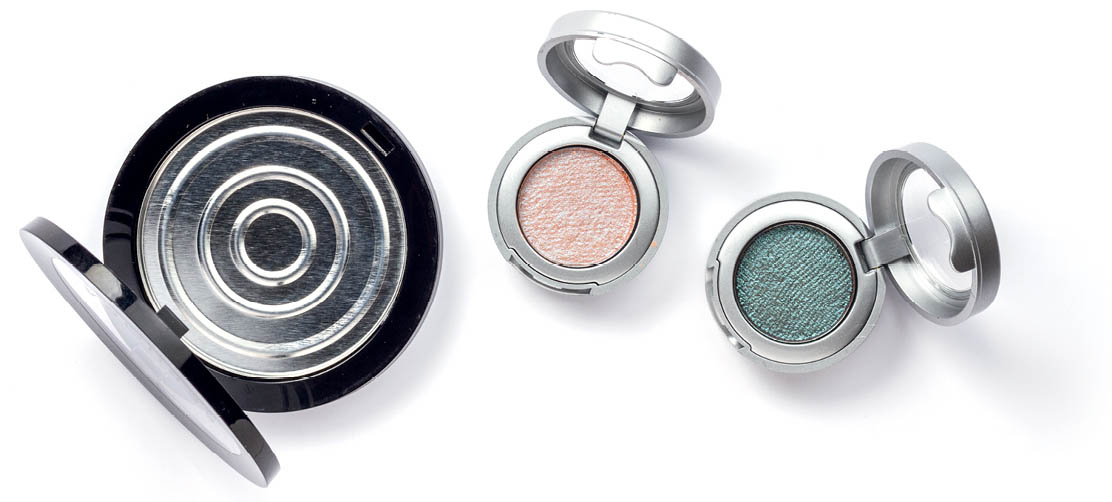
Reuse your compacts by replacing old makeup tins with new, clean ones.
When applying eye shadow, you often want to blend more than one color. You can take the guesswork out of picking colors that complement each other by packaging multiple eye shadow colors together. Consider the color wheel before creating a four-tone eye shadow palette (or quad). Most quads include one dark, one light, and two mid-tone colors. The pale color can highlight the face and eyes; the medium colors are ideal for the eyelid color; and the dark color can create a crease, make a smoky-eye look, or serve as eyeliner. Rather than choosing random colors for these multicolor compacts, you can focus on specific color themes, such as warm, cool, neutral, monochromatic, analogous, shades, or tints.
Whenever you’re formulating a new recipe, write down every ingredient you use and the amount. Add your ingredients one at a time, mix after each addition, and keep track of how long you blend each round. The length of time you blend a recipe can change the color and consistency of the powder. Keeping track of the mixing time will help you replicate a color and/or texture in the future.
You can press lustrous loose powders into makeup pans using any tamping tool. As noted above, matte powders are extremely delicate and best left loose. Follow the directions below for a beautiful finished product.
Note: The quantities in these directions assume you are pressing one of my eye shadow recipes into a 26-millimeter pan. If you are making other recipes or pressing into a pan of a different size, you will need to experiment with quantities.

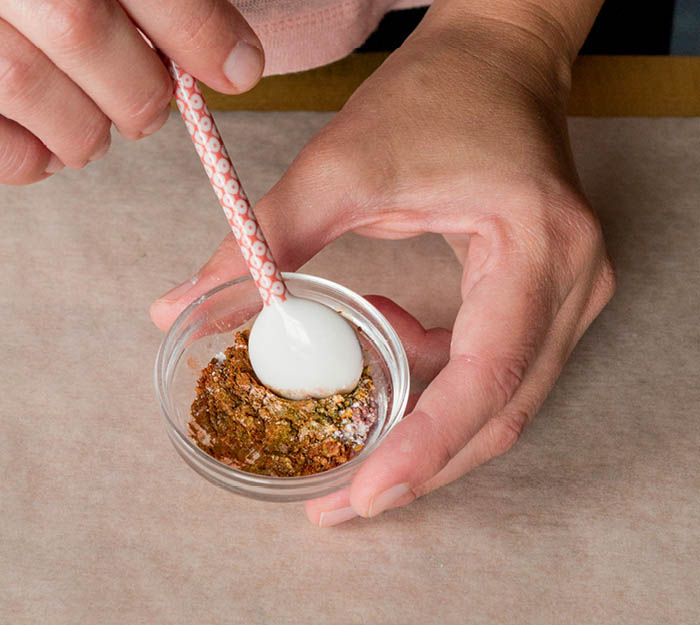
Step 1
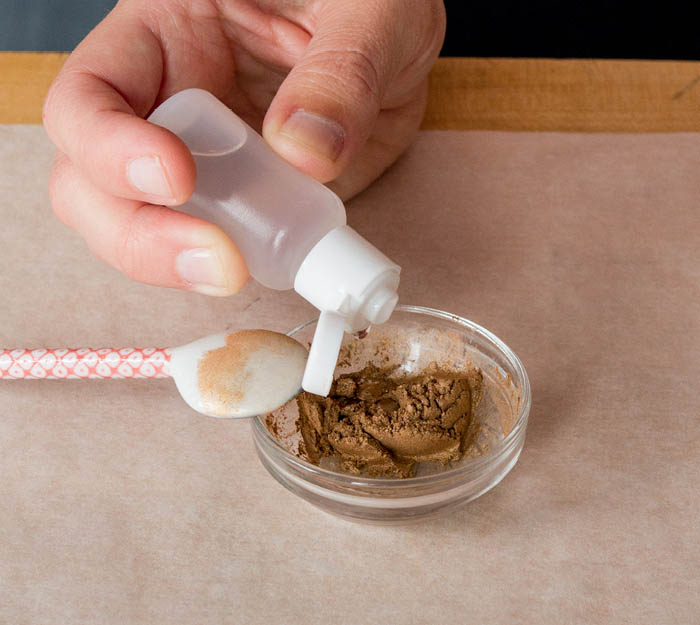
Step 2
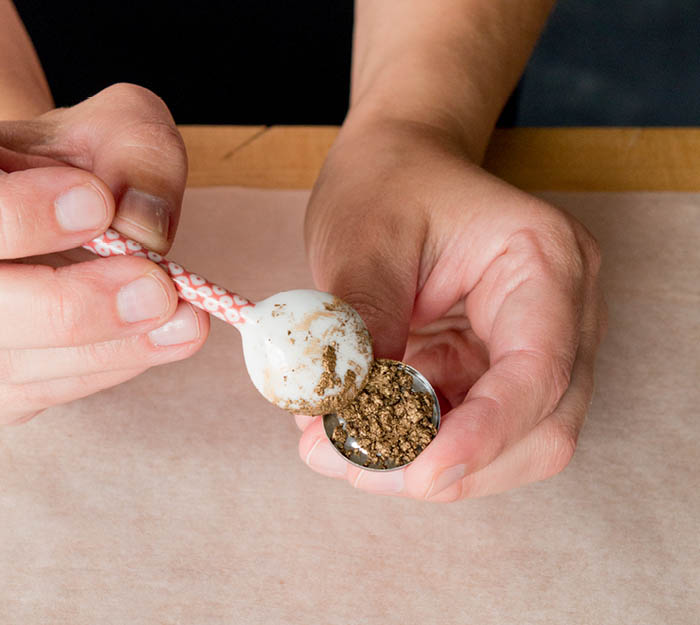
Step 3
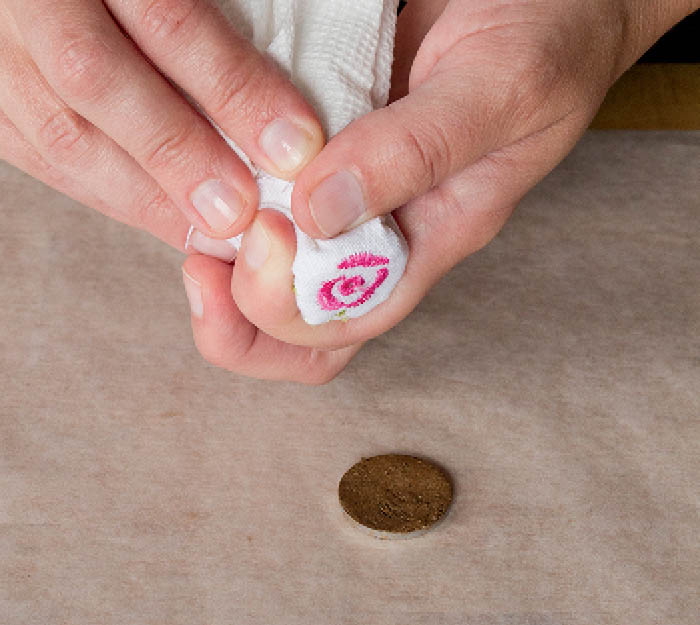
Step 4
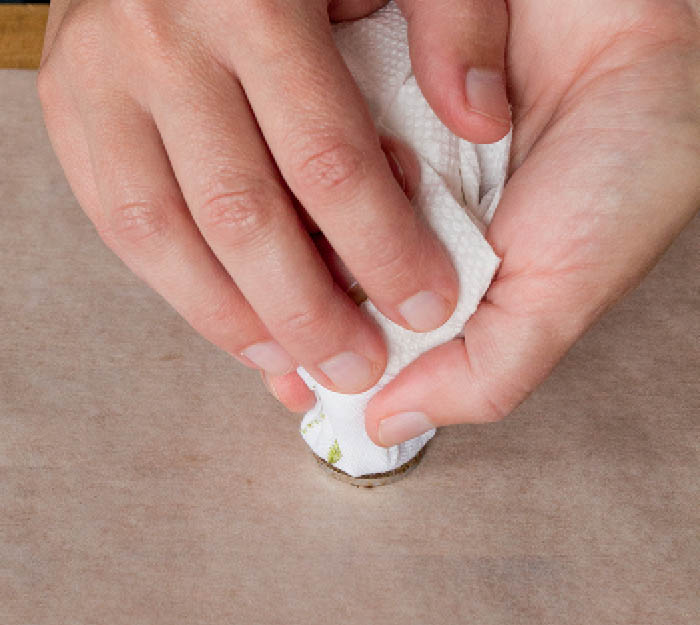
Step 5
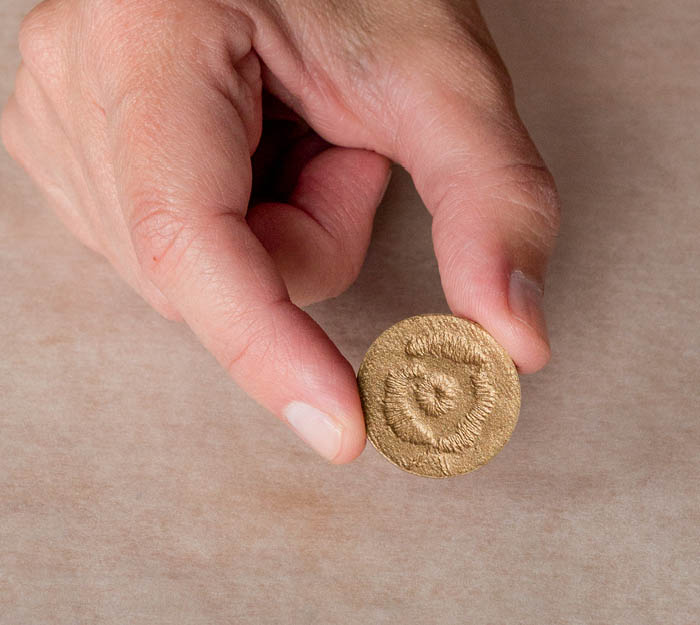
Finished pressed eye shadow
|
Problem |
Solution |
|
Too oily |
Add more powder. |
|
Too dry |
Add more binder and more rubbing alcohol. |
|
Too hard or waxy |
Break up the pressed powder and add more of the finished recipe you are pressing to lower the oil-to-cosmetic ratio. Press again. |
|
Eye shadow breaks |
Thoroughly break up the powder into its loose form, then add more rubbing alcohol and binder and press again. |
|
Marbling |
Break up the pressed powder, scrape it into a resealable plastic bag, and crumble into a fine powder. Wet the powder again with rubbing alcohol, mix again, and repress. If you have already added a binder, do not add more, as that will make your pressed powder greasy. |