Types of colored pencil
The main difference between types of colored pencil is whether or not they are water-soluble. The latter can be used wet or dry, providing a high degree of textural variation. Both these and any of the softer, waxier pencils create subtle shading effects and color gradations.
Line work, hatching, and shading with any degree of intricacy requires a finer pencil, which retains a sharp point for longer, even if the preliminary work is done with a water-soluble one. In fact, some of these pencils perform extremely well on a surface previously worked with water-soluble pencil—wet or dry.
Working with a combination of both types of pencil provides an opportunity for a greater range of marks and layering of color, although the variations may be slight.

Watercolor effects
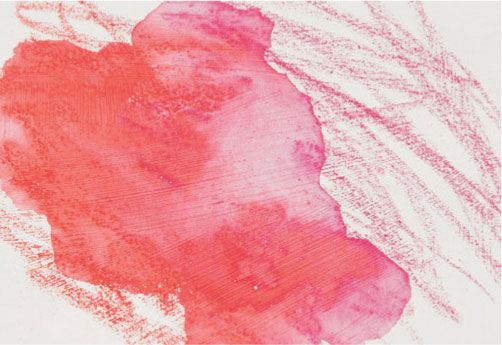
Water-soluble pencils, such as those shown on the right, are easy and convenient to use. Used wet or dry, the pencils can be used to create a variety of effects from bold, vibrant colors to delicate watercolor washes.

Color ranges
There are a number of color ranges available, and the pencils vary in character from chalky and opaque or soft and waxy, to hard and translucent. These variations are caused by the different proportions of binder—the substance that holds the pigment together.
Specific sets
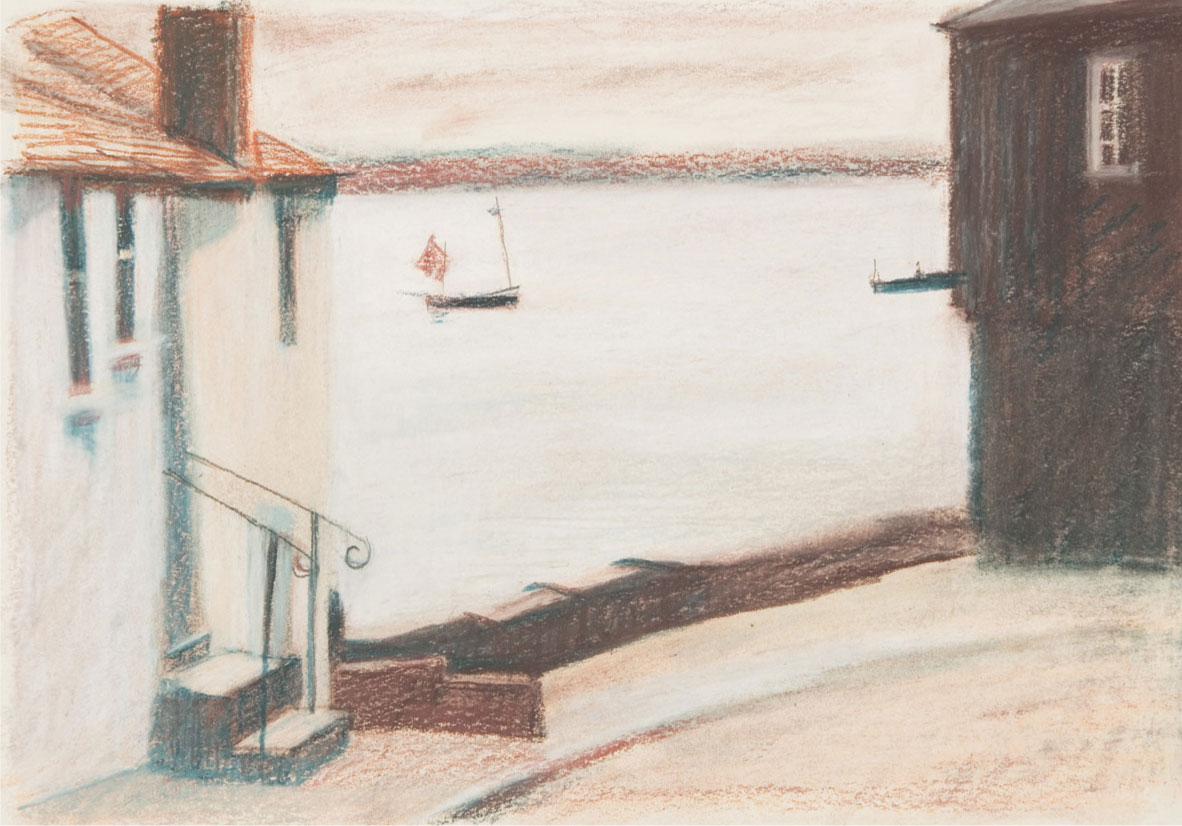
Sets of pencils can vary from as few as 12, to as many as 120. A good choice, initially, could be the special landscape and portrait sets, which include a balanced range of muted “natural” colors in warm and cool hues, and light and dark tones. Glimpse of the Harbor (shown above) uses a fairly neutral “drawing set” (shown right), specifically designed for both landscape and portrait work. The initial shading shows a grainy texture on cartridge paper, subsequent work binds the layers together producing the soft, creamy blend seen in the foreground, or the dark blue-brown of the house on the right.

ARTIST’S TIP
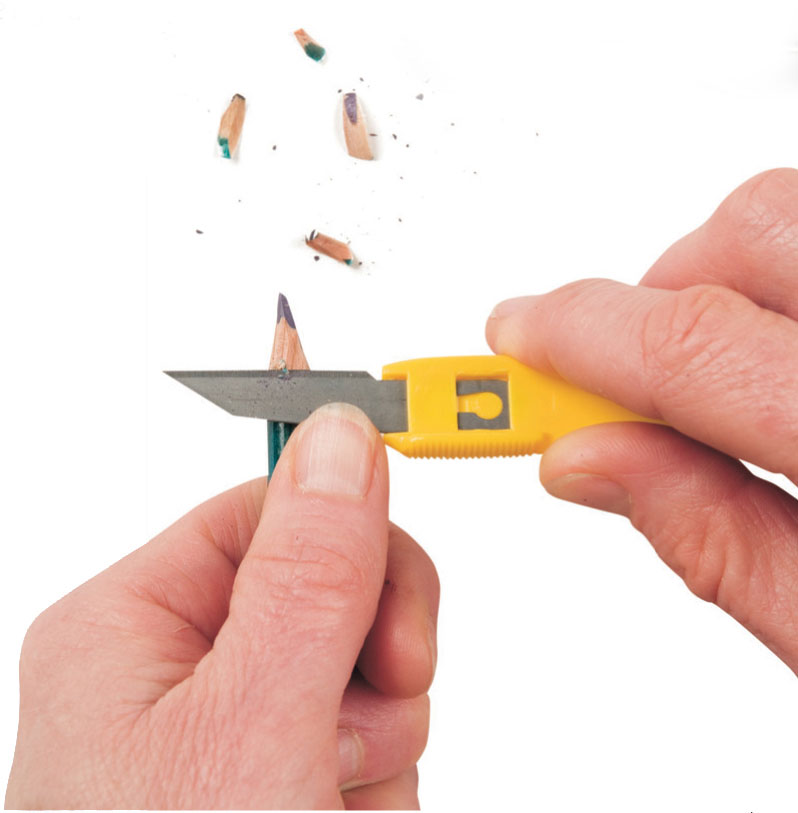
Pencils need to be sharpened regularly, so include a craft knife and a pencil sharpener in your tool kit. Generally the knife is the most useful as it stays sharp for far longer. The blade is made in sections, and when it becomes blunt, you simply remove the top section with a pair of pliers. Reserve the pencil sharpener for reclaiming points rather than for shaving off the wood.
Paper types
The paper you choose will influence your drawing style, so it is important to go for something sympathetic to the marks you intend to make, or allow the paper itself to dictate a particular quality in your drawing.
Drawing (cartridge) paper is a good all rounder. It is relatively smooth, but has a slight tooth that gives a grainy quality to lighter strokes. With increased pressure, the grain will fill in, and either become less obtrusive or totally lose its effect. For fine or detailed work, a smooth surface is essential, but not too smooth. It is impossible to build up any density without some tooth to hold the pigment; pencils will skid on a shiny, slippery surface. As a rule, the more heavily textured the paper grain, the longer it stays open and allows the build-up of pigment.
Pastel paper
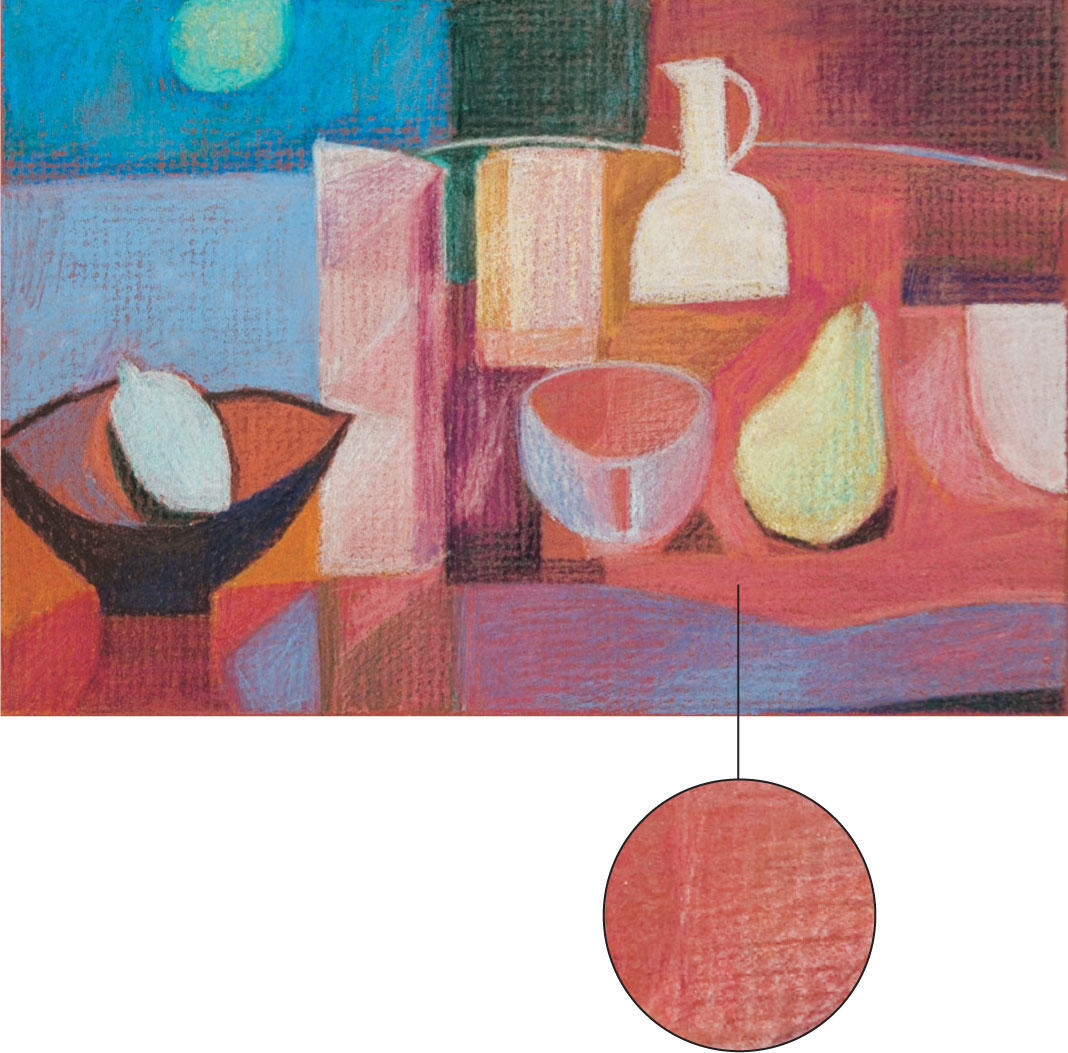
The pronounced grain of pastel paper is evident in Moonlit Table. The regular patterned appearance is reflected in the flat, blocked-in shapes; a more detailed, fluid image would be less suitable for this paper.
Drawing papers
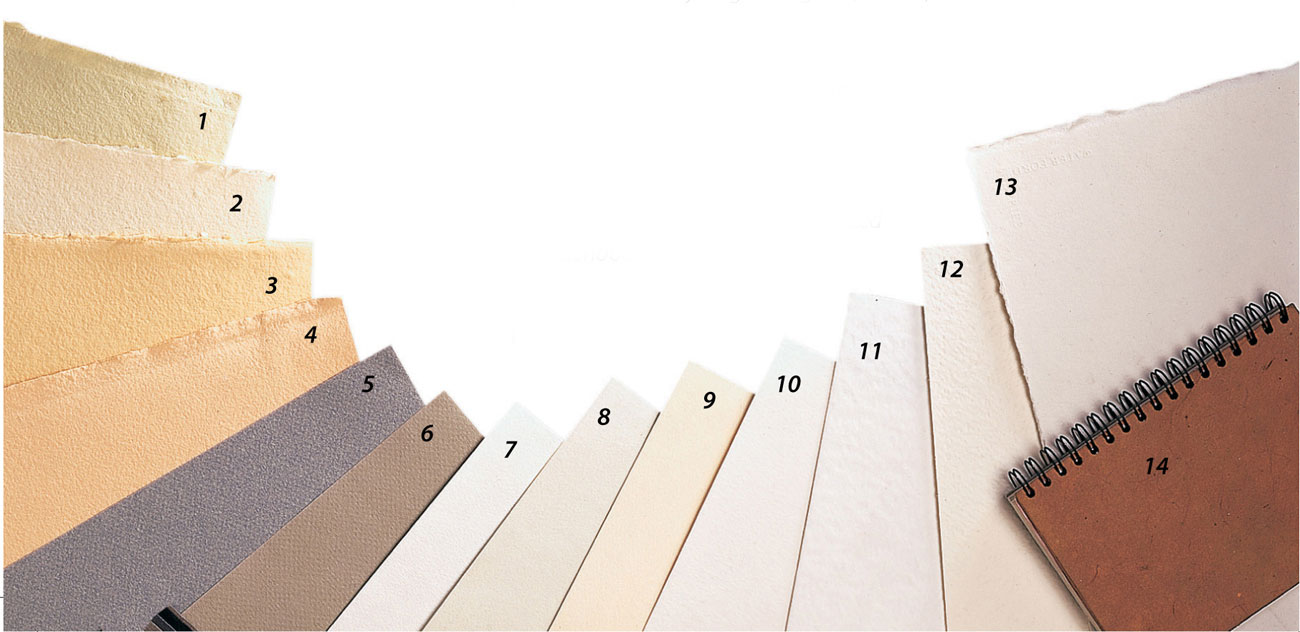
From left to right: Absorbent heavyweights in green, cream, and two tones of buff (1–4); lightweight, mold-made Ingres paper (5–6); medium-weight, hot pressed papers in cream, green, and gray (7-9); heavy, hot-pressed paper (10); rough white paper (11); rough paper with a pronounced tooth (12); handmade heavyweight paper (13); small-sized sketchbook (14).
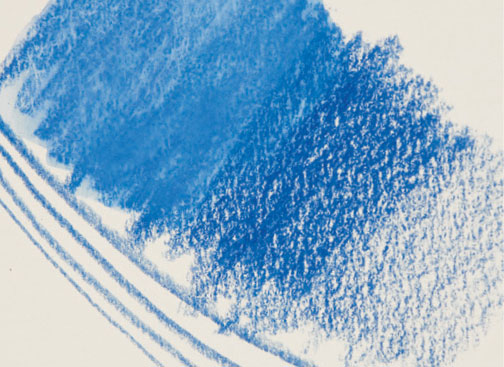
Drawing paper
This has a relatively smooth surface, but the texture can vary. The example shown here has a relatively defined grain; texture is evident even when heavy pressure is used. On a lighter-grained paper, texture will be less evident as the grain fills with pigment.
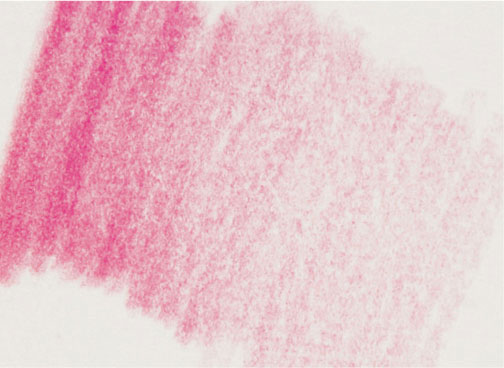
Watercolor paper
Standard watercolor paper, known as cold-pressed, can be too heavily textured for colored pencils—shading over the surface will leave the “dips and troughs” free of pigment. The more suitable types have texture but little obvious grain, and will allow a considerable build-up of pigment when shaded.
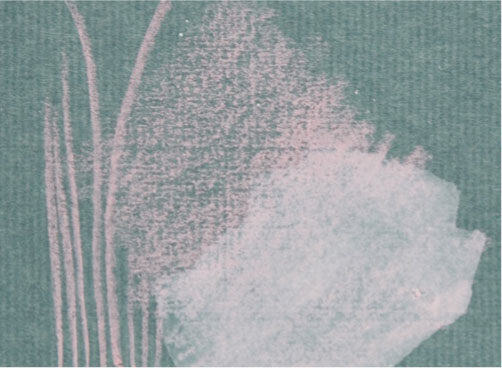
Colored pastel paper
A relatively pronounced texture is needed to grip the loose, powdery pigment. This paper would not be suitable for detailed colored-pencil work, but works well for some styles, for example, those used in Moonlit Table here.
Shiny paper
If the paper is too smooth, the pigment simply sits on the surface. If you try to deepen a pale color, you will see an immediate waxy build-up wherever heavy pressure has been used, reminiscent of children’s wax crayons.
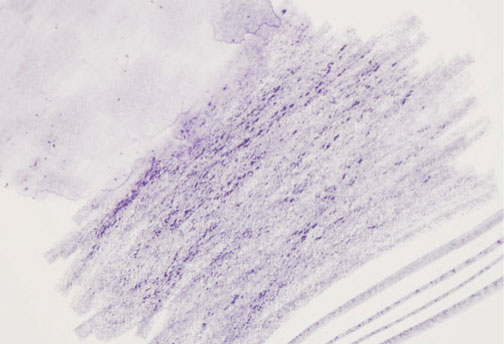
Paper painted with acrylic primer
The brushmarks used to apply the primer create a coarse texture that tends to break up pencil strokes. Applications of water-soluble pencils dissolved in water can give very rich results; the surface holds the pigment but doesn’t absorb it, and the bright white quality enhances the translucency.
Sketchbooks
Sketchbooks or pads come in all shapes and sizes; softback, hardback, landscape or portrait format, spiral bound or with a sewn binding. The quality of the paper will vary so check details on the label giving weight and texture. What you buy depends on your purpose; for quick sketches in the field, something smallish with a hard back would be a good choice, and for exploratory studio work a larger one, with easily removed sheets.
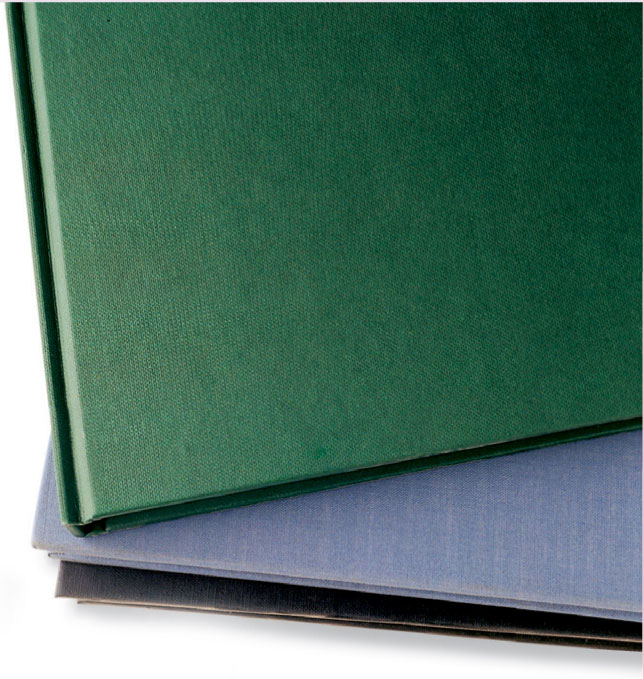
Hard-backed
Many people are attracted to these seductive hard-backed, blank books just asking to be filled with your thoughts and ideas, drawings, and writings.
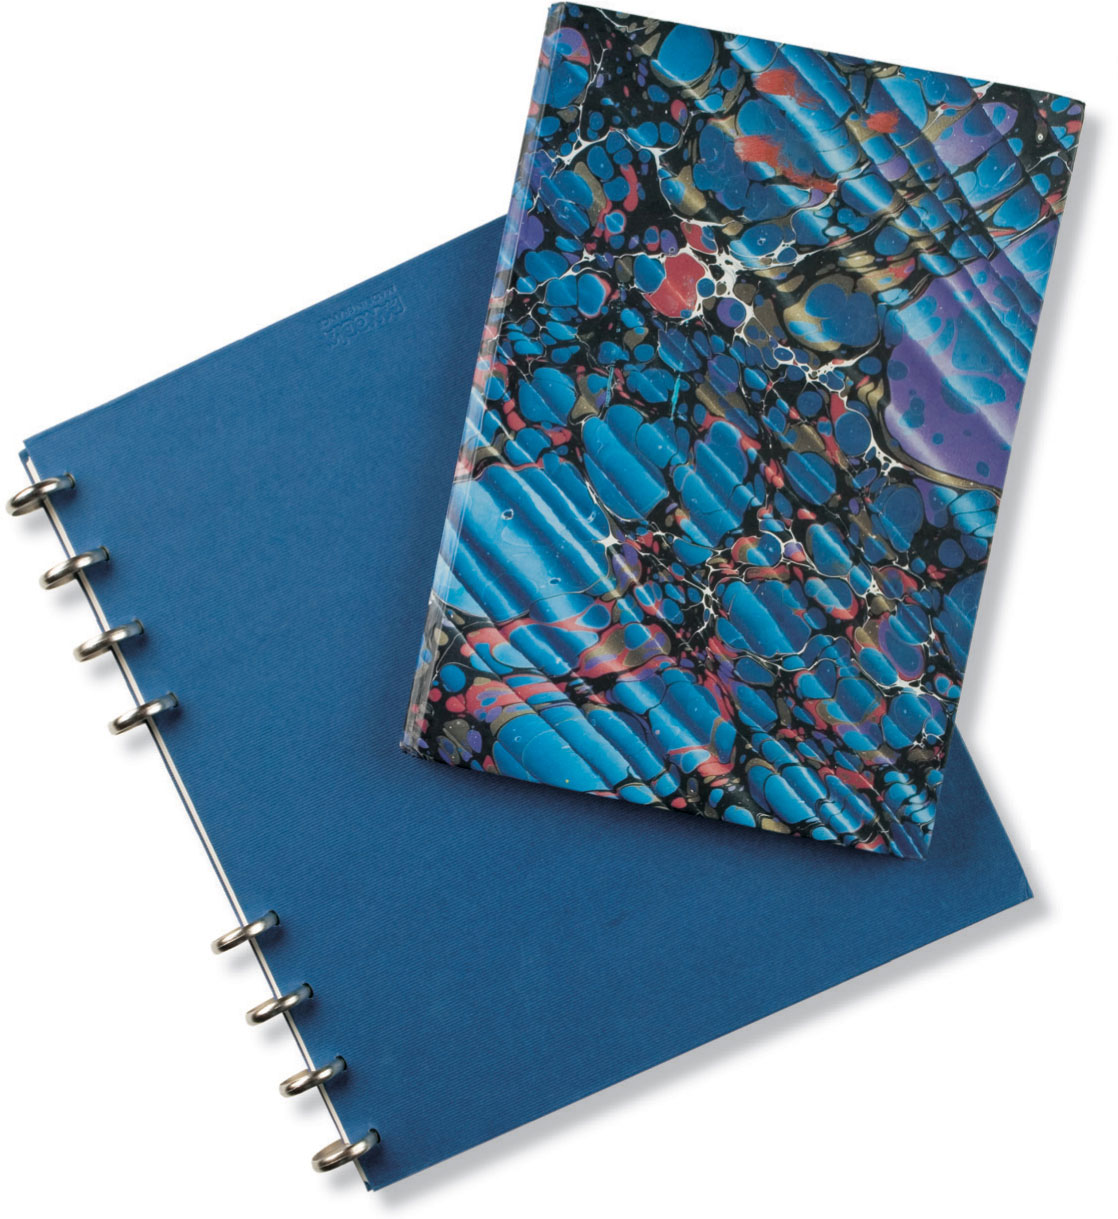
Spiral-bound pads
These are easy to use, as the paper lies flat. Choose one with a heavy backing that acts as a support to lean on. The binding can be an obstacle, however, especially if you want to work on a double-page spread, and a flimsy front cover won’t protect it from becoming dog-eared in your backpack.
Sewn-in bindings
Sewn-bound sketchbooks are made in many shapes and sizes, and usually have either printed marbled covers or black canvas ones. They are more expensive than spiral bound pads, but are substantial enough to last for a long time.
ARTIST’S TIP
If out and about, keep a small sketchbook to hand—in the event that inspiration strikes, it’s good to be prepared. Remember to keep a bulldog clip handy too—you’ll need to secure those pages on a windy day!
Different sizes
Whether sewn-in or spiral-bound sketchbooks are your thing, keep several sizes and shapes for specific needs or to record separate trips and projects. Sewn binding has the added advantage of allowing a drawing to cover a double page spread, an option worth considering.
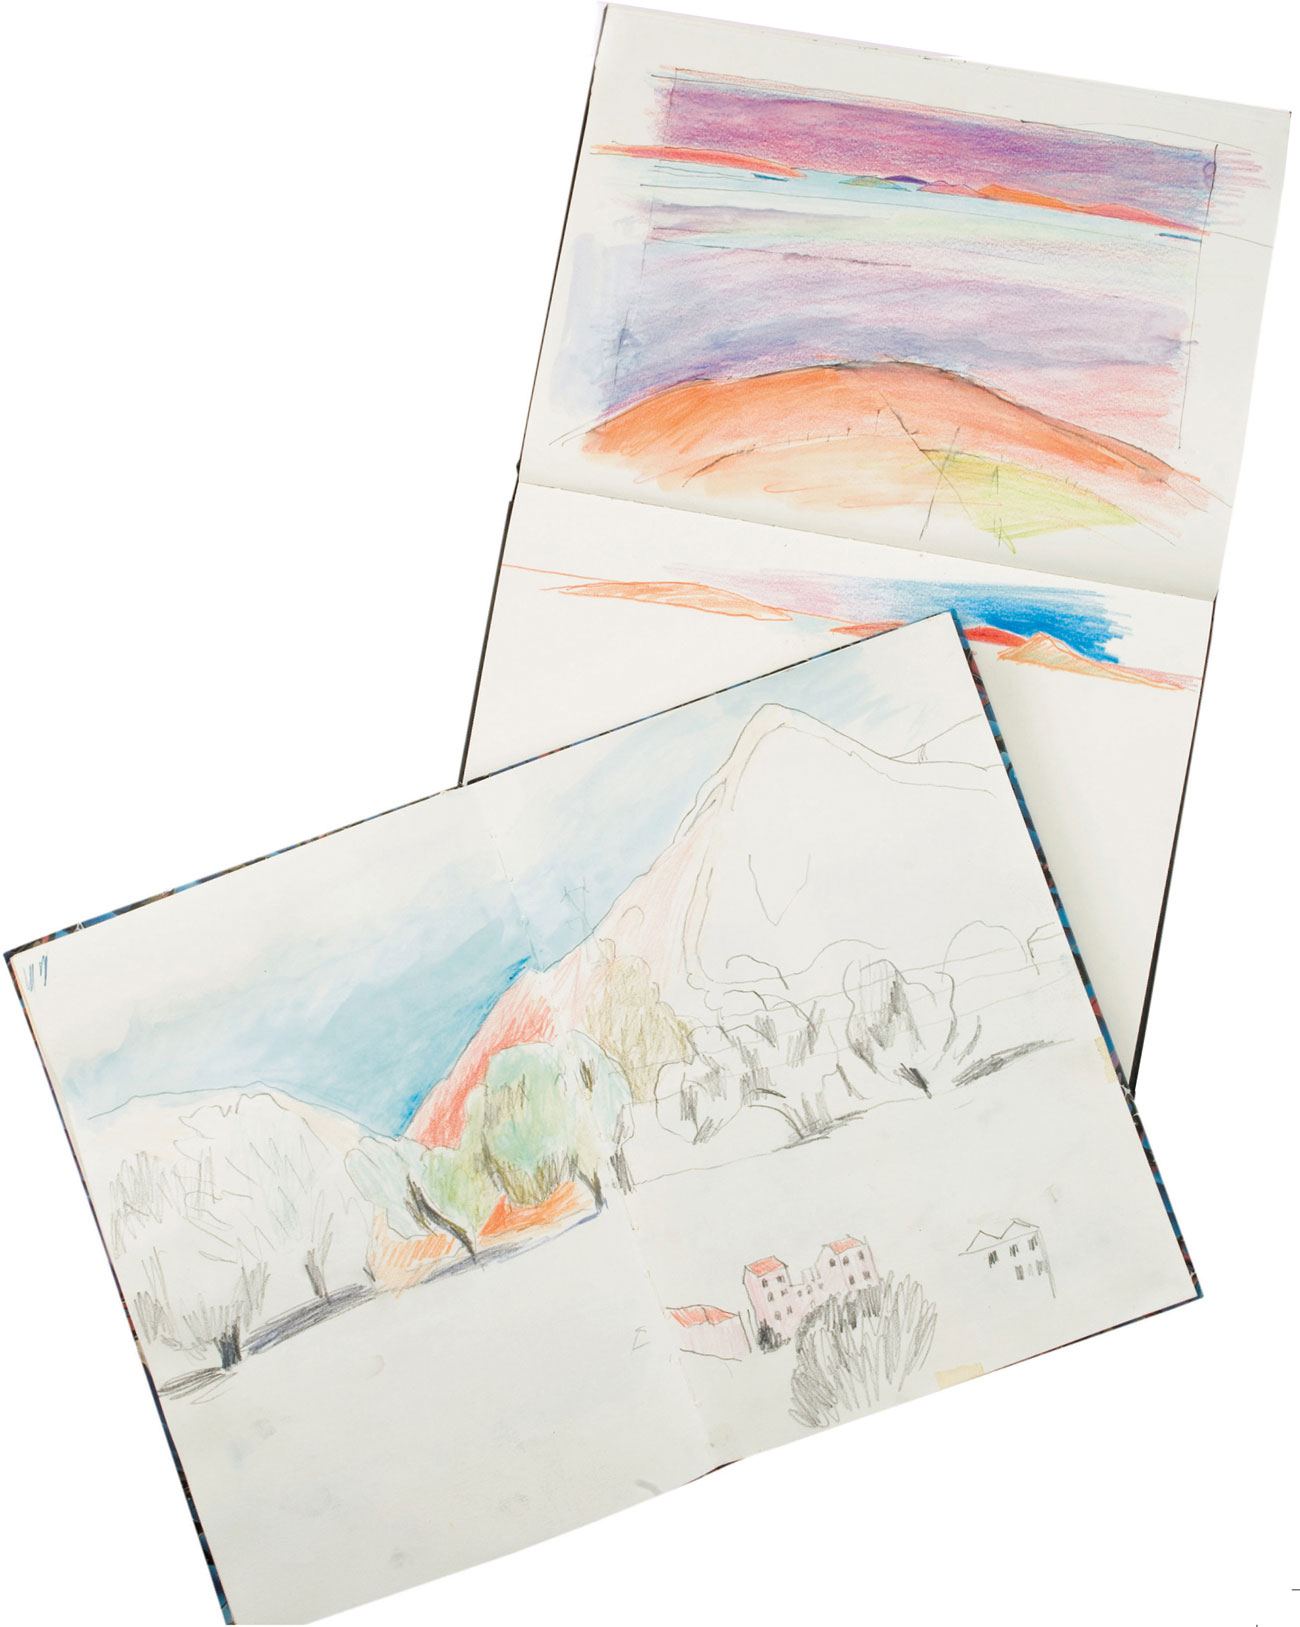
Formats
Landscape and portrait format hardback sketchbooks with sewn binding.
Stretching paper
Paper is made in different weights, expressed as lbs per ream or grams per square meter (gsm). If water is to be applied to the surface, or a wet pencil is used, all but the heaviest need to be stretched to avoid buckling. There are two ways of doing this, and artists have their own personal preferences. You can either soak the paper on both sides in a bath, lift it out by a corner, and shake off the excess before placing it on a board and sticking paper tape around the edges, or you can wet one side only. Some artists complain that the surface is stirred up when soaked; to others this can be an expedient. For drawing and mixed media work, soaking the whole sheet when stretching can be an advantage. It changes the nature of the surface and facilitates a superb line quality.
Once your paper is stretched and dry, you can prime it with primer (see page 56) or apply any other sort of ground or color you wish (see page 45 for more about coloring paper).
ARTIST’S TIP
Stretching paper in a sketchbook is obviously not possible, but in the case of a sewn-binding sketchbook you can help to prevent the paper buckling by applying a wash to pages, allowing them to dry thoroughly, and then closing the book and weighting it overnight.
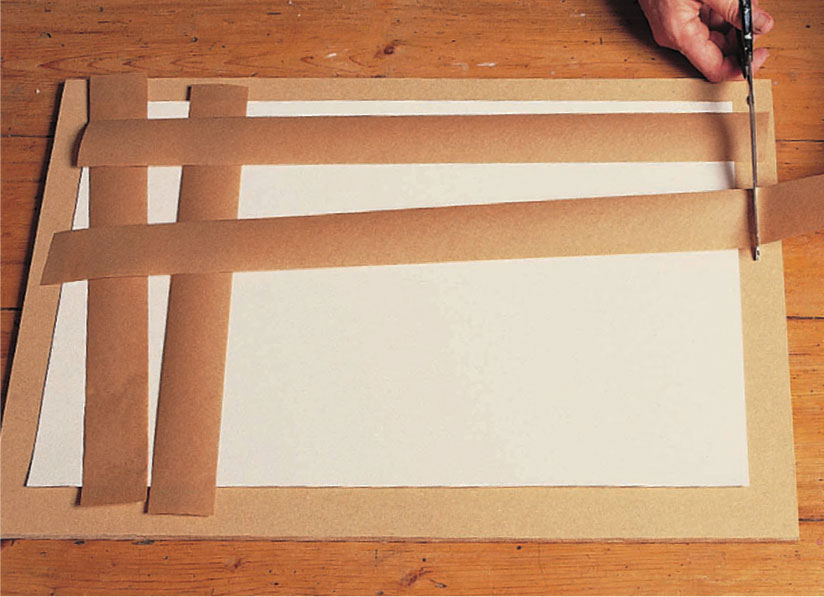
1 Prepare four strips of adhesive-paper tape, approximately 2 inches (50 mm) larger than the paper.
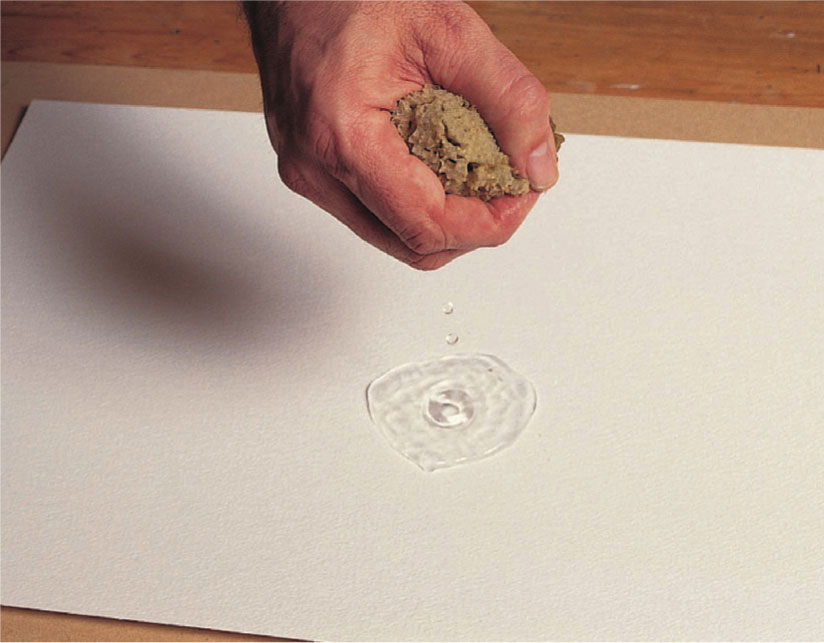
2 Lay the sheet of paper centrally on the wooden board and wet it thoroughly, squeezing the water from the sponge. Alternately, the paper can be wetted by holding it under a running faucet, or by dipping it into a water-filled tray or sink.
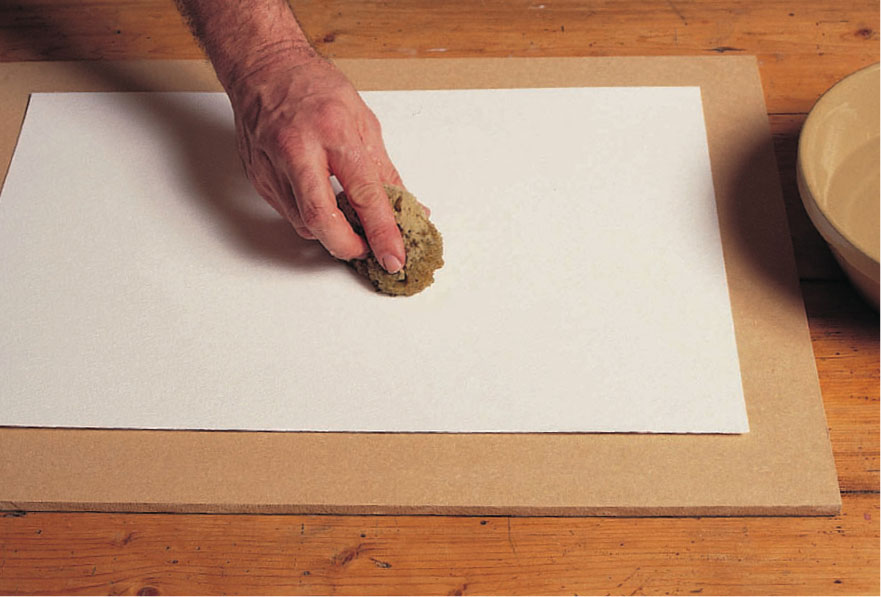
3 Wipe away any excess water with the sponge, taking care not to distress the paper surface.
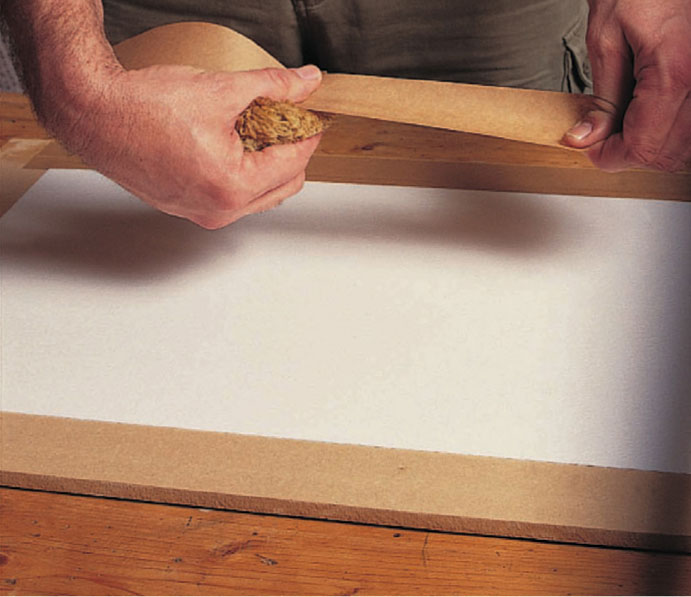
4 Beginning on the longest side of the paper, wet a length of tape using the sponge, and lay it down along the edge. Ensure that about one-third of the tape surface is covering the paper, with the rest on the board.
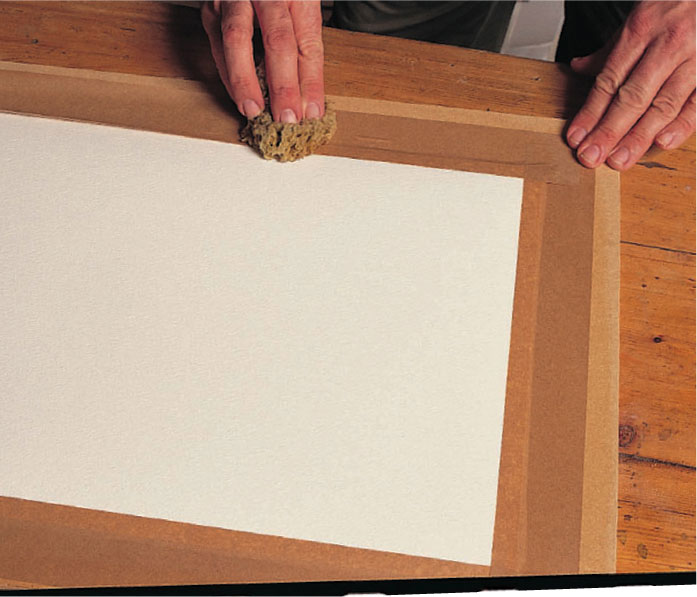
5 Smooth the tape down with the sponge. Apply the tape in the same way along the opposite edge and then along the other two edges. Place the board and paper aside to dry for a few hours, or use a hairdryer to speed up the drying process, but keep the dryer moving so the paper dries evenly, and do not hold it too close to the paper’s surface.
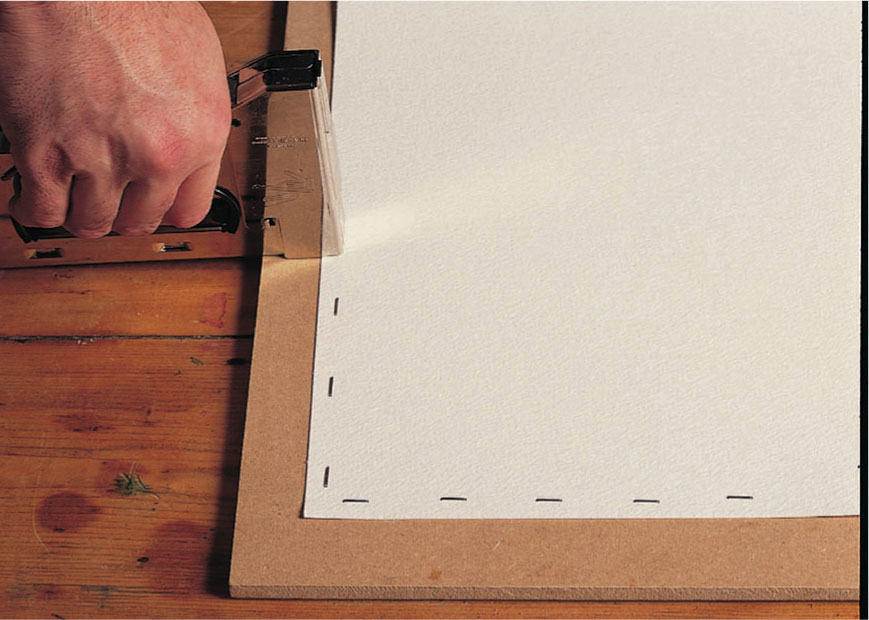
6 Staples can be used to secure medium- and heavyweight papers. Wet the tape and position it on the board, as above. Secure the edges by placing staples at regular intervals, working quickly before the paper buckles.
Essential tools
The beauty of colored pencils as a medium is that few additional tools are needed for studio work, and even less for outdoor sketching. A list of items for outdoor work is given on page 87. For studio work, you will usually require a larger range of pencils than for sketches, though don’t go overboard and buy a vast range (see the suggestions for a basic palette opposite). If you are interested in mixed-media work, you may wish to have other media such as inks and watercolors to hand, and you may also want to experiment with different kinds of paper.
If you like to work on a large scale, you will need a drawing board, which can be just a piece of furniture board cut to size. An easel is not essential, but you may find that it encourages you to work more freely. You may also need some form of lighting if your work space is not adequately lit, or if you are working outside the daylight hours. There are many inexpensive adjustable table lamps available, and you can also buy special daylight bulbs in most art stores.
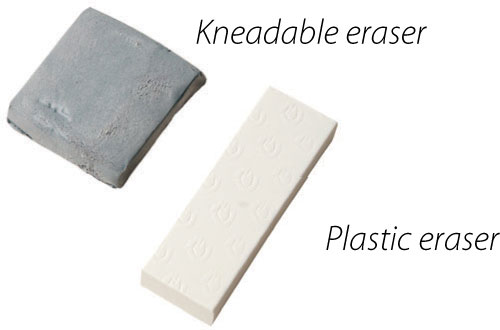
Erasers
Erasers can be used as a drawing tool, as well as to make corrections. The type of eraser you choose depends on your paper: a kneadable eraser for smooth papers and a firmer plastic eraser for more textured types.
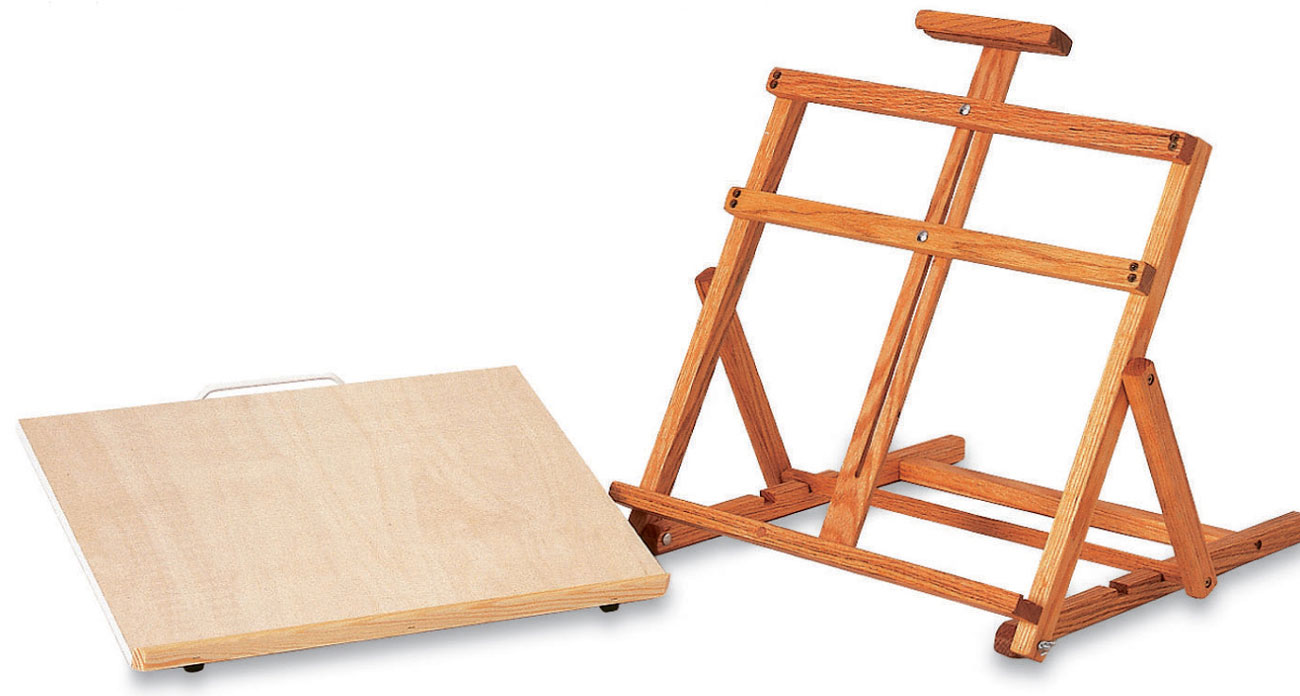
Drawing board
The working surface you choose depends very much on how large you want to work, but most artists use a drawing board of some kind, whether a ready-made one or a sheet of medium-density fiberboard (MDF).
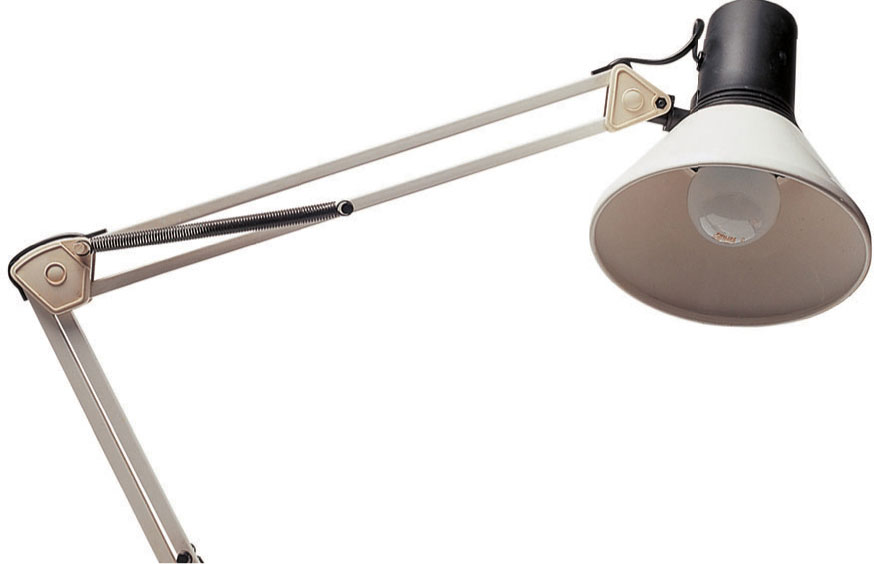
Anglepoise lamp
If you are not blessed with good natural light, or want to work in the evening, you will need a good lamp. Angelpoise lamps are ideal, because they are adjustable and can be changed to different heights and angles.
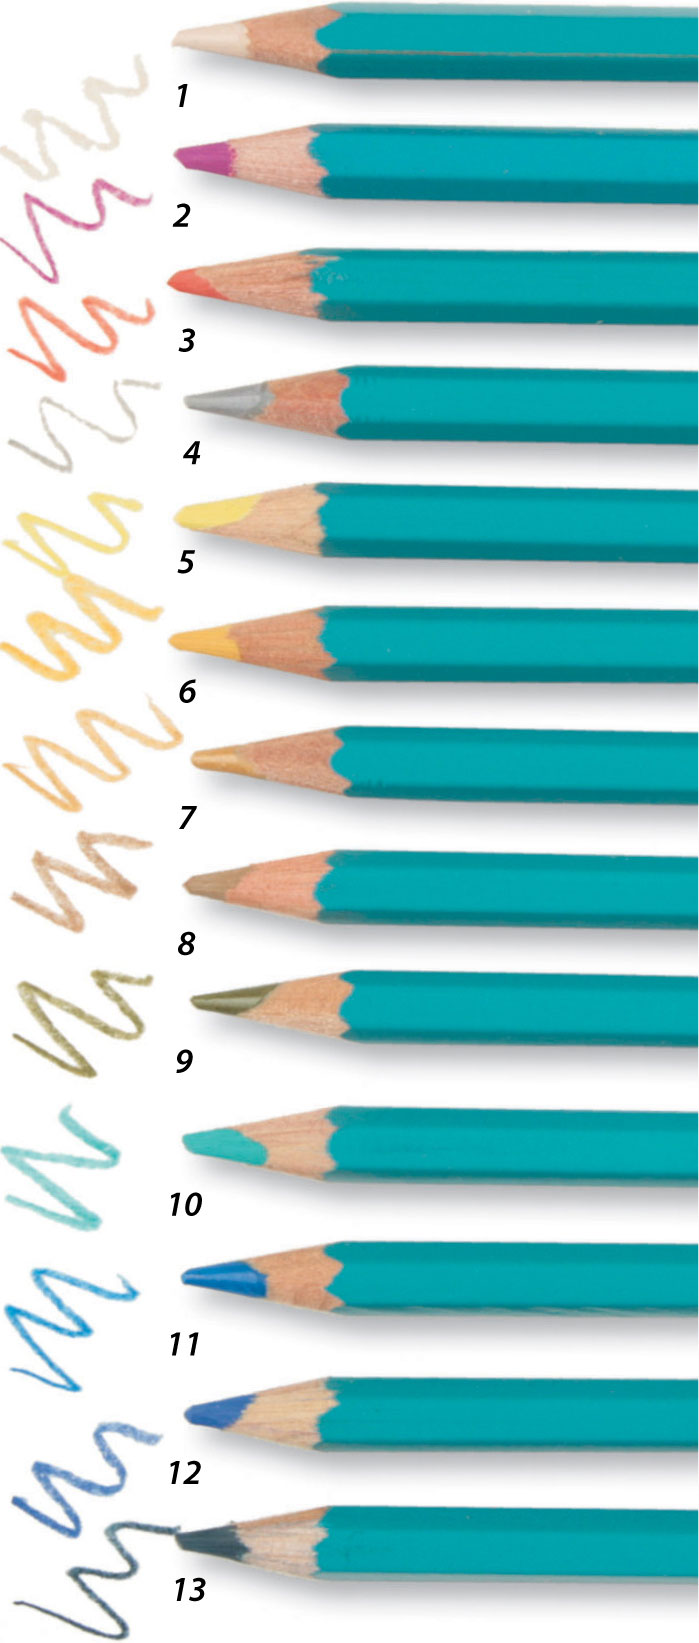
Basic palette
A suggested basic palette for colored-pencil work would generally include two or three versions (or hues) of each of the primary colors—red, yellow, and blue. Remember to include some darks and lights to add tonal value to your work.
There are several variations you may want to include in your palette: lemon, cadmium, and ochre as variants of yellow; ultramarine, turquoise, cerulean, and indigo as a choice of blues; and scarlet or vermilion, and magenta or crimson, for differing shades of red. An olive green, burnt sienna, and a pastel pink are also useful additions. It is also a good idea to include some neutral colors such as browns and grays.
On the move
The suggested basic palette for taking on trips out, from top to bottom: cool pink (1), magenta (2), vermillion (3), French gray (4), lemon yellow (5), cadmium yellow (6), yellow ochre (7), raw sienna (8), olive green (9), light turquoise (10), spectrum blue (11) ultramarine (12), and indigo (13).
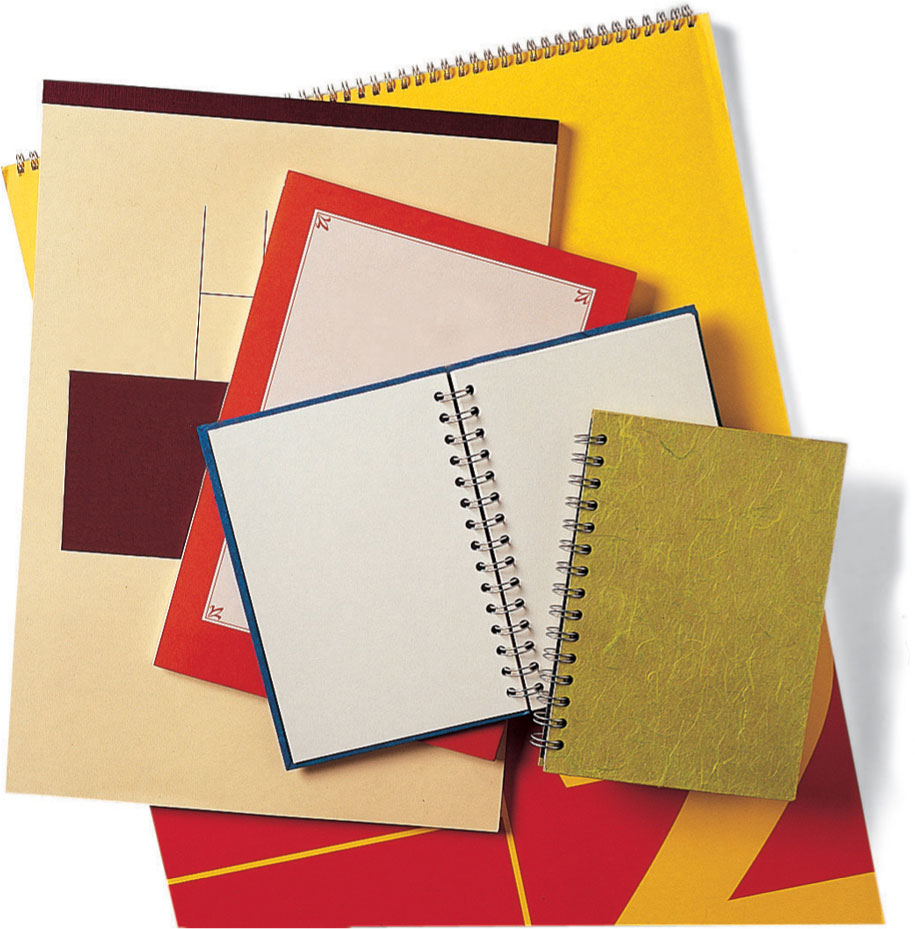
Sketchbooks
You should stock up on a range of sketchbooks of different sizes and formats.

