

You’ve probably been using felt since you first picked up a pair of little-kid scissors, so you at least kind of know what it is. Felt is different from knit or woven fabrics because you cannot see the individual fibers that went into making it.
In fiber crafts, felt can mean a few different things. As a noun, there’s craft felt — the thin, colorful fabric you cut into shapes or stick on a felt board to make a story — which is usually made out of acrylic. At fancier shops and online you can get wool craft felt. Wool felt is very nice to work with — sturdier, smoother, and often in better colors than acrylic felt — and it’s perfect if you’re making something that you want to use and keep for a long time. (It’s also more expensive than acrylic.)
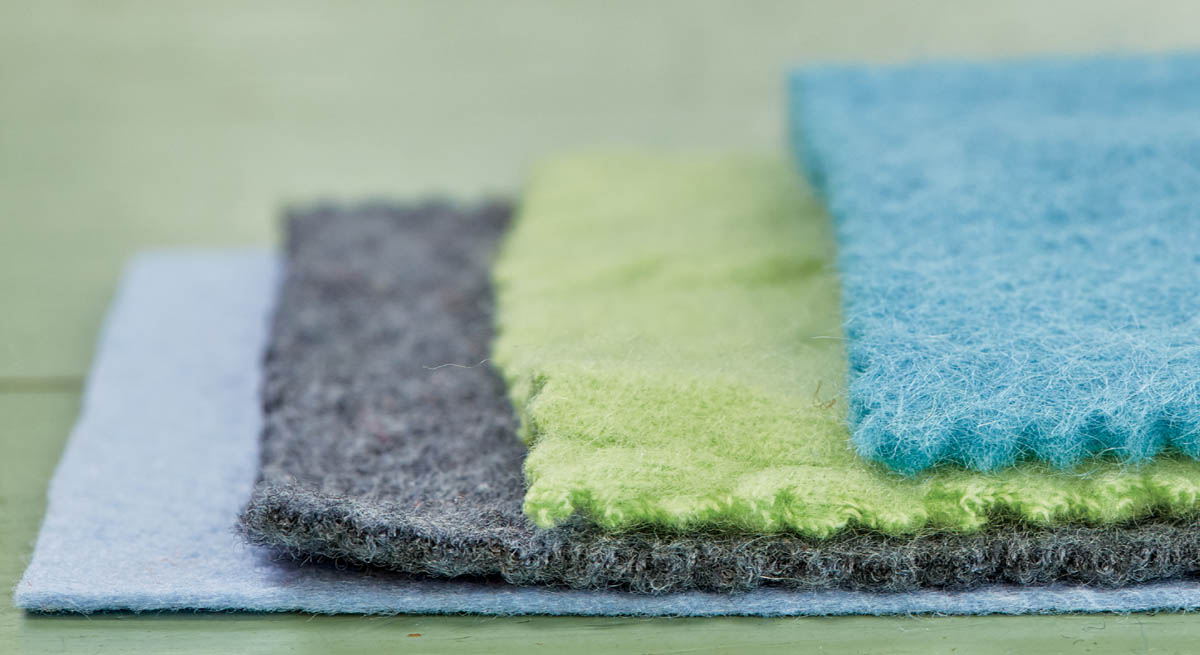
This chapter is about felt you make yourself from fabrics or garments that have been knit, crocheted, or spun with animal fibers. This gets us into using felt as a verb. When washed in hot water, many animal fibers — including wool, cashmere, and alpaca — tangle together and turn into a dense mat-like fabric. You can do this with pure fleece straight from a sheep or with existing fabric or garments. Felted fabric is warm, won’t fray when you cut it, and is super easy to sew! (A favorite sweater that you accidentally shrank in the wash will be perfect to use for the projects in this chapter.)
Archaeologists at a site in Turkey can date the ancient felt they’ve found to 6500 BCE (more than 8,000 years ago). More fun, though, are the legends that claim to explain felt’s origins:

Sweaters made entirely of wool, cashmere, alpaca, and/or angora. Don’t worry — in How to Felt the Fabric, we’ll tell you how to find these.
Access to a washing machine and dryer. This is how you’ll felt the sweaters (see How to Felt the Fabric). You can definitely take your sweaters to a laundromat, but bring extra quarters (and a good book) in case they don’t felt on the first try.
Sewing supplies (see here), including a sharp needle and embroidery floss, scissors, chalk, and straight pins. All of the projects in this chapter start with felting but end with sewing.
Dig through your closets, hit up friends and relatives, and go to thrift shops to find sweaters made of 100 percent wool, alpaca, cashmere, and/or angora. Some labels specify the kind of wool the sweater is made of. Lamb’s wool is our absolute favorite. Merino wool is also excellent. Shetland wool is finicky but will, with persistence, felt. Super-soft cashmere is lovely when it works but is also a bit tricky since it can resist felting. Angora is a kind of yarn made from rabbit fur, and while you’re unlikely to find a sweater made only with angora, it’s great if there’s some mixed into your wool because it will felt beautifully and be very fuzzy.
Don’t use sweaters made of other natural fibers (such as cotton or linen), or from synthetic fibers (such as acrylic or nylon) — even if only used in small percentages — because they will be more likely not to felt at all or to pill, which means get covered in small, hard lumps.
The bigger the better, because once the sweater shrinks, it will get very small. And skip anything labeled washable, because that means it’s most likely been treated with chemicals that prevent shrinking and felting. Don’t worry about small holes, which will disappear, or rips or stains, which can be cut away after felting. Cardigans are fine to use, and it can be fun to keep the buttons in your projects!
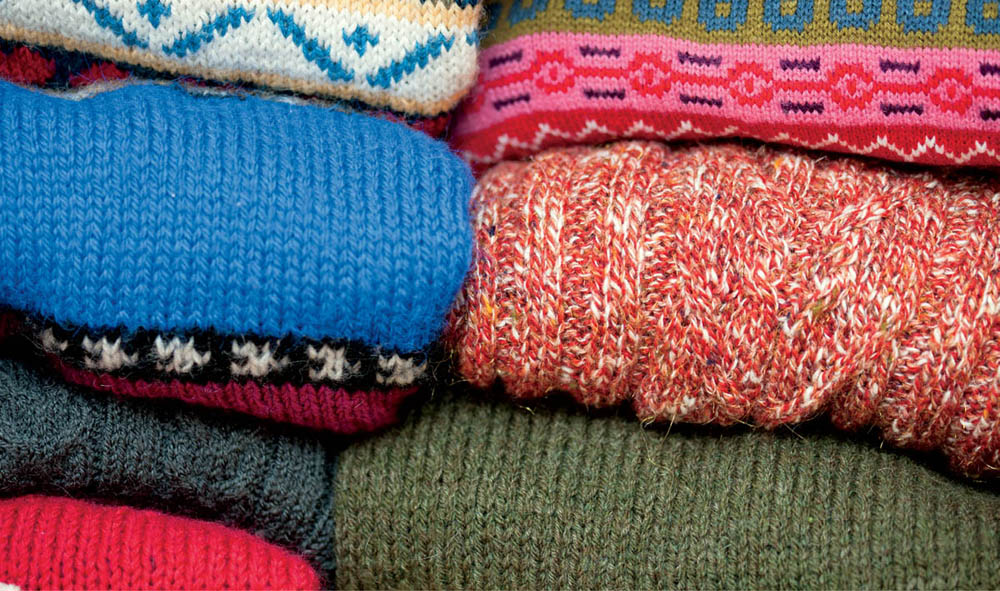
When you wash and dry it, feltable fabric will shrink, lose its stretchiness, and get nice and tight, with all the fibers matted together so that you can cut the fabric and it won’t stretch or fray. However, this doesn’t always happen the first time you wash and dry wool, so be patient. Some sweaters require multiple trips through the washer and dryer. Here’s how:
Wash them. Put the sweaters in the washing machine with enough laundry detergent for a normal load. We sometimes also put in a pair or two of jeans for added abrasiveness, which increases fiber-matting tendencies.
Do a hot wash with a cold rinse — the temperature swing helps the fibers seize up and stick together. And if you have any other setting choices to make, choose the most vigorous ones, with as much agitation and spinning as possible. If your parents are worried about getting a lot of wool lint in the machine, you can put the sweaters in a pillowcase before you wash them.

Dry them. Put the sweaters in the dryer and dry them on high heat.
Evaluate them. If they are still stretchy or if you can still see the individual knit stitches in the sweater bodies, then they’re not felted. Back into the washer! Keep at it. Some will give in eventually, and others won’t. For certain hard-to-felt specimens, we have even boiled sweaters in a big pot of water — which makes the house smell like a sheep in a thunderstorm, so we don’t recommend it.
If you have sweaters that don’t seem thick and felted after repeated attempts, do not use them for the projects in this chapter — no matter how gorgeous they may be. We speak from experience here: a sweater that is fraying or stretching will be so frustrating to sew with that you will rue the day you decided to use it anyway.
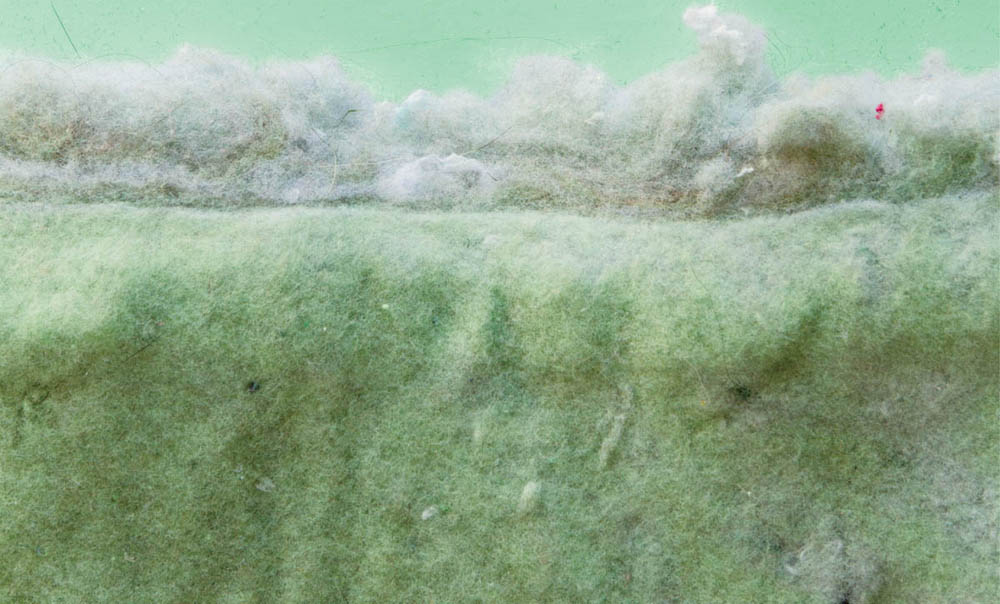
Okay, this is not a project, it’s a question: what can you do with the dryer lint? When you dry your sweaters, you will end up with lots of colorful woolly dryer lint. This is fiber! What can you make with it? We’ve tried all kinds of projects, some of them involving white glue and flour, and we’ve made it into paper and beads and bowls. Dryer lint is a fun material to experiment with because it used to be part of your clothing, it’s slightly different with every load, it’s fuzzy — and it’s free!

This is a favorite felting project of ours because arm warmers are so cool! Also because we buy a lot of thrift-store sweaters for felting projects — and often the first thing we do is cut off the sleeves. That means we have a lot of sleeves lying around, which makes for a lot of material that we can use to make arm warmers, which, in turn, makes for a lot of excellent holiday gifts!
For a fun variation, you can make wristies instead: just cut the sleeves shorter, and flip them around so that the ribbing is at the wrist rather than at the fingers.
Cashmere, which is a super-soft, expensive fiber, doesn’t felt quite as well as most wool — but that’s actually okay here, since a little bit of stretch isn’t a bad thing, and the arm warmers aren’t really inclined to unravel. Just make sure you’re cutting up a discarded or thrifted sweater and not somebody’s favorite wearable!

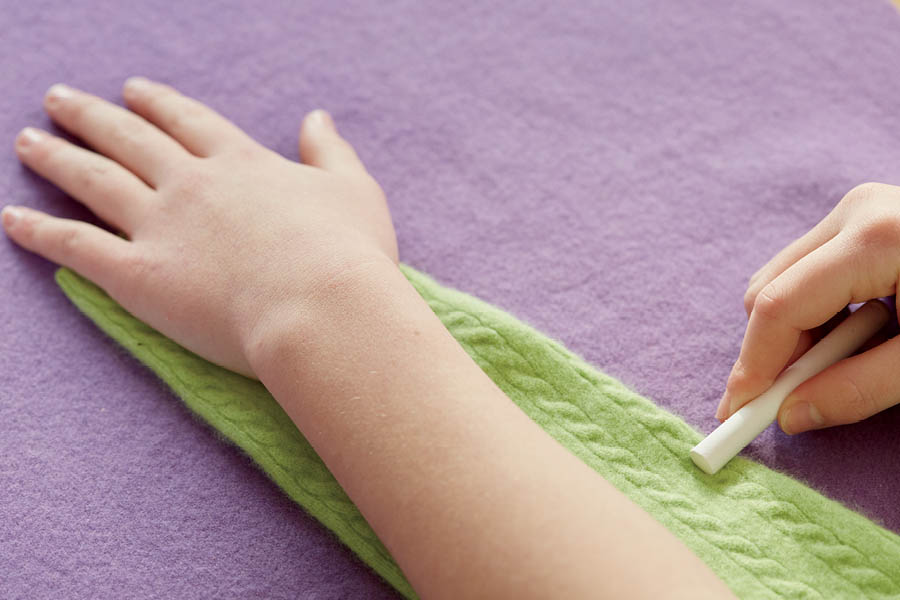
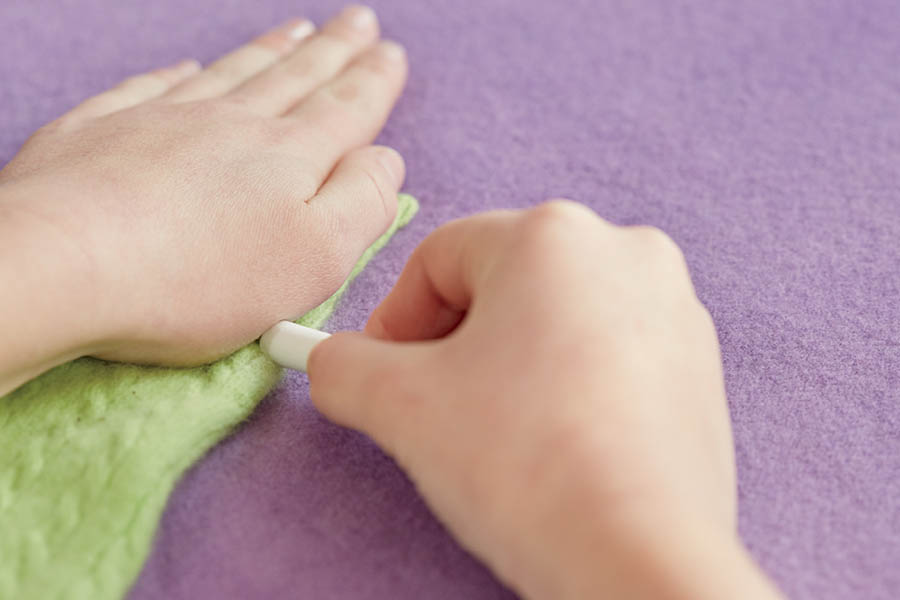
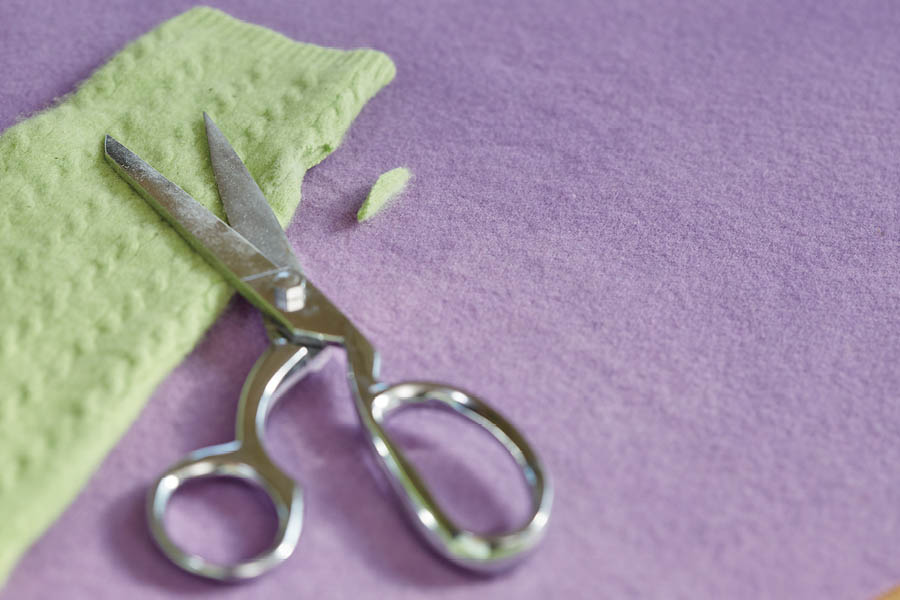
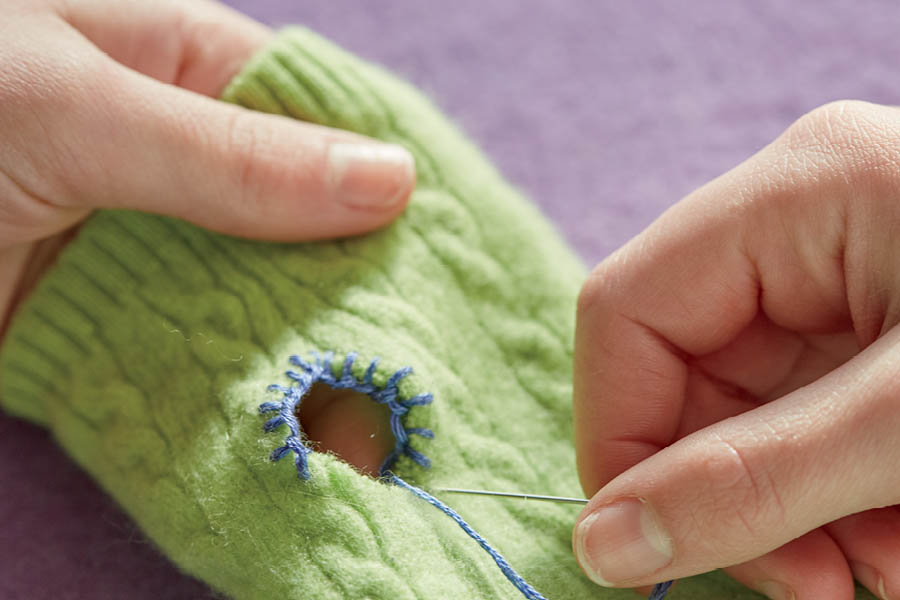
If the arm warmers fit perfectly, voilà! You are done! If they feel too loose — and this is especially likely if you’ve made the wristies variation (see photo), with the ribbing at the wrist rather than at the fingers — you can tighten them.
Turn one arm warmer inside out and put it on; then have a friend pinch the excess felt close to the edge of your hand or arm, and mark that line with chalk. Take off the arm warmer, pin along the chalk line, and with the needle and floss or sturdy thread, sew a running stitch or backstitch along the chalk line to make a new seam. Make sure to sew a few extra stitches at the beginning and end to reinforce the seam. Cut the excess fabric to within 1⁄2 inch of the seam.
Repeat on the second arm warmer or wristie.

To get your ideas flowering, leaf through a seed catalog or a wildflower field guide before starting. For each arm warmer, cut out one or more flower shapes from felt. (Using chalk or a fabric marker to sketch the shapes onto your felt might make the cutting easier).
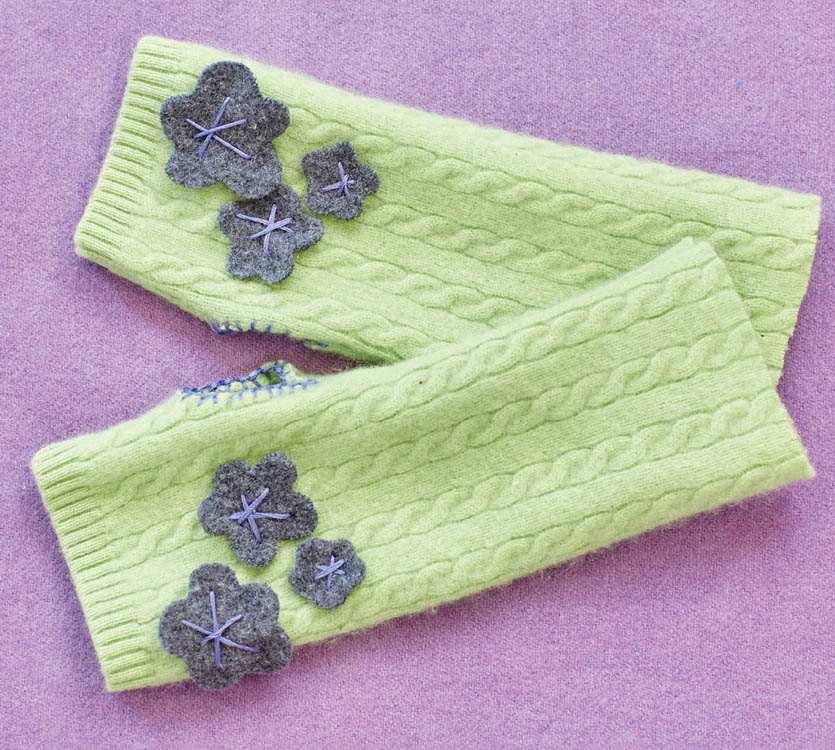
Stitch your finished flowers to your arm warmers using the Star Variation of cross-stitch or treating each flower as if it were a shankless button with imaginary holes.
You can also stack the shapes from largest to smallest, and stitch them together through their middles using several small running stitches. To further decorate them, you can add a couple of beads or a button.
There’s another type of felting called needle felting, which involves turning wool roving — soft unspun wool fibers — into fabric and objects by matting it together. The needle felter puts the wool fibers on a piece of foam and then pokes in and out with a special barbed needle that tangles the fibers just enough to stick them together. (If you really get into felting, you should ask for needle-felting supplies the next time you have a birthday coming up!)
Weirdly enough, there’s a kind of wasp, the Clistopyga, that lays her eggs in a spider’s web after paralyzing the spider. She then uses her long and barbed ovipositor (the egg-laying organ) to poke in and out of the silk to felt it, thus sealing up the eggs, along with their first meal — the spider — in a protective cocoon.
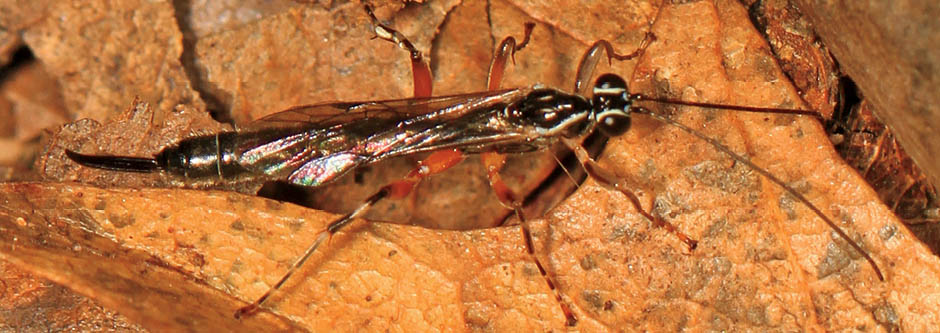
Niclas Fritzén, an entomologist (a person who studies insects) writes, “The similarity with the human felting needle is striking, both concerning its structure and function, and it even serves the same purpose, namely to entangle fibres.” Pretty cool, right?
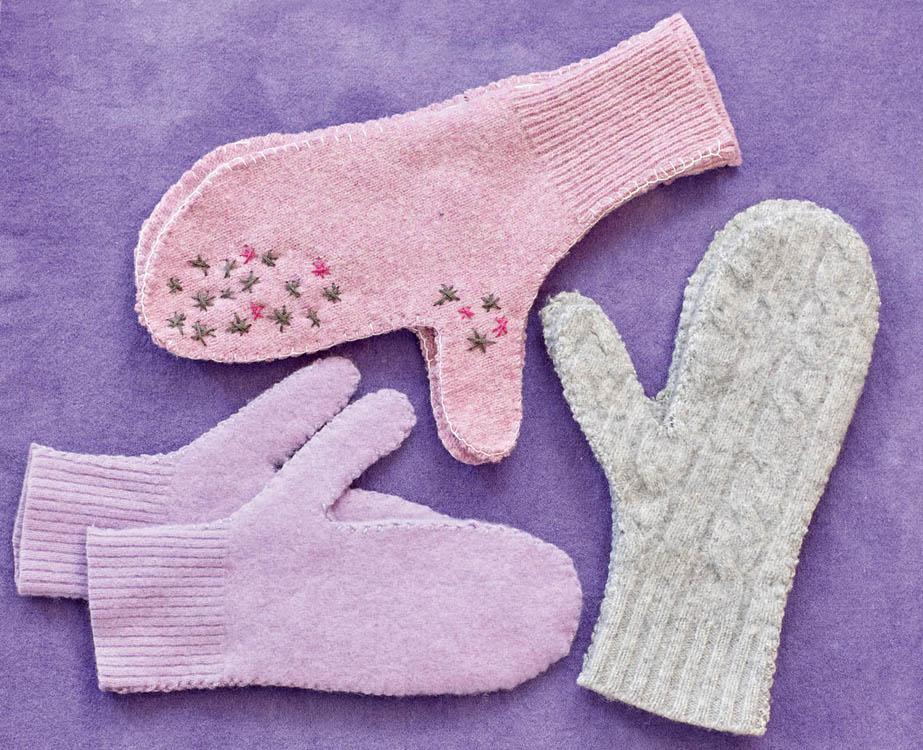
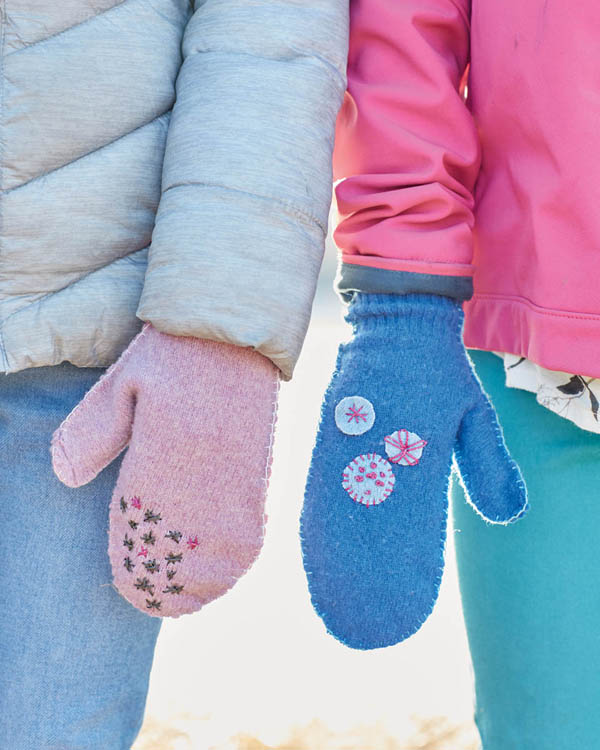
It’s fun to wear (or gift) a pair of mittens you made yourself! And they can be as plain or as fancy as the sweater you felt. This is a super-easy project, since your own hand is the only pattern you need. And you don’t even have to turn the fabric inside out, because you’re going to blanket stitch around the outside of it! So take your time sewing, since your stitches will show.

Do this as far to one side as you can, so that you can get two mittens out of the sweater.
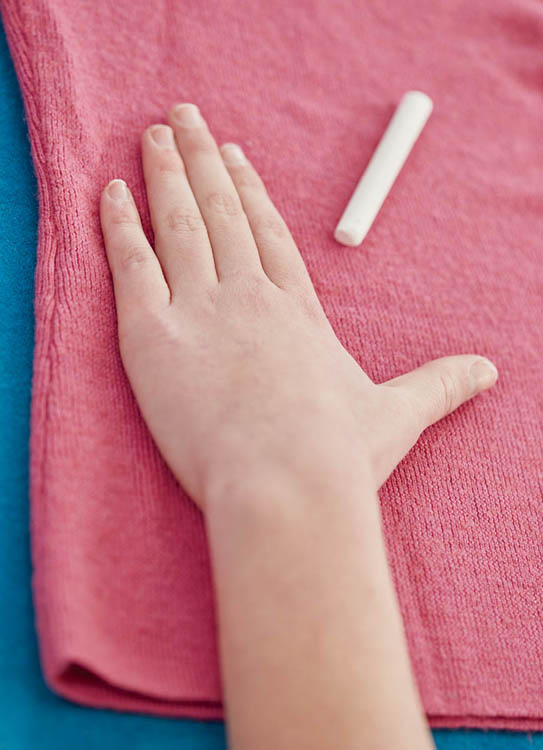
If you’re making the mitten for someone else, trace his or her hand. If it’s a surprise, do your best with the sizing or use a mitten that person wears.
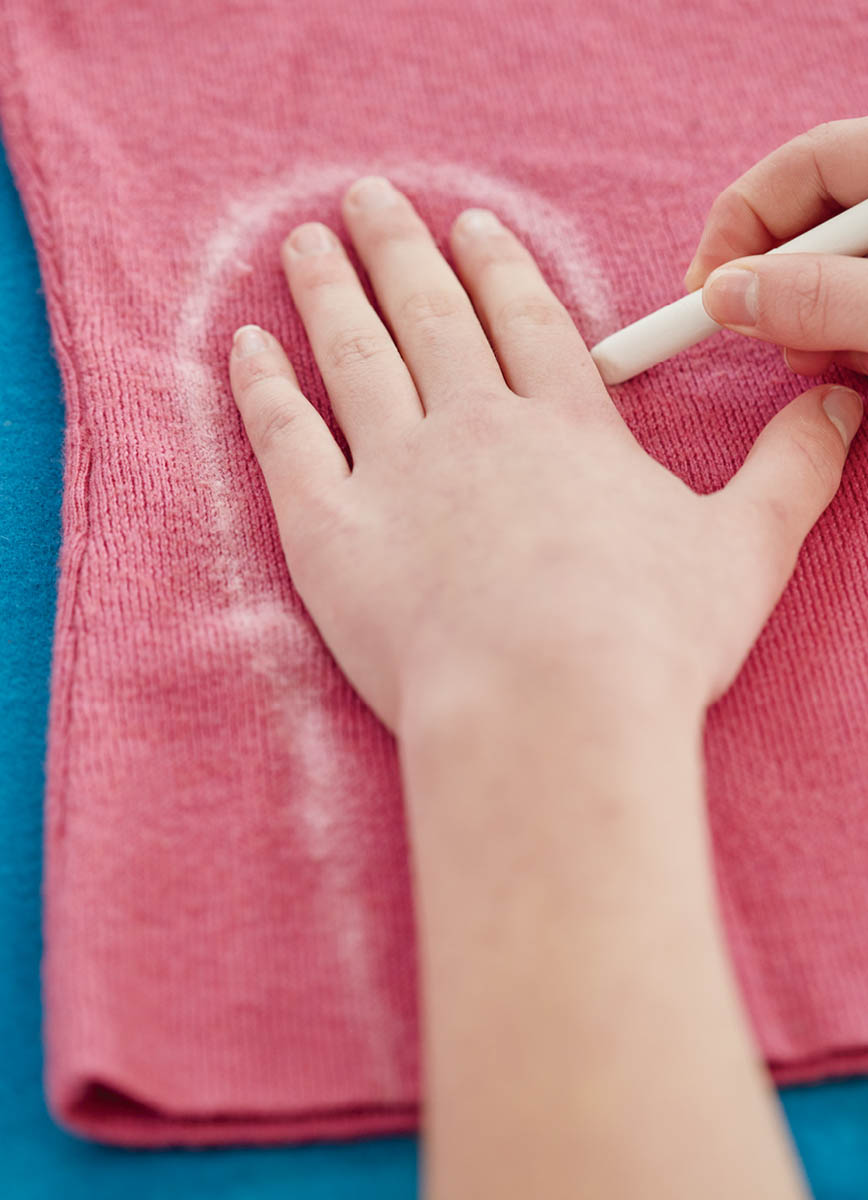
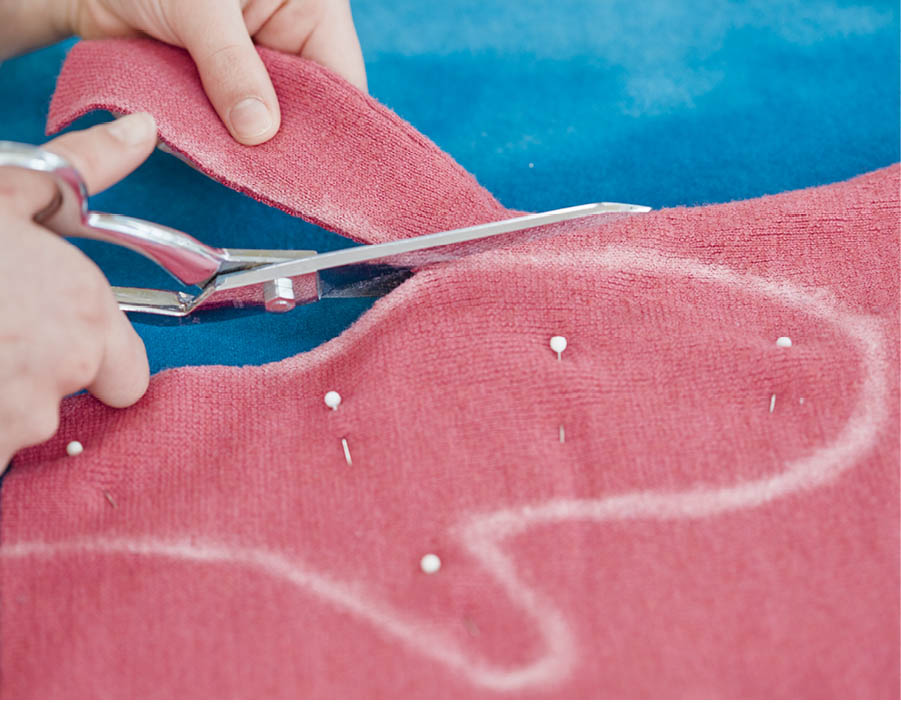
Repeat with the other mitten.
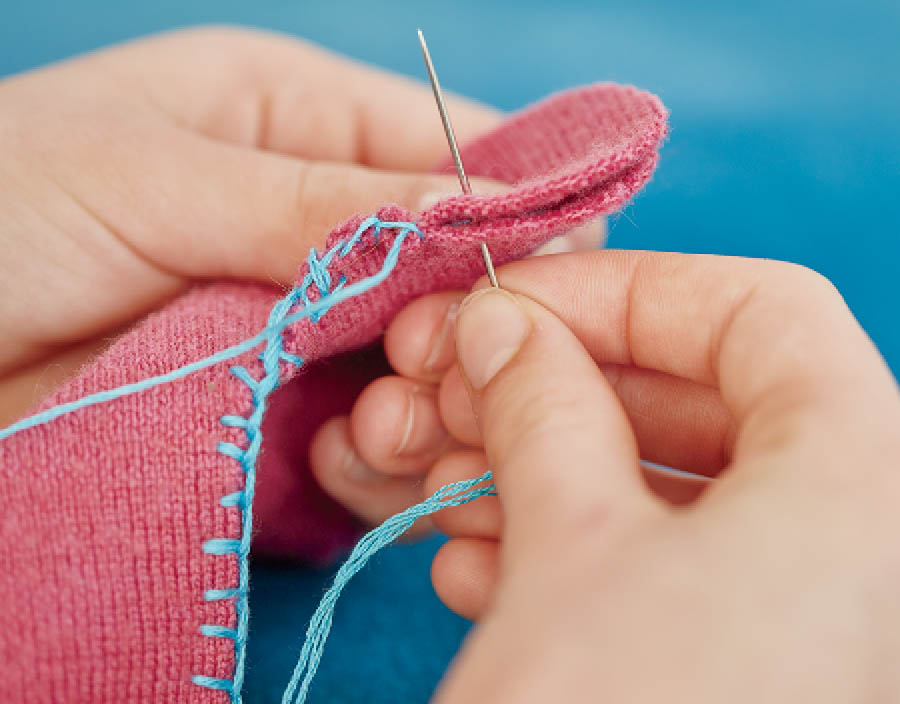

We used a sweater without a ribbed waistband, but our mitten came out great anyway!
Decorate your mittens by embroidering designs on them! Or add beads or buttons or appliqué on felt shapes or flowers (see Fancy It Up).
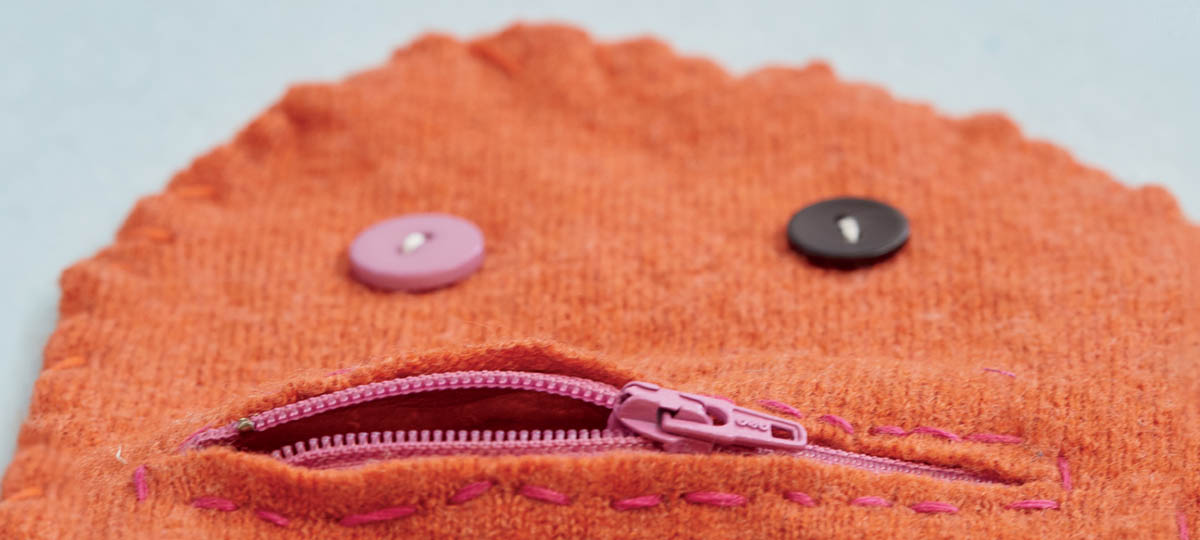
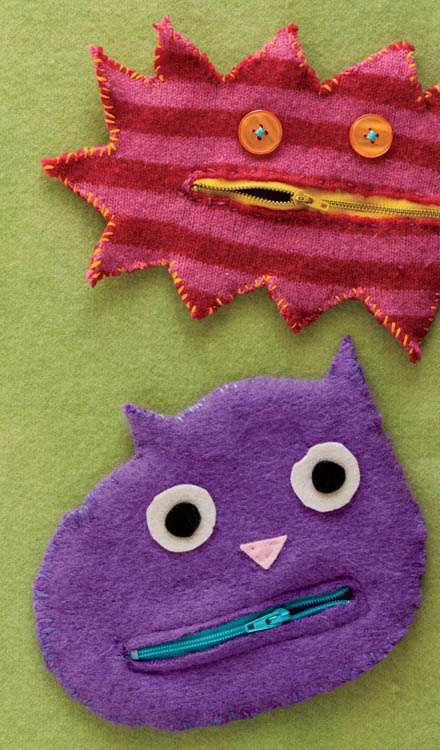
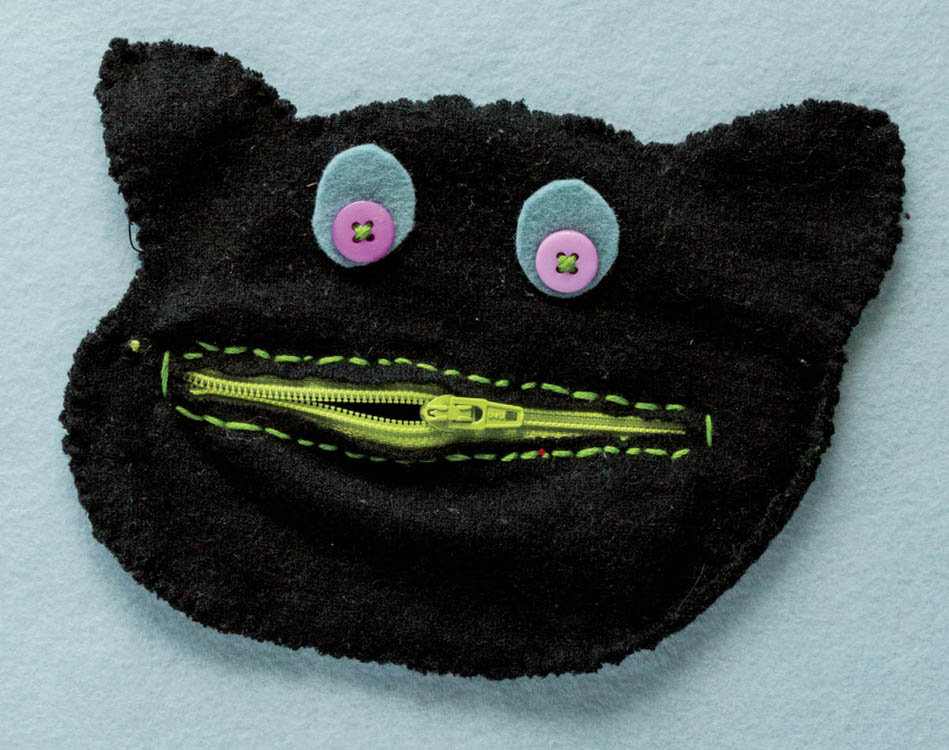
We love reaching into a monster’s mouth to get out our moolah — and we’re guessing you will, too! This is a fun, free-form project that lets you design your own pattern. If you don’t want to make a coin pouch, you can skip the zipper and stuff the pouch with polyester filling (or felt scraps) to make a cute-and-scary stuffie!
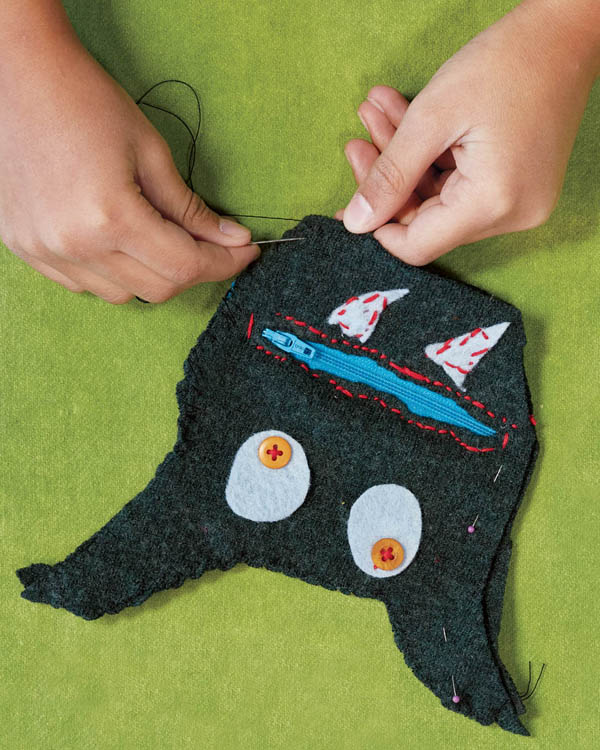
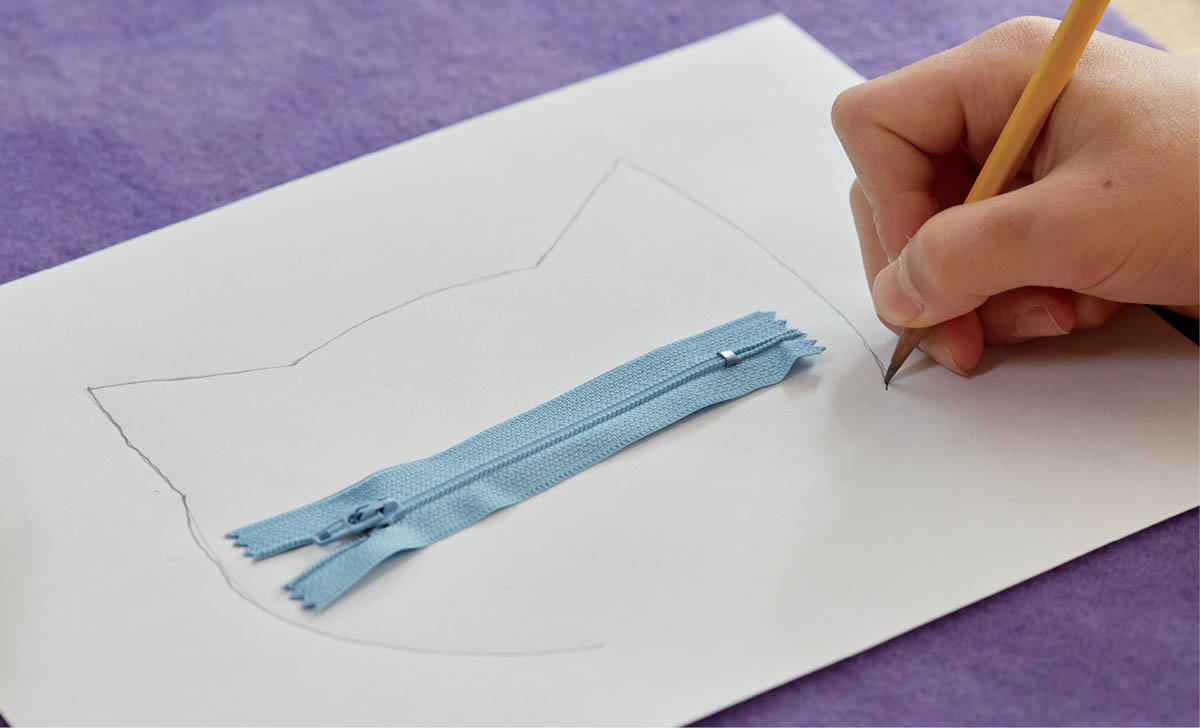
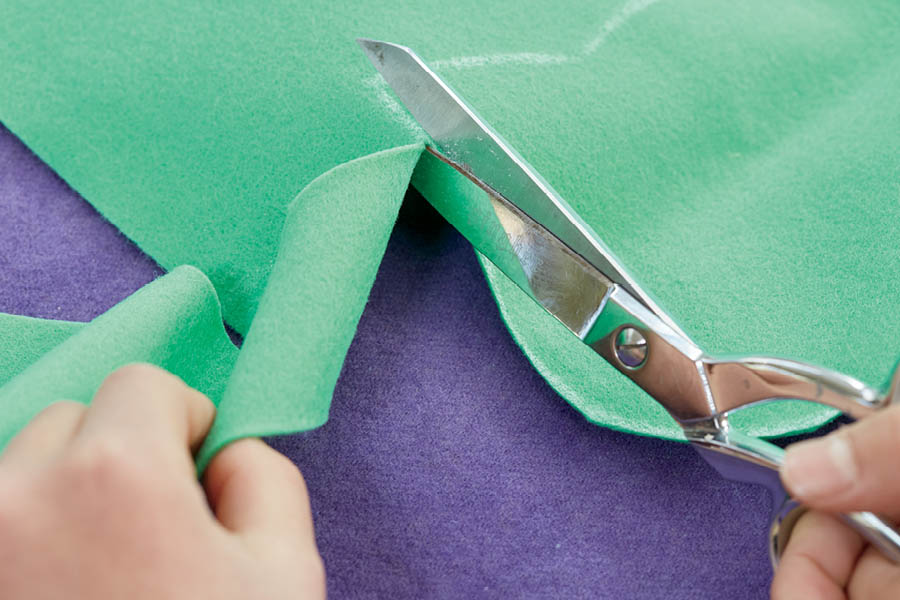
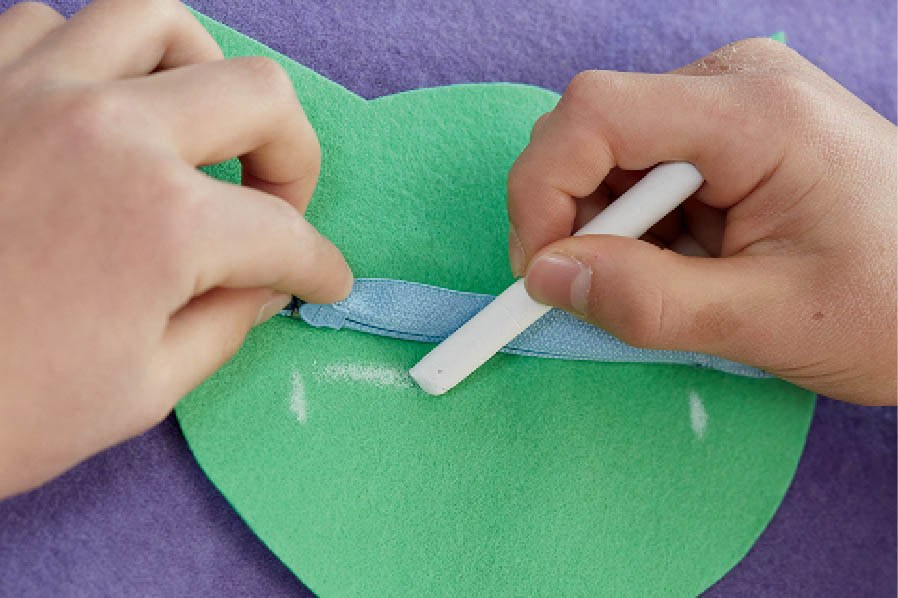
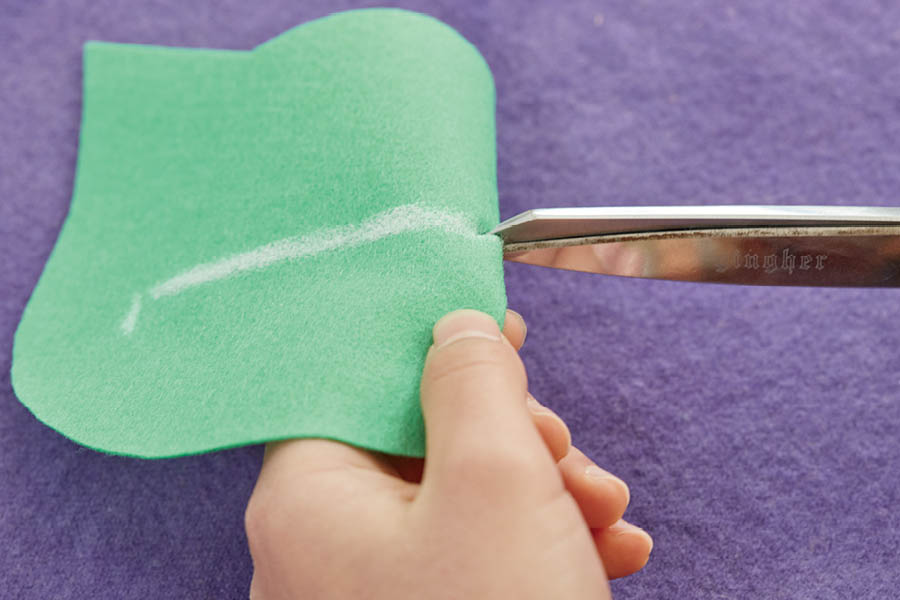
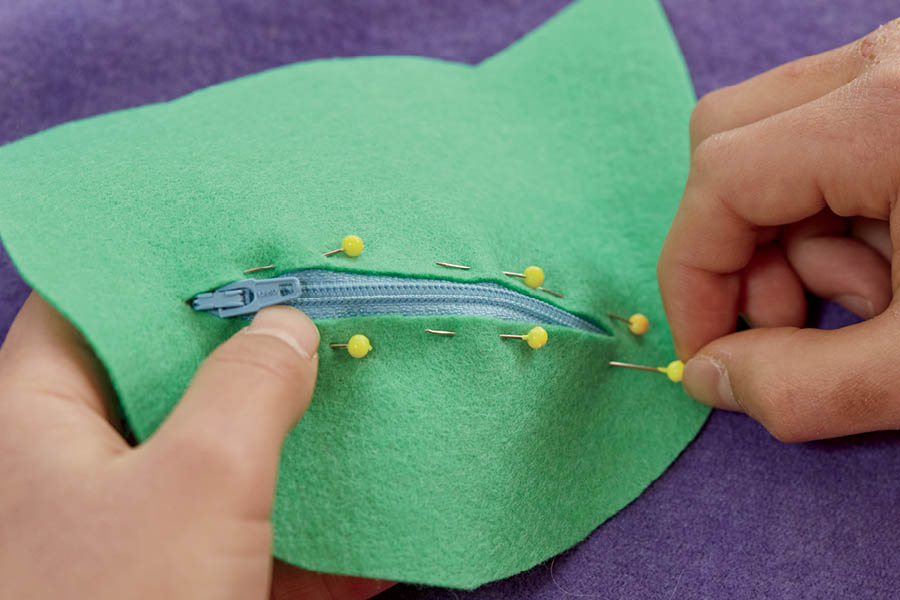
You might find it hard to push your needle through the zipper fabric, but be patient! When you get back where you started, tie off the thread (see Tie Off the Thread) on the underside of the felt.
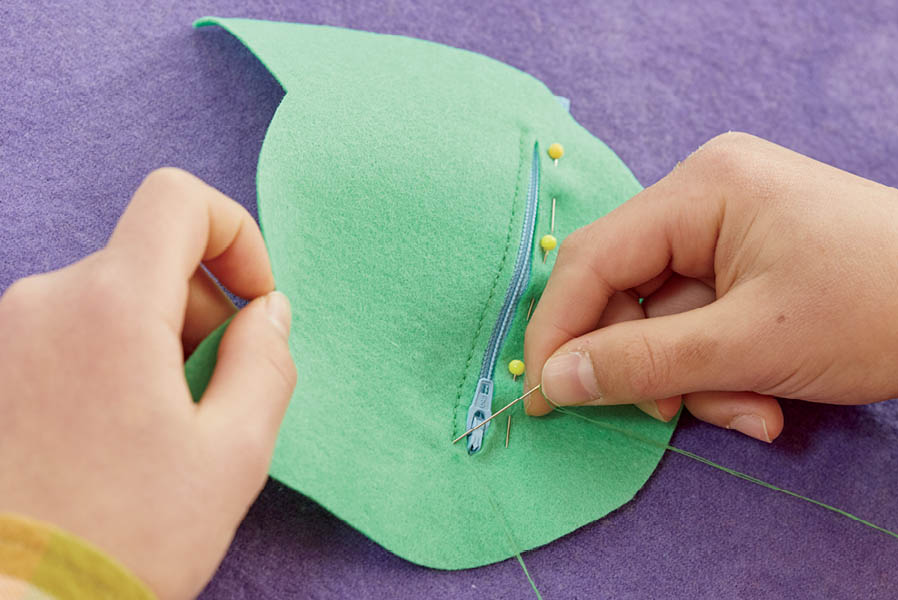
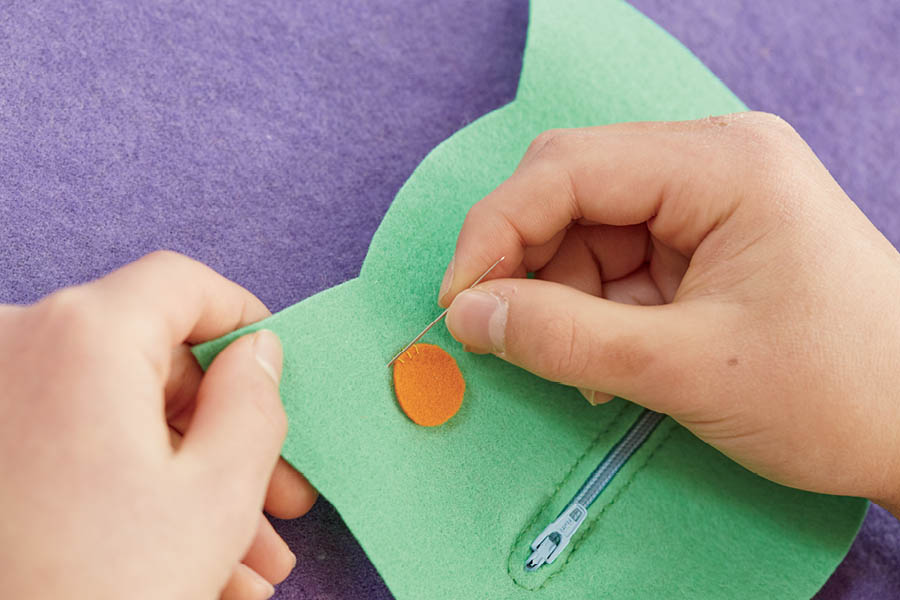
A really expert sewer helped us with our green cat and used craft felt (instead of homemade felt) so you could see the process more clearly. That’s why it looks so perfect! Don’t worry — our stitches never look as neat as this. And yours don’t have to, either.
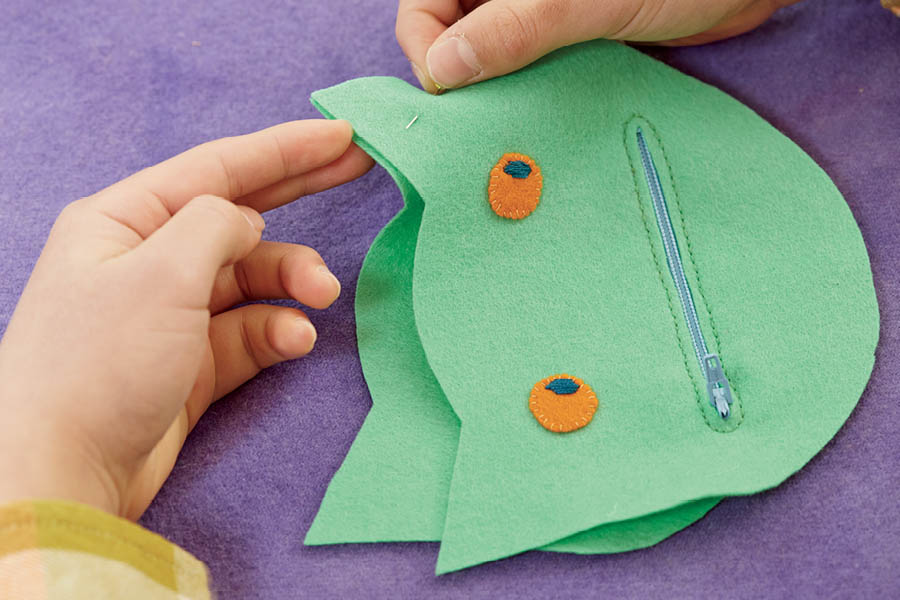
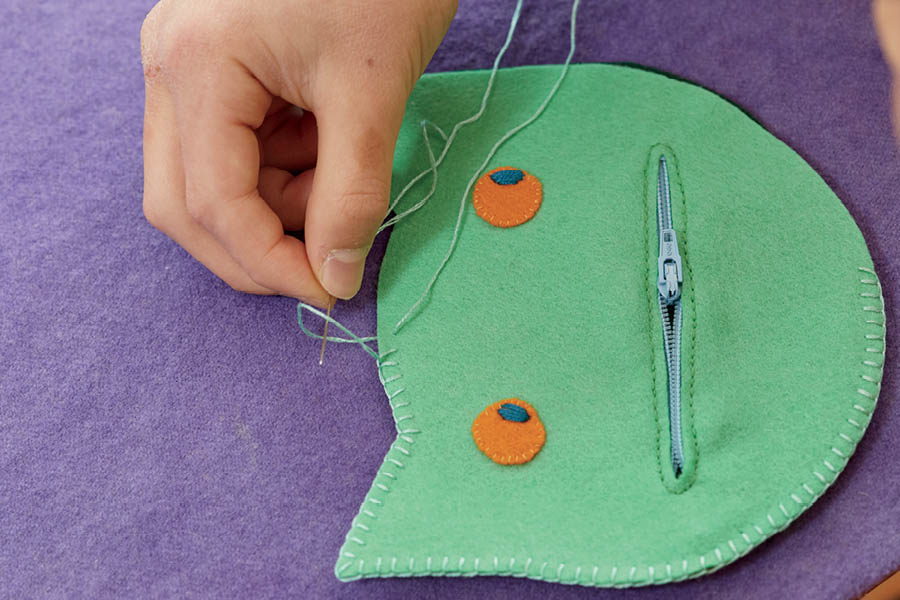
You might be able to find a small zipper at your fabric store, where it will likely be called a “pocket zipper,” but you can also easily order one online. Just type “4-inch zipper” into the search engine (or look on etsy.com). If anyone in your family has ruined a pair of pants recently, you could also try repurposing the zipper from the fly for this project!
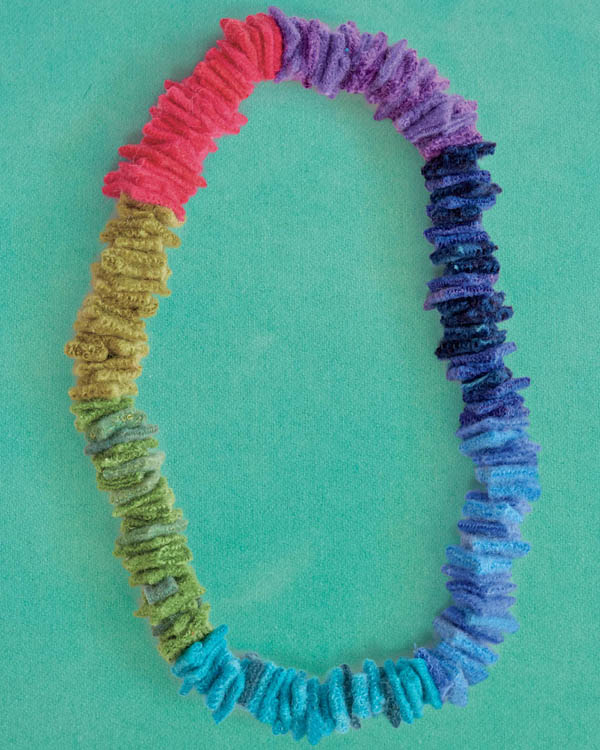
We’re always so in love with our own homemade felt that we can’t bear to throw the scraps out. Luckily, we’ve figured out ways to use them! Like the flowers shown here and this cute necklace, that’s as easy as cutting felt scraps into little squares and stringing them on a piece of embroidery floss or narrow elastic.
