

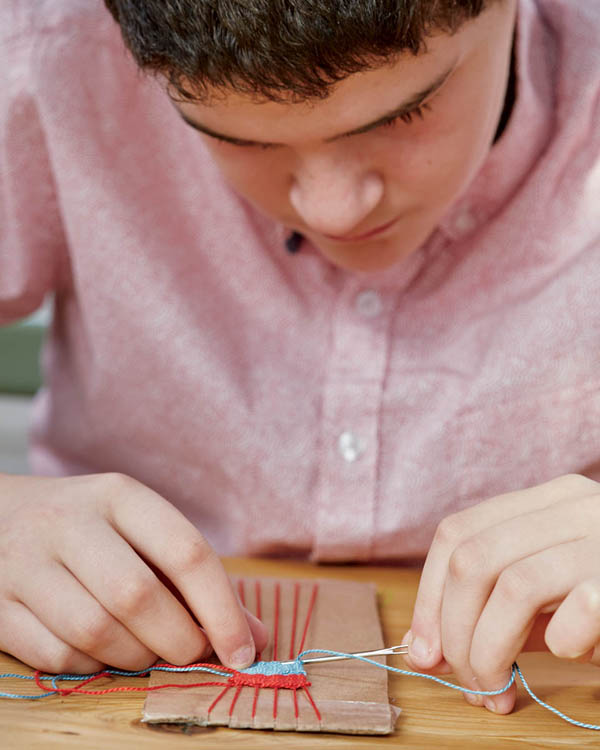
If we showed you a big, bulky rag rug with some colors going one way and some the other, you might think, “Weaving.” And you’d be right. But weaving is actually everywhere: the denim of your jeans or jacket; the fine, smooth cotton of your button-down shirts or bedsheets; the thick canvas of your tote bag or beach chair. Some fabric, like plaid — with its intersecting stripes of color — makes it easy to see that some threads are going one way and some are going the other. In other fabric, you can barely make out the distinct threads or yarns, but they’re there all the same. Like knitting or crochet, weaving is a way to turn thread or yarn into fabric. (Just think how long it would take you to get dressed every morning if you had to wrap yourself in thread!)
Maybe you’ve made woven pot holders on a little square loom before (which is really fun!), and you’ve almost definitely made a friendship bracelet (weaving!) or braided someone’s hair (also weaving!), but we’re assuming you don’t actually have a loom. So while the sky’s the limit with, say, knitting and embroidery, where the basic tools are all you need to be as much of an expert as anyone, you can’t be a truly masterful weaver without a big, complicated loom. You can still do lots of great smaller weaving projects with just a homemade loom — or with no loom at all. Those are the kinds of projects we’re doing in this chapter.

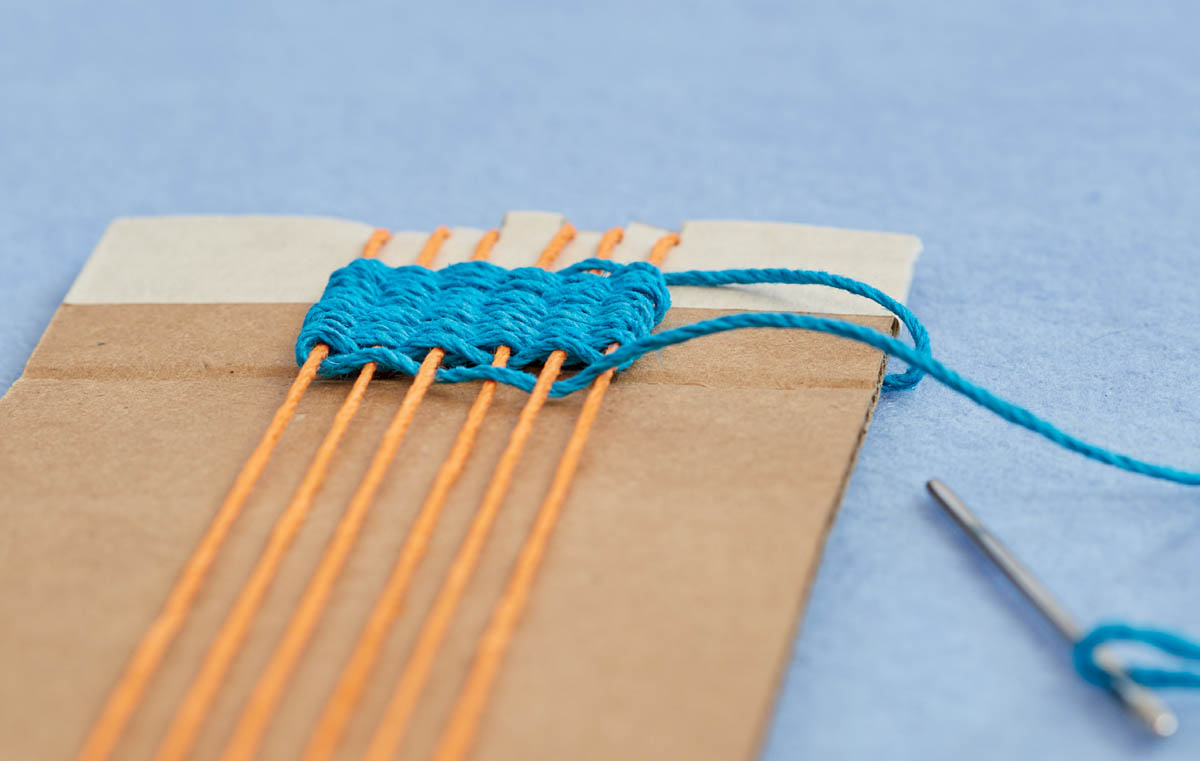
Fiber for the warp. These are the threads that will be stretched up and down in your loom before you start weaving. Strong, sturdy cotton or wool thread, string, twine, or yarn is a good choice for the warp threads.
Fiber for the weft. This is the material you will weave back and forth through the warp threads. Like the warp, the weft can be cotton or wool thread, string, twine, or yarn — but it can also be ribbon, shoelaces, strips of fabric, or plants.
Materials to make a loom. Both looms in this chapter are made out of cardboard, from the back of a notepad, say, or from a shoe box or cereal box. You’ll also need a pencil, ruler, scissors, and masking tape.
Needles. You’ll need a sharp needle for one of the projects and a blunt needle for another.
When it comes to weaving, there are two basic words you need to know, and they both start with a W: warp and weft. The warp refers to the strings you start with, the up-and-down ones that are pulled super tight before you start. The weft refers to the strings (or other materials) you weave side to side, over and under the warp strings. Here’s a trick to remember which one is which: weft rhymes with left — as in weaving right to left and left to right.

You’ve probably woven something in your life: a simple construction paper basket, say, or even a complicated friendship bracelet. Just to make sure you have the hang of weaving, though, try this basic “over and under” with two different colors of construction paper. You can make nice greeting cards or bookmarks this way. Just put a little tape on the back of your finished weaving to keep it from coming apart.

Archaeologists in Czechia (also known as the Czech Republic) found a woven textile fossil at the Dolní Věstonice archaeological site that was originally used by mammoth hunters! That means people have been weaving since the Paleolithic era, which didn’t even end until 10,000 BCE (about 12,000 years ago). An actual piece of cloth woven from hemp plant fibers was found at a different archaeological site in Turkey and dates to 7000 BCE.
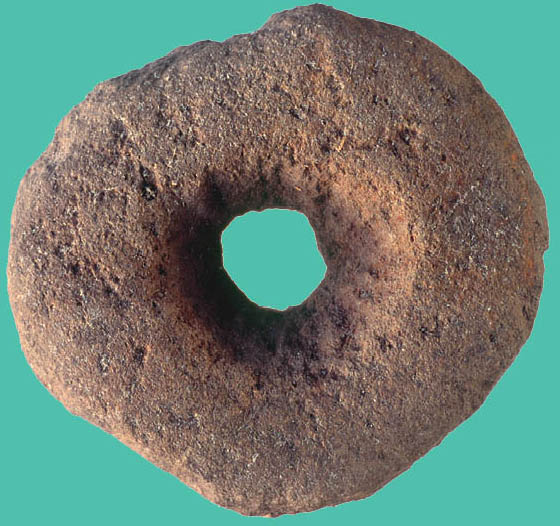
This prehistoric stone loom weight was found in Aylesbeare, England.
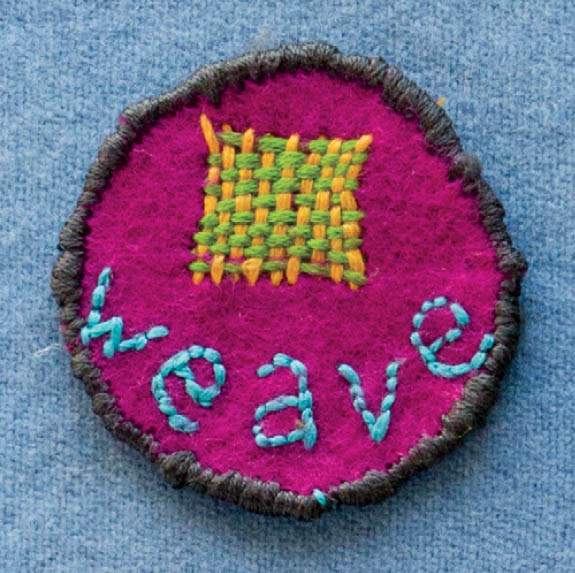
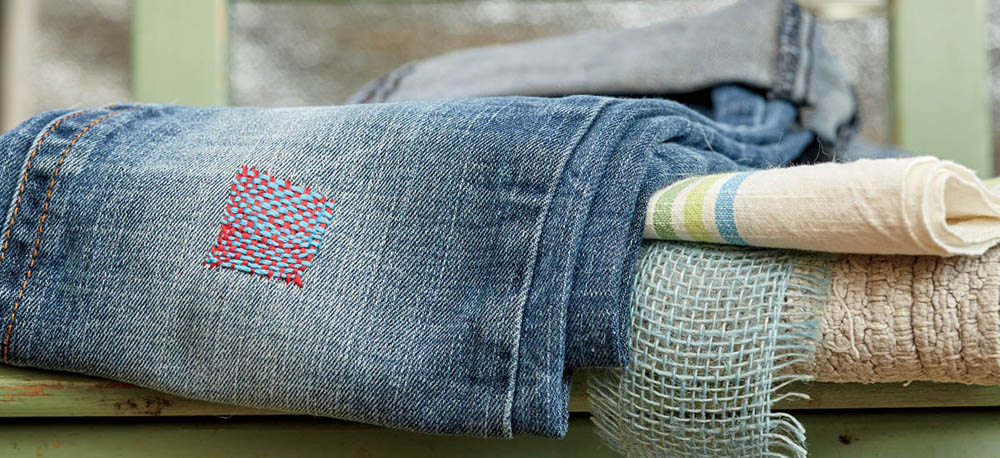
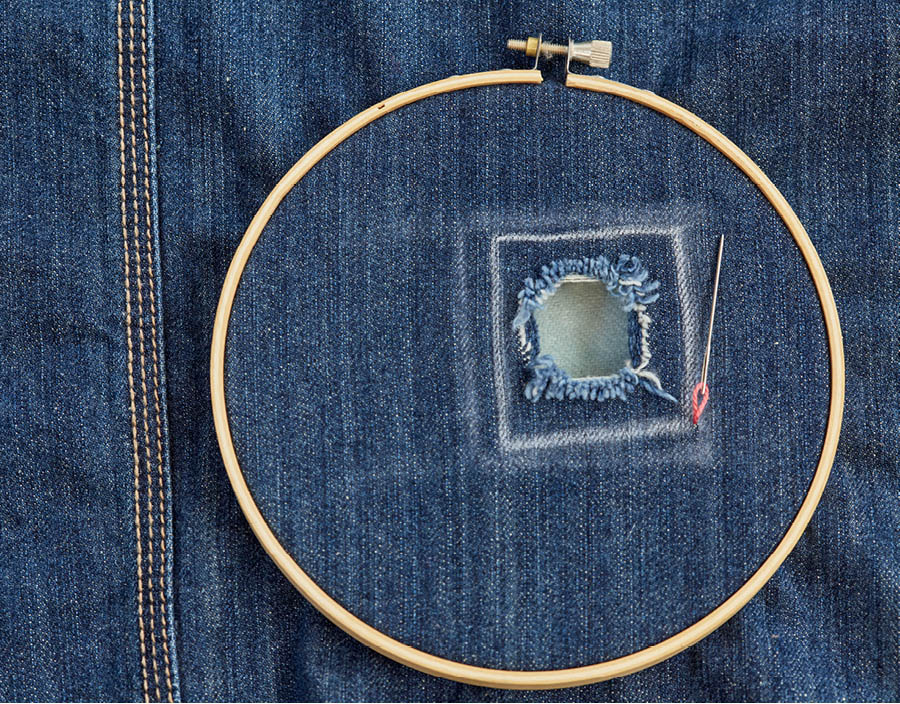
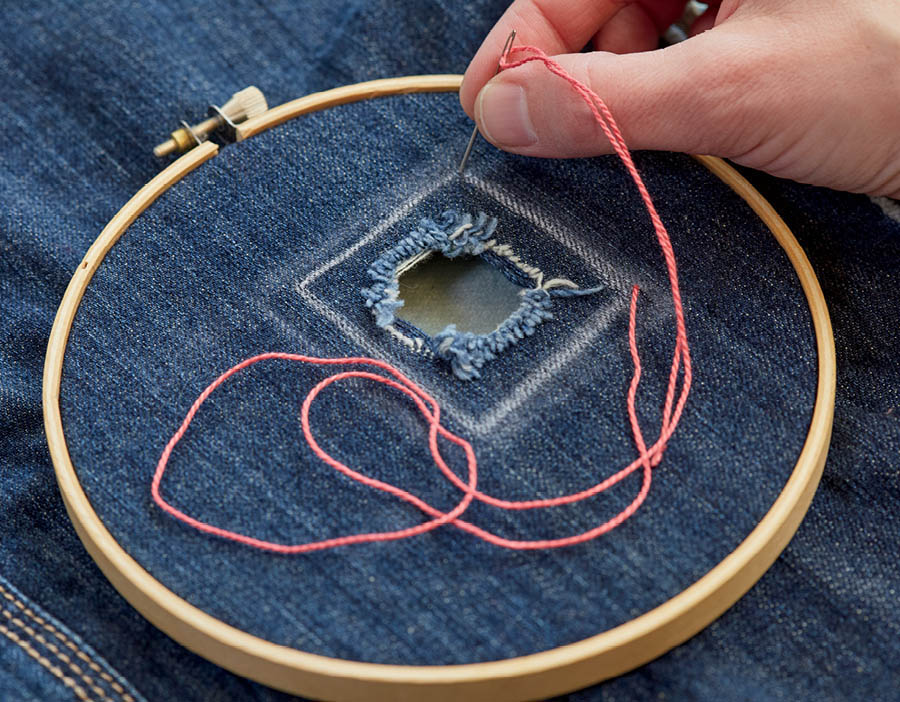
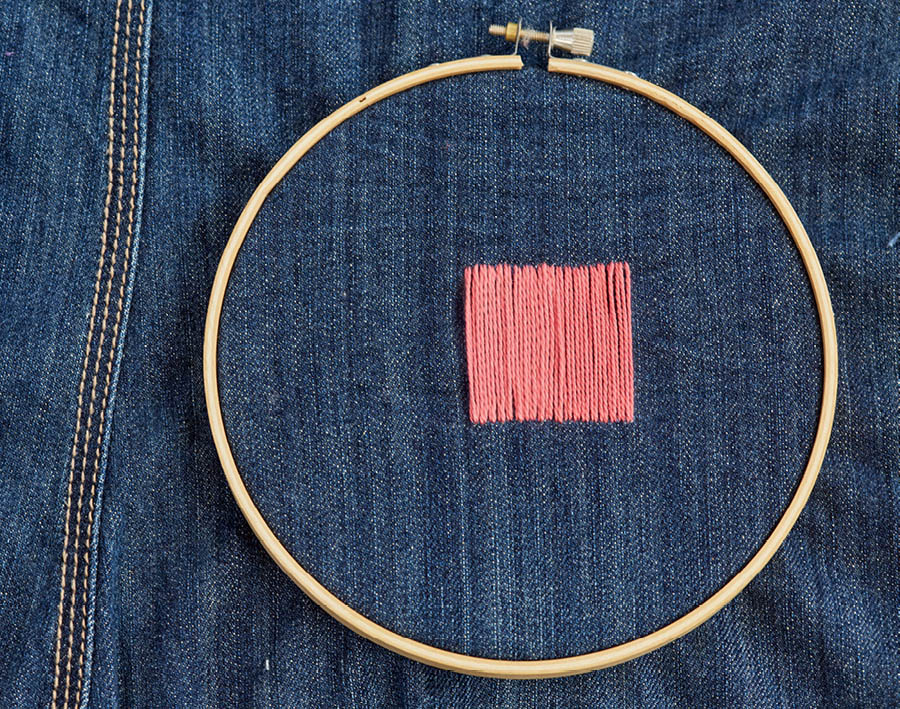
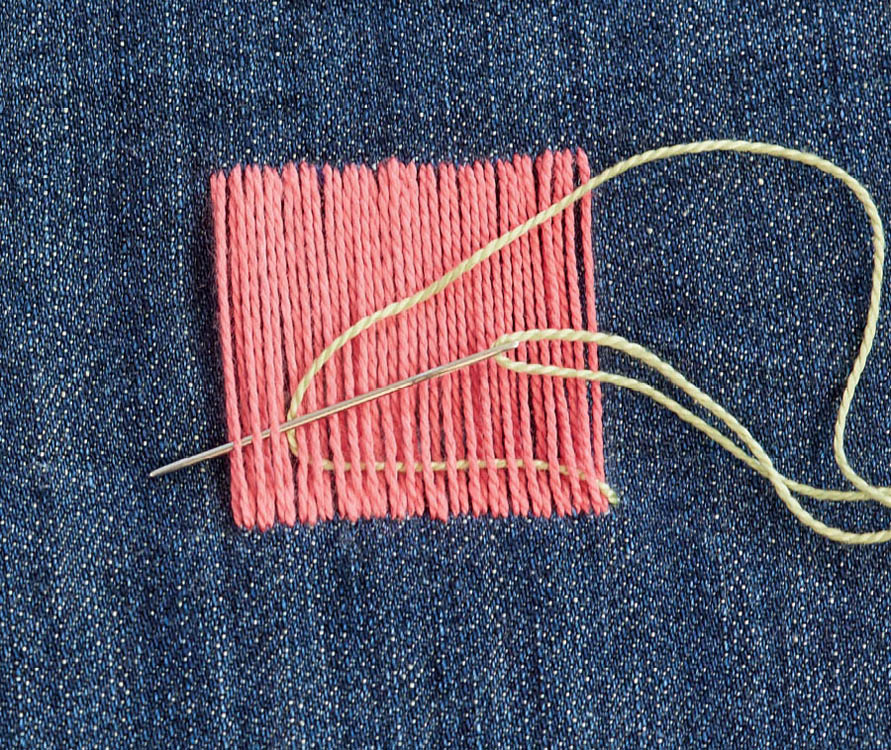
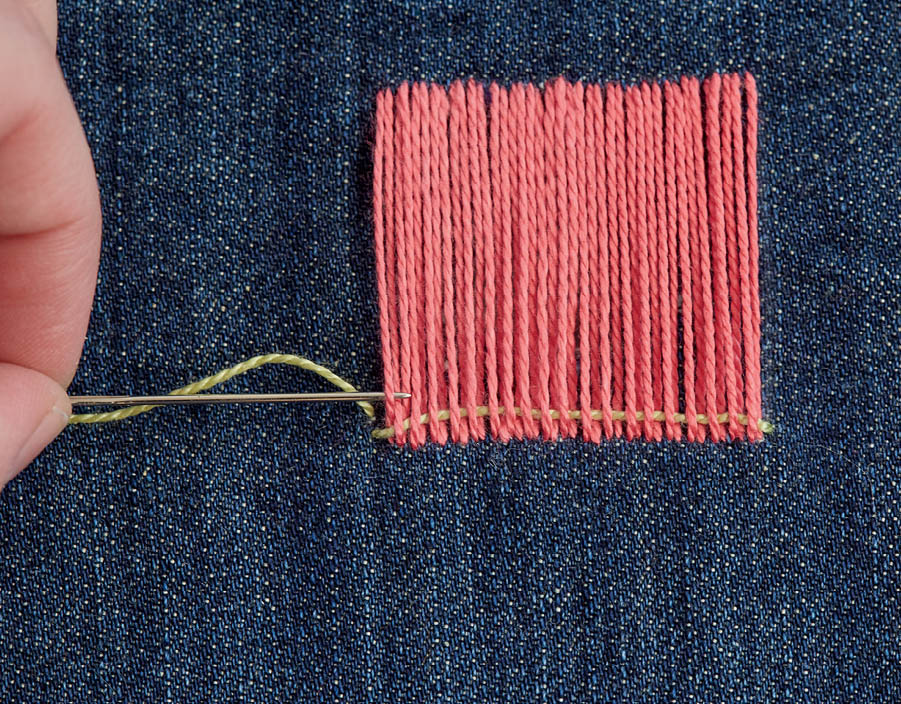
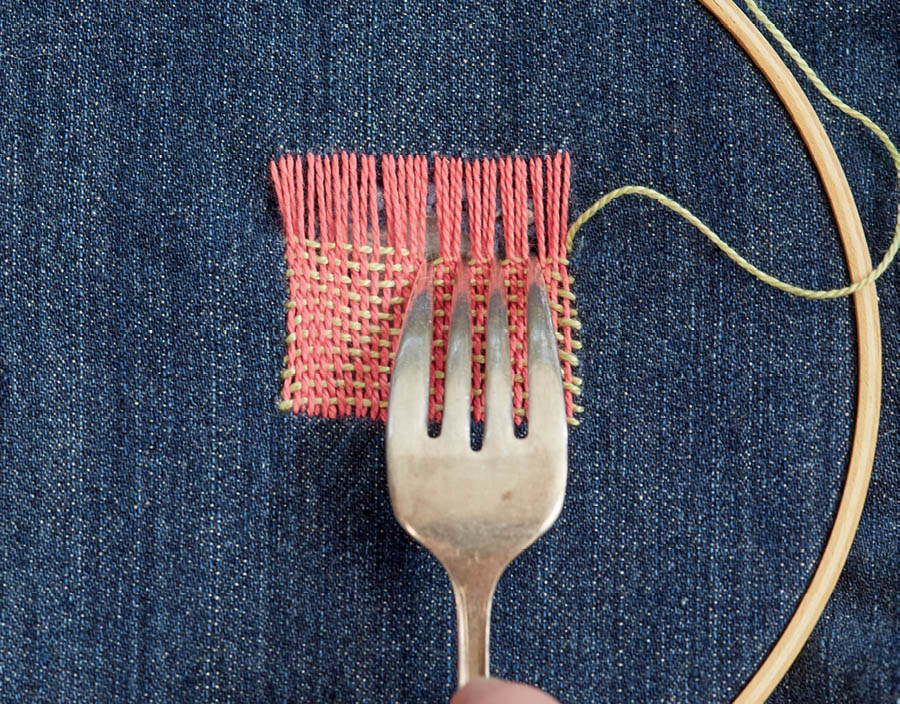
This project is a cross between weaving and embroidery, and it’s a favorite of ours — maybe because it’s so small and perfect. You can weave a patch to decorate or to repair: add something special to your favorite jacket or cover a hole in your favorite jeans. Try to keep this project small — 1 or 2 inches at most — or it can bunch up the fabric.
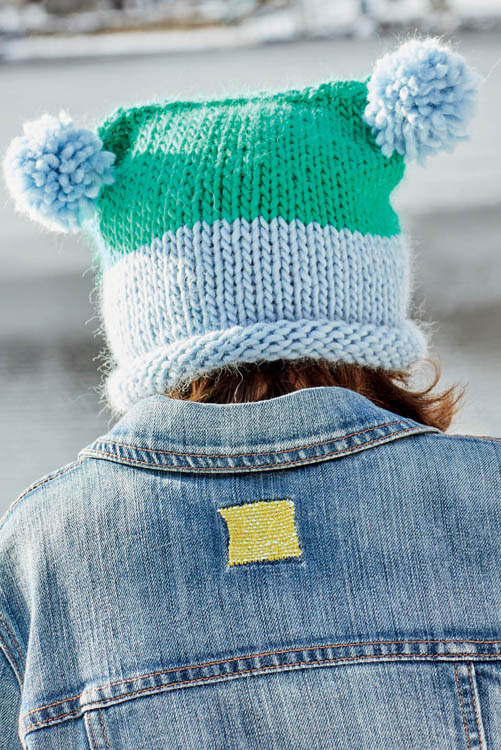
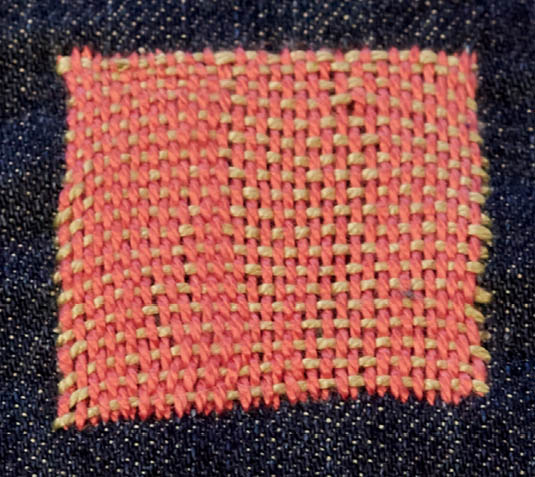
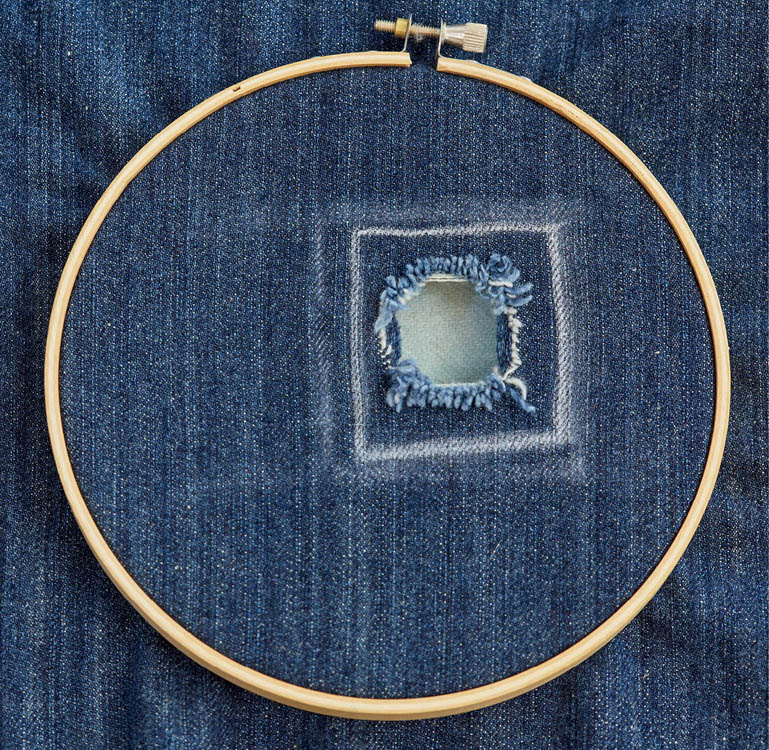
Use the chalk or fabric marker (and a ruler, if you like) to mark out a square on your fabric. If you’re weaving over a hole or tear, leave a wide margin around it so that you’re not working where the fabric is weak. Stretch the fabric in your embroidery hoop (see How to Use an Embroidery Hoop).



The next time you have some scrap denim — like from turning your jeans into cutoffs — snip out a square of it. Put it on a cutting board or a piece of paper, then use a needle to pick at the edges. Do you see the weft threads coming away, leaving the warp behind? When your cutoffs fray or fringe, that’s what’s happening.
Another great fabric to experiment on is burlap, which is that coarsely woven material that flour and grain sacks are sometimes made from. Even before you pick it apart, you can see the weft threads going one way and the warp going another. If you start with a square of burlap, you can actually pull out individual threads and make a pattern. Try it!
