One of the niftiest things about the NOOK Tablet—and what sets it apart from reading a paper book—are the extras it gives you: notes, text highlighting, and the ability to select text and then do something with it—look up a word in a dictionary, say, or share it with others via email or social networking sites like Facebook.
It all starts with selecting text. Press and hold your finger on a word. As you hold your finger on it, the word gets highlighted and appears magnified inside a balloon so you can more easily read it.
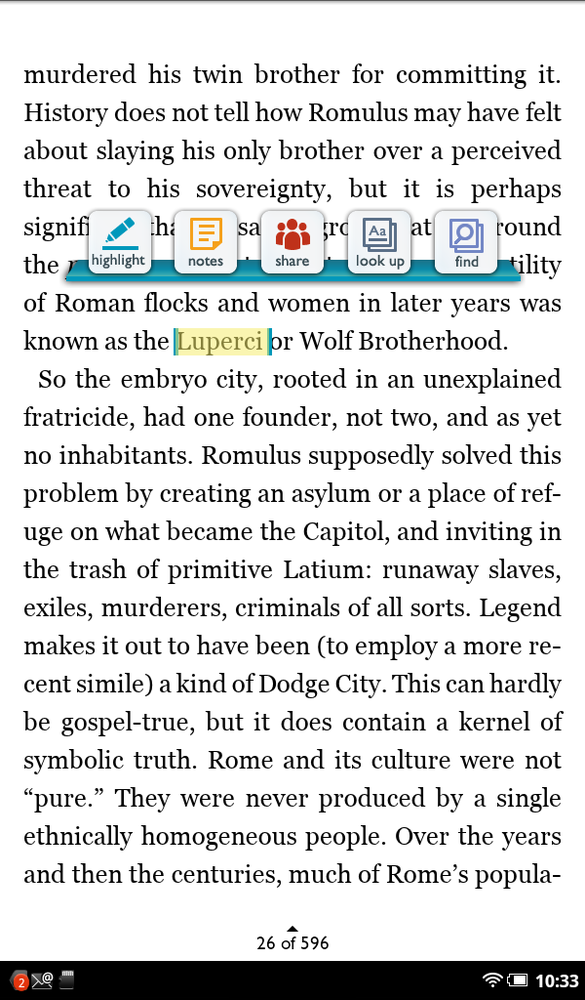
When you release your finger, two vertical bars appear at each end of the word, and the Text Selection toolbar pops up as well. If you want to select more than the single word you just highlighted, drag one or both of the bars to highlight more text. The Text Selection toolbar stays above the highlighted section.
Now tap an icon on the toolbar to do one of the following:
Highlight. Does what the name says. After you highlight the text, as explained earlier, you can see a list of all your highlights by tapping Reading Tools→Contents.
Notes. Highlights the text and adds a note, as explained in Handling Notes. As you read a book, you see a blue note icon where you’ve added a note. Tap a note to read and edit it. As with highlights, you can see a list of all your notes by tapping Reading Tools→Contents.
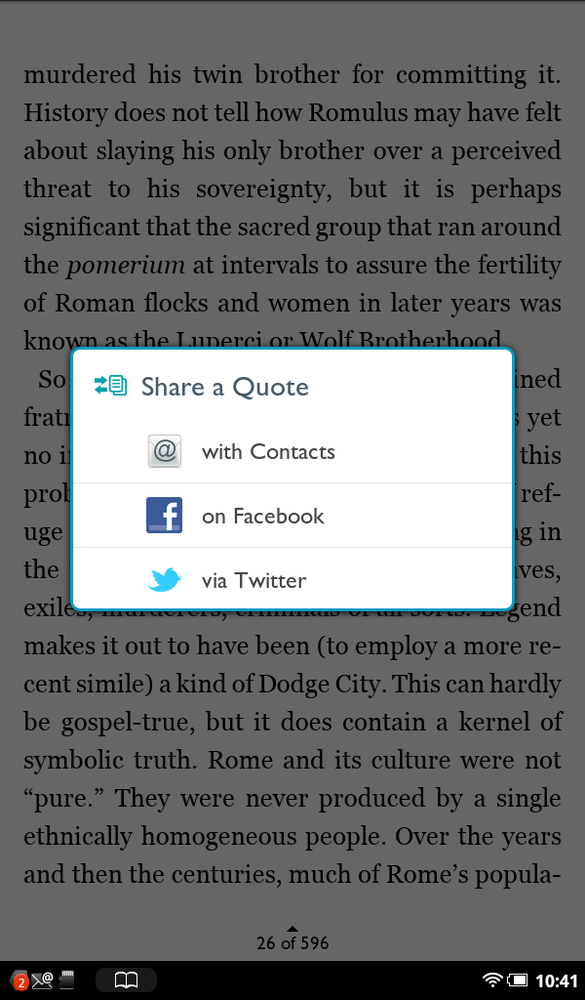
Share. Tap and you can share the highlighted text (what the NOOK calls a quote) with your contacts, or with others on Facebook or Twitter. You’ll have to first link your NOOK account to your Facebook and Twitter accounts (Linking Your NOOK Tablet to Facebook) if you want to share on those services. When you share via Contacts, a window opens where you can choose a contact or multiple contacts with whom to share the highlighted text via email; tap the Add Contacts button to select them. When you select Facebook, a window pops up that lets you post the highlighted text along with a note to your (or a friend’s) Facebook Wall. When you select Twitter, a window pops up letting you post it to your Twitter account.
Note
When you share the quote, there’s also a link to the book on the BN.com website. Keep in mind that Twitter only lets you post messages of 140 characters or less, so your quote and any comment have to be shorter than that. In fact, they’ll have to be even shorter, since the link included in the Tweet uses some characters. Check the number in the lower-right corner of your Twitter window, which tells you how many characters you have left. If you see a negative number, you’ve gone over the limit, so you’ll have to delete some text.
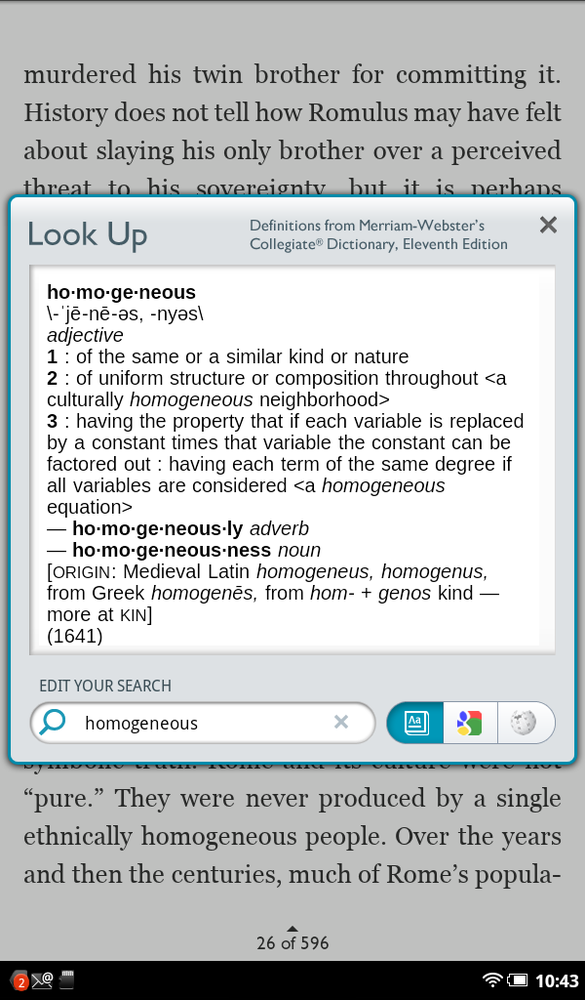
Look up. Searches the Merriam-Webster Collegiate Dictionary built into the NOOK, and shows you the results. But it does more than that as well. Down at the bottom of the screen is a search box with three icons to its right. To change or edit your search term, simply change it in the box. The first of the three icons is for the dictionary. You’re already using it, so don’t bother tapping it. (The only time you may tap the dictionary icon is if you enter a new search term and want to look it up in the dictionary.)
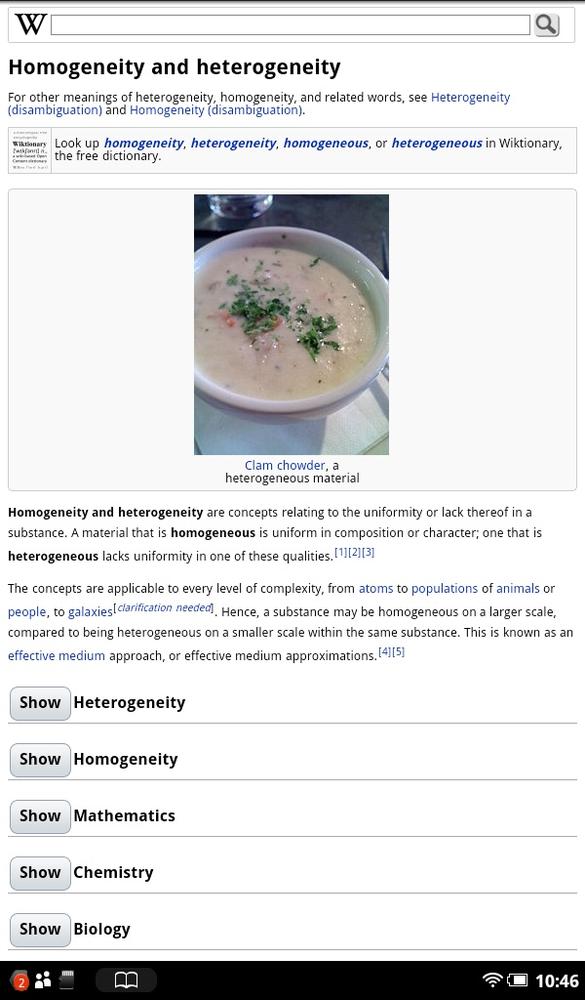
The other two icons may look familiar—they’re for Google (the colorful letter g in the middle) and the online encyclopedia Wikipedia. Tap either icon and you’ll go to Google or Wikipedia in the NOOK’s browser and see the results of your search there.
Tip
If you’ve launched a search that leads you to the Web and want to get back to your book, simply tap the icon of an open book in the Notification bar.
Find. Tap this to search the book for other mentions of the term. For details about how use the Find feature, see Tip.
If you decide to call the whole thing off and don’t want to do anything with the text you just highlighted, tap anywhere on the screen; the Text Selection toolbar vanishes. The toolbar will also vanish if you don’t tap anything on it for 10 seconds.
Note
If you’ve disabled the NOOK Tablet’s browser (Disabling the Browser), you won’t be able to search for text via Google or Wikipedia.
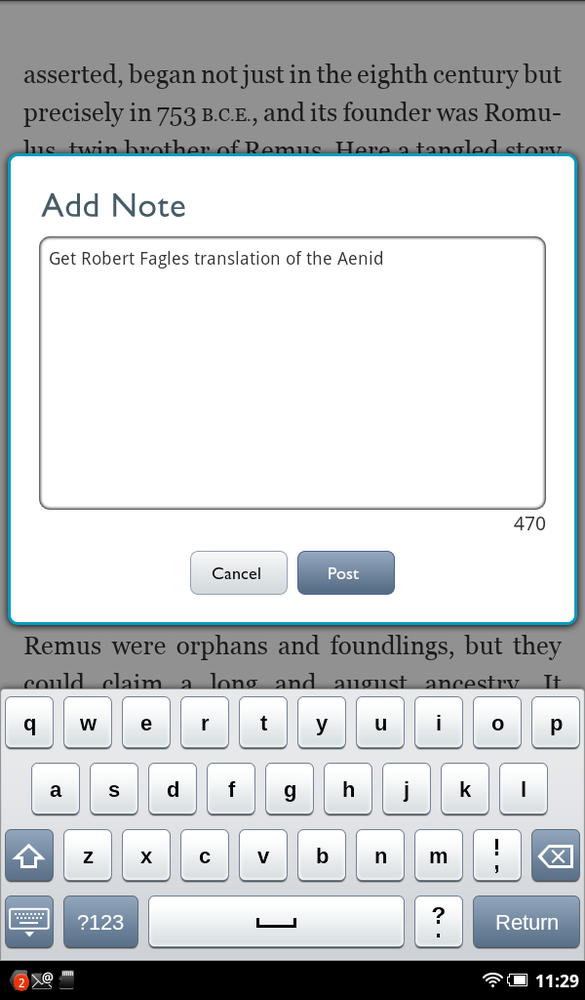
When you tap the notes icon on the Text Selection toolbar, a note-writing screen appears. You’ve got up 512 characters, so you can be more expansive than when using Twitter, with its 140—character limit. You can’t write the Great American Novel in the text box, though—or even the Great American Short Story.
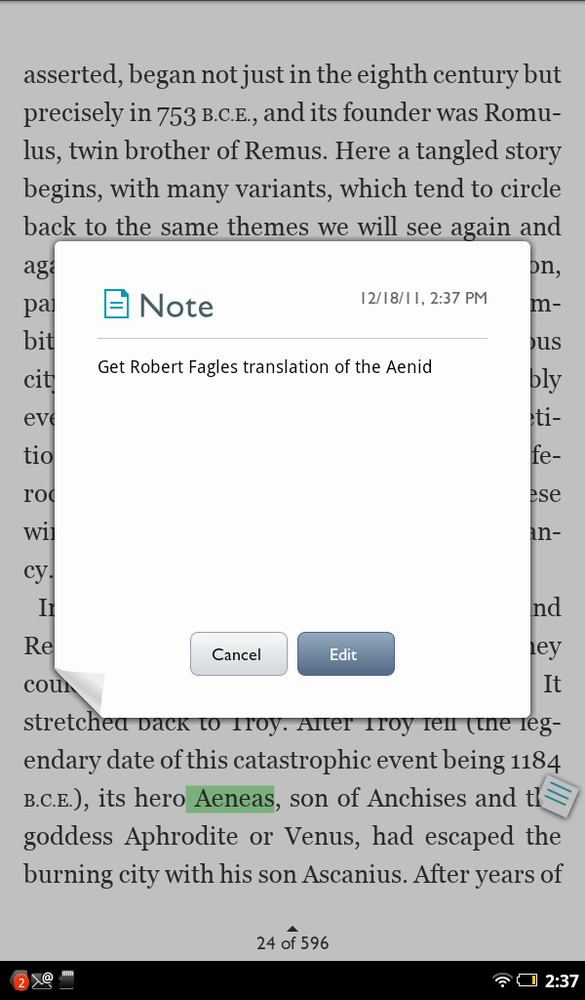
When you’re done writing the note, tap Post. The Text Selection toolbar vanishes, and you’re sent back to the book. The text you’ve just highlighted is in green, and there’s a blue note icon on the right margin of the page next to it.
To read the note, tap it. If you then want to edit it, tap Edit. You go back to the note-writing screen.
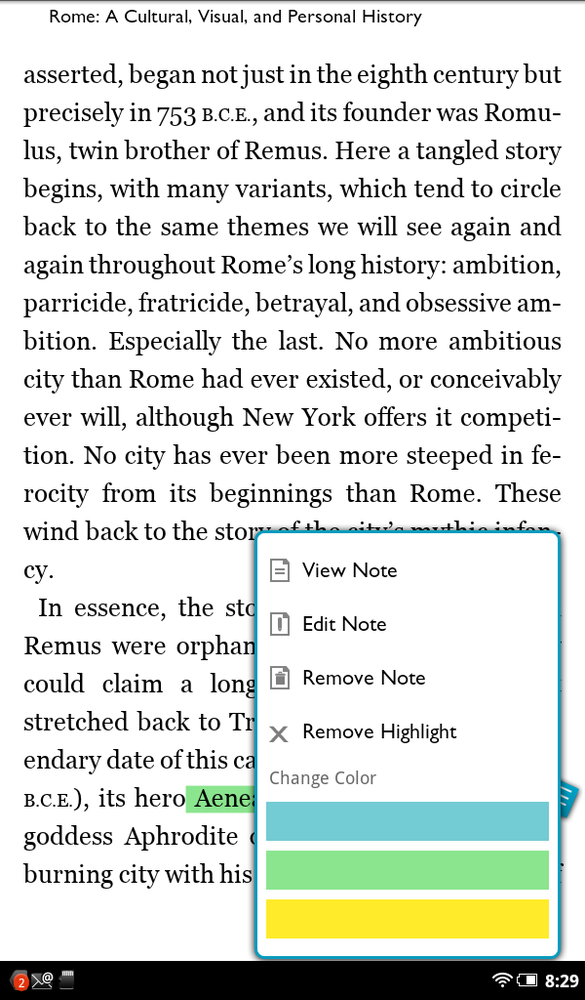
Want to do more with the note, such as changing its color? There’s a simple way to do it. Tap the highlighted text (not the note icon), and a screen appears with these options:
View Note. Does the same thing as tapping the note icon—you read the note.
Edit Note. Takes you to the now-familiar note-editing screen.
Remove Note. Deletes the note but keeps the text highlighted
Remove Highlight. Deletes both the note and the highlight.
Change Color. Tap the color you want your notes to be, and that’s what they’ll use from now on.
Tip
Want to remove all notes in one fell swoop? Use the Text Selection toolbar to go to the table of contents, and then tap the Notes & Highlights tab and tap “Clear all”.
To see all your notes, go to the book’s table of contents from the Text Selection toolbar, and then tap the Notes & Highlights tab. You’ll see them all listed by the highlighted text associated with them. To jump to the note itself, tap the listing. Remember, the list of notes and highlights doesn’t distinguish between the two, so from that tab, you can’t tell which listings are merely highlighted text and which have a note attached.
When you’re on the Notes & Highlights tab, you can also hide all of your notes and highlights for a clutter-free reading experience. Turn off the Show Notes & Highlights button at the bottom of the screen. You can still see your notes and highlights on the Notes & Highlights tab; they just don’t show up in the text itself.
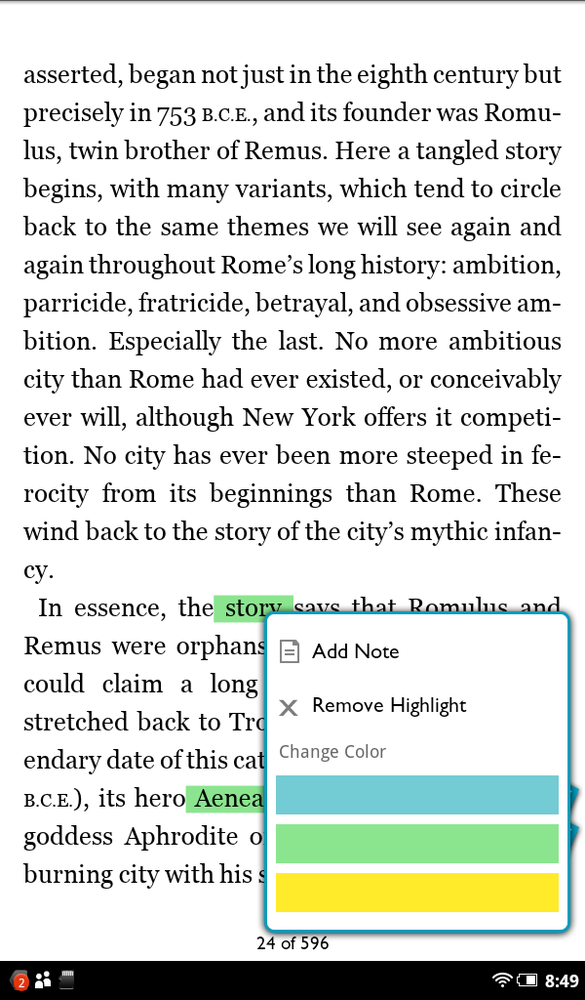
You handle highlights in the same way you handle notes. Create them by using the Text Selection toolbar, and view the list by going to the Notes & Highlights tab of the table of contents. Tap any highlight to see a menu of options similar to the one you get when you tap a note, although it’s more limited. You can add a note to the highlight, remove the highlight, or change its color. If you add a note to the highlight, it then acts like any other note.

