The world is full of patterns and symmetry. Several SketchUp tools, including the Follow Me tool, take advantage of this happy fact. In earlier chapters, you saw the Push/Pull tool in action. Push/Pull takes a two-dimensional shape and expands it into a three-dimensional object. The process is called extrusion. Follow Me is another SketchUp tool that extrudes 2-D shapes. The difference is that Follow Me extrudes shapes along a path, rather than just in a straight line. In this chapter, you extrude the profile of a roof around the top edge of a building. Like other SketchUp tools, the Follow Me tool is a great timesaver. You provide the minimum amount of information needed to define the shape of the roof, and SketchUp takes that information and draws it with all the proper edges, faces, corners, and angles.
This chapter also explores the Protractor tool. You use the Protractor to measure angles and to create angled guides in your model. For those cases when you can't simply align an edge along one of the main axes, the Protractor tool comes in handy. The hipped roof created in this chapter is just one of those cases. So roll up your sleeves. Find the Follow Me and Protractor tools in your SketchUp toolbox. It's time to build a roof.
Before you can build a roof, you need a building and a plan. The simplest shapes will do the trick, so this section starts off by making a couple of building-shaped boxes. Then using the Tape Measure tool, you place some guides that you'll use to draw the profile shape for a hipped roof.
Choose File → Open to create a new SketchUp document.
A new document opens and Sang, the SketchUp model, greets you. It's probably best to hide or delete him at this point. You don't need anyone looking over your shoulder.
Note
The figures in this chapter use the "Simple Template – Feet and Inches", but you can also use the "Architectural Design – Feet and Inches" template. If you need a refresher on how to open a document using a particular template, see Choosing a Drawing Template.
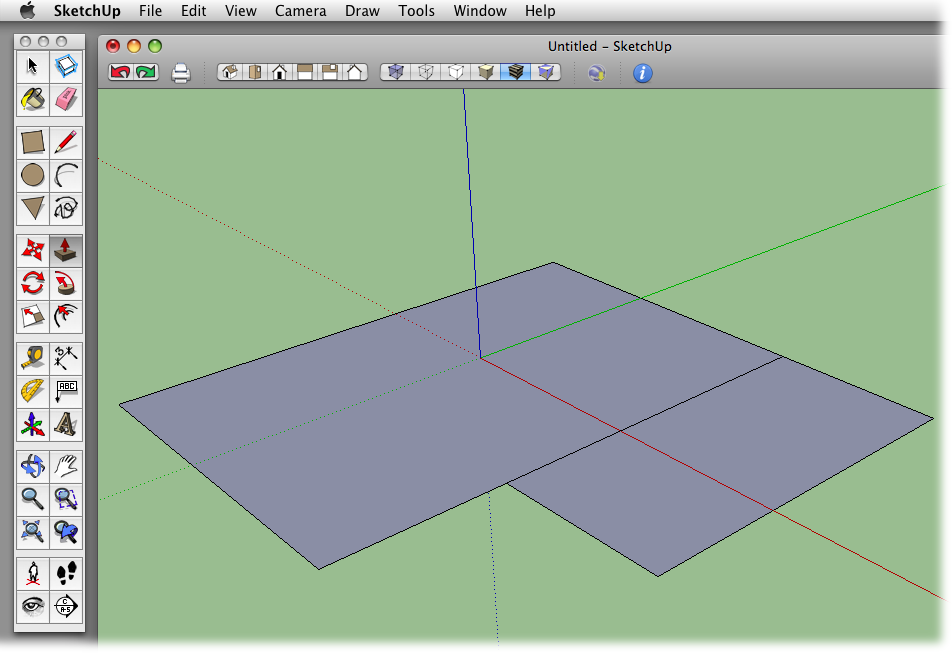
Using the Rectangle (R) tool, begin to draw a rectangle. Type 20',30' and then press Enter (Return on a Mac).
A rectangle appears on the plane formed by the green and red axes.
Starting at the rectangle's upper-right corner, draw a second rectangle. Type 20',10' and press Enter.
You've got the beginnings of an L-shaped floor plan, as shown in Figure 8-1.
With Push/Pull (P), begin to pull the large rectangle up vertically, along the blue axis. Type 10' and then press Enter.
The large rectangle pops up to a story-size, 10-foot height.
Still using Push/Pull, double-click the small rectangle.
The small rectangle duplicates the last Push/Pull action moving the same distance and the same direction. You may have to reorient the faces after you've pulled up the second box.
With the Push/Pull tool still selected, press the Ctrl (Option) key.
A + sign appears on the Push/Pull cursor, showing that it's now in copy mode. See the top of Figure 8-2. The copy mode for Push/Pull is similar to the copy mode with the Move tool. Using Push/Pull in copy mode is similar to using the Move tool in copy mode. The original shape or entity stays put, and Push/Pull creates new edges and faces. In this case, it's a great way to create a second story.
Click the top face of the box and begin to pull up. Then type 10' and press Enter.
The larger box now appears to be a two-story building with a horizontal edge separating each floor. Because you used the copy mode with Push/Pull, a horizontal edge is between the top and bottom stories.
Use the Eraser to remove the extra vertical line on the side of the second story.
It's always best to remove any unneeded edges as you see them. This edge could cause trouble when you create the roof.
With the Tape Measure (T) tool, click the top edge of the second story, and begin to move vertically (parallel to the blue axis). Type 10 and then press Enter.
Make sure there's a + sign showing on the Tape Measure tool. When there's a + sign showing, the Tape Measure creates guides in your model. If the + sign isn't showing, press Ctrl or Option to toggle copy mode on.
Before you click, you should see a red dot at the cursor's selection point indicating that it's on the edge. Then as you move the cursor, you see a blue, dashed line when the Tape Measure is moving on the blue axis.
With the Tape Measure tool, click the right edge of the building, and then move horizontally, parallel to the red axis. Type 12 and press Enter.
As shown in Figure 8-4 (Protractor Modifier Keys) the two guides intersect at a point 10 inches above the roof and 12 inches to the right of the second story. As you move the Tape Measure, the distance appears in a tooltip. Still, it's usually faster and more accurate to type distances when you're placing guides in your model.