As you may have noticed by now, for all their power, filters in Inkscape have a significant drawback: They are slow. Sometimes, very slow. While future versions of the program may to some extent address this (most likely, by enabling Inkscape to use the graphics card processor for filter calculations), there’s something you can do right now.
First of all, recall that you can always switch to the Outline mode (3.11 Rendering Modes) to speed up rendering while working on a document. There is also the No Filters mode, which is the same as normal mode except that no filters are rendered; this is perhaps the best option if filters are the main source of slowness for you.
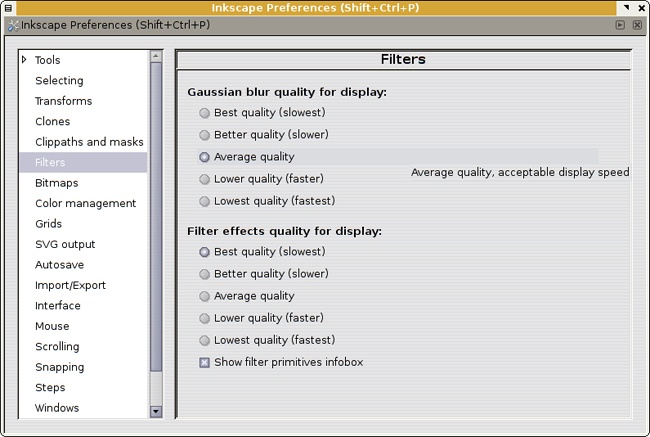
Also, the Filters tab of the Inkscape Preferences dialog (Figure 17-27) has some settings that you can try to tweak to speed up rendering. The first group of radio buttons applies to blur and allows you to choose your desired level of the speed/quality tradeoff. The default, Average quality, looks almost perfect and renders reasonably fast. At lower quality settings, visible defects appears, but rendering becomes even faster; the higher settings bring little quality improvement but are significantly slower.
Note
Bitmap export (18.9 Bitmap Export) as well as rasterization of filters for PS/EPS/PDF export always use the highest quality of blur, which is why exporting is typically slower that rendering the same image on screen at the same resolution.
The second set of radio buttons applies to all filters (including blur). It also offers to trade an improvement in rendering speed for worse rendering quality, but its speed advantage is less significant, so here the Best quality option is probably optimal.