Sewing School inspires and teaches children how to sew, using step-by-step directions, simple language, and child-created examples of contemporary sewing projects suited for a modern home.
Once kids learn a few basic skills, they’ll be eager to try their hand at all kinds of sewing projects. This book builds on prior knowledge using “step-up projects” that employ developmental cues established by the Montessori and Waldorf schools. For each project, we’ve included A Note for Grown-Ups to identify steps that require adult assistance. The directions themselves are written at a second-grade comprehension level, with projects designed for sewers ages five and up.
Sewing School isn’t as rigorous as a home-economics class. During our hands-on sewing sessions with younger children, we’ve discovered that, for the most part, young sewers don’t care about pressed seams and neat hems. So we decided to focus on easy, fun projects that don’t require extra work. That said, most intermediate sewers will naturally take these projects to the next level by initiating additional steps on their own.
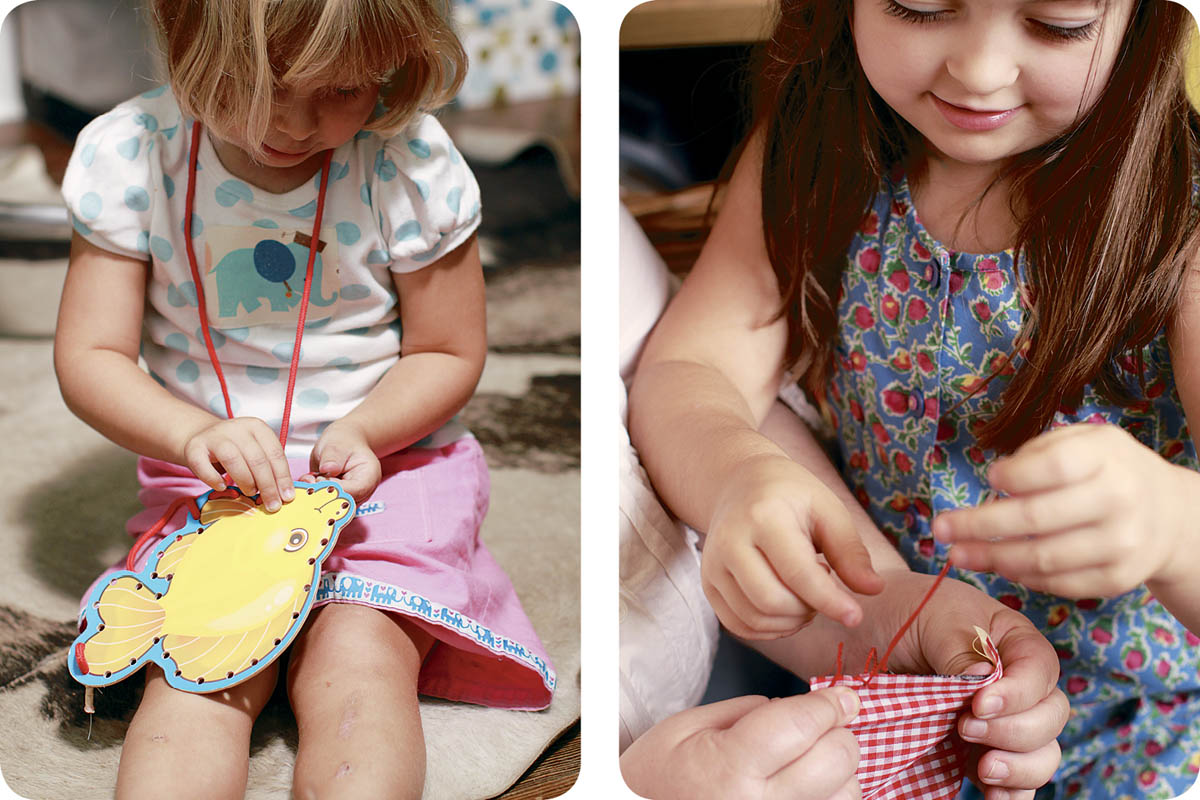
For kids who aren’t quite ready to handle a needle and craft thread, start out by showing them how to lace sewing cards. Or help them sew an easy shape (try the So Soft Pillow or the Cute Coasters) by holding the fabric pieces taut and then lifting them up to chest level so kids can see both sides of the fabrics as they guide the needle and thread. We’ve done this successfully with four-year-olds who desperately want to sew like their parents or older siblings.
Almost all of the projects in this book are hand sewn. Still, children are often fascinated by sewing machines. If this is the case with your child, try moving the pedal to a tabletop so he or she can press it with one hand to make the needle go. Demonstrate how to raise and lower the presser foot and how to gently guide the fabric while you remain in control.
You’ll find more basic sewing machine guidelines in Lesson Six: Get Your Stitch On. If you’re looking for a kid-friendly sewing machine, we recommend buying a basic adult model rather than a toy. We like the sturdy and practical Janome Sew Mini Sewing Machine (see Resource Guide).
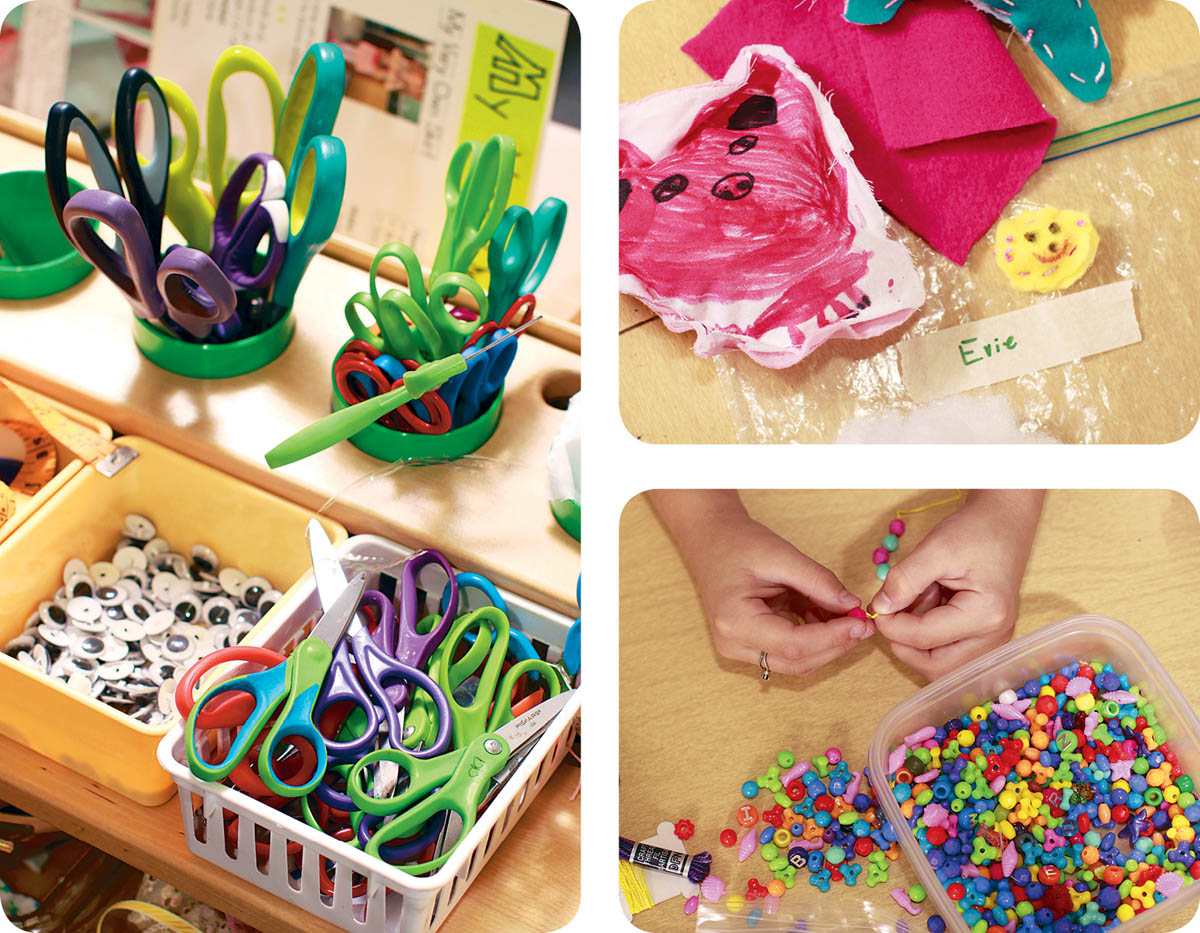
Regardless of your own ability, your child can sew. All you need to do is provide a few inexpensive tools, such as kid-friendly needles and thread and a pair of scissors. Refer to the Resource Guide for a full list of our tried-and-true recommendations.
Of course, you’ll need fabric, too. While you can easily purchase fabric at retail stores and online, you can also find it around the house in the form of outgrown clothing and cast-off sheets and pillowcases. Kids will probably need help initially threading needles and making knots, but other than that, they can sew with minimal supervision.

As children learn to sew, they improve their fine motor skills and learn how to focus and follow directions. In fact, during our summer camp sessions, we’ve been astonished to discover that children who were previously bouncing off the walls were more than willing to sit down in a quiet place so they could focus on their projects.
Before your child starts sewing, please discuss sewing safety (see Lesson Four: Sewing School Rules) with your young sewer, and invest in the tools we recommend in Lesson Two: In Your Sewing Kit, which are sized just right for kids’ hands. Also be sure to stress the importance of asking for adult help when needed. And provide a quiet place to sit and sew, as well as a few plastic bags with zipper-type closures to store works in progress.
Once they start sewing, some children will repeatedly ask midproject, “What’s next?” Refer your sewer back to the book, which has detailed written and photographed steps. Resist the urge to continually rethread needles or tie knots yourself. Instead, guide your child through the directions in Lesson Five: Ready, Set, Thread to help teach self-sufficiency.
Whether on purpose or by accident, kids often go off on a tangent during the crafting process. When sewing, encourage your kids to add their own personal touches if they like. We’ve included a list of ideas entitled Make It Yours for each of the projects in this book. By learning that they can complete a project in different ways, kids will gain more confidence in their abilities and take their imaginations to new levels.
One way to promote creativity is to encourage young sewers to use recycled materials. See what your kids can make from a discarded pillowcase or the buttons cut off a too-small shirt. Ask them to help with mending, or let them update their old clothes with fabric embellishments.
Finally, remind young sewers of this rule for sewing: nothing has to be perfect. Flaws are more than okay, they’re endearing. Imperfections give each project a unique flair that cannot be found in mass-produced merchandise. It’s also important to remember that sewing projects don’t have to be finished in one sitting. The most important thing is just to have fun!
When we initially decided to teach Sewing School as a summer day camp activity, our friends thought we were crazy. We wondered, too, as we faced the roomful of 30-plus first- to fifth-grade students, many of whom had never sewn a single stitch. Yes, it was daunting — but we learned that sewing can be a fun group activity, viable for classrooms, birthday parties, or after-school sessions.
As with any successful project, you need to plan ahead. Make sure you have the right supplies and tools on hand. Prethread some needles. You’ll need to provide flat surfaces for cutting and sewing, too. During summer camp, most of our kids sewed at group tables, while a few others preferred to flop on a beanbag or into a comfortable chair.
Don’t feel dismayed if some kids don’t maintain interest in the chosen project. Some might be perfectly happy draping themselves, toga style, with pieces of fabric, while others will race to the finish with oversized stitches. We’ve taught kids who, once they made their first So Soft Pillow, stayed on that trajectory for the full week, making dozens of pillows in every color and size. We’ve seen young sewers who start out with a basic pattern like the Hold-My-Stuff Bag, then deviate from our design to add their own pockets, flaps, and handles. We’ve also had kids make completely adorable Your Little Friend dolls and then render them unrecognizable with fabric markers and crayons. Remember, it’s okay if they go off track. Sewing is about what they want to make, a celebration of their creativity. Oftentimes, the results are amazing. Here are some tips for staying organized when sewing with a group.
 Set up different stations around the room: one area for needles and thread, another area for fabric, and yet another for stuffing. Place bowls of notions on each table.
Stock plastic bags with zipper-type closures in a big bin. Kids can use them to store their works in progress.
Discuss sewing safety, at the beginning of each day. (See Lesson Four: Sewing School Rules.)
Put up detailed step-by-step project directions on the chalkboard or bulletin board, and have a sample of the final project on hand.
Make multiple copies of the pattern using poster board and a marker. Keep them near the project directions, preferably at the front of the room.
Offer simpler activities for nonsewers, if possible. You might provide weaving tools and supplies, for example, or a bowl of beads to string.
Have blank paper and drawing materials available so kids can create their own patterns and sketch ideas.
During your sewing session, encourage independence, and remind young sewers that nothing has to be perfect. Here are some tips for making sure kids have the information they need to become self-sufficient.
Show first-time sewers how to thread needles on their own, using a LoRan needle threader and working in small groups. Once students have mastered this task, have them make paper badges and staple them to an accomplishment bulletin board in the room.
Demonstrate the basic sewing steps necessary to complete a project. We like to break the kids into small groups and teach specific skills such as threading needles, sewing stitches, and tracing patterns. Use the lessons in the Getting Started section as a guide.
Before starting on a particular project, talk about its usefulness. Ask kids for ideas about variations. Discuss which fabrics they might use.
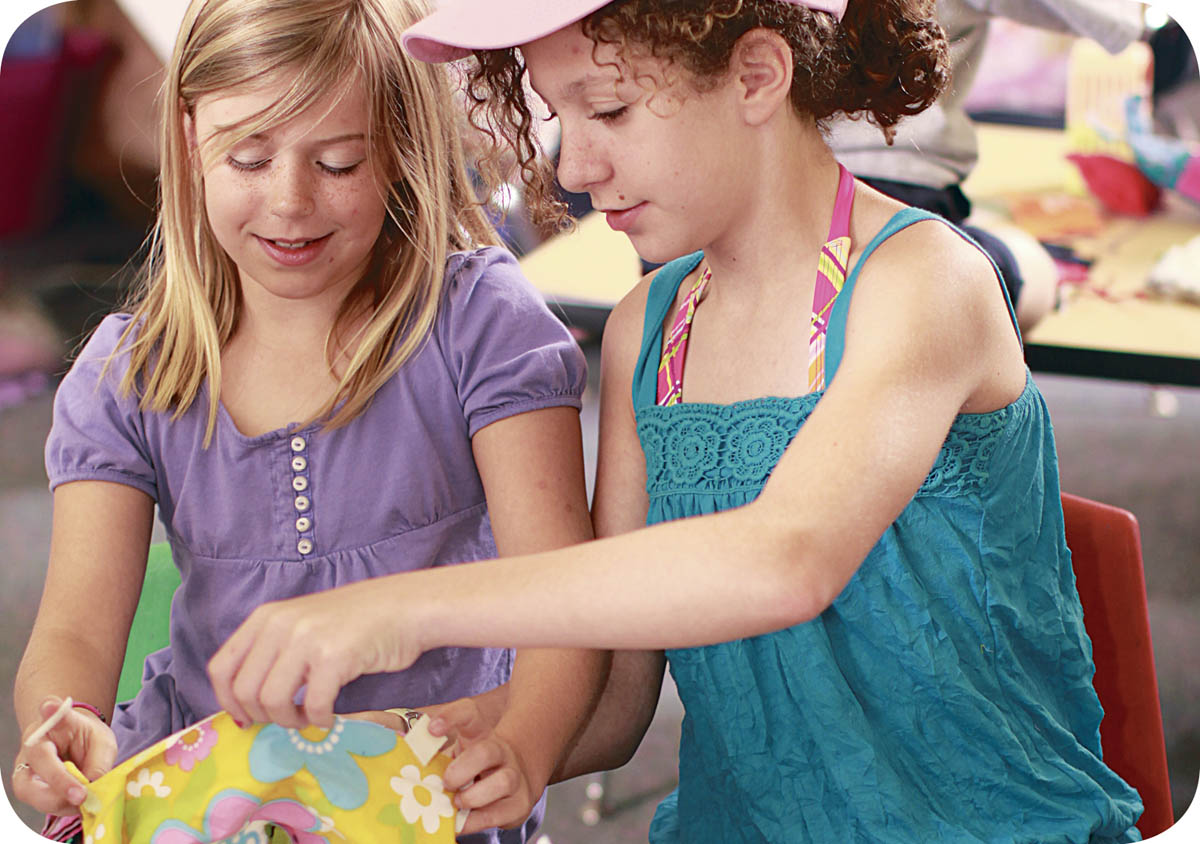
Ask more experienced sewers to assist their less-skilled counterparts. Remind firsttime sewers that if they run into problems, they can carefully undo their stitches and start again.
Have the kids make their own Book of Needles for a first project. Ask them to personalize their needle books in some way or use masking tape and a permanent marker to put their name on the back. Remind your sewers to always return needles to their needle books after sewing.
Assess the abilities of sewers in a multiskilled group by making So Soft Pillows or Stuffies. Some kids might not progress beyond this point, which is okay, as long as they continue to have fun.
While it’s not difficult to instruct a roomful of young sewers, the scene can often look chaotic. Try appointing helpers who, at designated times, are responsible for picking up specific items:
Needle monitors, armed with magnetic wands, can pick up spare needles and pins.
Stuffing supervisors are responsible for reorganizing the pillow-stuffing station.
Material managers can refold fabric and return it to the proper place and pick up small scraps off tables and the floor.
Take a break after a cleanup, by reading to the group from a sewing-themed book (see Story Time).
At the end of the day, have a show-and-tell time for young sewers who can discuss the designs and techniques they used to put their own stamp on their sewing projects. Encourage sewers to explain which experiments worked best, and compare and contrast different variations on similar projects. Invite parents and friends to attend.