Eating for Comfort
Cultivating Nourishment
Is there one comfort food that you gravitate toward to refill your resilience tank? Ever wondered how a grilled cheese sandwich possesses superpowers? Much of that power lies not in the sandwich itself, but, instead, in the way your mind perceives that sandwich.
When the double-fudge chunk calls, I am usually in pursuit of something far more nourishing than pleasure; it’s the taste of love I am craving. Research indicates that preferred comfort foods are often those served to us by loved ones from our childhood. The mere smell of peanut butter transports me to quiet wintry mornings with my Dad serving me toasted raisin bread with a generous dollop of peanut butter oozing into the nooks and crannies. To this day, peanut butter is a part of my morning ritual. I have not found a better way to set my daily intent to embody love.
Can the task of changing how we eat to nourish ourselves as an interdependent part of nature be made easier by programming ourselves to feel the soulfulness of comfort food when we munch foods produced in ways that foster a regenerative world? I think so.
Our sense of smell acts as a scout for our brain to trigger emotions, memories, and motivation. It has been shown that scent-evoked nostalgia predicts higher levels of self-esteem, optimism, social connectedness, and meaning in life. What an opportunity to pepper your pleasure with purpose. Ask some beginner’s mind questions before you eat and consider how the production of your food impacts on biodiversity, soil fertility, or carbon-absorbing forest cover. Give gratitude if the answers align with your values and make a memory of that emotional nourishment by deeply breathing in the aroma of your food. Repeat the process the next time that same meal is served, and it will gradually become a part of your nature-related practice, creating an attitude for life that extends way beyond your diet.
For all foods to be comfort foods, slow down and focus not just on your food, but on your wider environment as you eat. Your mood will affect how you perceive your food. This was demonstrated by a research project that compared how people experienced the taste of sorbet after a sports game. Supporters of the winning team found the sorbet to be sweet, whereas the losing fans found it tasted sour. Program the feel-good associations of plugging into nature through eating by looking out your window, considering the feel of air on your skin, breathing deeply, and reminding yourself that eating for comfort has as much to do with what is outside as it has with what’s in you.
Cooking for Comfort
When, in the words of one song, the “fish are jumping and the cotton is high,” plugging into the sensations of life that surround you is a breeze. This collection of rituals in the form of recipes is designed to pepper your summertime eating with sensual memory-making power. Some of the recipes are for eating in the moment, others are preserves to help you evoke summer comforts in the depths of winter. Making now to eat much later also exercises your long-term thinking—a critical skill for developing an interdependent food-web world view. An afternoon of making preserves can help you become the change, from head to hands to habit. What is more comforting than that?
Green Pea Guacamole
Guac tastes great, but it doesn’t bring me comfort when I consider its impact on forests, soil, water, and the web of biodiverse life (people included) that suffers because of a craze for avocados. So when a craving for guacamole strikes, this is my alternative.
Makes
About 2 cups
Ingredients
31/2 cups fresh or frozen peas (41/2 pounds unshelled), thawed if using frozen
3 scallions, thinly sliced
Handful each of chopped parsley and cilantro
2 garlic cloves, coarsely chopped
1 tablespoon olive oil
2 tablespoons red wine vinegar
Salt and pepper
Method
1. Puree the peas, scallions, herbs, and garlic in a food processor, adding a tablespoon of water and slowly add enough of the olive oil to help bind the mixture. You may need to work in batches, depending on the size of your food processor.
2. Transfer the mixture from the food processor to a serving bowl and stir in the red wine vinegar, then season with salt and pepper to taste.
3. Pile into a bowl and serve with falafel, veggie burgers, or flatbread.
Green Pea Guac and Wasabi Soba
Leftover green pea guac? Repurpose it as a soba noodle sauce for a vegan meal.
Serves
2
Ingredients
1 teaspoon soy sauce
8 ounces soba noodles
1 head baby bok choy, cleaned and leaves removed from the stem
3/4 cup green pea guacamole
2 tablespoons tahini
1 tablespoon rice wine vinegar
1/2 tablespoon wasabi paste
1 teaspoon sesame seeds
Method
1. Prepare a bowl of iced water.
2. Bring a large saucepan of water to a boil and add the teaspoon of soy sauce. Drop in the soba noodles and bok choy and simmer, without covering the pan, for 8 minutes. Remove from the heat, drain and immediately place in the bowl of iced water.
3. Mix together the guacamole, tahini, rice wine vinegar, and wasabi paste. Drain the noodles and bok choy and mix with the sauce. Sprinkle with sesame seeds before serving.
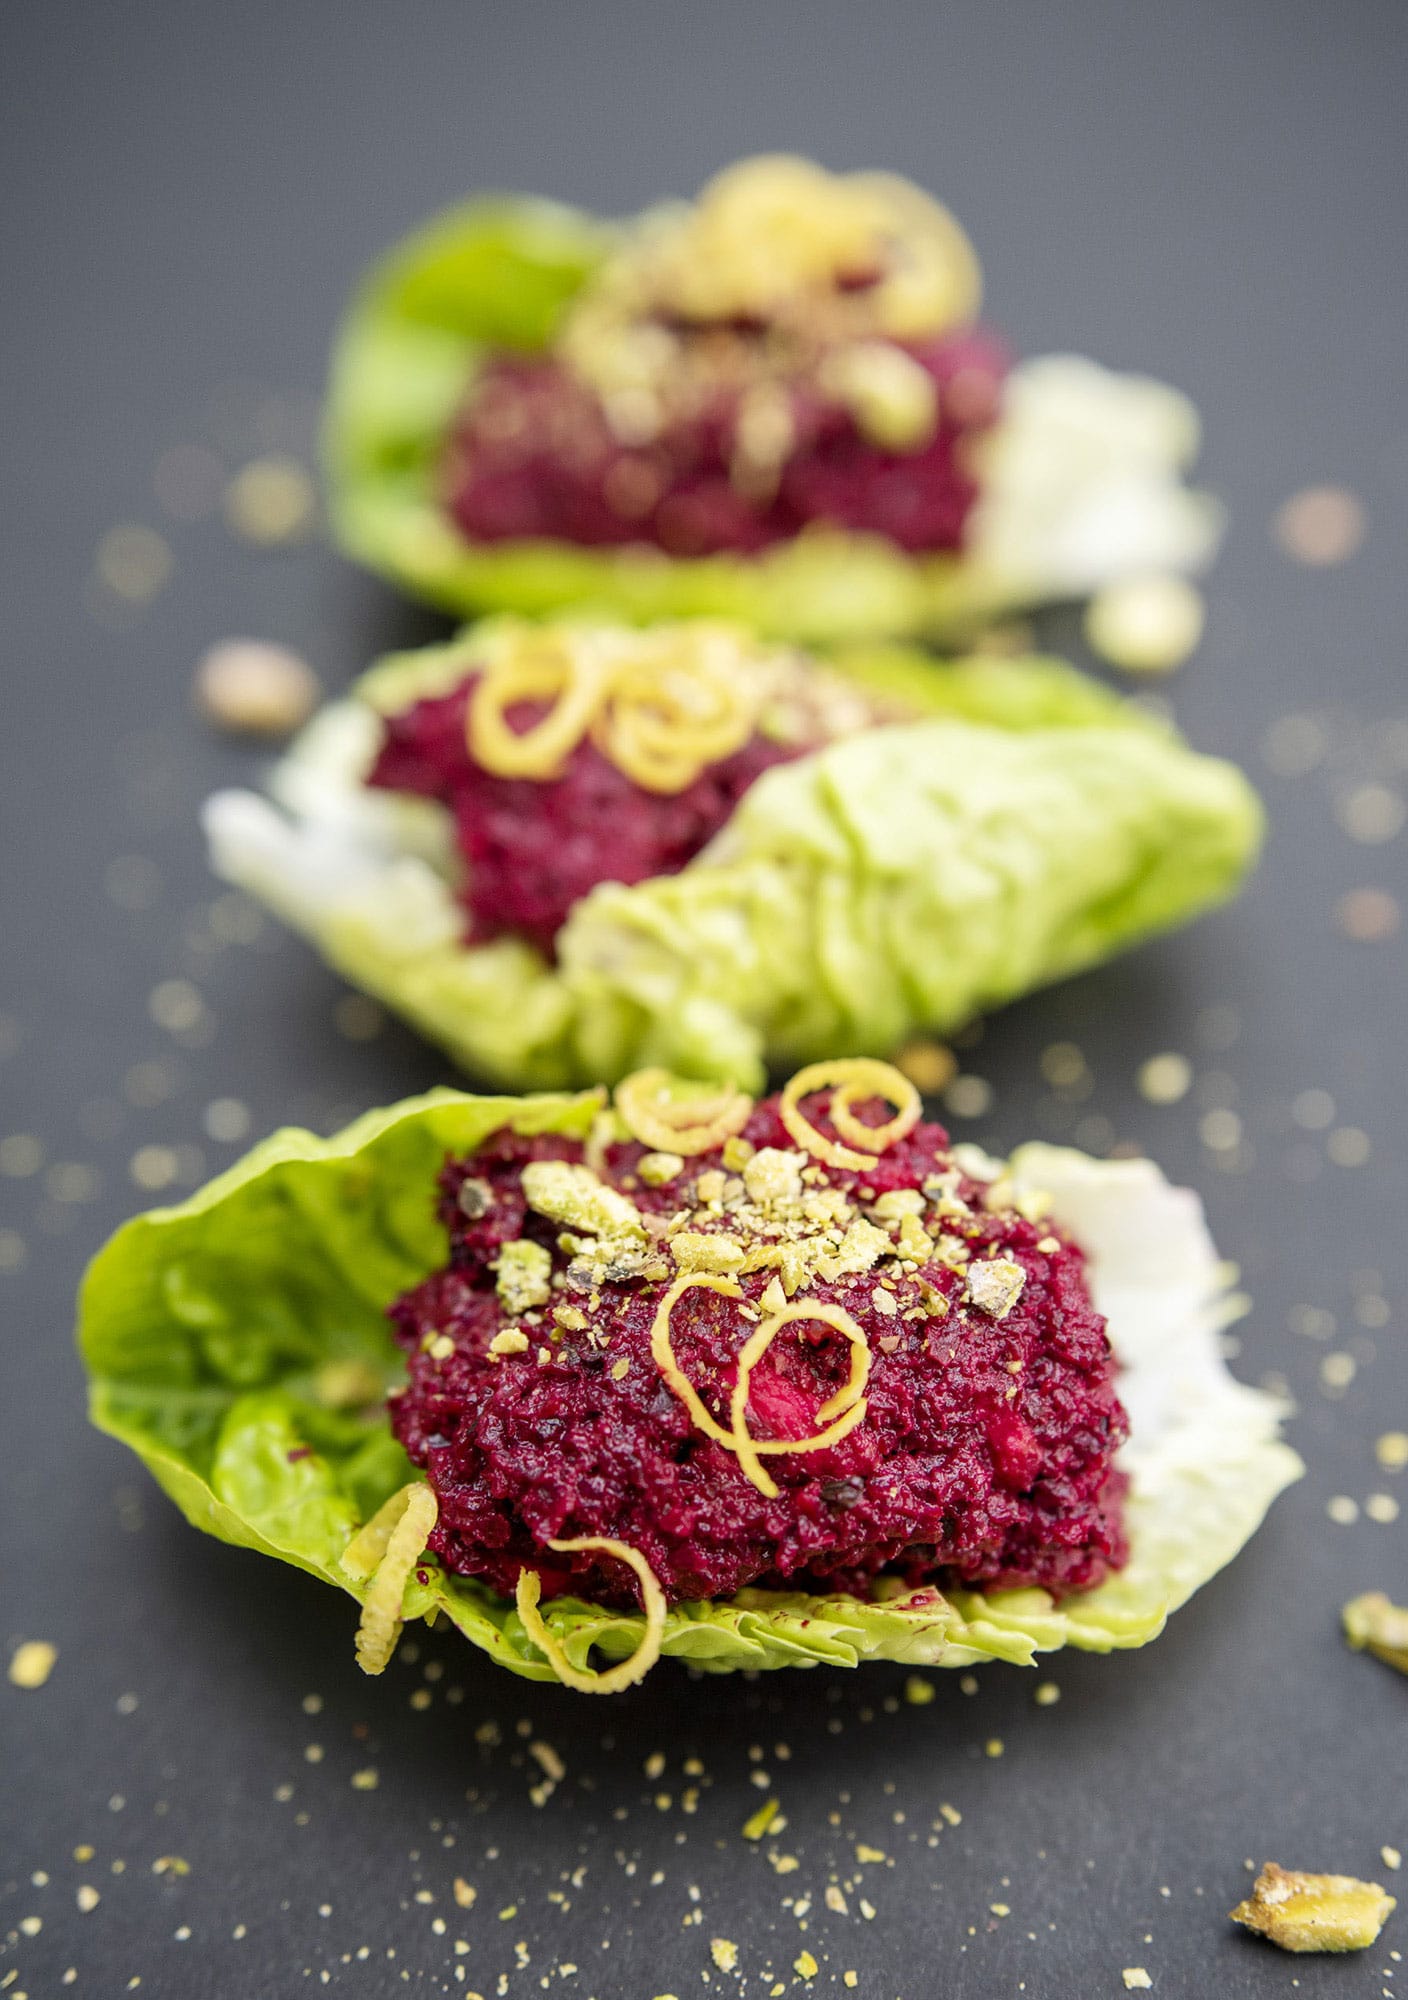
◁ Roasted Beet and Pistachio Dip
This dip brings a splash of regal reddish purple to a picnic, and with it a reminder that your senses can trigger your instinctive ability to read the language of nature and reinforce your sense of self as a collaborator in the web of life.
Serves
10–12
Ingredients
6 beets, peeled and cut into bite-size pieces
3 garlic cloves
2 tablespoons olive oil
3/4 cup shelled pistachio nuts
Zest and juice of 1 lemon
2 tablespoons tahini
Handful of chopped mint leaves
Salt and pepper
1–2 tablespoons cold water
Method
1. Preheat the oven to 400°F. Put the beets and garlic into a baking dish and drizzle with the olive oil. Cover and roast until tender, about 40 minutes. Remove from the oven and let cool.
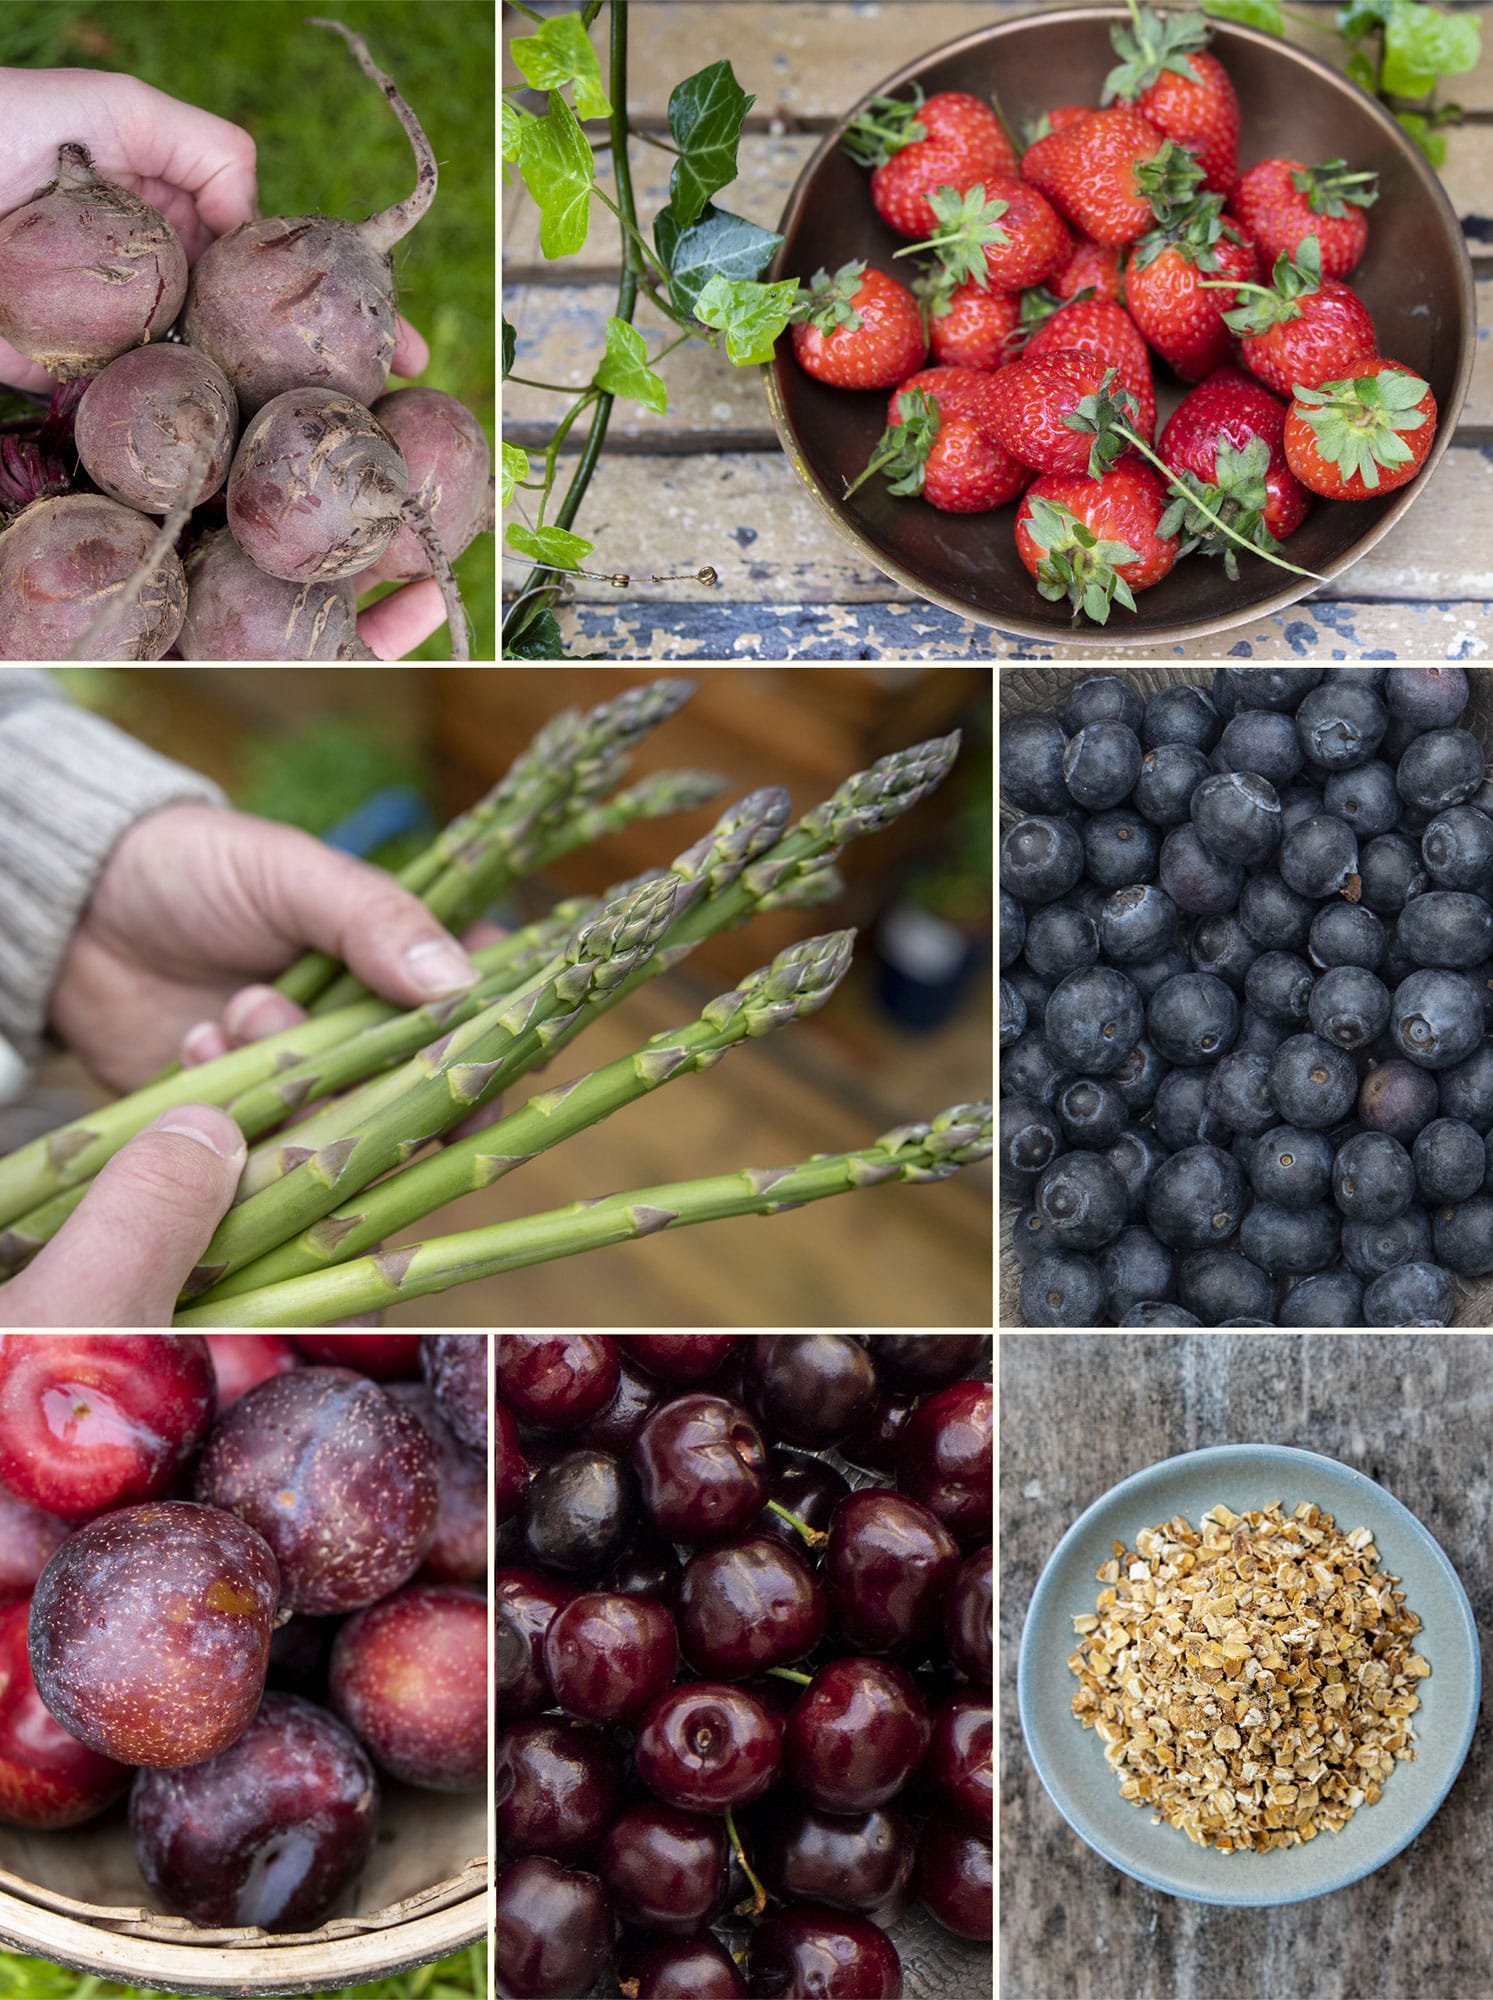
2. Meanwhile, if the pistachios are still in the shells, remove the shells and enjoy a few mindful moments to consider the purpose of color in nature as you work. Why do you think pistachios and beets have such signature colors?
3. Put the cooled beet and garlic, including any oil and juices, into a food processor with the lemon juice, tahini, mint, most of the pistachios, and a pinch of salt and pepper. Process and add a tablespoon or two of water to make it smoother, if necessary. Place in a serving dish, or simply pile onto lettuce, and add the remaining few chopped pistachios and the lemon zest for a contrasting color sensation.
Knækbrød
Bread is a cornerstone of nutrition, and people needed to find ways to preserve the grain harvest as long as possible. Dried breads provide an energy throughout the lean season, especially in the high latitudes. I like to make a large batch of this recipe (knækbrød is Danish for “crisp bread”); it keeps well and is perfect for a snack or quick lunch, which, for me, is knækbrød with hummus.
Makes
About 25 crackers
Ingredients
1/2 cup whole oats
1/3 cup flaxseeds
1/3 cup sunflower seeds
1/3 cup pumpkin seeds
12/3 cups stoneground white flour
1 teaspoon salt flakes
1 teaspoon baking powder
1/2 cup canola oil
Scant 1 cup water
Method
1. Preheat the oven to 400°F and line two baking sheets or one large baking sheet with parchment paper.
2. Mix all the dry ingredients in a bowl. Add the oil and water and mix together for 2–3 minutes.
3. Spread the dough onto the baking sheet(s), using a spatula, to about 1/8 inch thick. Bake for 15–17 minutes, until lightly golden. Cut into portions (or simply break up with your hands) while still warm.
Rainbow Tomato Salad
This refreshing tomato salad can be made with any type of tomato, but I like to use different-colored varieties, and calling it Rainbow Tomato Salad reminds me of the comfort we derive from diversity in nature.
Serves
4 as a side
Ingredients
4 handfuls of cherry tomatoes, preferably different colors, halved
3 tablespoons white wine vinegar
Salt and pepper
Handful each of freshly chopped dill and parsley
Method
1. Put the tomatoes into a bowl, mix, and marvel at the variety of colors and marbled textures. Stir in the vinegar, a dash of salt and pepper, and three-quarters of the fresh herbs. Toss and sprinkle the remaining fresh herbs on top to serve.
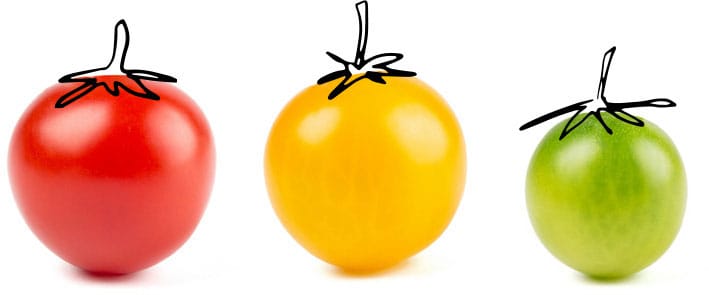
Preserved Tomato Sauce
Pizza, salsa, tabbouleh, tikka masala, shakshuka, baked beans, fries lathered in ketchup… in signature dishes around the world tomatoes provide comfort in the form of cultural identity. Making your own tomato sauce also enhances a nature-related identity.
Makes
About 4 quarts
Ingredients
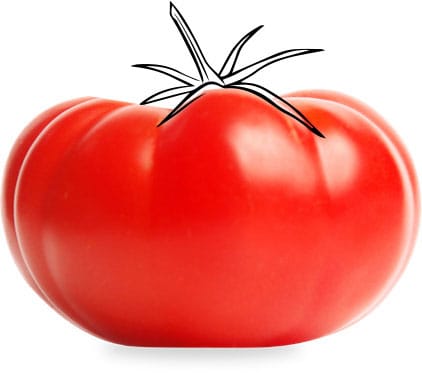
14 large ripe tomatoes (about 51/2 pounds), such as beefsteak tomatoes
1/2 cup dry red wine or vodka
1 teaspoon kosher sea salt
Method
1. Bring a large saucepan of water to a boil. Fill a large mixing bowl with iced water and put it near the stove. Cut out the stem and cut a shallow cross across the bottom of the tomatoes. Blanch by putting three tomatoes into the boiling water for 45 seconds. Remove and plunge them into a bowl of iced water. Peel off the skins (and use to make zero-waste tomato powder, see facing page) and repeat with the rest. Coarsely chop all the tomatoes.
2. Put the tomato flesh into a stockpot, add the red wine or vodka, bring to a boil, then simmer over medium heat for 1–11/2 hours. Stir your sauce occasionally and take in the aroma. Look out of your window. What do you see, smell, hear, and feel? Leaves? Light? Laughter? Animals? Insects? How does it make you feel? Use your senses to make a memory.
3. Let the sauce cool and transfer to storage containers that have room for expansion as the sauce freezes. Put into the freezer—it will keep for at least three months. Then, when you want to use the sauce later in the year, take in the aroma as it warms. Do you recall any memories from the day you made the sauce? How do they make you feel? What ideas does that feeling give you about the value of preserving food?
Zero-waste Tomato Powder
If you make tomato sauce, why not also make a tomato powder from the tomato skins? I am amazed at the aromatic essence of tomato that is captured in the dehydrated skins. Tomato powder adds a little of zero-waste comfort. When I use it for flavoring soups, salads, sandwich fillings, or pizza dough, I recall summer in the depths of winter, and I feel more connected to the cycle of life.
Ingredients
Tomato skins (see tomato sauce recipe, facing page)
Paprika, chili powder, or sea salt (optional)
Method
1. Lay the tomato skins on dehydrator racks or a drying rack for baked goods so that they are flat and not overlapping; an 1/8 inch of space or so between them promotes air circulation. If using a dehydrator, place the skins in the machine and turn on the vegetable setting. Check regularly but allow for 4–5 hours.
2. Alternatively, use the oven on its lowest setting. Put a single layer of the tomato skins on a wire cooling rack on top of a baking sheet and dehydrate for 5–10 hours—overnight is a good idea. Remove the skins when they are completely dry and flaky. Transfer to a coffee grinder and grind the skins until they are as fine as any other dried spice on your rack. Add a pinch of paprika, chili powder, and/or sea salt for variation. Store in an airtight jar.

◁ Deviled Eggs with Horseradish
Eating deviled eggs seasonally provides me with the comfort of being part of a collaboration with many other species. Look for eggs with deep orangey-red yolks, sourced from a local supplier—chances are those eggs were produced by free-roaming hens raised on a natural diet that includes clover, worms, grasshoppers, and spiders.
Makes
8 servings as a side
Ingredients
4 eggs
4 tablespoons quark, Greek-style yogurt, or cottage cheese
1 teaspoon grated horseradish
1 tablespoon chopped dill pickles
Salt and pepper
To serve
Finely chopped fresh dill
Method
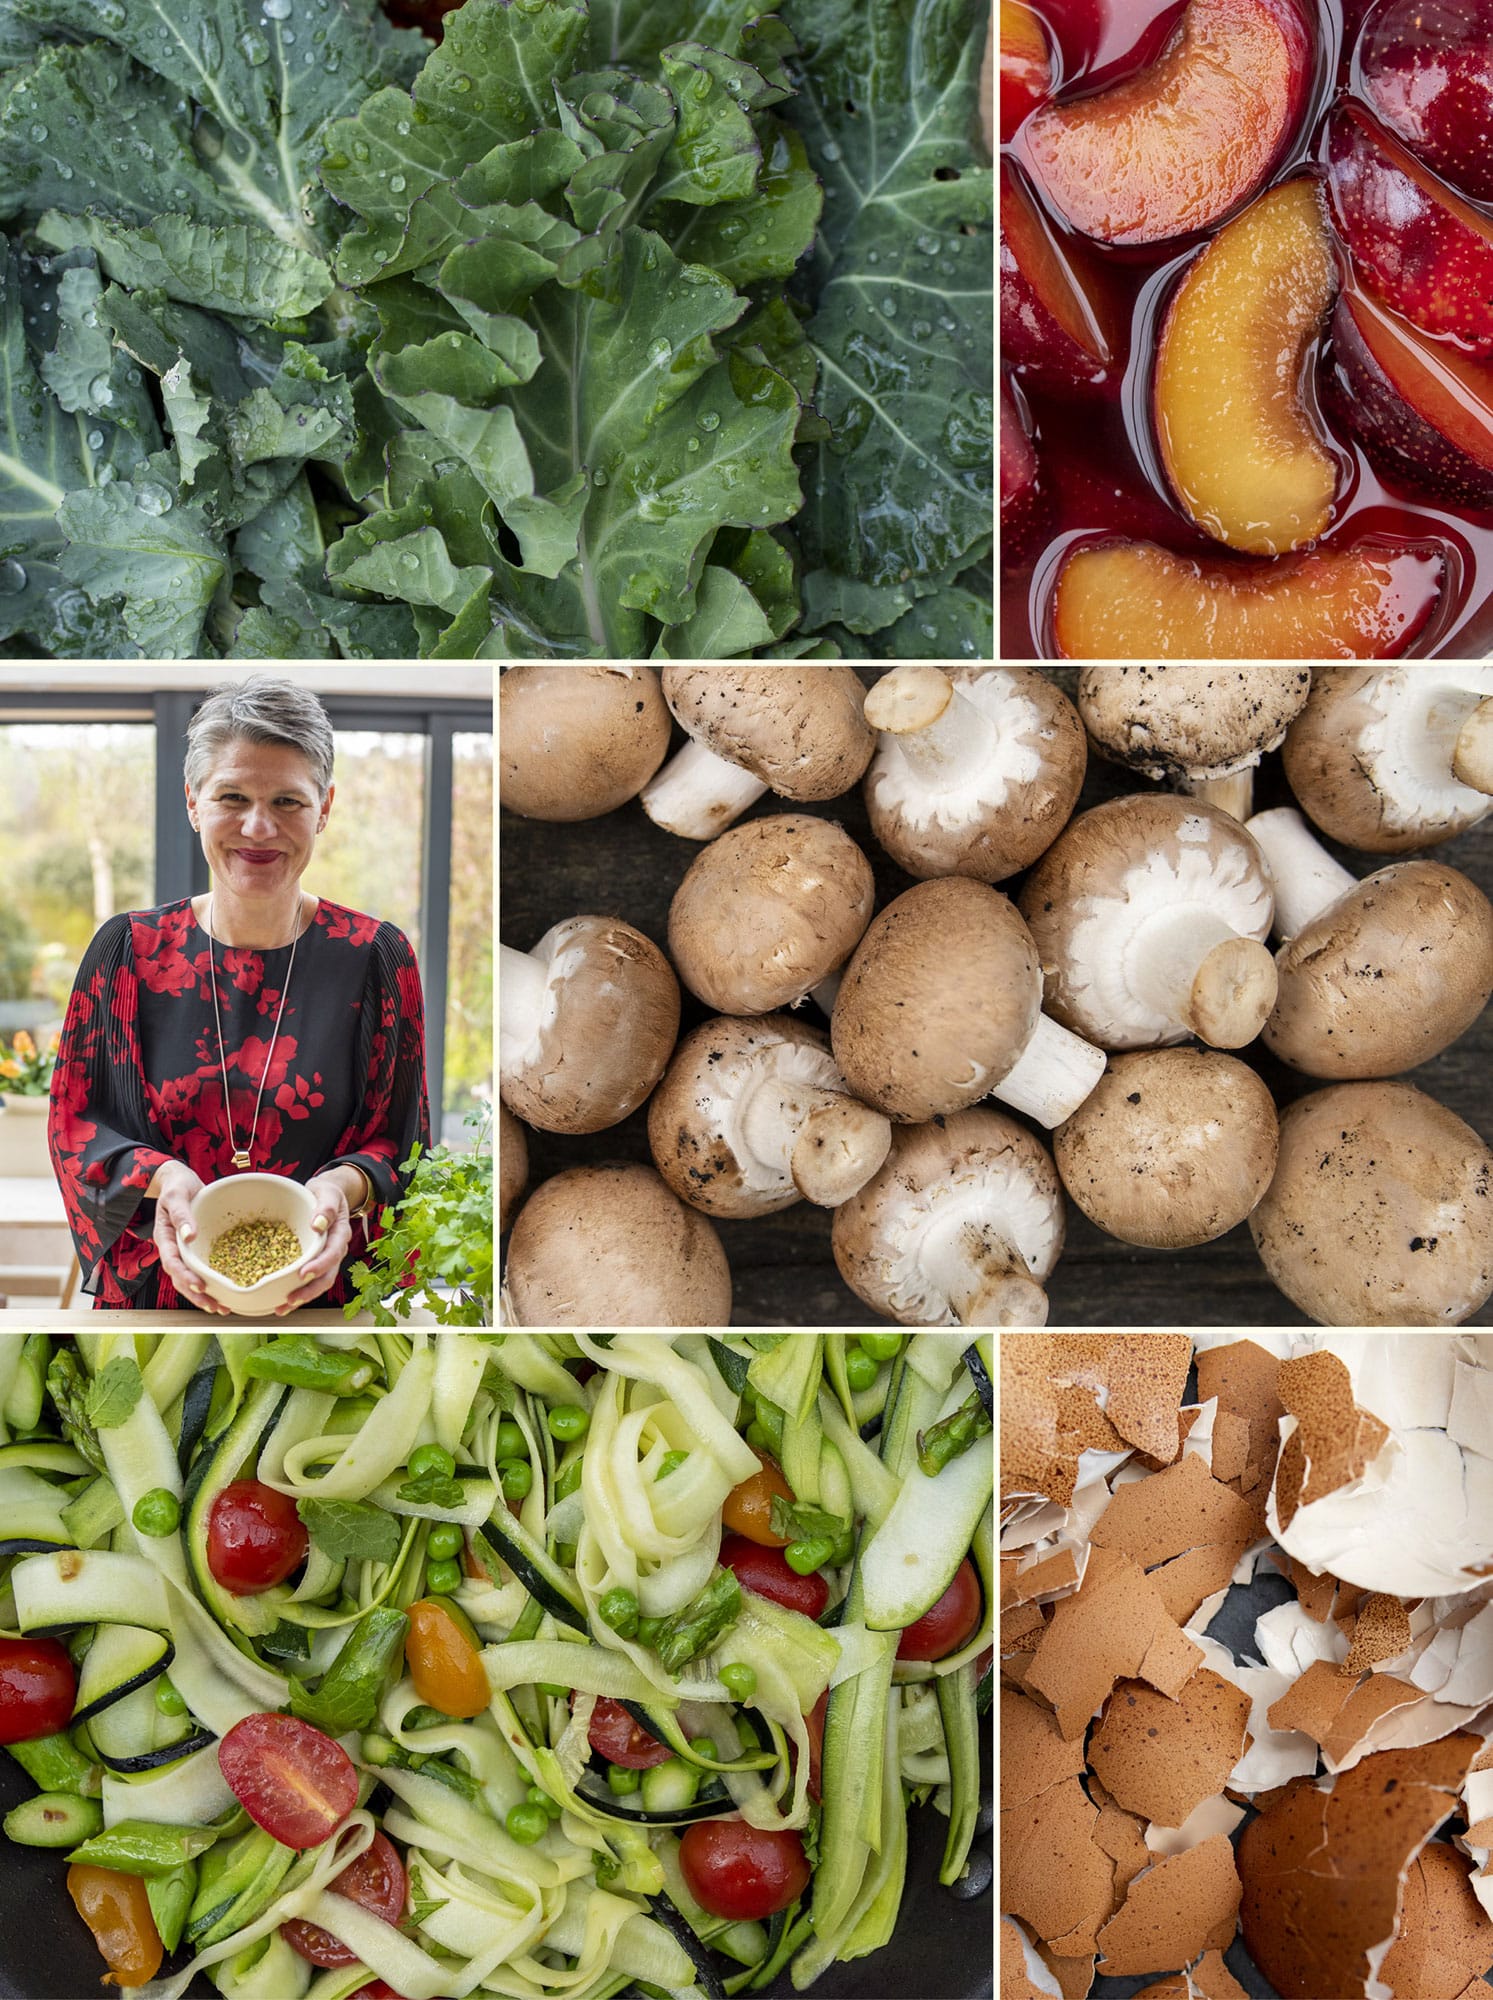
1. Bring a saucepan of water to a boil, completely submerge the eggs, reduce the heat, and simmer for 12 minutes. Remove and cool the eggs under cold running water before peeling. Crush the eggshells and till into your garden (or use for houseplants) so the calcium nourishes the soil and the cycle of life continues.
2. Slice the peeled eggs in half and scoop the yolks into a bowl. Mash the yolks, stir in the quark, yogurt, or cottage cheese, the horseradish, and pickles, and season with salt and pepper. Use a spoon to refill the eggs. Serve sprinkled with tomato powder and fresh dill.
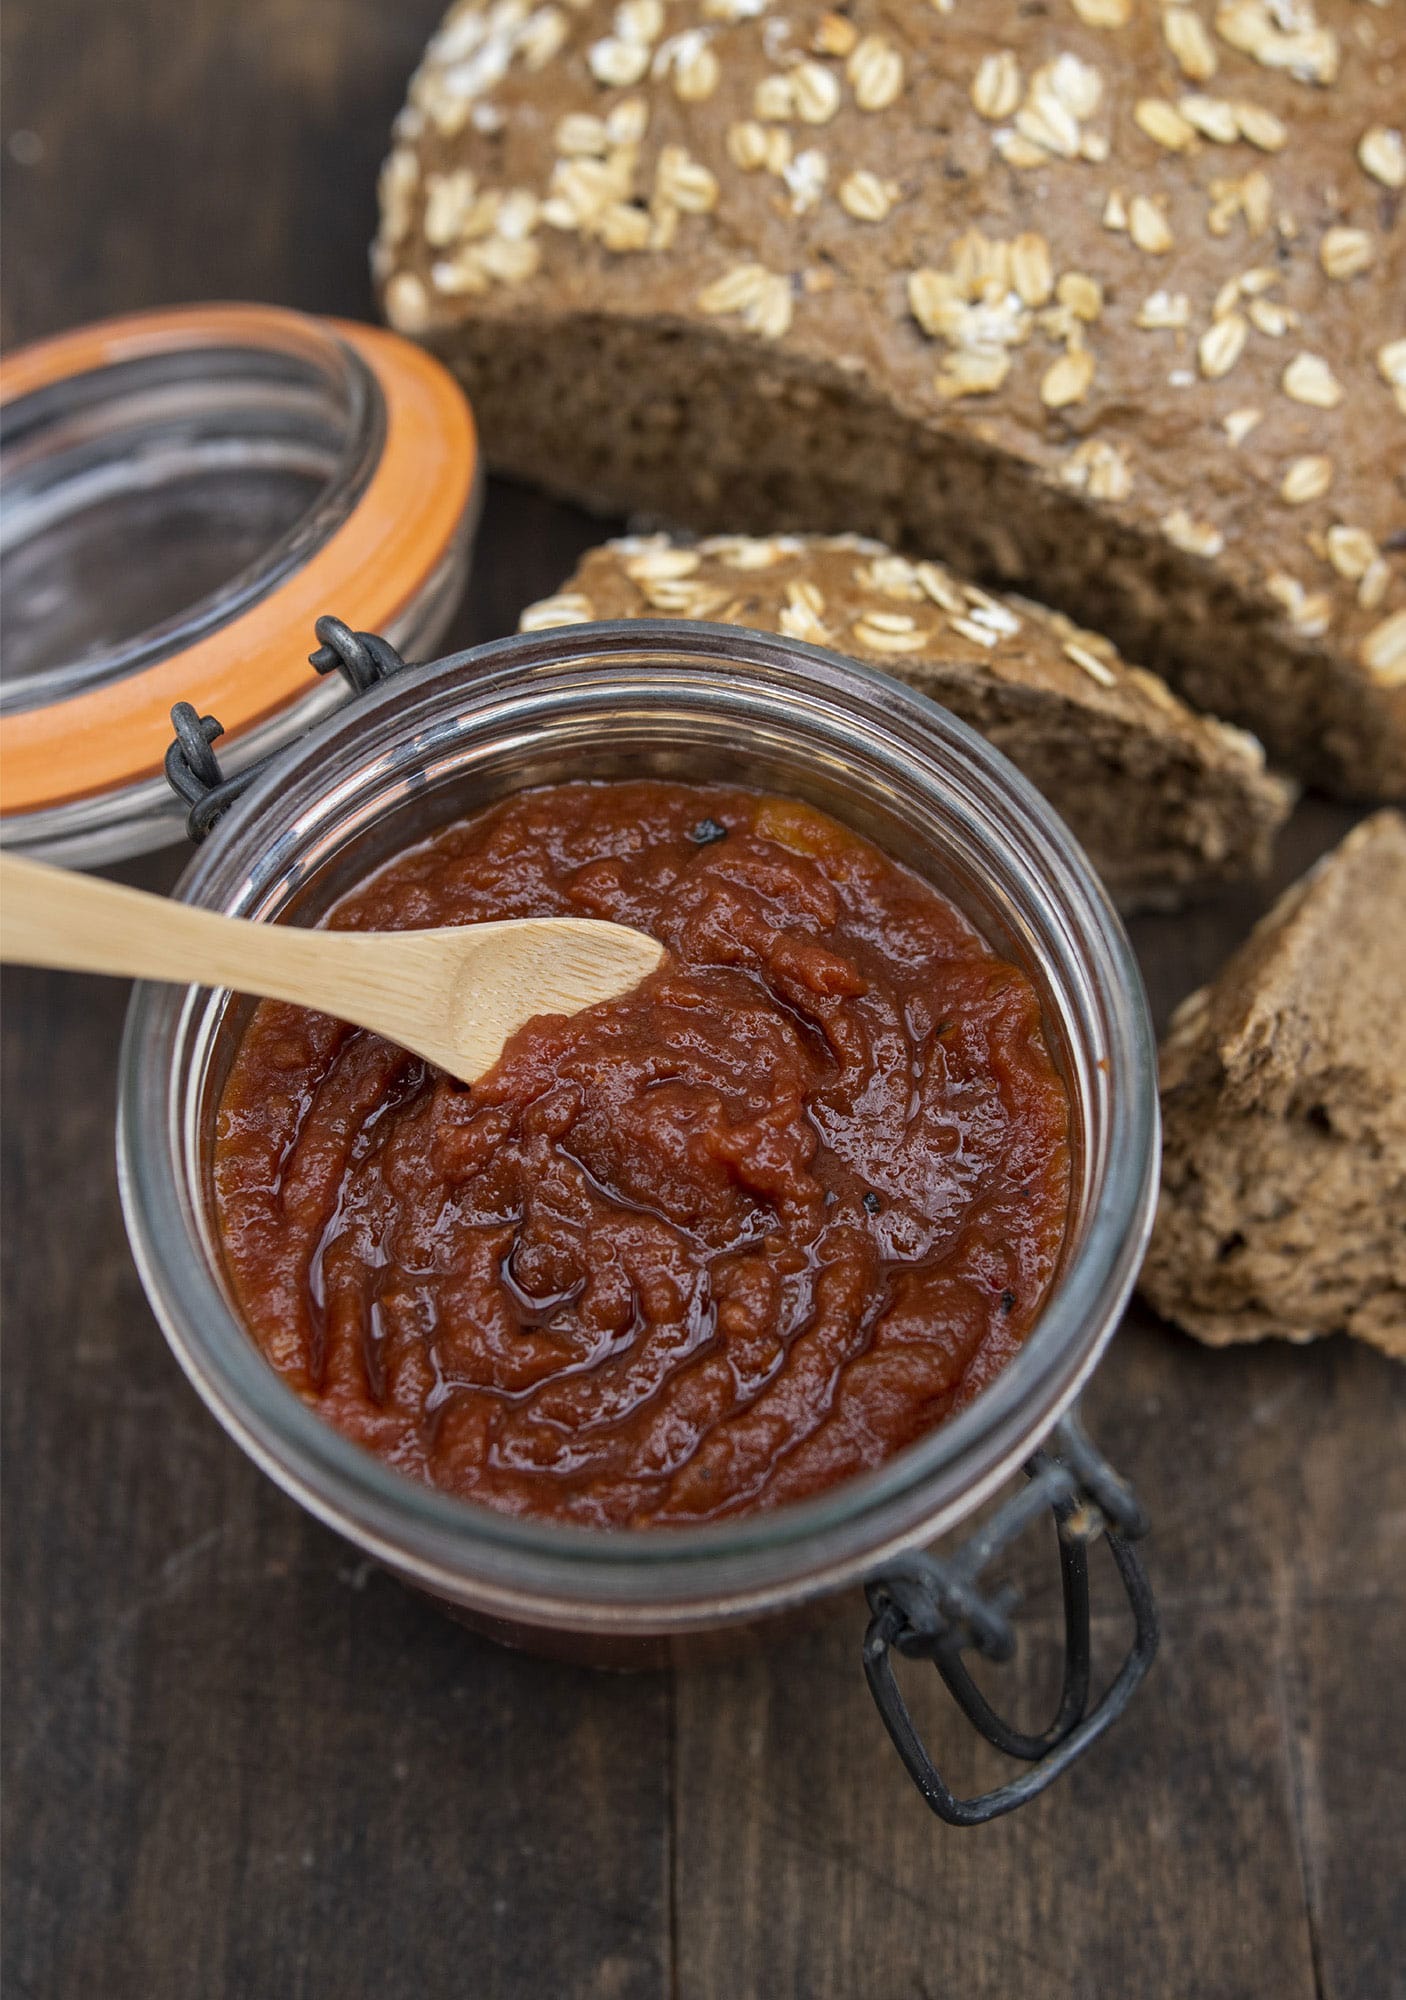
◁ Savory Tomato Preserves
This tomato preserves tastes great over cream cheese or other soft cheese with crackers or knækbrød, used as a sandwich spread, served with crudités, or as a condiment on a cheeseboard.
Makes
21/2 quarts or 4–6 jars, depending on size
Ingredients
31/4 pounds tomatoes, Roma is a good variety
1/2 cup apple juice
1 cup apple cider vinegar
1 cup honey
11/2 teaspoons salt
1/2 teaspoon ground black pepper
1/2 teaspoon dry mustard
1/2 teaspoon ground allspice
1/2 teaspoon ground cumin
1/4 teaspoon cayenne pepper
Method
1. Before you make any preserves, always sterilize your equipment. You can sterilize glass jars by one of the following ways. Bring a large saucepan full of water to a boil and completely submerge the jars, lids, and rings (if using). Let boil for 10 minutes, then carefully remove and place the jars on a clean surface and let dry.
2. Alternatively, place the washed jars on a baking sheet and put them into the oven preheated to 225°F for 10 minutes. You will need a large saucepan of boiling water to seal the jars, so if you use method 1, keep the pan of water handy for this purpose.
3. To make the preserves, first skin and peel your tomatoes (shown here). Set aside the skins for making tomato powder. Coarsely chop the flesh, then put the chopped tomatoes, with all their juices, into a bowl. Set aside.
4. Combine all the other ingredients in a large saucepan over medium heat, stirring until the honey dissolves. Add the reserved tomatoes and juices and bring to a boil. Reduce the heat to a simmer, and let the tomatoes cook until the mixture is reduced by half. The slow heat helps to develop the sugars in the tomatoes, so don’t try to rush this stage.
5. Now, seal the jars to prevent bacteria being introduced to the preserves. Fill the sterilized jars, leaving a 1/4-inch headspace, and screw the lids on tightly. Submerge the jars into a saucepan of boiling water, using tongs; work in batches, if necessary, and make sure the jars are completely submerged and not touching each other. Boil for 10 minutes and remove with tongs. Set the jars aside to cool, and 24 hours later test the seal by putting pressure on the lid with your finger. If it gives, the processing didn’t completely seal the jar and you should refrigerate it and use within a week. If the lid does not give, your preserves should be fine stored in a cool dark place for up to a year.
Tomato and Corn Pie
Tomatoes were once viewed with fear and superstition. Early British settlers in North America grew them only as ornamentals, not to eat. During the American Civil War, fact overcame fiction when tomatoes were canned to feed people whose lands had been destroyed. Postwar, dishes such as tomato soup eventually won over the hearts, minds, and taste buds of people who found superstition hard to let go. This tomato and corn pie would surely have met with approval.
Serves
6–8
Ingredients
12/3 cups all-purpose flour, plus extra for dusting
1/2 teaspoon sugar
1/2 teaspoon salt
1/4 teaspoon ground black pepper
1 stick (4 ounces) butter, cubed and softened, plus extra for greasing
1/2 teaspoon fresh thyme leaves
2–3 tablespoons iced water
For the filling
2 beefsteak tomatoes or 3 large tomatoes
3 eggs
1 cup milk
1 teaspoon fresh thyme leaves
1 cup fresh corn kernels (removed from 2 corn cobs)
2 scallions, thinly sliced
1 cup shredded vegetarian cheddar cheese
Salt and ground black pepper
Method
1. Sift together the flour, sugar, salt, and pepper into a bowl. Cut the butter into the dry ingredients with two knives, using a crisscross motion, or rub in with your fingers until the mixture resembles bread crumbs. Add the thyme leaves and the iced water, a couple of teaspoonfuls at a time. You want the dough to bind but not be runny. With floured hands, take the dough out of the bowl and form it into a disk. Put the dough onto a plate, cover with a dish towel, and chill in the refrigerator for 30 minutes.
2. Grease and line a pie dish or 9-inch tart pan. Remove the dough from the refrigerator, place on a floured surface, and roll into a circle large enough to line the tart pan. Press the dough into the pan and chill for another 30 minutes.
3. Preheat the oven to 400°F. Line the dough with parchment paper, fill with pie weights or dried beans, and bake for 10 minutes. Remove the pie weights and paper, return to the oven, and bake for another 10 minutes, until the pastry is golden and crisp. Set aside while you make the filling.
4. Skin and peel the tomatoes (shown here). Keep the skins for making tomato powder. Seed and slice the tomatoes into 1/4 inch slices.
5. Beat the eggs and add the milk, thyme, salt, and pepper. Put a layer of tomato slices into the pastry shell, followed by most of the corn kernels, most of the scallions, and most of the cheese. Pour the egg mixture evenly over the filling and arrange the remaining tomato slices, corn, scallions, and cheese on top. Bake for 30 minutes, or until the filling is set and a knife emerges clean from the center. Serve immediately while sharing the story of the tomato.
Zucchini Canoes
As a child, I knew it was zucchini season when our neighbor, Harold Handyside, laid green bundles of joy from his garden on our doorstep. Today, I like to bake zucchini in the form of canoes that hint at the Native Americans who nurtured squash way before Harold. I always make extra stuffing when preparing this dish—useful for lunches later in the week.
Serves
4
Ingredients
1/2 cup bulgur wheat
2/3 cup boiling water
3 medium tomatoes
2 large zucchini
11/2 tablespoons olive oil
1 small onion, finely chopped
2 garlic cloves, minced
3/4 cup rinsed and drained canned chickpeas
1 small carrot, diced
2 dried apricots, sliced (or use fresh ones, pitted)
11/4 cups vegetable broth
1/4 teaspoon ground cinnamon
1/2 teaspoon ground coriander
1/2 teaspoon ground ginger
1/2 teaspoon ground turmeric
1/4 cup pitted olives
2 tablespoons golden raisins
Freshly chopped cilantro
Salt and ground black pepper
Method
1. Preheat the oven to 400°F. Put the bulgur wheat into a bowl, pour in the water, cover the bowl, and set aside for 10–15 minutes until the water is absorbed. Fluff up with a fork.
2. Meanwhile, cut out the stem and cut a cross on the bottom of each tomato. Blanch by putting them in a bowl of boiling water for about 45 seconds. Remove and plunge them into a bowl of iced water. Peel off the skins (use to make tomato powder) and chop the tomatoes.
3. Slice the zucchini in half lengthwise. Use a spoon to carefully scoop out the flesh (don’t break the skins), chop, and set aside. Lay the hollowed “canoes” side by side in a baking dish and drizzle with 11/2 teaspoons of the oil.
4. Heat the remaining olive oil in a large saucepan over medium heat and sauté the onions for 5–7 minutes. Add the garlic and, after a minute, mix in the zucchini and tomato flesh, chickpeas, carrots, apricots, broth, spices, olives, and raisins. Give everything a stir, season, and simmer for 20 minutes. Add the bulgur to the pan and simmer for another 10–15 minutes, until the broth has evaporated. Divide the mixture among the zucchini canoes. Bake for 25–30 minutes. Serve warm, sprinkled with cilantro.
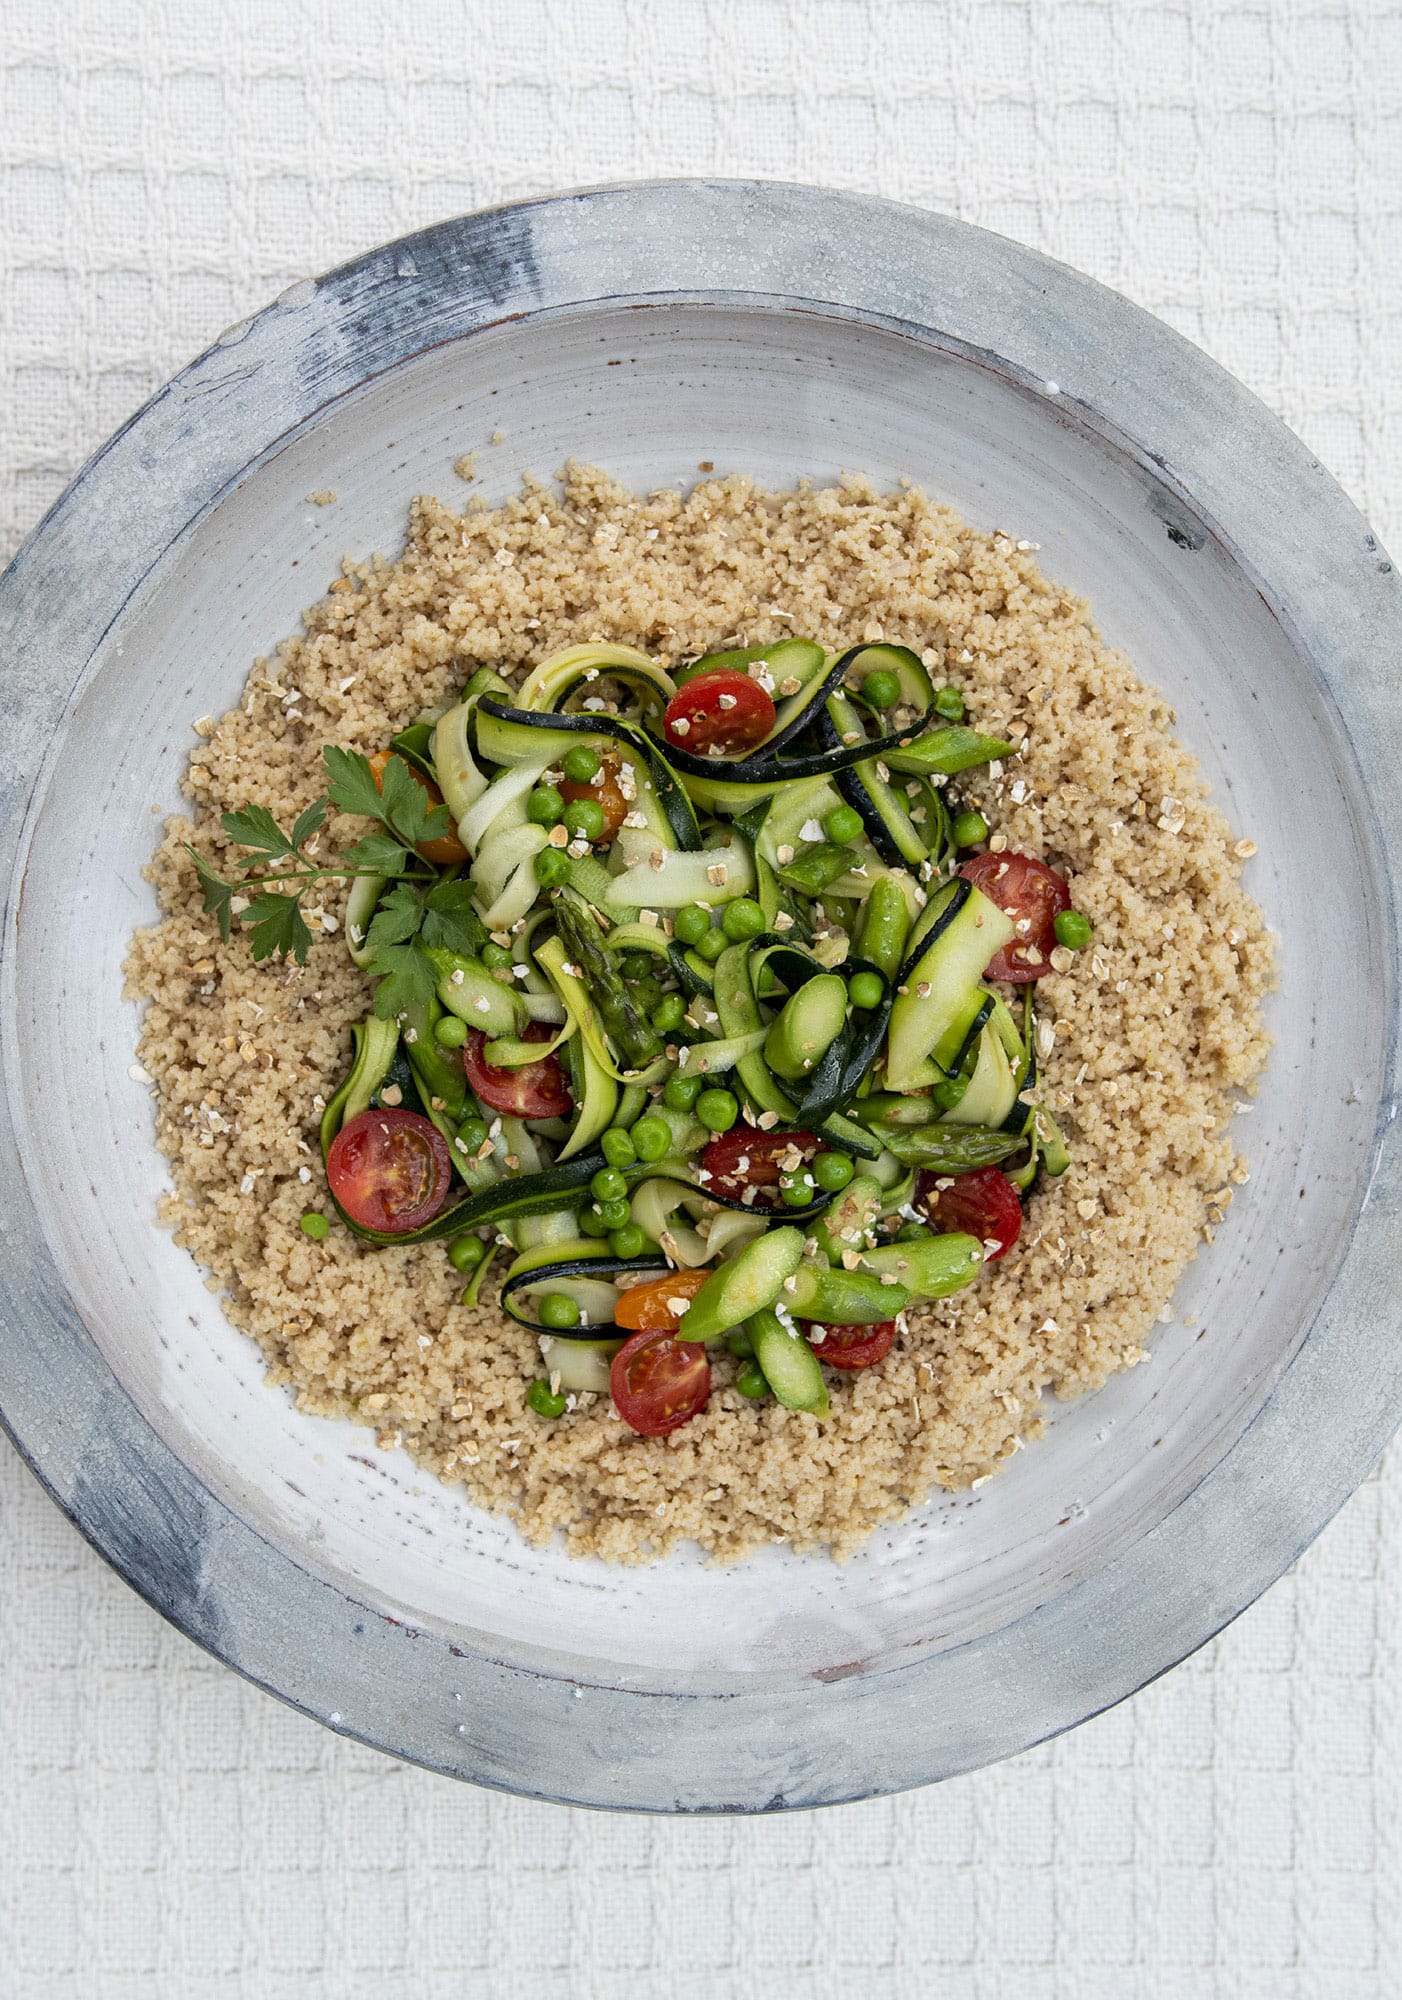
◁ Zucchini “Pasta” Bowls
“Pasta” using vegetables is a lighter alternative to traditional spaghetti or noodles. This recipe teams zucchini with asparagus, which means it is meant as an early summer bowl of nature-related comfort. If you make it later in the summer, simply omit the no longer seasonal asparagus and experiment with whatever is in season.
Serves
4
Ingredients
8 shallots, minced
13/4 sticks (7 ounces) butter, at room temperature
Zest and juice of 1 lemon
11/2 cups bulgur wheat
2 cups boiling water
1–2 zucchini
1/2 cup oats
1 bunch asparagus, thinly sliced
20 cherry tomatoes, halved
2/3 cup fresh shelled peas
Handful each of chopped parsley and mint
Method
1. Mix the shallots, butter, and lemon zest together. Put the bulgur wheat into a bowl, add the boiling water, cover the bowl with a cloth, and set aside for 10–15 minutes, until fluffy, then mix a tablespoon of the shallot butter into the bulgur.
2. Thinly slice the zucchini into ribbons using a Y-shape vegetable peeler, then slice the ribbons lengthwise.
3. Toast the oats in a dry saucepan over low heat for 7 minutes, stirring until lightly brown. Transfer to a plate and, in the same pan, use a tablespoon of shallot butter to sauté the zucchini, asparagus, tomatoes, and peas. Evenly distribute the bulgur and vegetables in bowls, top with the oats, and drizzle with the lemon juice. Sprinkle with herbs and serve.
Crispy Bean Salad
I often mix a large batch of this salad when I know I will be too busy or too lazy to cook. I like to team fava beans with fresh snow peas of the season to make a salad that keeps for several days in the refrigerator. On the surface, these are legumes that grow quietly all summer, while below ground they work in harmony with bacteria to feed the life that swings into action in this most fertile of seasons. Fava beans are left to dry on the stem to be harvested in fall. Once they have fed the soil, they provide us with a shelf-stable protein source to last the year.
Serves
6–8
Ingredients
2/3 cup dried fava beans (or other dried bean, such as lima beans), soaked overnight
1 cup pearl barley
11/2 cups snow peas, chopped into thirds
4–6 spring onions, thinly sliced
1 cup coarsely chopped baby spinach
Handful of freshly chopped soft herbs (such as parsley, chervil, or dill)
Small handful of sunflower seeds
1/2 cup olive oil
Salt and pepper
For the dressing
2 teaspoons red wine vinegar
2 teaspoons Dijon mustard
1 tablespoon drained and chopped capers
1/4 cup olive oil
Method
1. Put the soaked and drained beans into a saucepan and cover with fresh water. Bring to a boil, then reduce heat and simmer for 1 hour before draining. Set aside to cool.
2. Meanwhile put the barley into a separate saucepan with 2 cups of water. Bring to a boil and simmer for 30 minutes or until the barley has absorbed the water. Remove from the heat and cool.
3. Prepare the dressing by mixing the vinegar, mustard, and capers. Slowly whisk in the olive oil to create an emulsion.
4. Toss the snow peas, scallions, spinach, and herbs with the sunflower seeds and oil in a large bowl. Season, then stir in the cooled beans and barley. Pour in the dressing and toss again before serving.
Peas in a Pod Salad
Awww, shucks! Some tasks are a pleasure in themselves, far more than simply a means to an end. So take a few comforting moments to sit down and shuck your peas. Here’s a delicious salad to make when peas in the pod are in season. Serve warm from the pan.
Serves
4
Ingredients
1 pounds fresh peas in their shells
1 cup pearl barley
1/4 cup coconut oil
3 garlic cloves, finely chopped
2 Little Gem lettuce heads, leaves separated, hearts removed
Salt and pepper
Coarsely chopped parsley, to garnish (optional)
Method
1. Split the pea pods with your thumbs and run your finger along the inside of the shells to remove the peas straight into a bowl.
2. Put the barley into a saucepan with 2 cups of water. Bring to a boil and simmer for 30 minutes or until the barley has absorbed the water. Remove from the heat.
3. Melt half the coconut oil in a saucepan, add the garlic and a pinch of salt, and sauté for 3 minutes. Add the peas and cook for 4 minutes. Add the remaining coconut butter, the lettuce, and seasoning, and remove from the heat when the lettuce has wilted. Mix in the barley and parsley. Toss and serve.

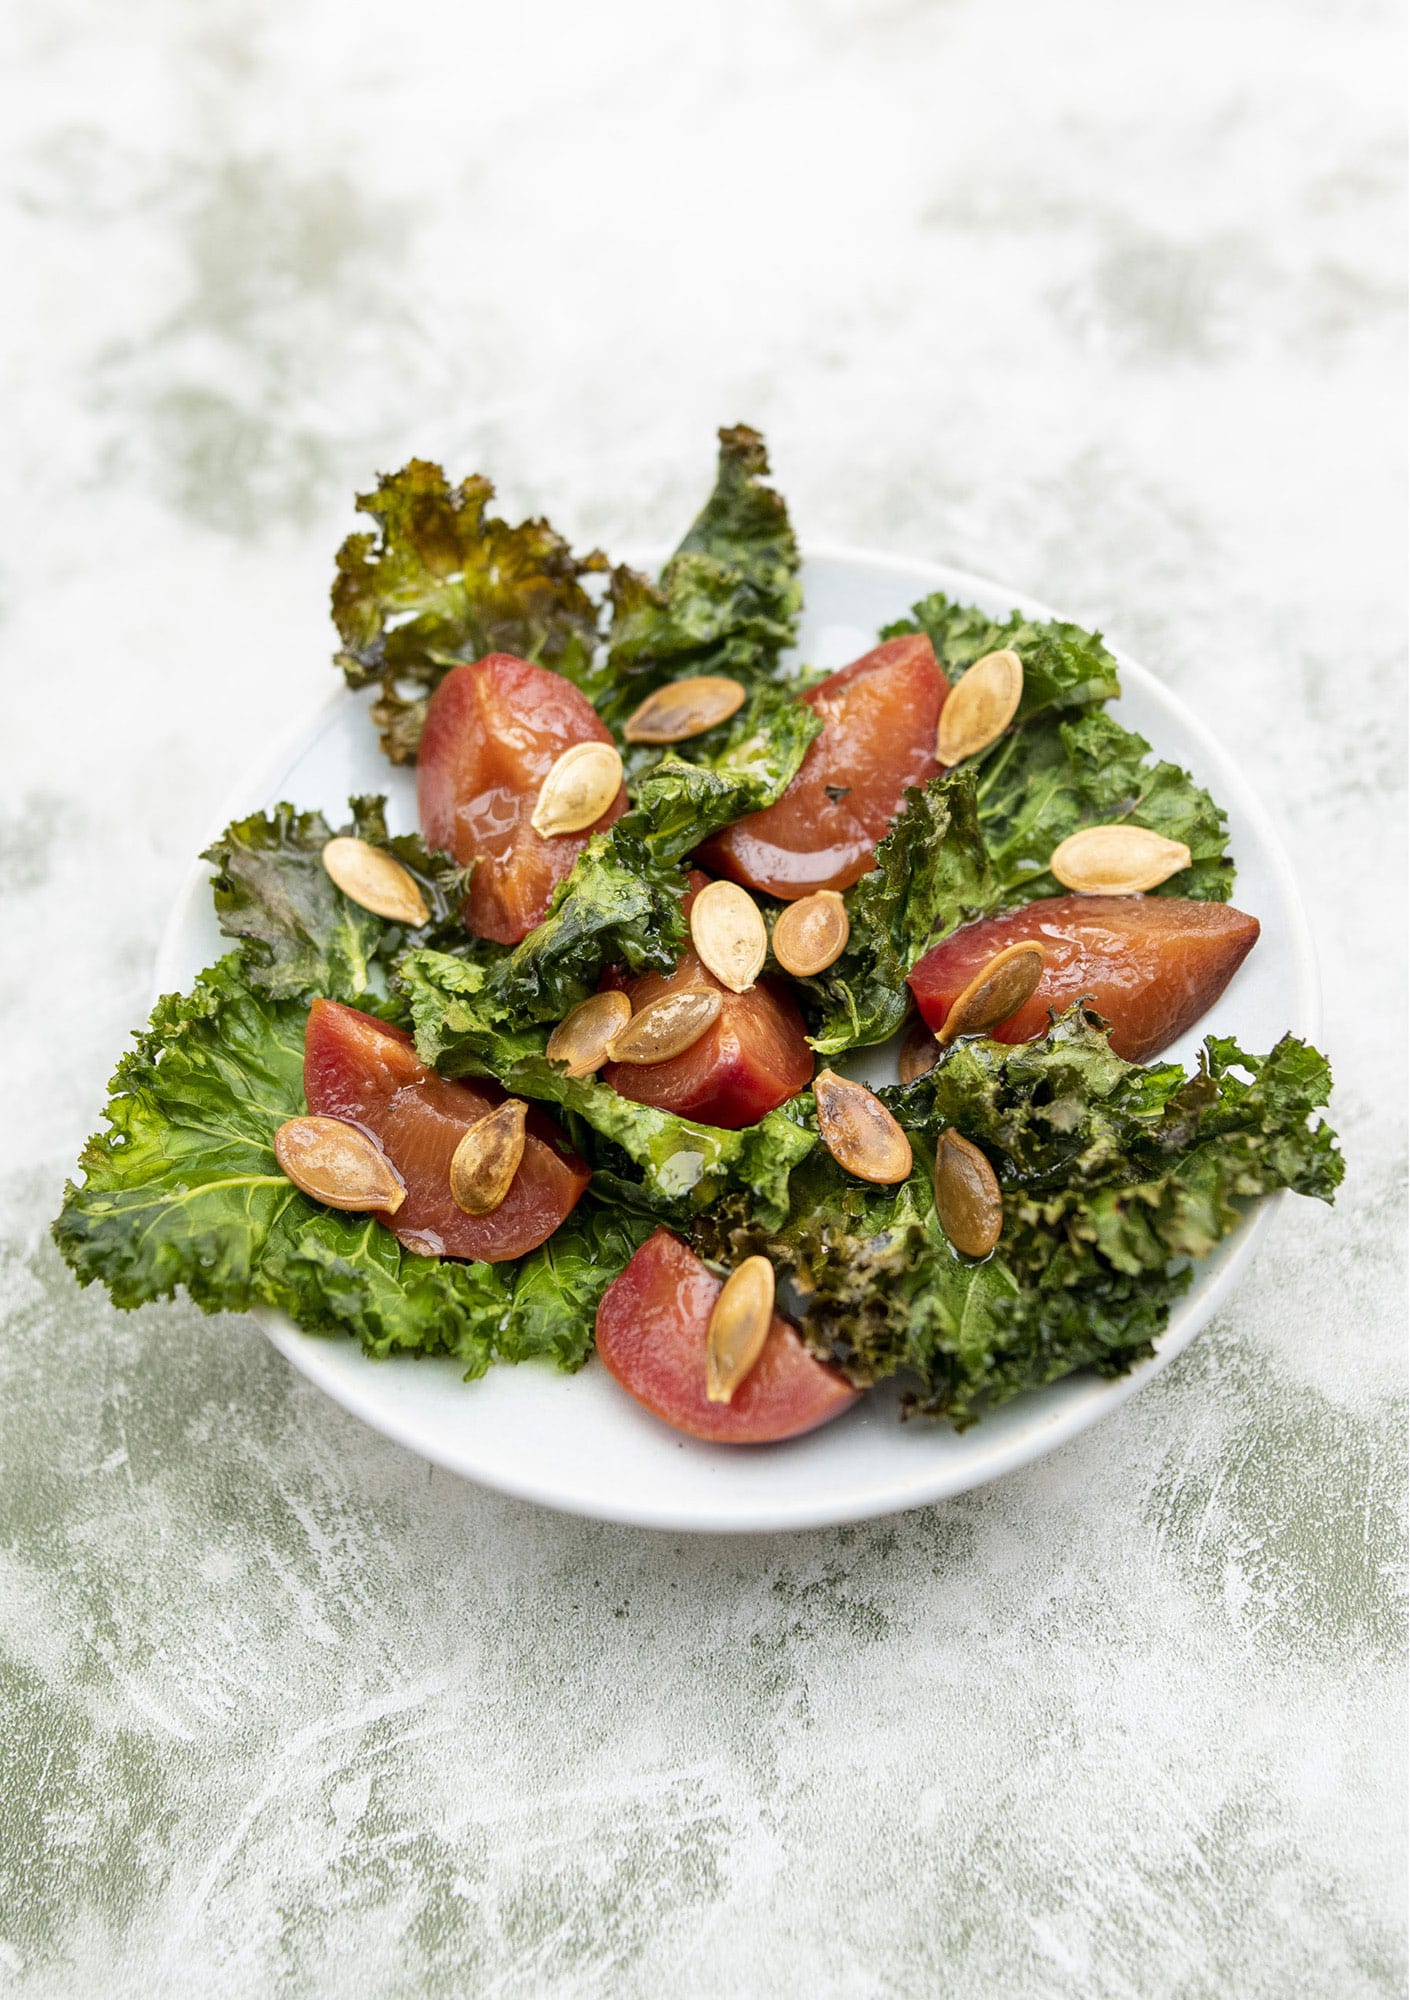
◁ Savory Pickled Plum and Kale Salad
This recipe weaves in a few pickling skills and pairs hardy kale with the ripe plums of late summer for a tangy meal. I like to serve it as a main with a big spoonful of hummus, a couple of slices of cheese, or some tofu.
Serves
4
Ingredients
For the pickled plums
1/2 cup water
1/2 cup red wine vinegar
1/2 cup sugar or maple syrup
Pinch of salt
8 plums, pitted and quartered
For the salad
12 large curly kale leaves, central woody stems removed
2 tablespoons extra virgin olive oil
Salt and pepper
Roasted pumpkin seeds (shown here), to garnish
For the dressing
2 tablespoons pickling liquid
3 tablespoons extra virgin olive oil
1 tablespoon maple syrup
1 teaspoon fresh thyme leaves
Pinch of salt and pepper
Method
1. Put the pickling ingredients, minus the plums, into a small saucepan and heat until the sugar has dissolved. Remove from the heat, add the plums, coat in the liquid, and set aside for 30 minutes.
2. Preheat the oven to 400°F. Massage the kale leaves with olive oil for 10 minutes to break down the cellular structure, making the leaves more chewable. Put the kale onto a baking sheet in a single layer, season, and put into the oven for 4 minutes. Flip and bake for another 3 minutes to crisp on both sides.
3. Make the dressing by combining 2 tablespoons of the pickling liquid with the other ingredients, whisk, and season.
4. Pile the kale leaves, plums, and dressing on serving plates and sprinkle with pumpkin seeds.
Strawberry Chips
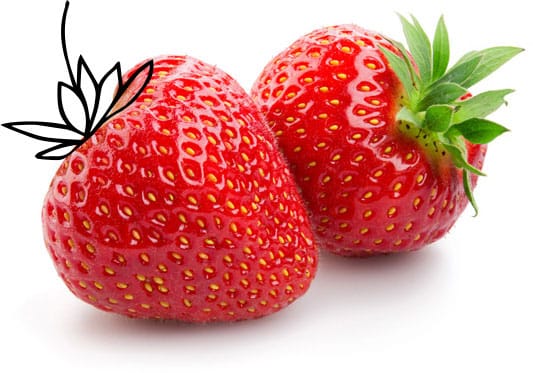
Summer and strawberries are synonymous! In fact, the Oneida Native American tribe’s word for June is strawberry. Making strawberry chips is my favorite way to preserve love for living seasonally, because they dry in the shape of hearts. What was that I wrote earlier about comfort food being a craving for love?
Ingredients
Strawberries, washed, hulled, and dried
Method
1. Slice your strawberries thinly and evenly. Place the slices on dehydrator trays or cooling racks, leaving a 1/4 inch gap between them. If you have a dehydrator, place them in the machine and turn on the fruit setting. Check regularly and remove when they are completely dry.
2. Alternatively, place the racks on a baking sheet and put them in the oven on its lowest setting. Either method should take 8–10 hours. Cool before storing in airtight containers—they will keep for up to a year.
Strawberry Crisp Muesli
This simple recipe is designed to help you start your day with some nature-related reflection. Why not serve the muesli with homemade peanut milk? See the recipe shown here.
Makes
10 servings
Ingredients
1/2 cup hazelnuts
3 cups rolled oats
1/2 cup strawberry chips (see recipe facing page)
1/2 cup coconut flakes
1/2 cup pumpkin seeds
1/4 cup chia seeds
1/4 teaspoon salt
Method
1. Preheat the oven to 300°F. Spread the hazelnuts on a large baking sheet and put into the oven for 5 minutes.
2. Remove the baking sheet, add the oats, then return to the oven and bake for another 10 minutes. Remove, let cool, and mix in the remaining ingredients. Store in an airtight container for up to a month. Serve with milk.
Tip For a Bircher-style muesli, mix 1 cup of muesli with 1 cup of milk and 1 tablespoon of maple syrup, cover, and soak overnight.
Strawberry Preserves
Strawberry season offers another moment to spend an afternoon preserving in your kitchen with one foot firmly planted in the present, and another giving thought to the future. How about a nod to the past as well? Legend has it that a French spy on a mission in the eighteenth century took Chilean cuttings back to France to cross with the strawberries common in Europe. The French tried to keep the results a secret, but word got out and a berry craze ensued.
Makes
3 (93/4-ounce) jars
Ingredients
21/4 pounds fresh strawberries
2 1/2 cups sugar
3 tablespoons plus 1 teaspoon pectin powder
1 tablespoon apple cider vinegar
Method
1. First sterilize the jars and lids as described shown here.
2. Hull your berries by cutting off the leafy tops as well as the white flesh immediately below. It’s easiest to do this by holding a pointed sharp knife at an angle and cutting in a circular motion.
3. Put the strawberries, sugar, pectin, and vinegar into a saucepan and mash them to a thick pulp. Bring to a boil, then reduce the heat and simmer for 5 minutes. Skim off any foam that accumulates on the surface. After 15 minutes, divide the preserves evenly among your jars, leaving a 1/4-inch headspace. Screw the lids on tightly. Process the preserves as described shown here to keep the jars shelf stable for up to a year.
Blueberry Cobbler
For me, the color of this dessert represents summer itself. Like the color, its taste, too, is rare: a little sweet, a little tart, the flavor of the earth. You can use whichever berries you prefer, such as raspberries, strawberries, or blackberries, or even cherries, but pause and give thought to how the color of the fruit changes your perspective of the dish.
Serves
6
Ingredients
1/2 cup granulated sugar
1 teaspoon ground cinnamon
1 teaspoon ground cardamom
1 teaspoon salt
51/4 cups blueberries (do not thaw if using frozen)
1 tablespoon apple cider vinegar
For the cobbler
11/4 cups all-purpose flour
1/2 cup granulated sugar, plus extra for sprinkling
11/2 teaspoons baking powder
1/4 teaspoon salt
1 stick (4 ounces) unsalted butter (to make your own, see here), plus extra for greasing
1/2 cup heavy cream (or, if you make your own butter, use the buttermilk here)
1/2 teaspoon vanilla extract
Method
1. Preheat the oven to 375°F and grease an 8-inch square baking dish.
2. Mix together the sugar, cinnamon, cardamom, and salt. Stir in the blueberries to coat with the mix, then add the vinegar before you transfer the fruit to the baking dish.
3. Sift together the flour, sugar, baking powder, and salt. Melt the butter over low heat and add the cream and vanilla extract to the pan. Combine the wet and dry ingredients and mix to a dough. Use an ice cream scoop or spoon to place nine evenly spaced scoops of dough on top of the blueberries.
4. Sprinkle with 2 teaspoons of sugar and bake in the oven for 35–40 minutes. Let the cobbler cool for 15–20 minutes before serving.
Tip By freezing blueberries, you can make this dish all year. Rinse and dry the berries. Put the berries onto a baking sheet lined with parchment paper, aiming to keep them separate. Put into the freezer for 3 hours. Store the berries in an airtight container for up to a year. Use from frozen.
Ritual
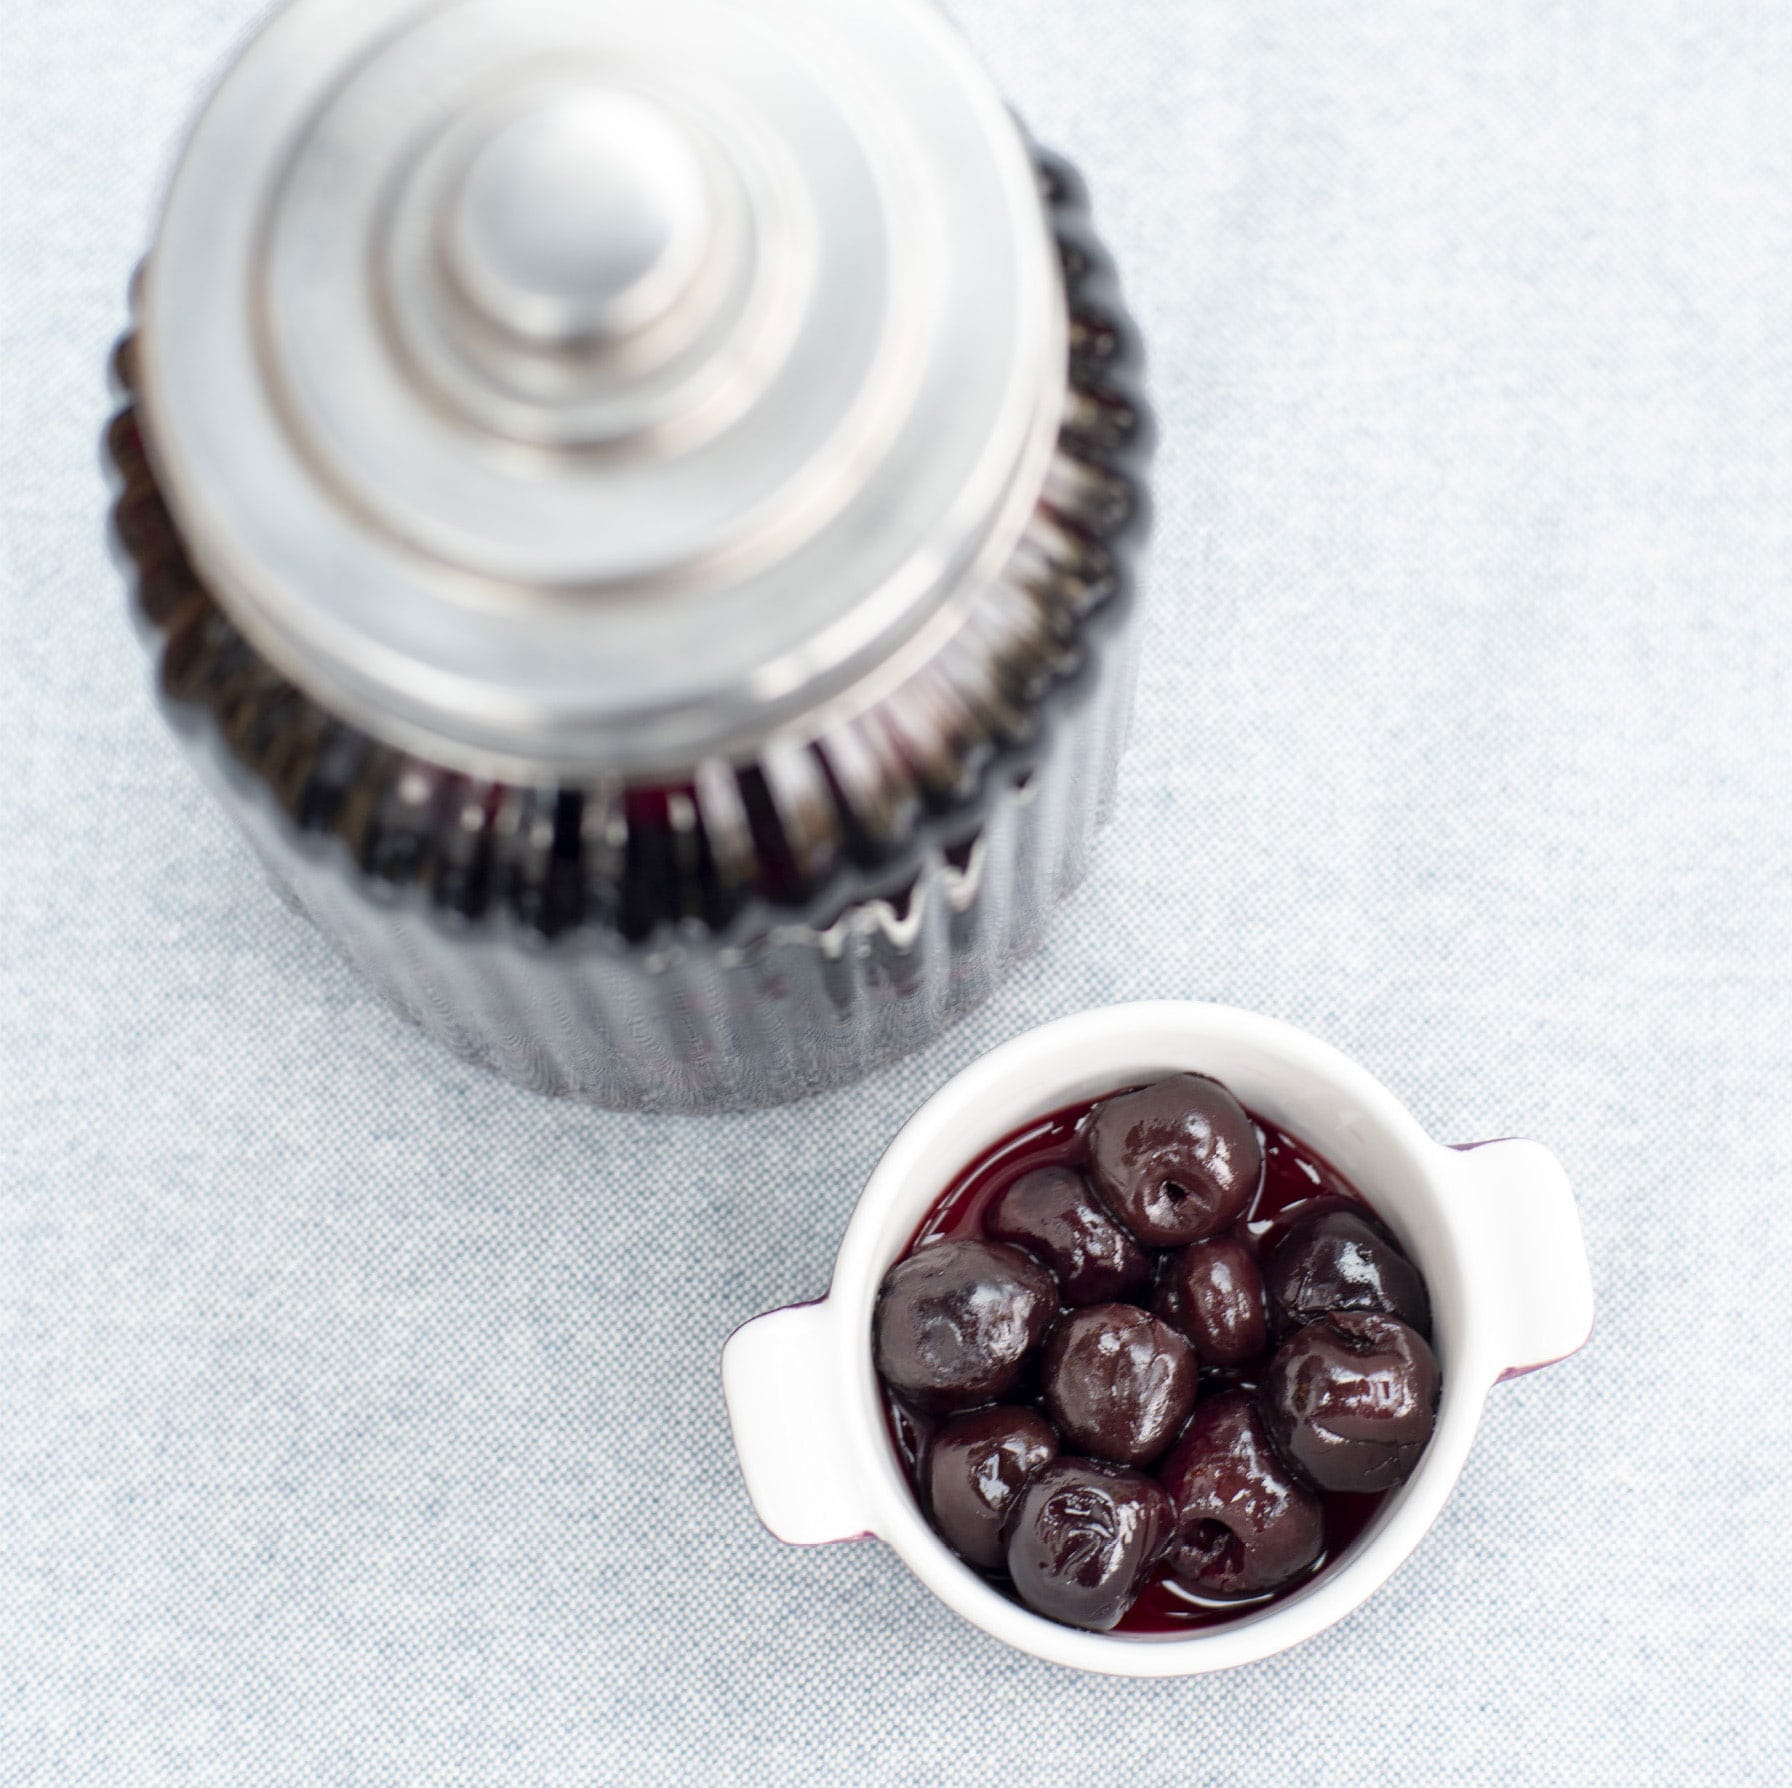
Brandied Cherries
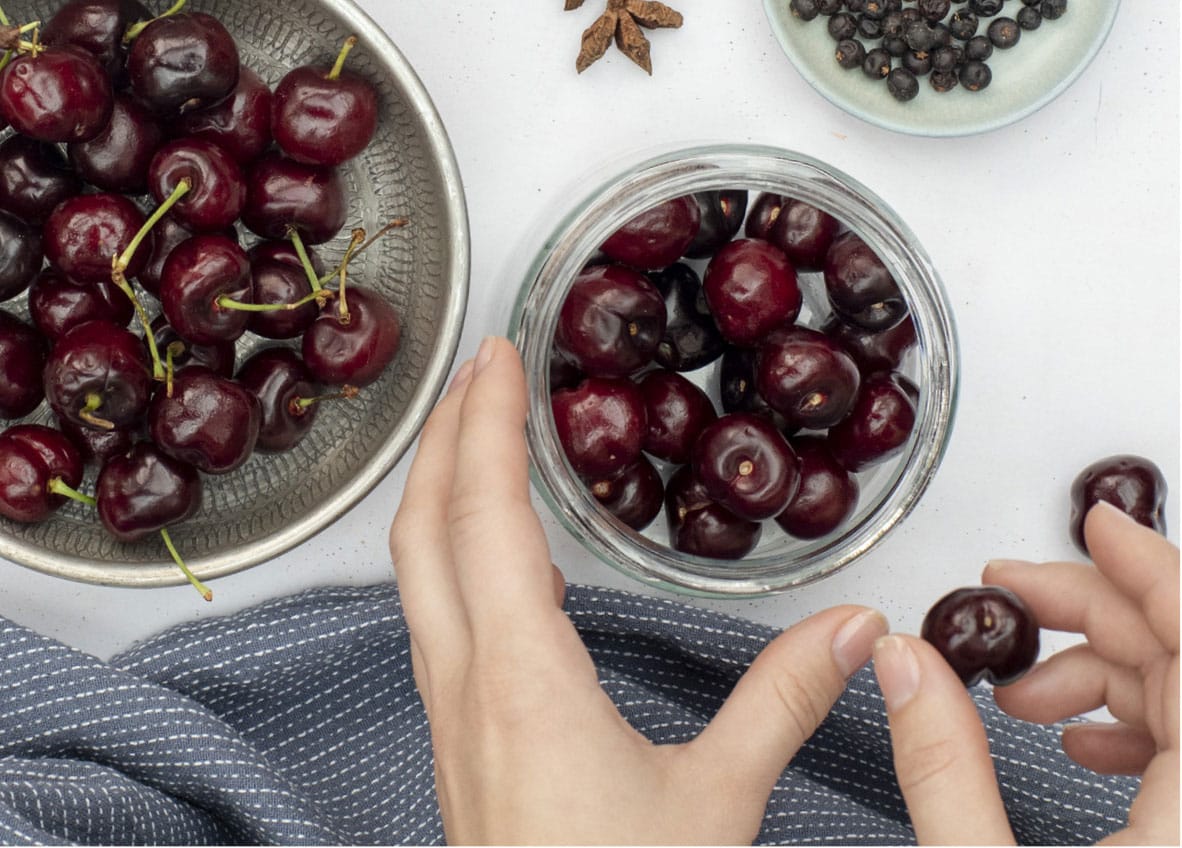
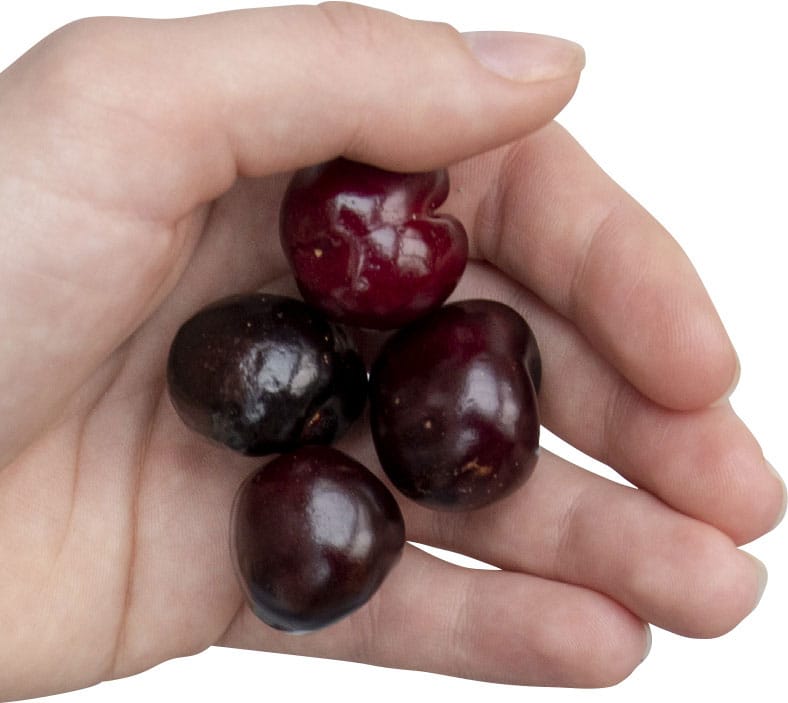
The bing in a Badda Bing martini is the brandied cherry. This is a beautifully versatile garnish to be used with great creativity. I also use them as the center for homemade chocolate truffles. A small jar makes a wonderful gift, too.
Makes
2 (18-ounce) jars
Ingredients
31/4 cups pitted cherries
1 cup water
1/3 cup sugar
1 cinnamon stick, broken in half
1 vanilla bean, split lengthwise and seeds scraped
Pinch of freshly grated nutmeg
4 juniper berries, smashed
1 star anise, broken in half
11/4 cups brandy
Method
1. First sterilize the jars and lids as described shown here. Pack the cherries into the jars, leaving a 1/2-inch headspace.
2. Put the water, sugar, and spices into a medium saucepan and bring to a simmer. Once the sugar has dissolved, remove from the heat and let steep for 15 minutes.
3. Strain the liquid to remove the spice pieces. Add the brandy and pour over the cherries so that they are submerged.
4. Process following the method shown here. The flavor will be most intense after 2–3 months, if you can wait that long!
Badda Bing Martini
Nature relatedness aside, I’m a sucker for a 1950s-style martini. Simple, organic vodkas are great sustainable cocktail choices, because the purest water depends on the purest water sources. The relaxing connectedness to be supped after mindfully making the preserves to pull this cocktail together definitely adds some badda bing to a warm summer’s evening.
Serves
1
Ingredients
2 tablespoons cherry syrup (see below)
1/4 cup your favorite vodka or gin
A few mint leaves
A brandied cherry, to decorate
For the cherry syrup
21/2 cups fresh pitted cherries
1/3 cup sugar
Method
1. First make the syrup. Wash the cherries and put them and the sugar into a saucepan over medium heat. Bring to a boil and simmer for about 10 minutes, then mash to release the juices.
2. Remove from the heat and pour through a strainer set over a bowl. Pour the syrup into a clean bottle and keep in the refrigerator for up to ten days—it makes enough for several cocktails.
3. To make the martini, fill a cocktail shaker with ice. Add the cherry syrup and vodka or gin to the shaker with a few mint leaves. Cover and shake!
4. Rub the rim of a chilled martini glass with a piece of mint to release the oils. Strain the chilled mixture into a martini glass, top with a dash of water, a mint leaf, and a brandied cherry.
The Good Ship (Cherry) Lollipop
Here’s a modern take on the classic Shirley Temple for those craving a virgin cocktail made using the preserved bounty of summer.
Serves
1
Ingredients
11/2 teaspoons cherry syrup (see recipe facing page)
11/2 teaspoons grenadine syrup
Ginger ale
Lime or orange slices, to garnish
Ice
Method
1. Fill a cocktail shaker and a tall glass with ice. Add the cherry syrup and grenadine to the cocktail shaker and shake. Strain into the glass and top with ginger ale. Garnish with a slice of lime or orange.
