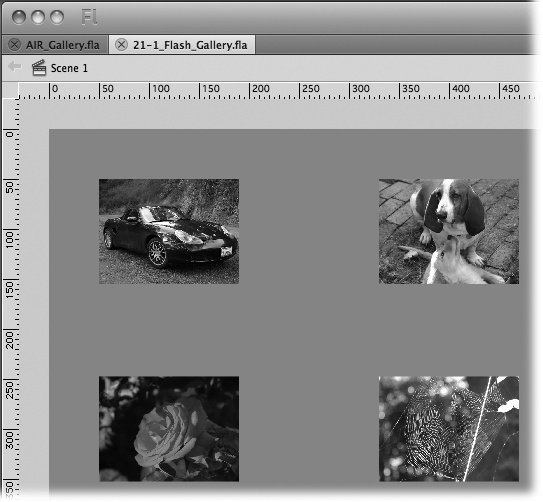
If you follow the steps on Creating Your First AIR Application, you can create a new AIR application from scratch. You can use all your Flash tools and skills to build a new application. On the other hand, you may have a great Flash animation that you'd like to convert to AIR. That's not hard to do. It's really just a matter of creating a new AIR document and then opening your Flash project in another tab. Then you can copy content from the Flash animation to the AIR project. To give it a try, you can use the Photo Gallery project from Chapter 7. The file in the Missing CD (www.missingmanuals.com/cds) is named 21-1_Flash_Gallery.fla.
Choose File→New→Adobe AIR 2.
A new AIR document opens in Flash.
Choose Modify→Document. Then in the Document Settings, change the document width to 800 px and the height to 600 px. Set the back ground color to a light gray (#999999). Click OK.
After you change the dimensions and click OK, the stage changes to the new color and larger size.
Choose File→Save As, and save this empty document using the name AIR_Gallery.fla.
The tab for this project changes from untitled to shows its new name: AIR_Gallery.fla.
Choose File→Open and then find 21-1_Flash_Gallery.fla.
You have two documents in the Flash workspace, the AIR document and the Flash Photo Gallery animation. As shown in Figure 21-7, the workspace holds two projects.
Note
The Photo Gallery consists of nine photos which, when clicked, spin around and expand to fill the stage. A second click reduces them to their former thumbnail size. Motion tweens create the animation (Making It Move with Motion Tweens), and event listeners (How Events Work) handle the mouse clicks. You'll find stop() methods in the code to keep the animation from continuing to play at key points. Labels (Working with Labeled Frames) are used as timeline markers for the gotoAndPlay() methods.
In the 21-1_Flash_Gallery.fla animation, drag the edge between the timeline and the stage so you can see all the layers in the timeline.
Once all layers are visible, you see the top layer named instructions and the bottom layer named Gallery.
Right-click (Control-click) any frame in the animation, and then choose Select All Frames from the shortcut menu.
Once selected, all the frames in the animation show a blue highlight.
Right-click (Control-click) a second time and then choose Copy Frames from the shortcut menu.
The contents of every frame in your animation are stored on the Clipboard.
Click the AIR_Gallery.fla tab.
The empty AIR project fills the workspace.
Right-click the first frame (the only frame) in the first layer of the timeline. Then choose Paste Frames.
The timeline in the AIR project fills with the frames and layers that were in the Flash animation. All the tweens and labels show in the timeline. All the layers are named as they were in the Flash animation.
Click the Library or go to Window→Library.
The symbols and JPEG or .jpg photos used in this project are listed in the Library.
Press Ctrl-Enter (⌘-Return).
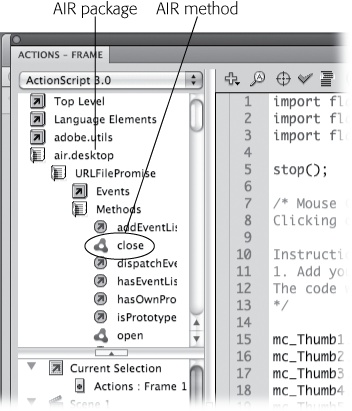
Your AIR document now has all the assets and functions that were in the original project. If you want to examine the code in the project, press F9 (Option-F9) and take a peek. If you're happy with the project, save it and go on to the next section to publish it. If you want, you can make changes such as swapping some of the pictures or developing some new features. AIR projects have capabilities not available to Flash animations, so in the Actions panel, you'll find AIR packages with classes, properties, methods, and events, like those shown in Figure 21-8. For more details and documentation, go to http://labs.adobe.com/technologies/air2/.