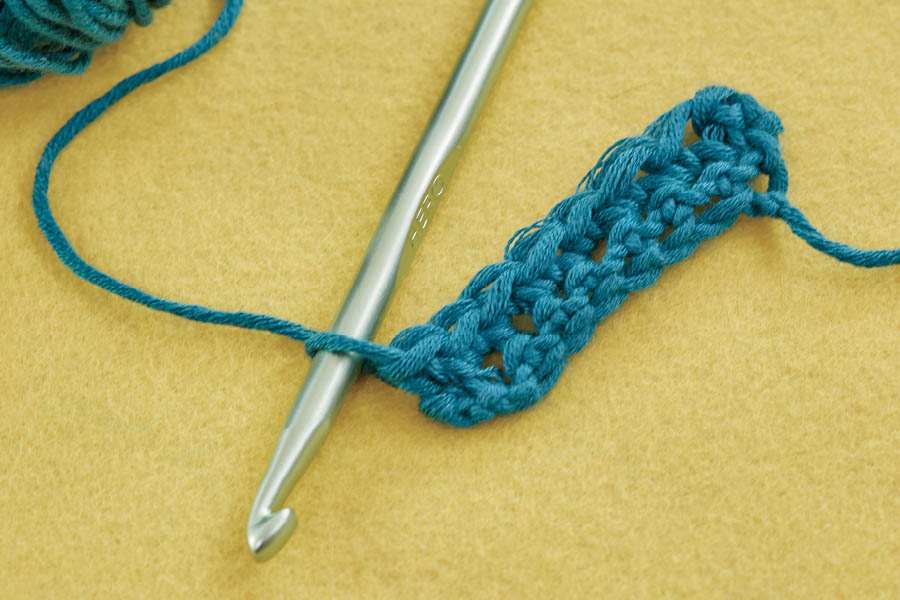

When you crochet, you use a single hooked needle to turn yarn into chained loops that link together to form a piece of fabric. There are some very traditional forms of the craft: if you’ve ever seen a lace tablecloth, for example, or a granny-square afghan — which is a kind of blanket pieced together from lacy squares — chances are you’ve seen the results of crochet. But the thing is, no matter how old or traditional a craft it is, it’s ours to learn and use however we like! That means we can make wrist cuffs and neck cozies, if we want to, or bead bracelets, leg warmers, or weird monster creatures. In fact, crochet is an art that is really coming back in style. People are doing it a lot these days, and they’re making anything they can imagine.
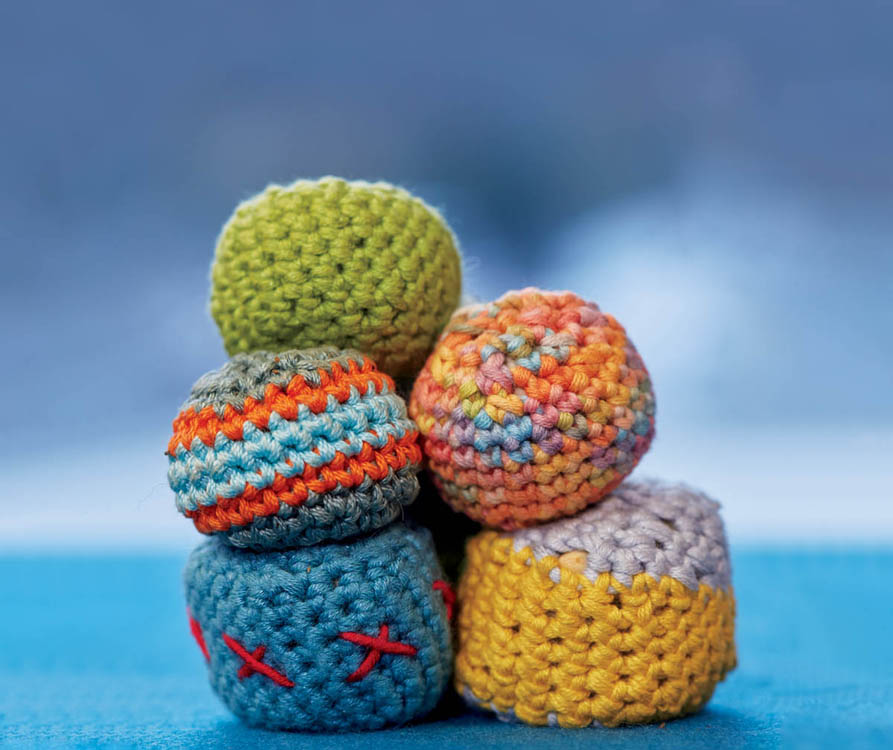
One thing that makes crocheting different from knitting — besides using one hook instead of two needles — is that you start and finish one stitch at a time. When you’re knitting, on the other hand, you keep an entire row of stitches open, and if you’ve ever had a knitting needle slide out from the project you’re working on, you understand the related danger of this method. Crochet is also, as you get more experienced, uniquely easy to work into rounds (think lace doilies or Hacky Sacks) and odd shapes (think cactus, amoeba, or coral reef), whereas knitting lends itself more easily to rectangles and tubes.
But we’re just going to get you started here. We’ll show you the basics, but don’t let your lesson end with these pages! Tuck a crochet hook and a small ball of yarn into your backpack in case, when you least expect it, you end up in the company of an expert crocheter! He or she will have so much to teach you.
If you’re left-handed, crocheting might seem tricky at first. For some tips, see Hey, You Left-Handed Lovies!.
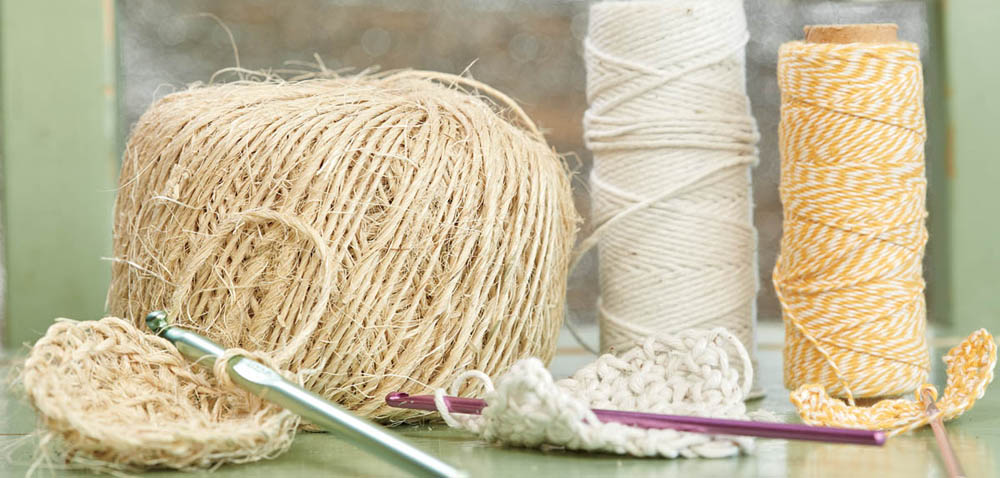
Yarn or thread. We’re big fans of using whatever odds and ends of yarn you find around the house, but if someone is taking you yarn shopping, here’s our advice: when you’re first learning to crochet, a nice, smooth, light-colored yarn is easiest, because you’ll be able to see your stitches. We like to use wool or a wool blend, since it has a little bit of stretch that makes it easier for beginners to work with.
Yarn is sold in balls, looser skeins, and loose bundles called hanks. (See Wind Yarn into a Ball to learn how to turn a hank into a ball — a very useful step before you start crocheting with the yarn.)
As you get more practiced, you might like to use perle cotton, which is a little shiny and is perfect for crochet. It’s often sold in cones or tubes, but sometimes comes in hanks. (To prevent the hank from becoming tangled, see Storing Your Embroidery Floss.)
Crochet hook. Like knitting needles, crochet hooks are made of different materials, including metal, plastic, and wood, and come in different sizes, which are named with both letters and numbers: the skinnier the hook, the lower the letter and number (a US C/2 [2.75 mm] hook, for example, is much slimmer than an L/11 [8 mm]). Do you feel like we just taught you calculus by accident? Don’t worry. The gist of it is that you’ll use a thicker crochet hook with thicker yarn, and a thinner one with thinner yarn. Unlike knitting needles, you use only one crochet hook at a time!
Scissors. You’ll need scissors for cutting your yarn, but it doesn’t matter too much what kind they are, since it’s not a lot of cutting.
Tape measure or ruler. You’ll need one for measuring your projects as you work on them.
Blunt-tipped wide-eyed needle. Use a dull needle with an eye that your yarn can fit through for weaving in the ends of your yarn and sewing up projects that require it.

Do you know the theater expression “breaking the fourth wall”? The fourth wall is the imaginary boundary separating the audience and the actions on the stage. When actors “break” through it, they address the audience directly and remind you that what you’re watching is a play. Right now, you’re not watching a play, and we’re not actors, but we’re going to remind you that this is a book being written by two actual people. Because here’s a secret: we started writing it without actually knowing how to crochet!
We’ve both been doing fiber crafts for most of our lives, and we both taught all our kids to knit and sew and felt and embroider and weave. But somehow neither of us had ever learned how to crochet. And we were nervous about learning it!
“Do you think we really need a chapter on crochet?” we asked our editor, and she said, “Yes. We really need a chapter on crochet.” So we learned how to crochet. We had to read books and watch videos and get help from our friend Sara Delaney, who used to work at our local yarn store and who literally wrote the book How to Crochet. And little by little, we got the hang of it.
We’re not telling you this to make you nervous about crochet. Just the opposite, actually. We’re telling you this so you understand that all of these fiber crafts are skills that you really can learn, even if you haven’t already been doing them for your whole life. Some of them might be easy for you, and some might be harder, but you just have to be patient and practice, practice, practice.
And guess what? Now Nicole loves to crochet! Catherine is still learning. But she’s working on it, and she’s getting better. She really is.
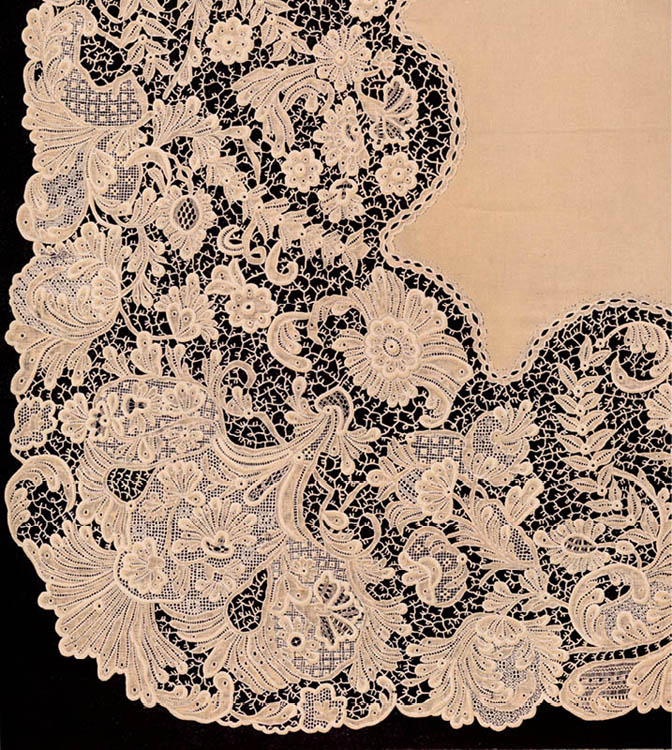
This Irish lace handkerchief was crocheted in the nineteenth century.
Crochet is an old French word that comes from the German word croc, which means “hook.” In the seventeenth century, crochet described a form of making lace, as well as the hooked needle that was used to do it. Both are still used today, 400 years later!
Crocheting with your fingers instead of a hook is a good method to start with because it introduces you to the basic process in a simple way. Try finger-crocheting shoelaces, a bracelet, or a hair tie. Or tie a length of it into a bow to pretty up a gift! These instructions teach you how to make a finger-crocheted chain, but if you like the process, keep experimenting; you can also make more complicated crochet stitches — and projects — using just your fingers.

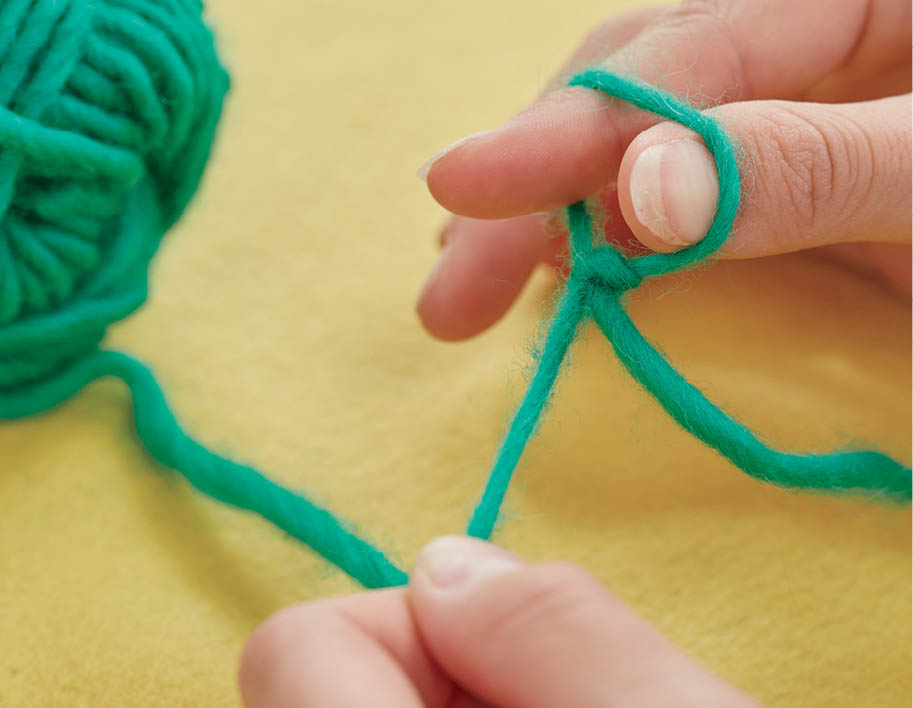
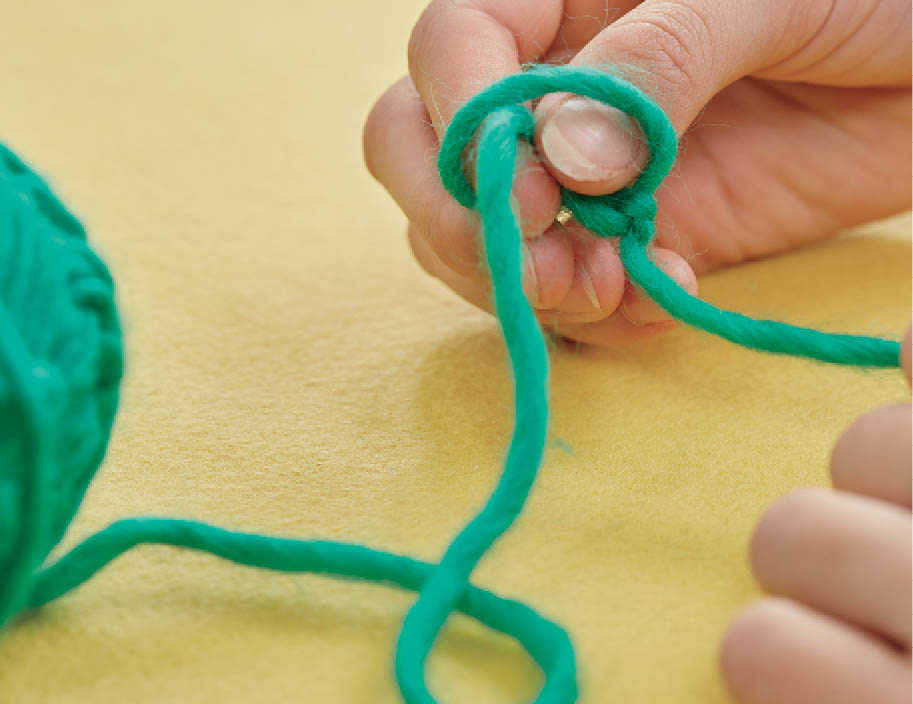

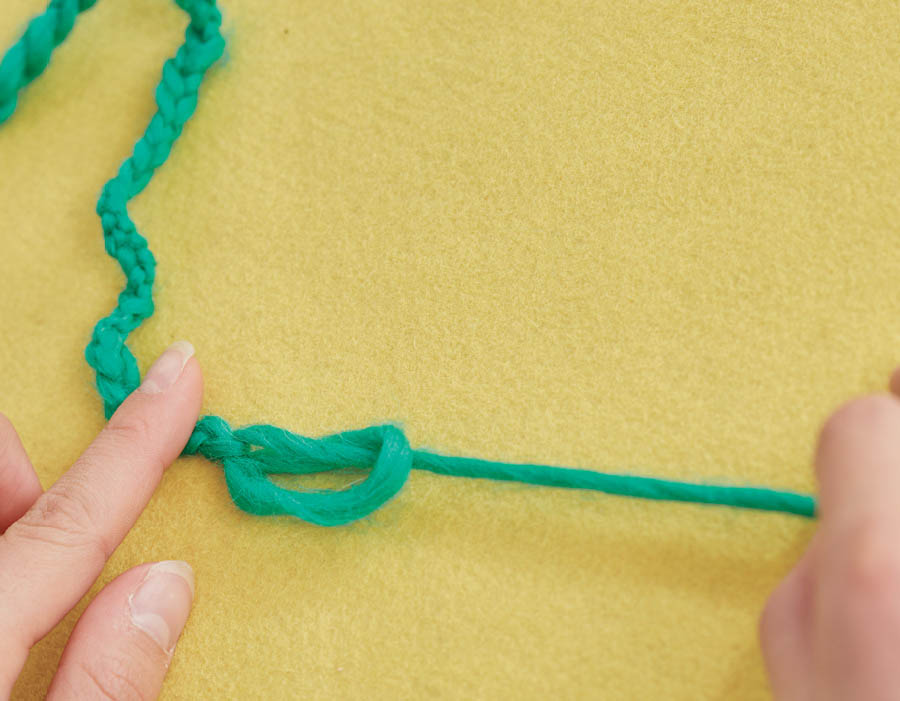
The chain stitch is the basis for the crochet projects in this chapter, so you’ll want to practice it for a little while before moving on to more exciting things. You might rip it out (that means pull the working yarn to undo the stitches) and start over again. Otherwise use your finished chain to tie something up — like a present or your hair — or to make a leash for your cat (because cats love that!). When we refer to using this stitch, we will use the verb chain, as in “chain 10 stitches, then . . .”

With the hook facing you, wrap the working yarn over the hook from the back to the front. (This action will sometimes show up in the projects as the instruction yarnover.)


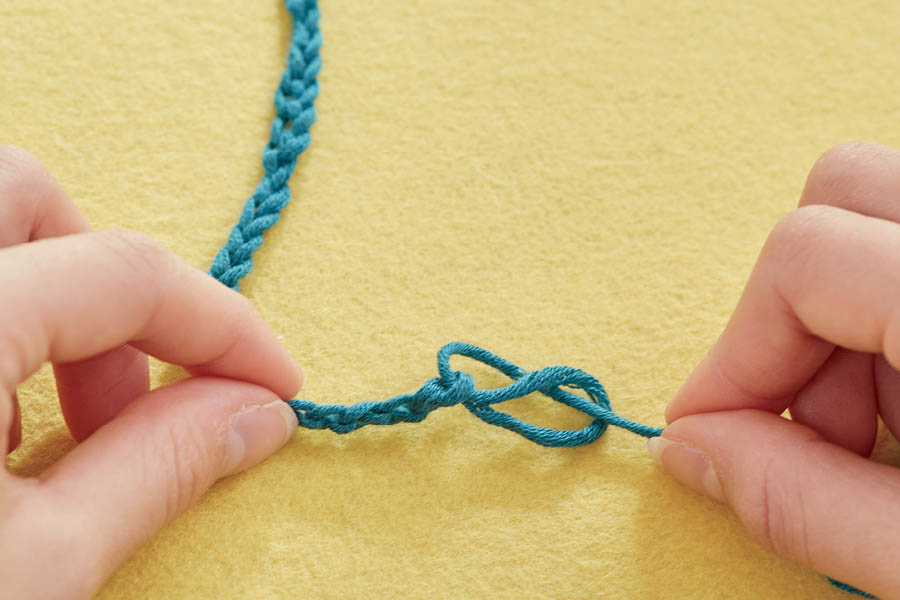
Keep the distance between your hands more or less the same as you crochet.
Remember to turn your hook so it’s facing down before pulling the working yarn through the loop.
If your stitches are too small to work into easily, you may be pulling your yarn too tight. Try relaxing your hands a little bit. Sliding each newly completed stitch down the hook an inch or so before starting your next stitch can also help keep your stitches a little looser.
Remember to wrap the yarn from back to front.
To keep your chain from twisting, move your left hand up the chain as you work, so your thumb and middle finger will hold the dangling chain instead of the original tail. This will help keep the edges of your finished crocheted projects straight.
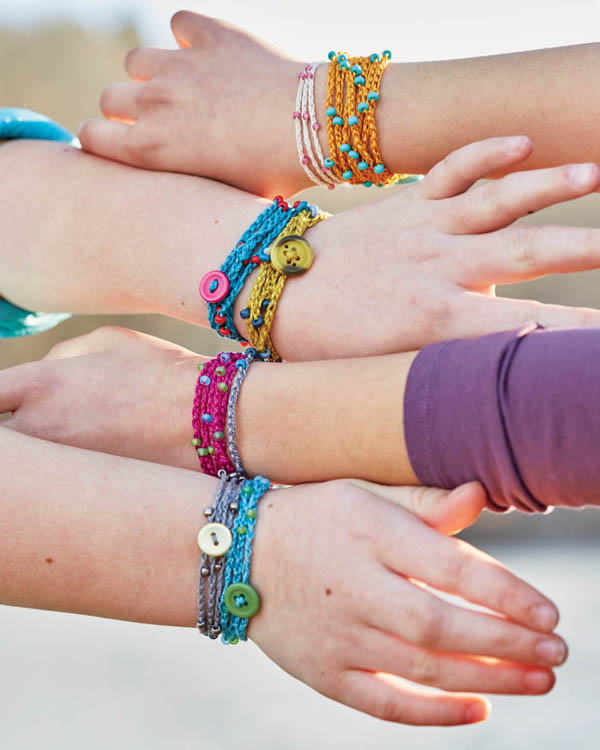
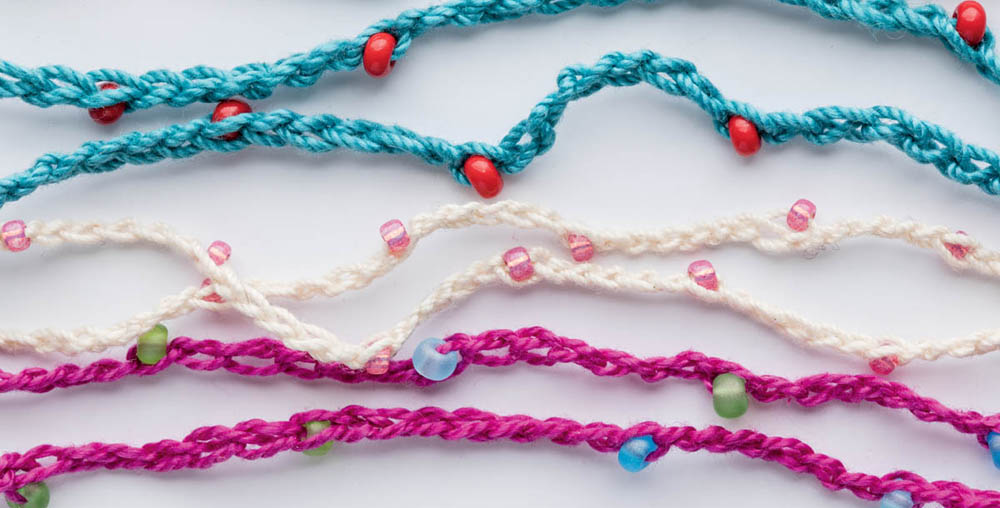
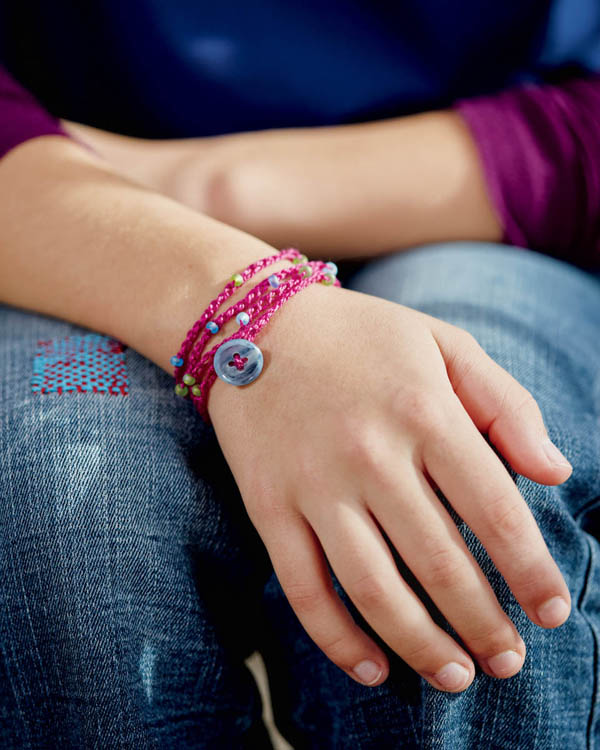
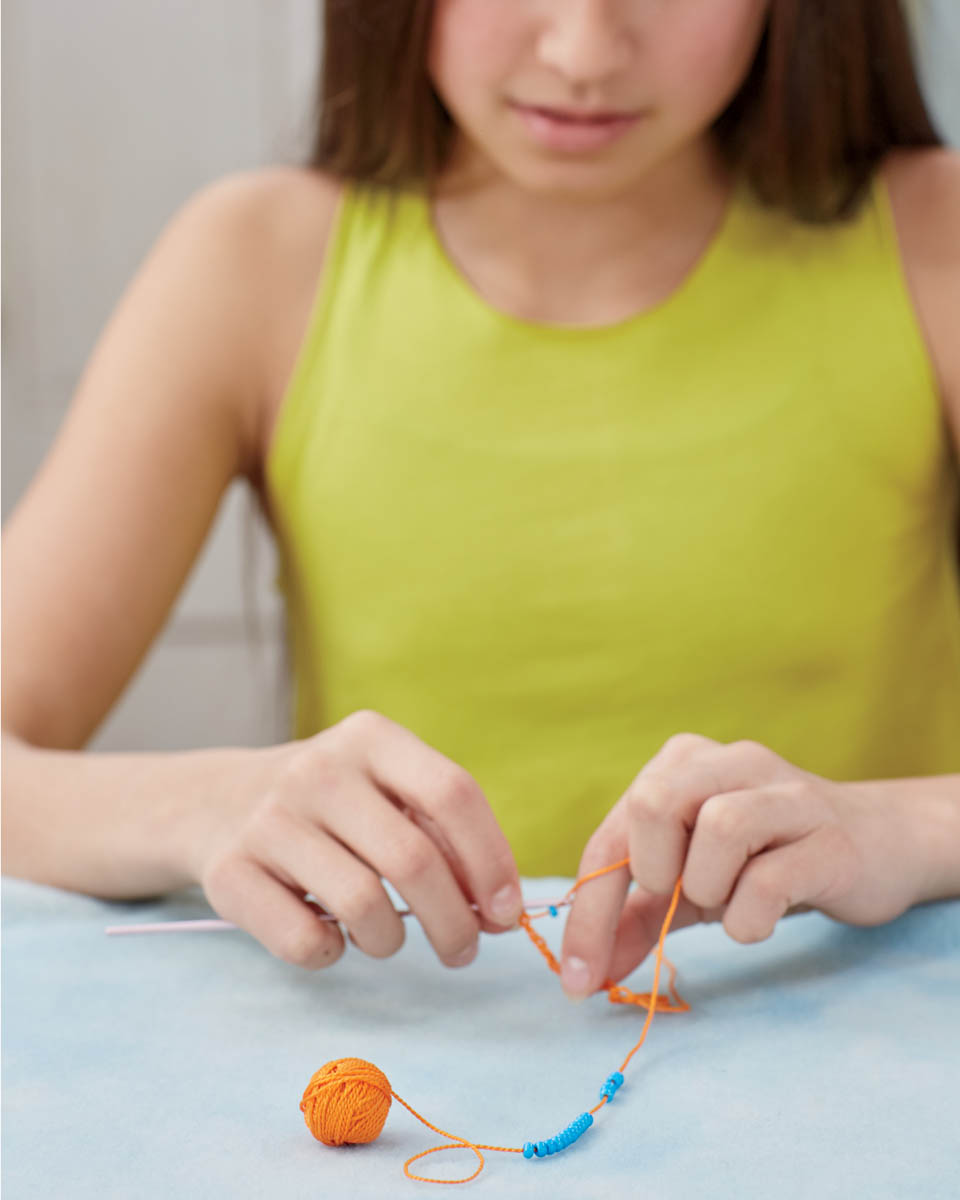
This project is a perfect first foray into crocheting. It relies entirely on the first two steps of any crochet project: the slip knot and the chain stitch. Once you master the chain stitch, you can whip up yards and yards of chain in no time at all, so all of your friends can get a stylish and simple bracelet to wear.
Oh, and by the way, if you want this to wrap around your wrist more times — or if you want a necklace instead or even some ankle jewelry — just start with more beads and make the chain as long as you like!
Use a button that fits very snugly through the loop made at the beginning of the chain in step 3 (below). You really want it to just barely squeeze through!
Note: If you aren’t sure how long your bracelet needs to be when you start, thread a few extra beads just in case. You don’t have to use them if you don’t need them, but you can’t easily add beads later if you find you want a longer bracelet.
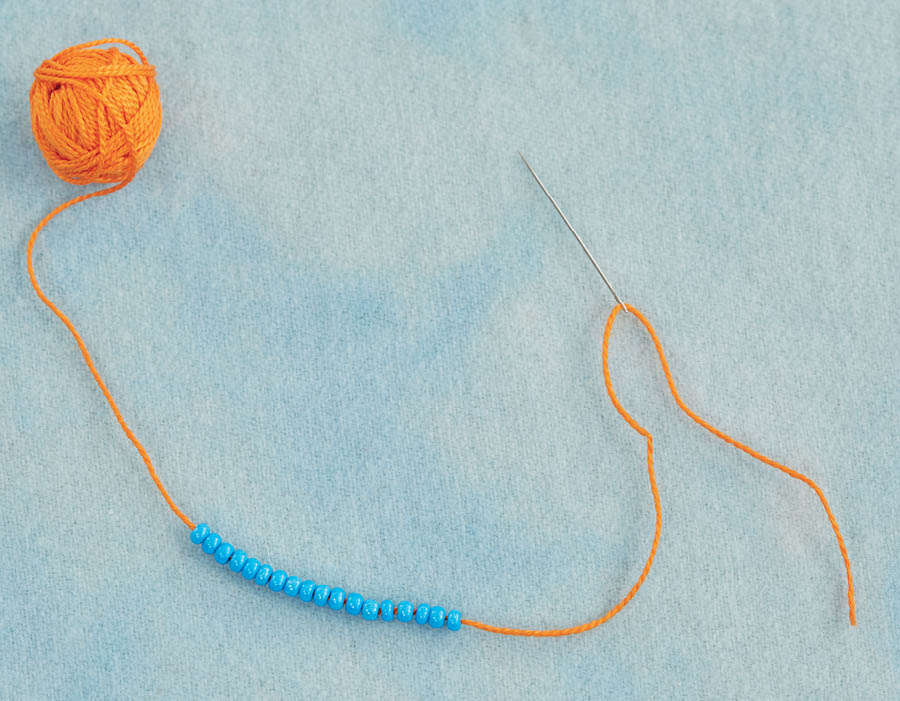
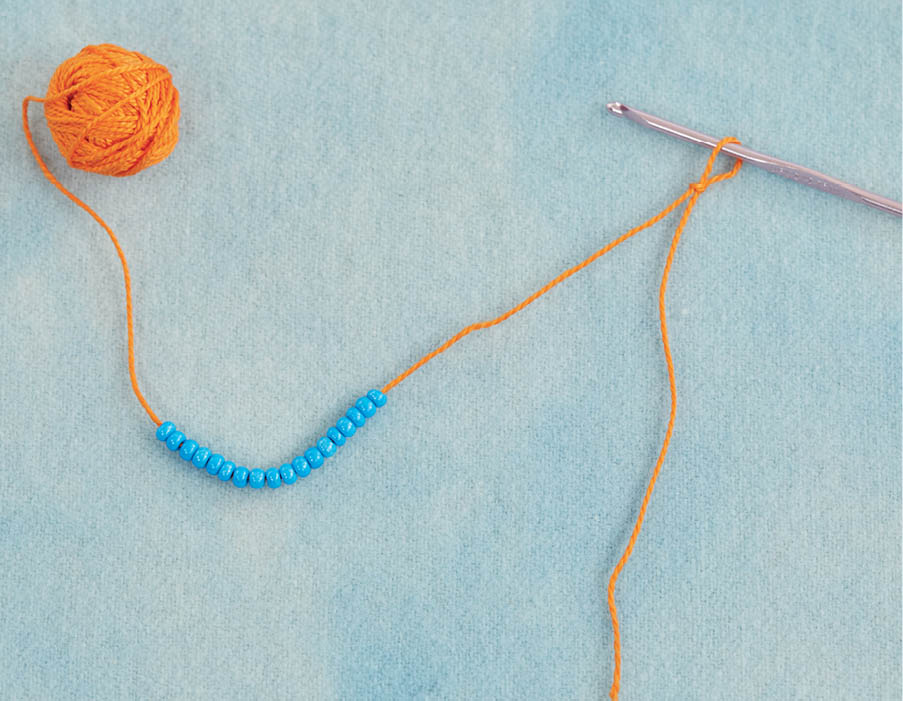
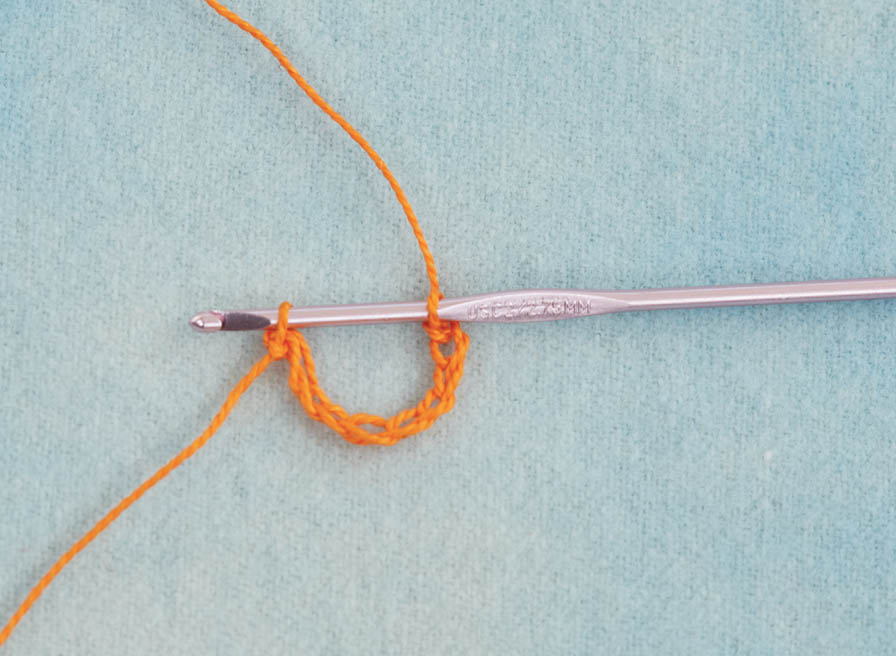
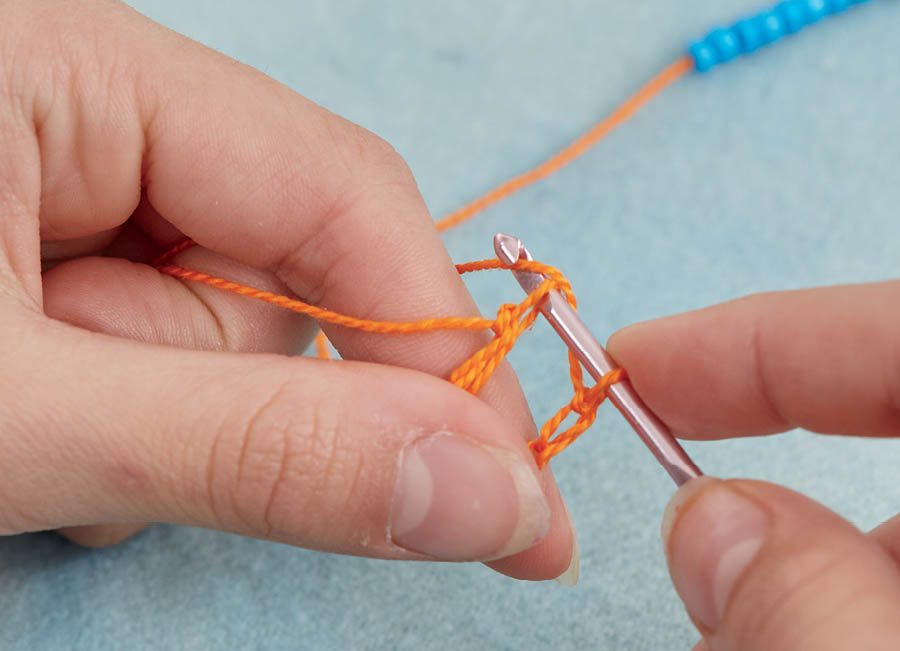
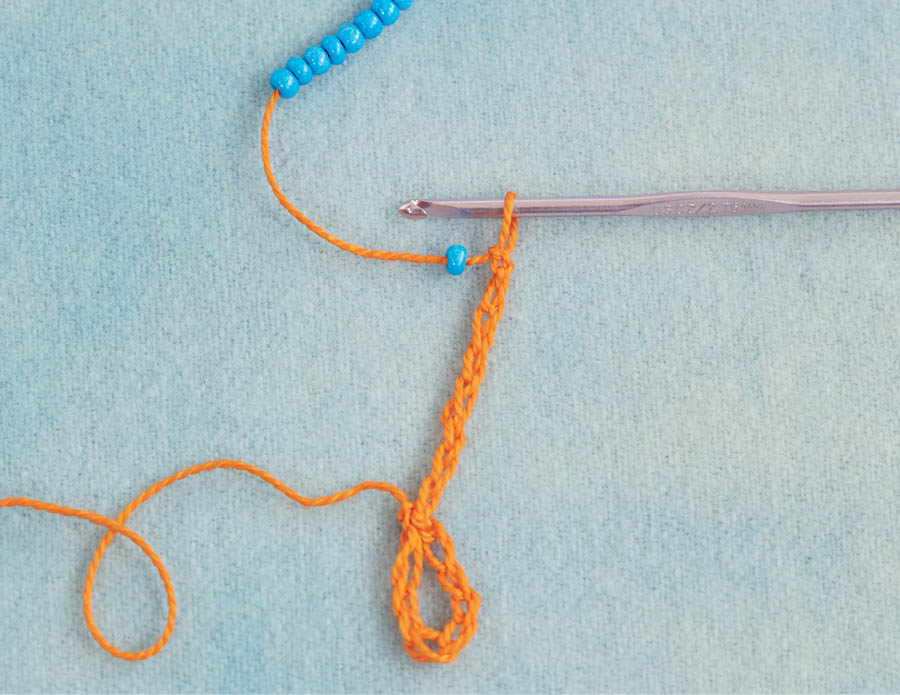
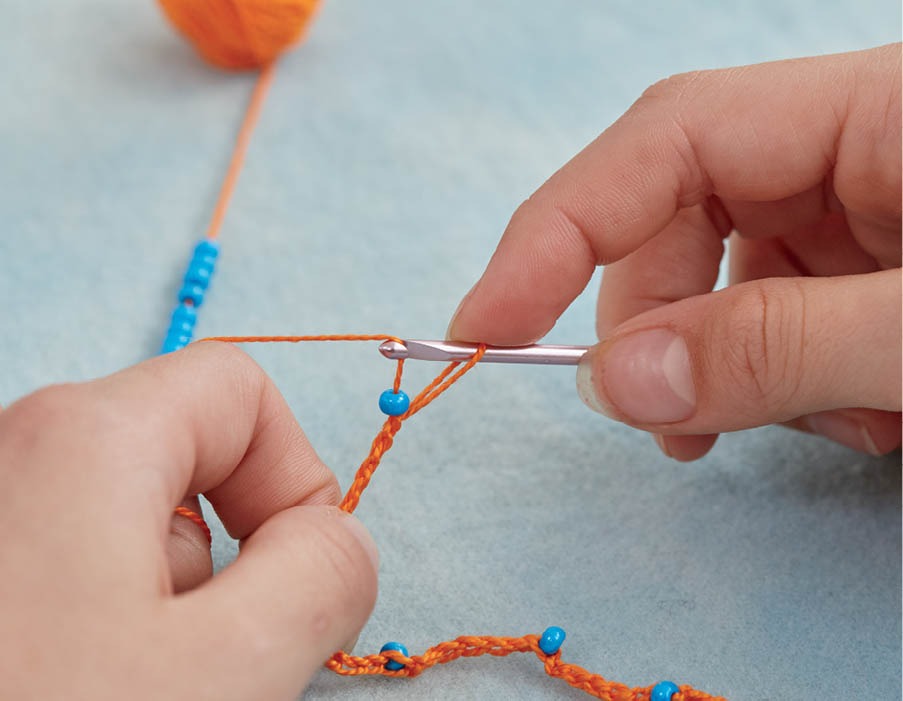
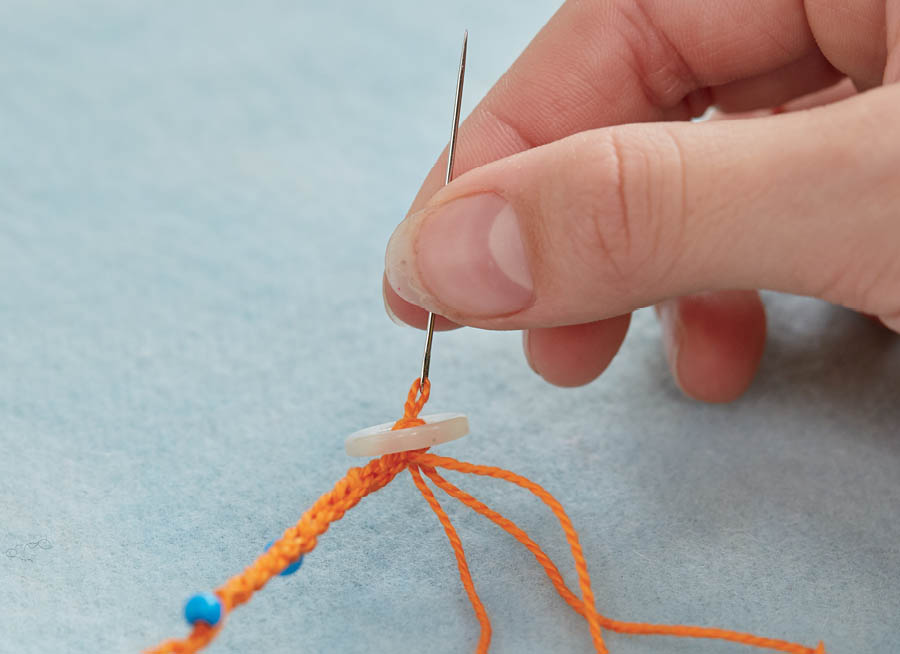
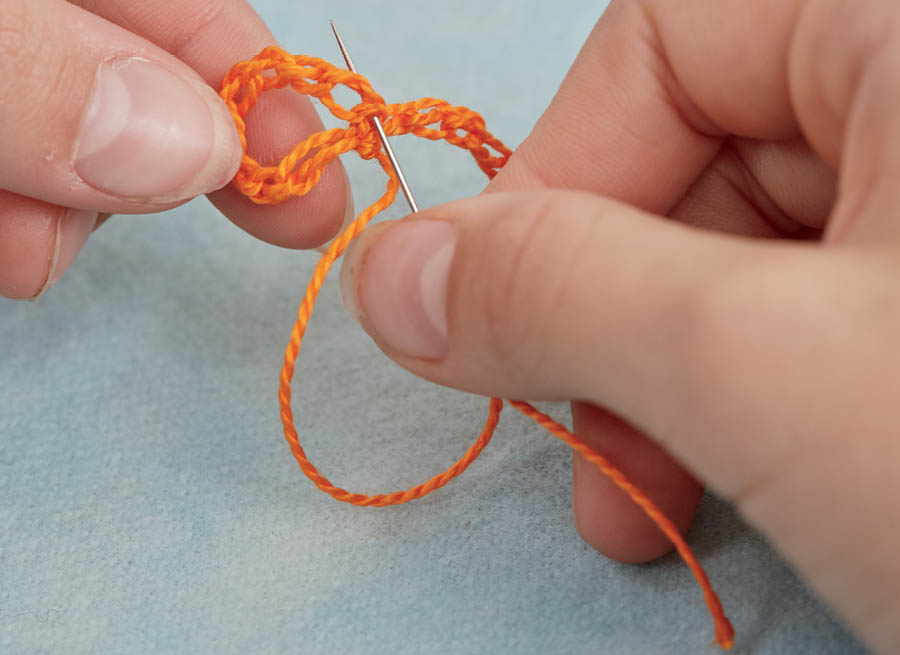
Stitch the button down into the chain a few times, making sure it is really secure, then tie off the thread on the underside of the button (see Tie Off the Thread). Weave the tail into a few stitches near the button, and snip the excess thread.
Now that you’ve mastered the crochet chain, you’re ready to crochet an actual piece of fabric. There are many crochet stitches, but single crochet is a simple back-and-forth that makes a sturdy, even fabric — perfect for the projects that follow.


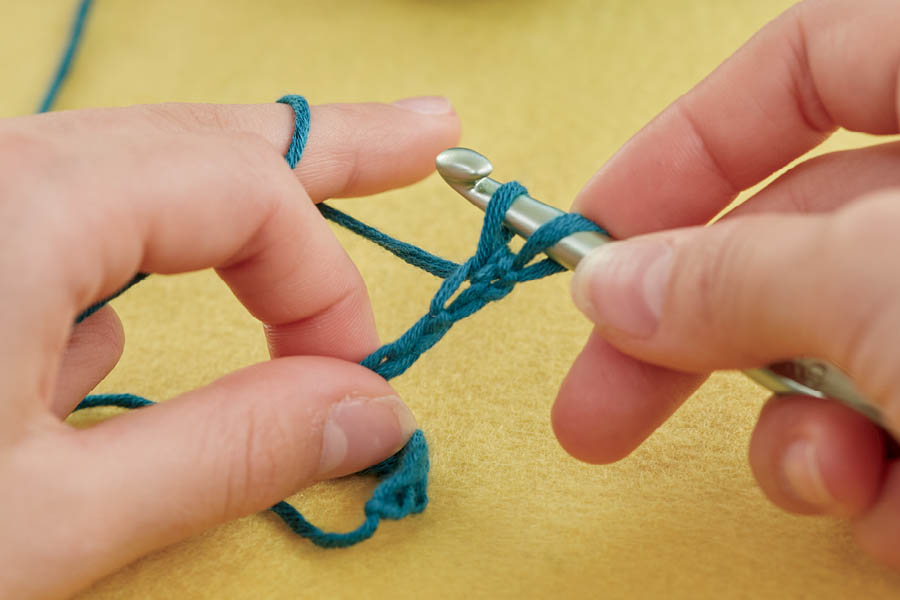

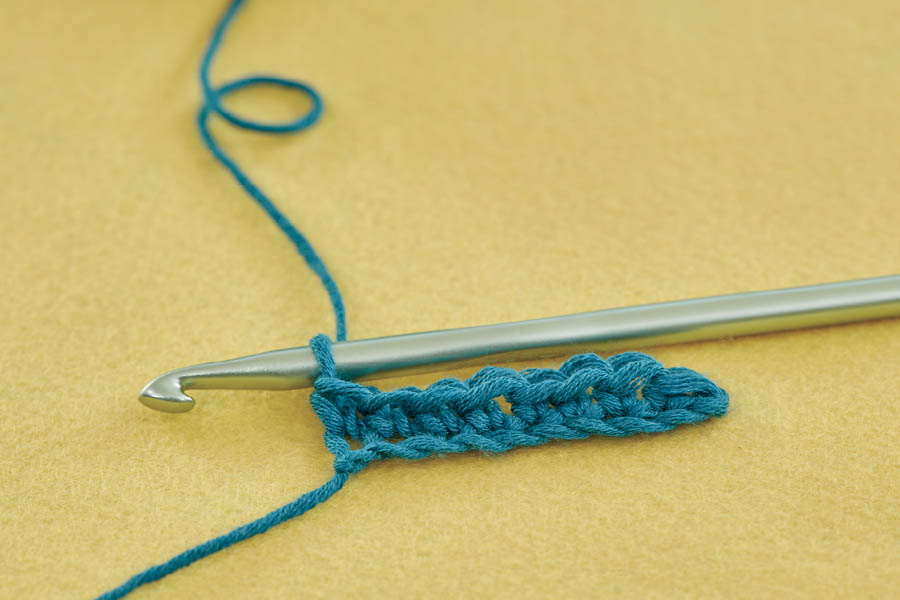
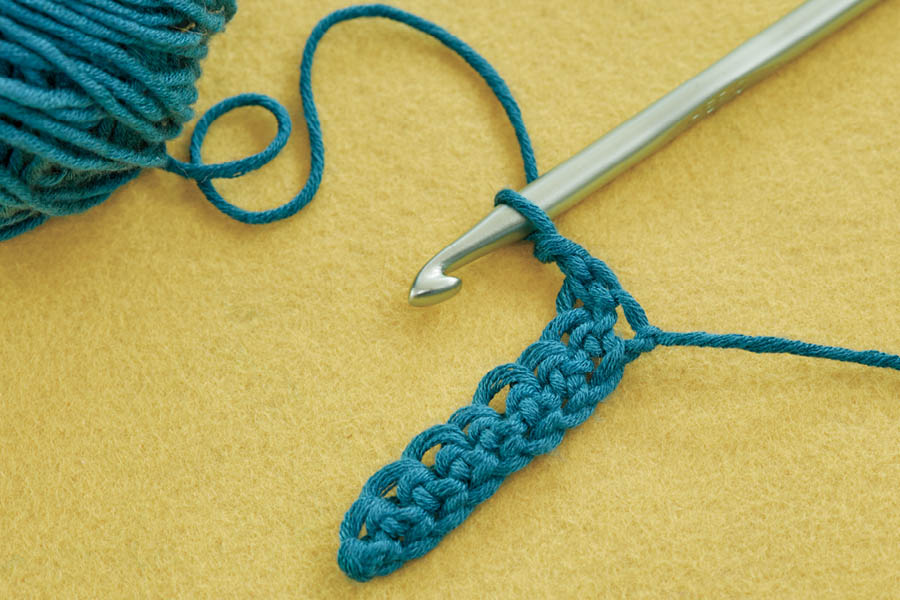
Complete your single crochet stitch just as you did when working into the foundation chain: yarnover, pull the yarn through to create 2 loops, yarnover, and pull through both loops.

