Cream and Soft Cheeses
Cream and Soft Cheeses
Once you have had a go at making some fresh cheeses, you should have a pretty good foundation of cheesemaking – when you have the curd right, you’re on to a winner!
Soft and cream cheeses are the next step on your cheesemaking adventure; these are great cheeses to practise making, as firstly they are delicious (licking the bowl is my favourite part), but, more importantly, soft cheeses have a short ageing time, which means you can quickly find out if you love the cheese or would maybe like to tweak the recipe slightly. These cheeses can also be made in small batches, which is a good way to build your cheesemaking skills and get a feel for the craft without too much output. Cheeses that are unripened or unpressed fall under the category of soft cheese. Soft cheeses are described as ‘runny’, ‘gooey’ and ‘wet’.
My advice would be to keep a record of how you are making the cheeses – make a note of what you have done at each step. This way, if you make a favourite cheese, you will be able to replicate it. This is an important process even for the most simple of cheeses, and if you get into the habit of doing it early on, it will soon become second nature and make life easier when you come to the trickier cheeses.
In this chapter there are also some delicious ways in which you can use your cream and soft cheeses. A soft cheese feels like a real treat and is wonderfully indulgent.
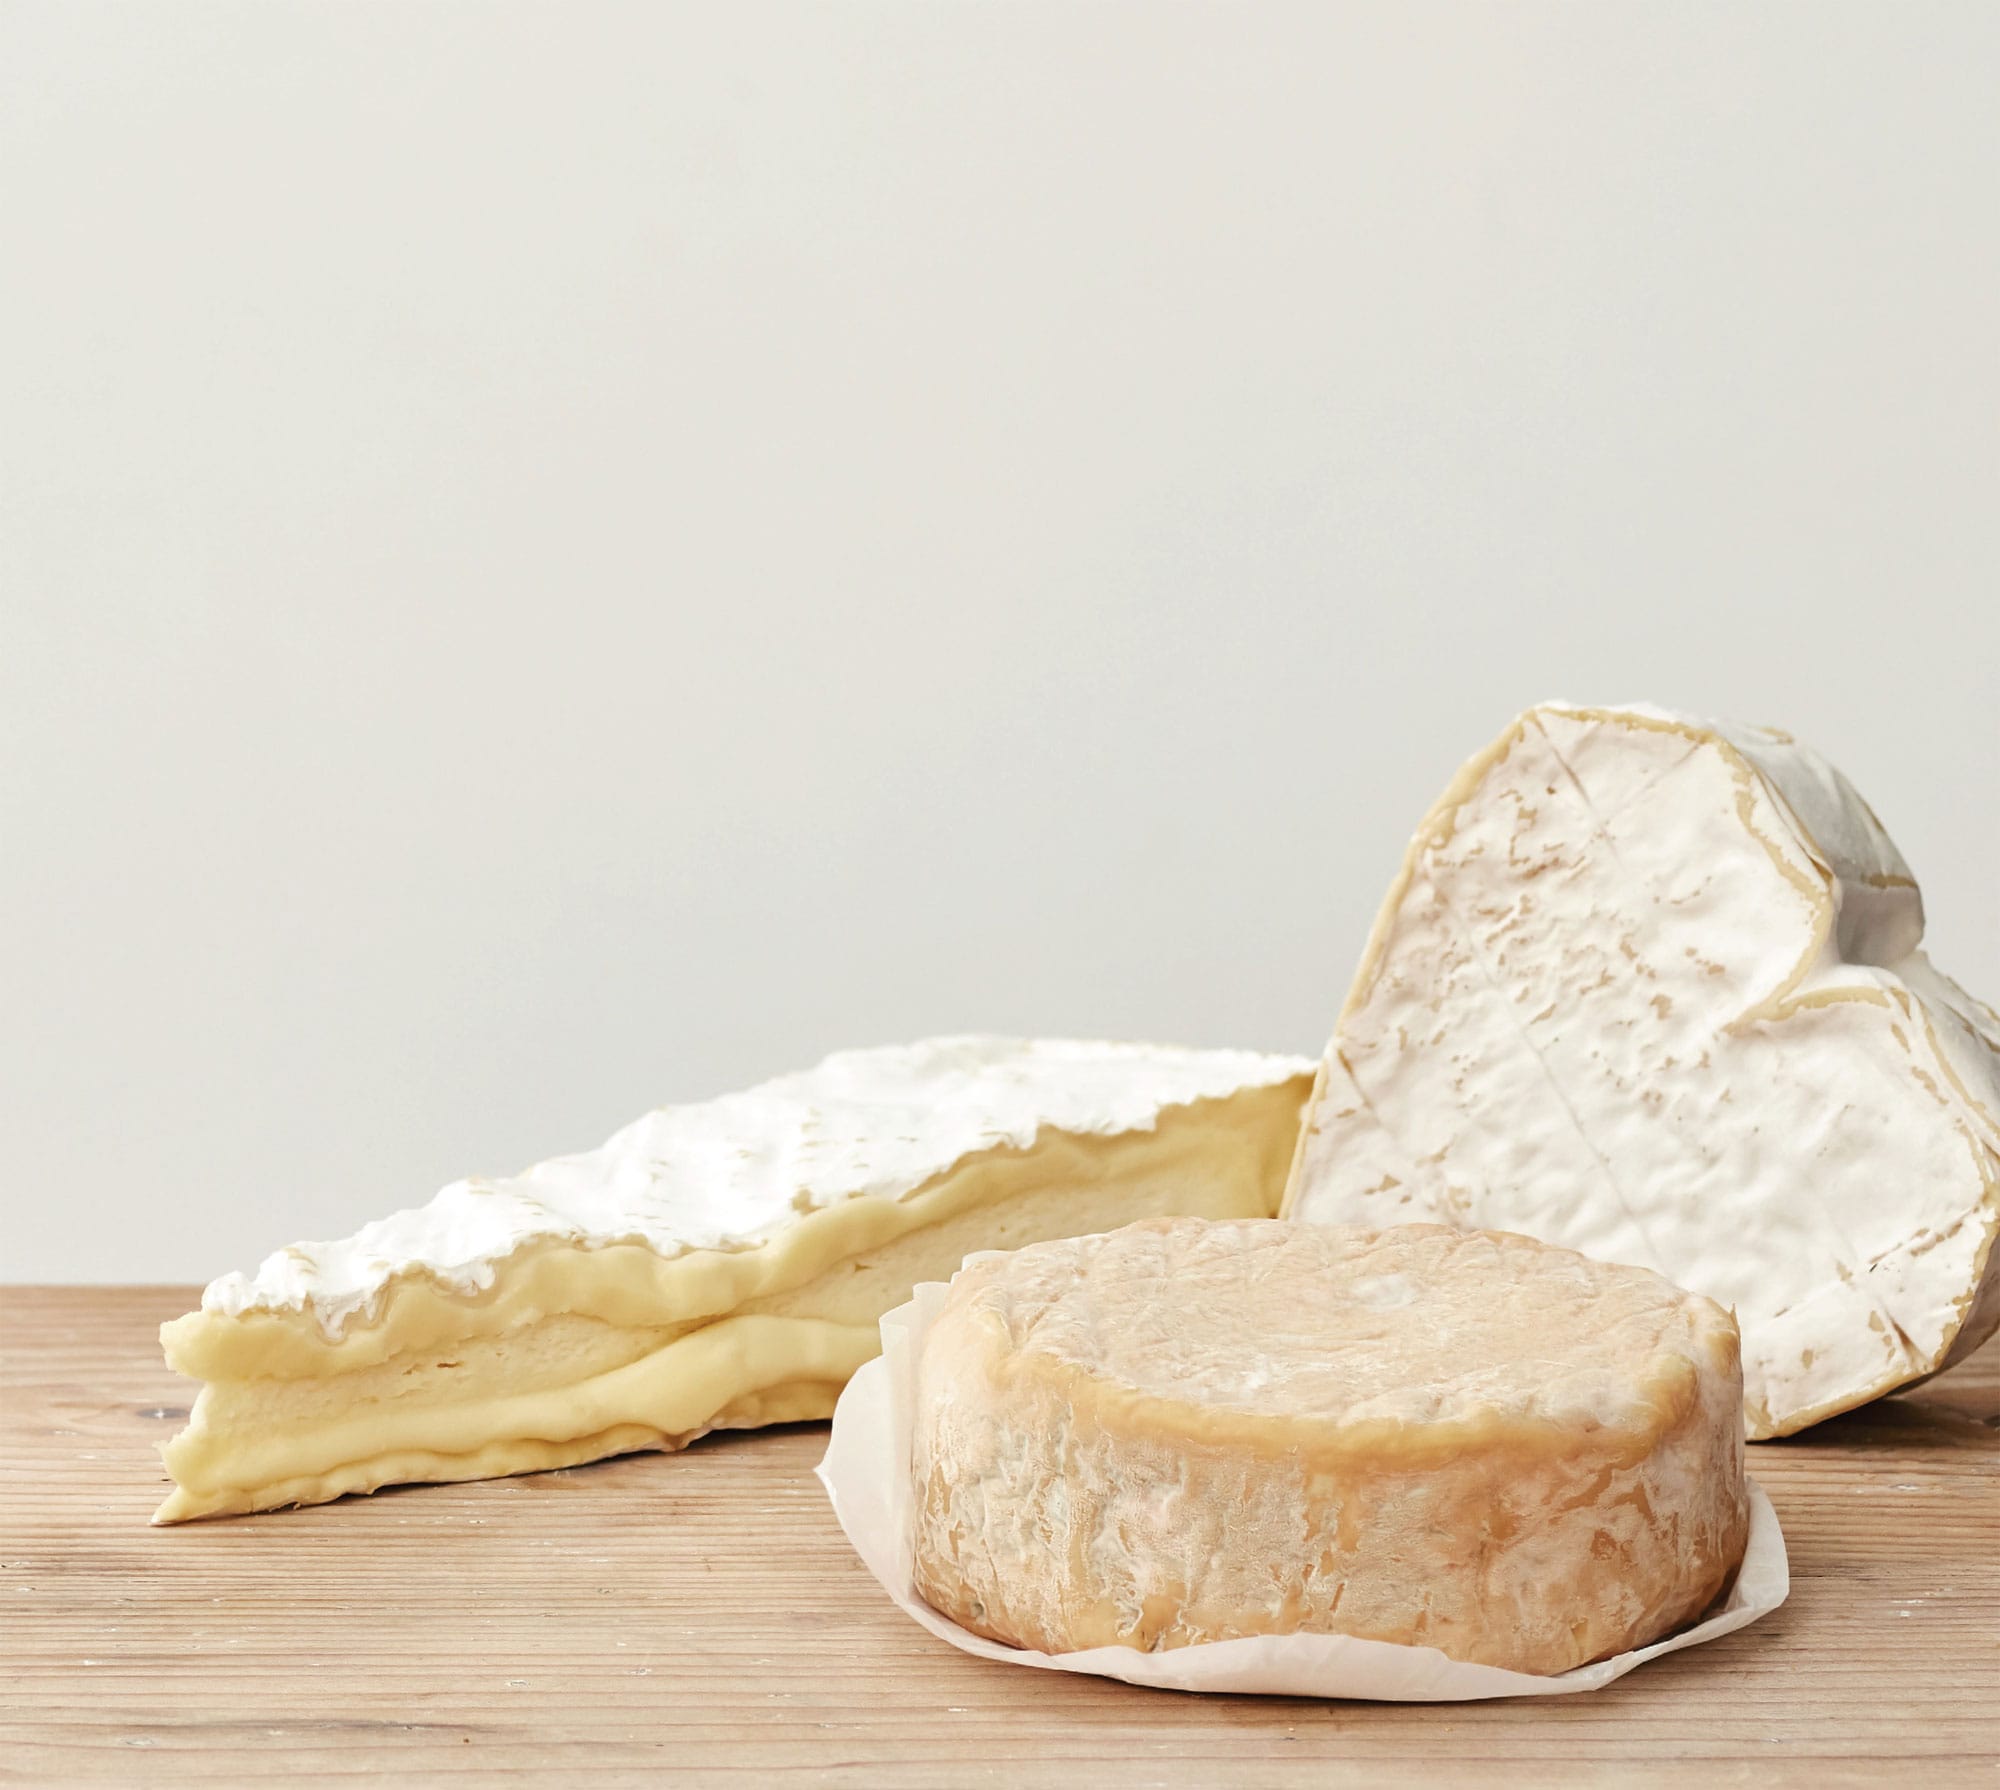
Brie de Meaux Dongé (left) is made by the Dongé family and is the best Brie money can buy. Full-flavoured, with a Camembert-like fruitiness, it’s my go-to soft cheese that never lets me down.
Epoisses (front) is one of the world’s smelliest cheeses – and also one of the most delicious. The cheese is so smelly that it is banned from being taken on all French public transport.
Neufchâtel is a stunning soft cheese, with a distinctive heart shape (right), said to have originated back when female cheesemakers moulded the cheese in this way to win the hearts of British soldiers.

◁ Cream Cheese
This has got to be the most rewarding cheese in my eyes. I am a real bagel lover, and once I discovered how to make my own cream cheese, it changed my bagels forever. Forget about store-bought – fresh is best! This is a great recipe to experiment with; once you have made your first batch, don’t be scared to play around – you could create a more sour cream cheese by adding more vinegar, or maybe add some herbs.
1 litre (13/4 pints/4 cups) double (heavy) cream
120ml (4 fl oz/1/2 cup) milk
2 tsp salt
60ml (2 fl oz/1/4 cup) white wine vinegar
MAKES 150g (5oz)
You will need: a cheesecloth or muslin sheet and an instant-read thermometer
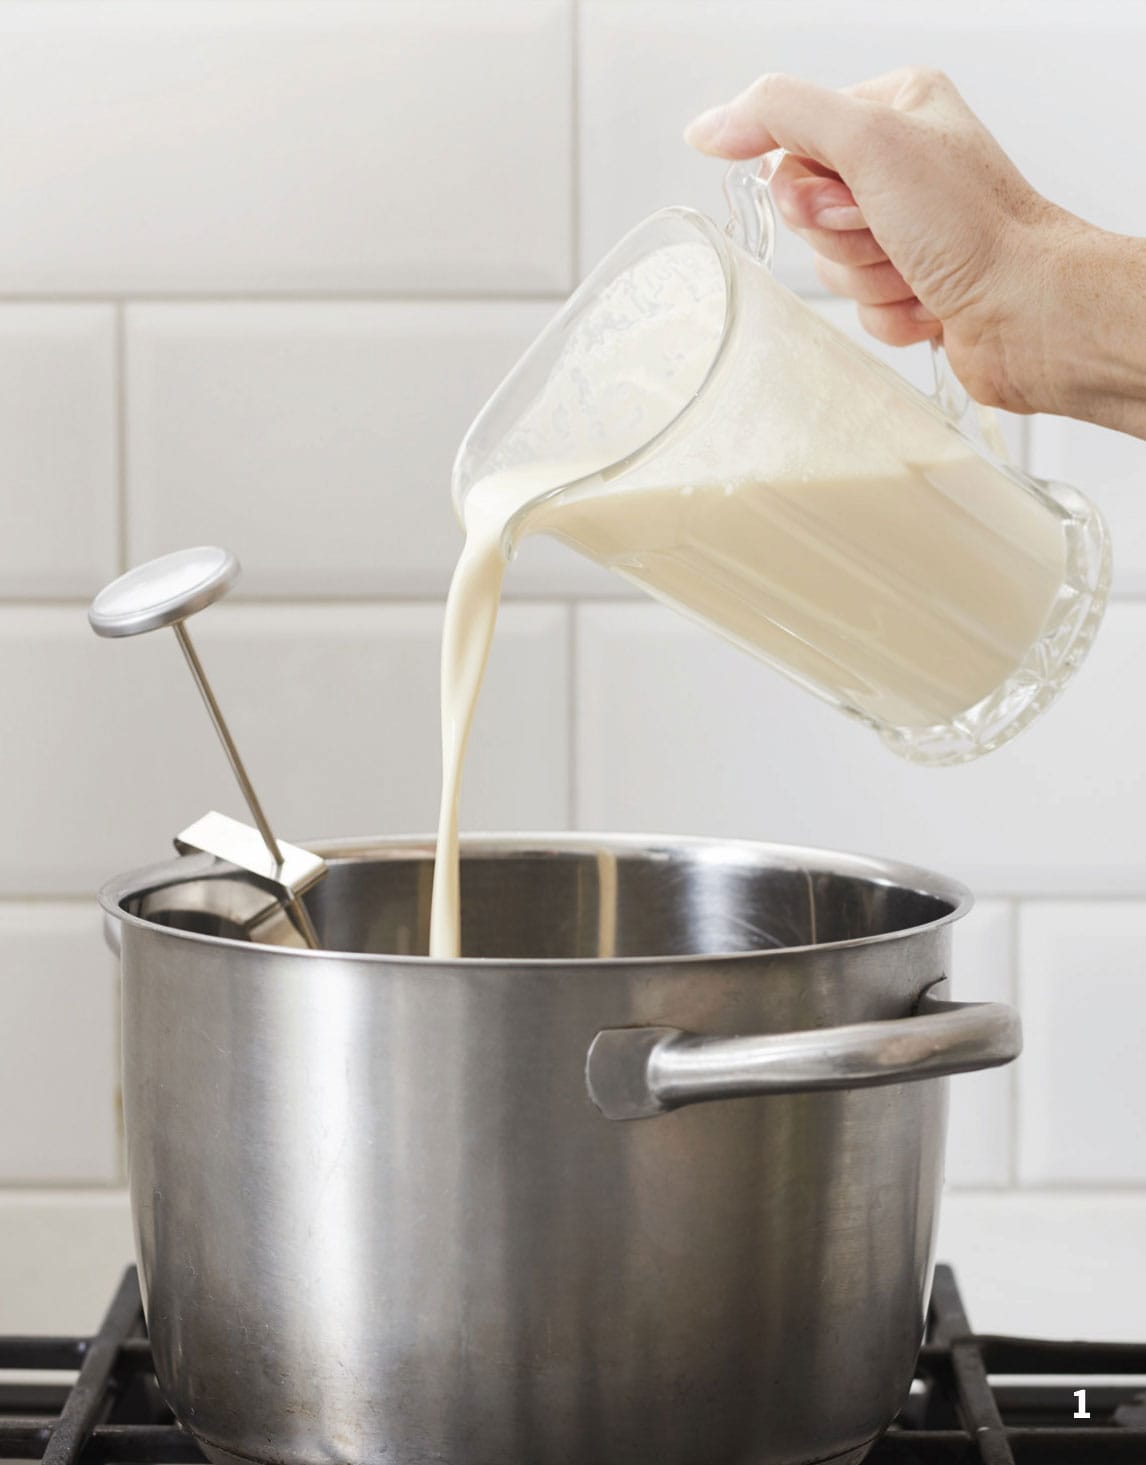
1 In a large pan, heat the cream, milk and salt over a medium heat, stirring gently to make sure it doesn’t stick. Heat to 29°C (85°F), or until you start to see small bubbles.

2 Remove from the heat and let the mixture rest for a few minutes, then add the white wine vinegar and stir gently. Cover the mixture with a tea (dish) towel and leave to rest overnight at room temperature.
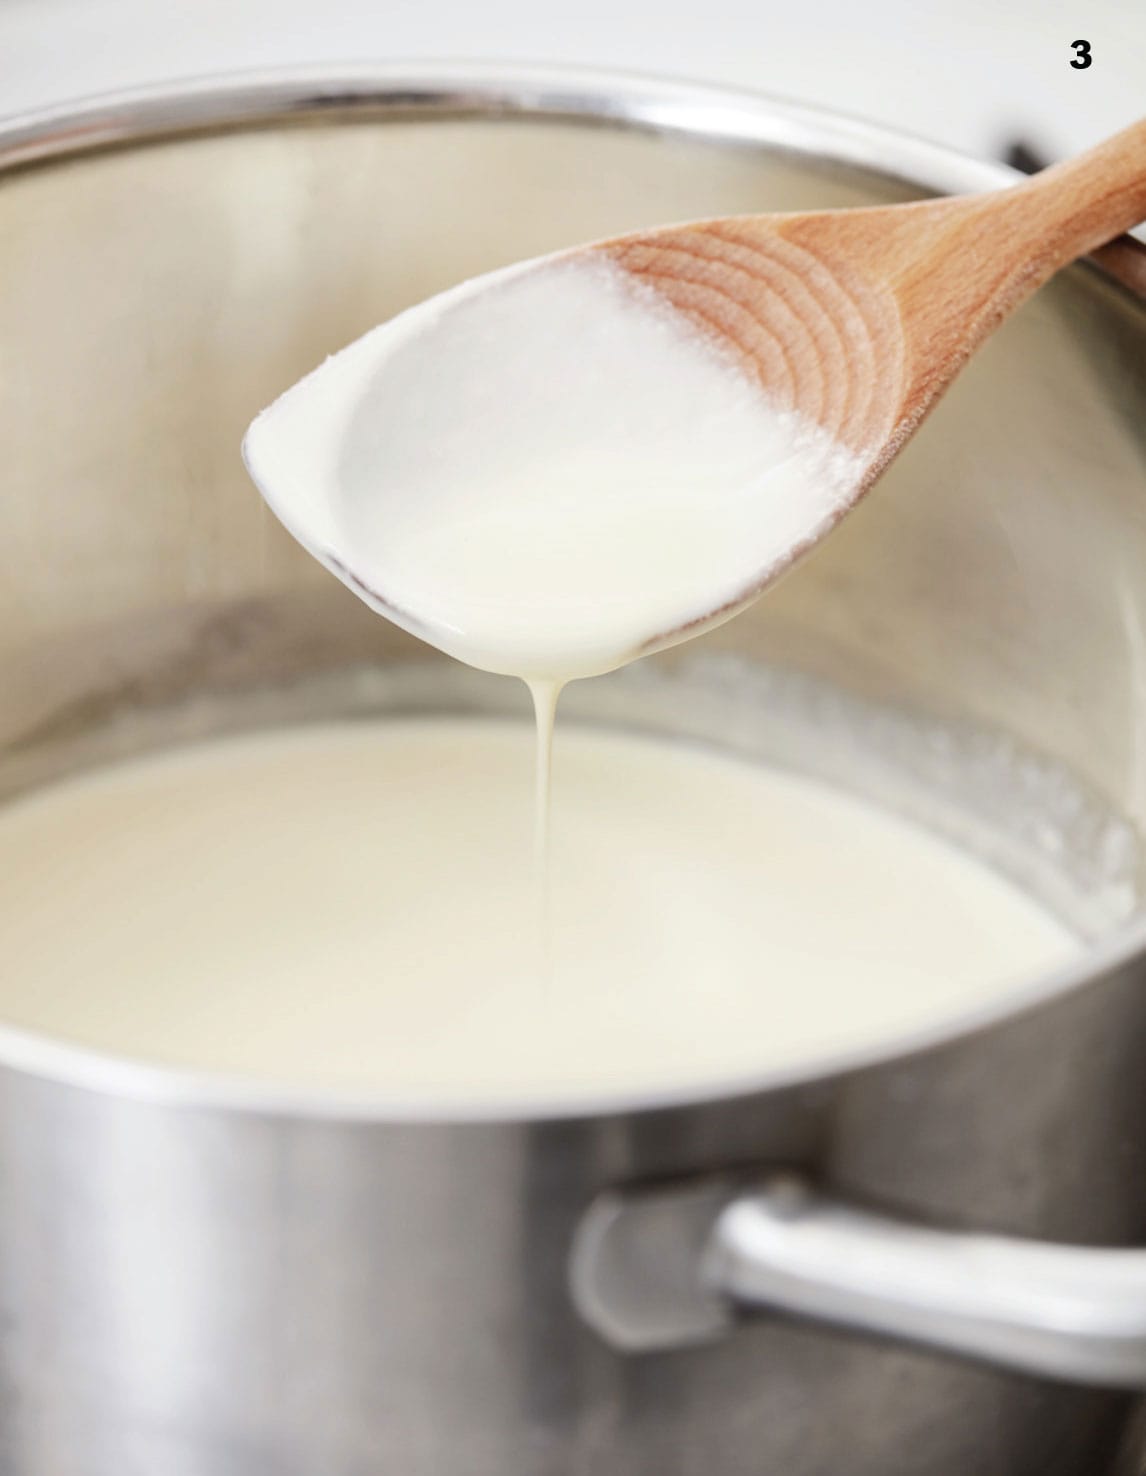
3 When you uncover your mixture, you should see the mix has begun to split. There should be a thick curd layer on top and a mildly watery layer of whey underneath.
4 Place the cheesecloth or muslin over a mixing bowl and pour the mixture in. Following the steps shown here, create a cloth bag and hang above a sink or the empty bowl.
5 Leave the mixture to drain for several hours, until you see that the whey has stopped dripping and the cheese feels firm. Remove it from its cloth and you have amazing ready-to-eat cream cheese. It will keep overnight in a sealed container in the refrigerator.

◁ Salmon, Cream Cheese and Dill Pancakes
This is one of my favourite Saturday morning treats. I love making a fresh batch of pancake mix, leaving it to rest while I go and get ready for a busy day at the cheese shop, then popping down and making some delicious salmon and cream cheese pancakes. The best way to start the weekend in my eyes!
100g (31/2oz) self-raising (self-rising) flour
230ml (8 fl oz/scant 1 cup) milk
1 egg
1 tbsp coconut oil
200g (7oz) cream cheese (see here)
4 tsp lemon juice
200g (7oz) smoked salmon
4 sprigs of fresh dill, chopped
1 lemon, thickly sliced
salt and freshly ground black pepper
SERVES 4
To make the basic batter mix, beat together the flour, milk and egg until smooth. Leave to stand for 1 hour; the longer the better when it comes to the batter.
Line a chopping 9cutting) board with greaseproof (wax) paper. Heat 1 teaspoon of coconut oil in a non-stick frying pan (skillet) over a medium heat. Add a ladleful of batter into the pan, swirling the pan so it covers the bottom in a thin layer. Cook the pancake for 30–60 seconds until lightly browned, then flip it over and cook on the other side. Remove from the pan and transfer to the paper.
Repeat with the remaining batter, heating more oil as necessary, until you have about 7 or 8 pancakes, layering with a sheet of paper between each pancake to prevent them sticking.
In a bowl, combine the cream cheese with the lemon juice and season with salt and pepper to taste, then spread over the pancakes. Top with generous slices of smoked salmon, a scattering of fresh dill and lemon slices, to serve.

◁ Cottage Cheese
Cottage cheese is a super-easy, low-fat cheese. I love serving it with fruit for a delicious light breakfast or lunch. This dish is so ridiculously simple to make at home that there’s no reason to pick up a tub at the supermarket. And you only need three main ingredients!
450ml (16 fl oz/scant 2 cups) milk
120ml (4 fl oz/1/2 cup) white wine vinegar
1 tsp salt
a little double (heavy) cream (optional)
MAKES 300g (101/2oz)
You will need: a cheesecloth or muslin sheet and an instant-read thermometer
1 In a large saucepan, heat the milk to 87°C (190°F), stirring the milk frequently to make sure it doesn’t stick to the bottom of the pan.
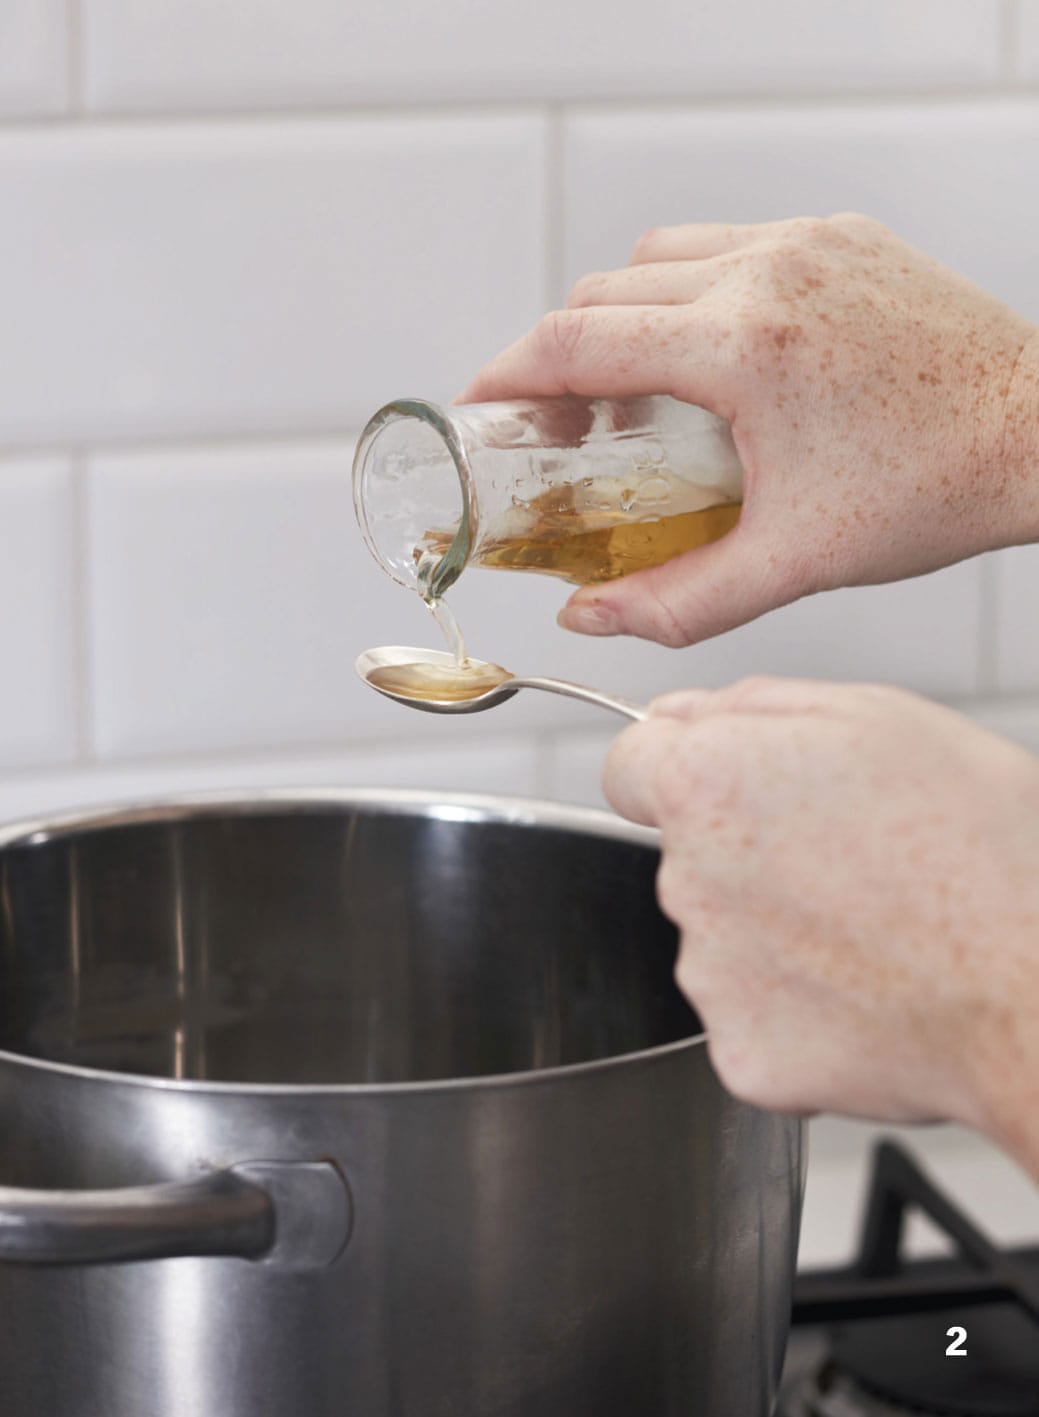
2 Once the milk reaches 87°C (190°F), turn off the heat and add the vinegar. Set aside to cool.
3 When cooled, line a colander with cheesecloth or muslin set over a bowl, then drain the mixture, separating the curds from the whey.
4 Transfer the drained curds to a bowl, sprinkle with the salt and stir well.

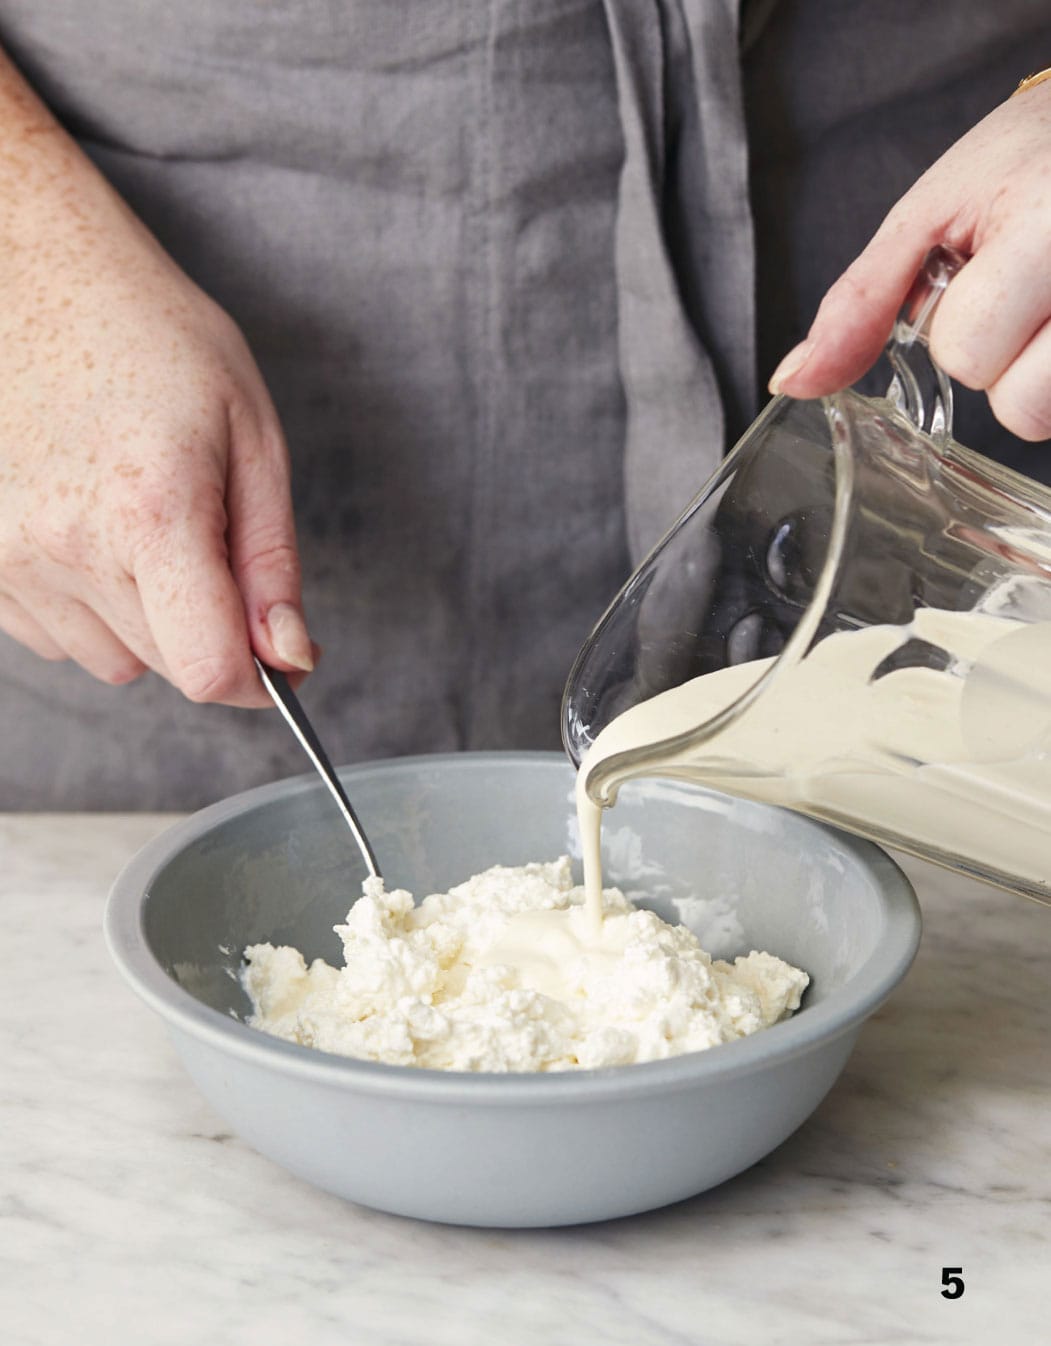
5 Now, this is all down to personal preference, but I love really creamy cottage cheese. So I like to add quite a lot of double (heavy) cream at this stage, but do taste as you go.
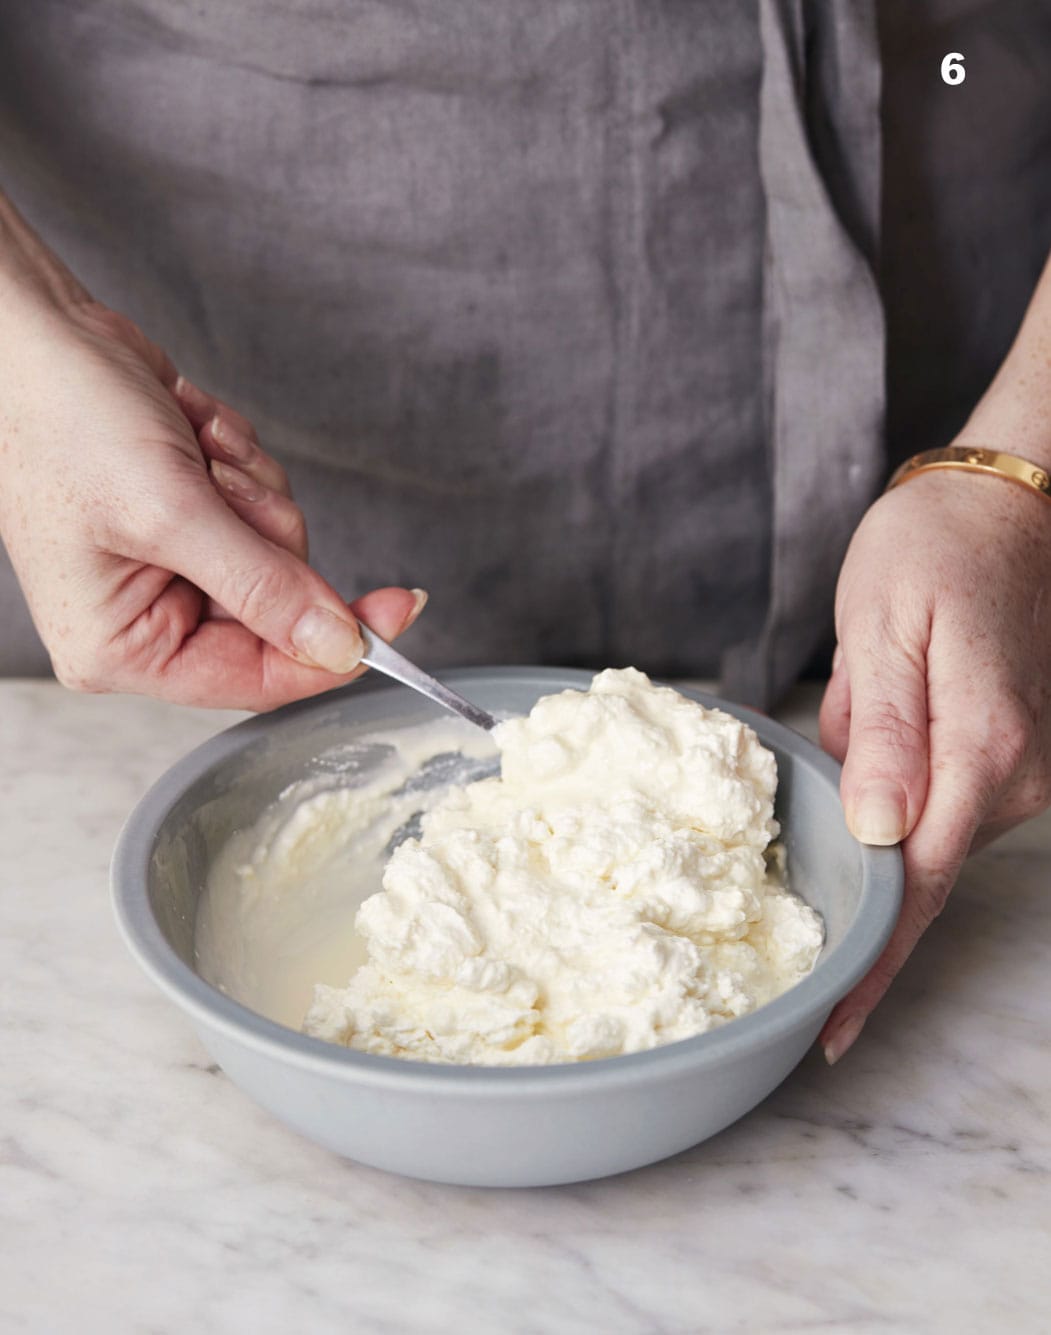
6 Mix to a smooth consistency, then serve immediately.
Brie
I love to make Brie. It is beautiful and challenging, and it is a truly rewarding cheese once you have mastered it. Now this may not happen right away, but give it time. And if you would like to challenge yourself further, why not try using goat’s or ewe’s milk?
3.8 litres (63/4 pints/16 cups) milk
1/4 tsp mesophilic DVI MA culture
1/8 tsp Penicillium candidum
1/4 tsp liquid rennet dissolved in 60ml (2 fl oz/1/4 cup) cold water
salt for the brine
MAKES 2 x 150g (5oz) cheeses
You will need: an instant-read thermometer, a curd knife, 2 small round cheese moulds and a draining mat
1 Start by heating the milk in a large pan – slowly, slowly – to 29°C (85°F). Then add the culture, Penicillium candidum and rennet and mix well, making sure you stir right to the bottom of the pan. Remove from the heat and let it sit for 30 minutes.
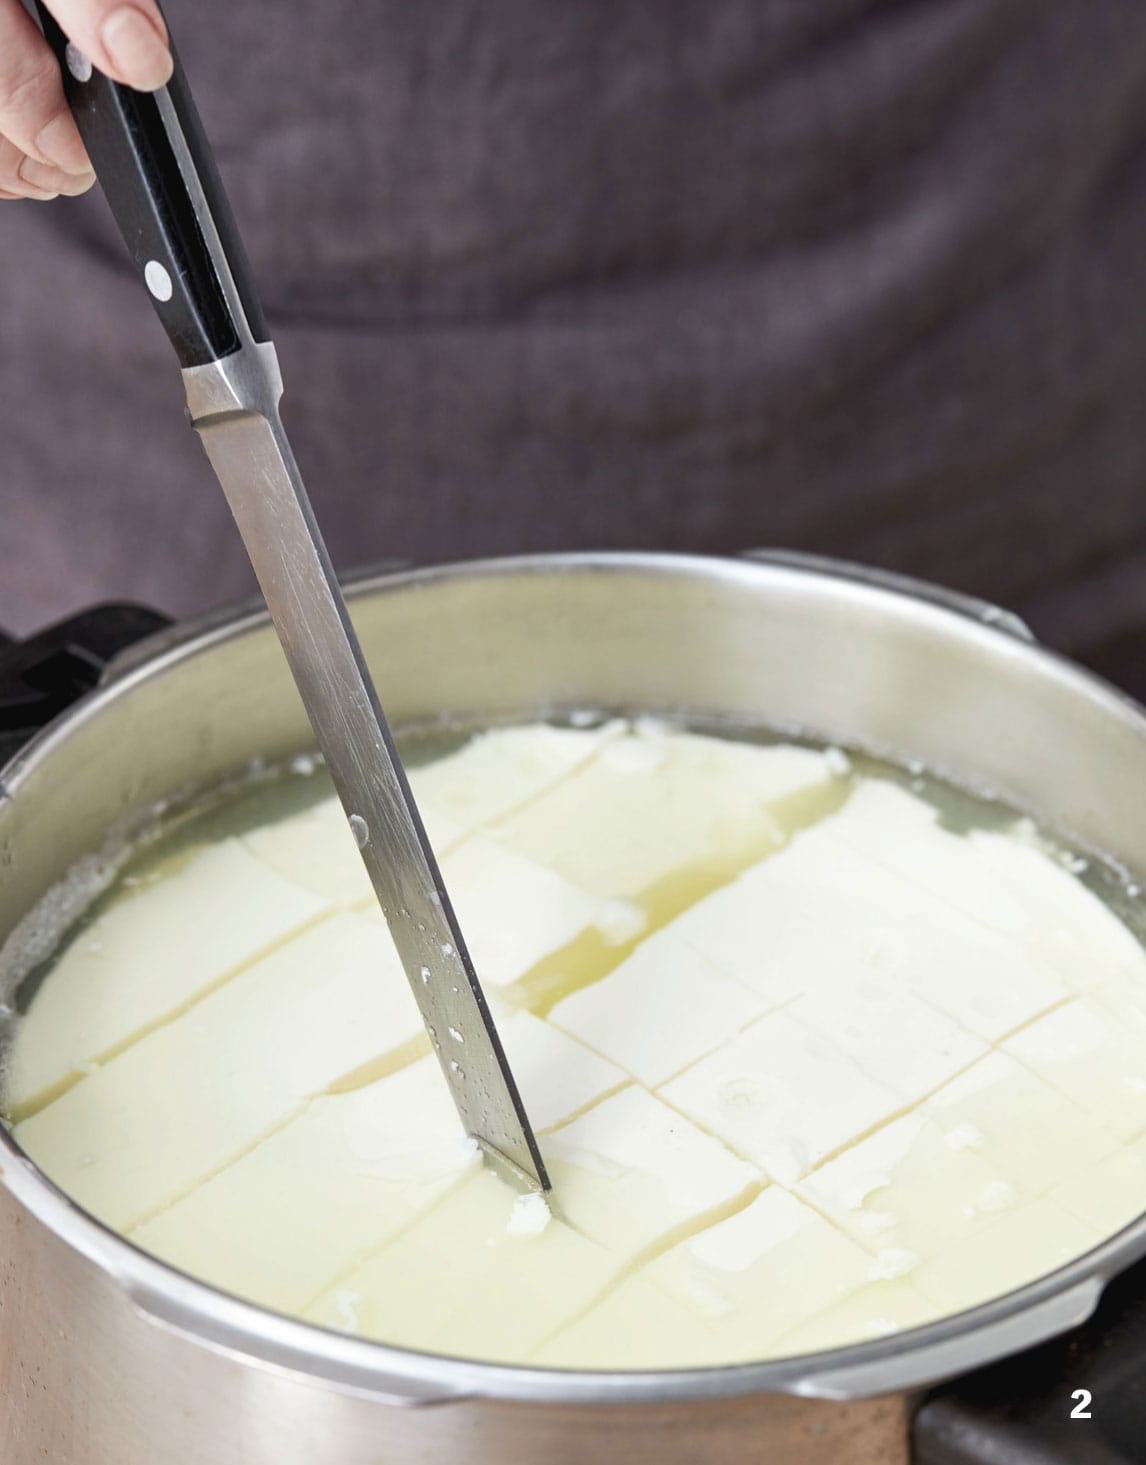
2 After 30 minutes you should see that the curds and whey have separated. Cut the curd with a long knife into 1cm (1/2-inch) squares. Leave to rest for a further 10 minutes.
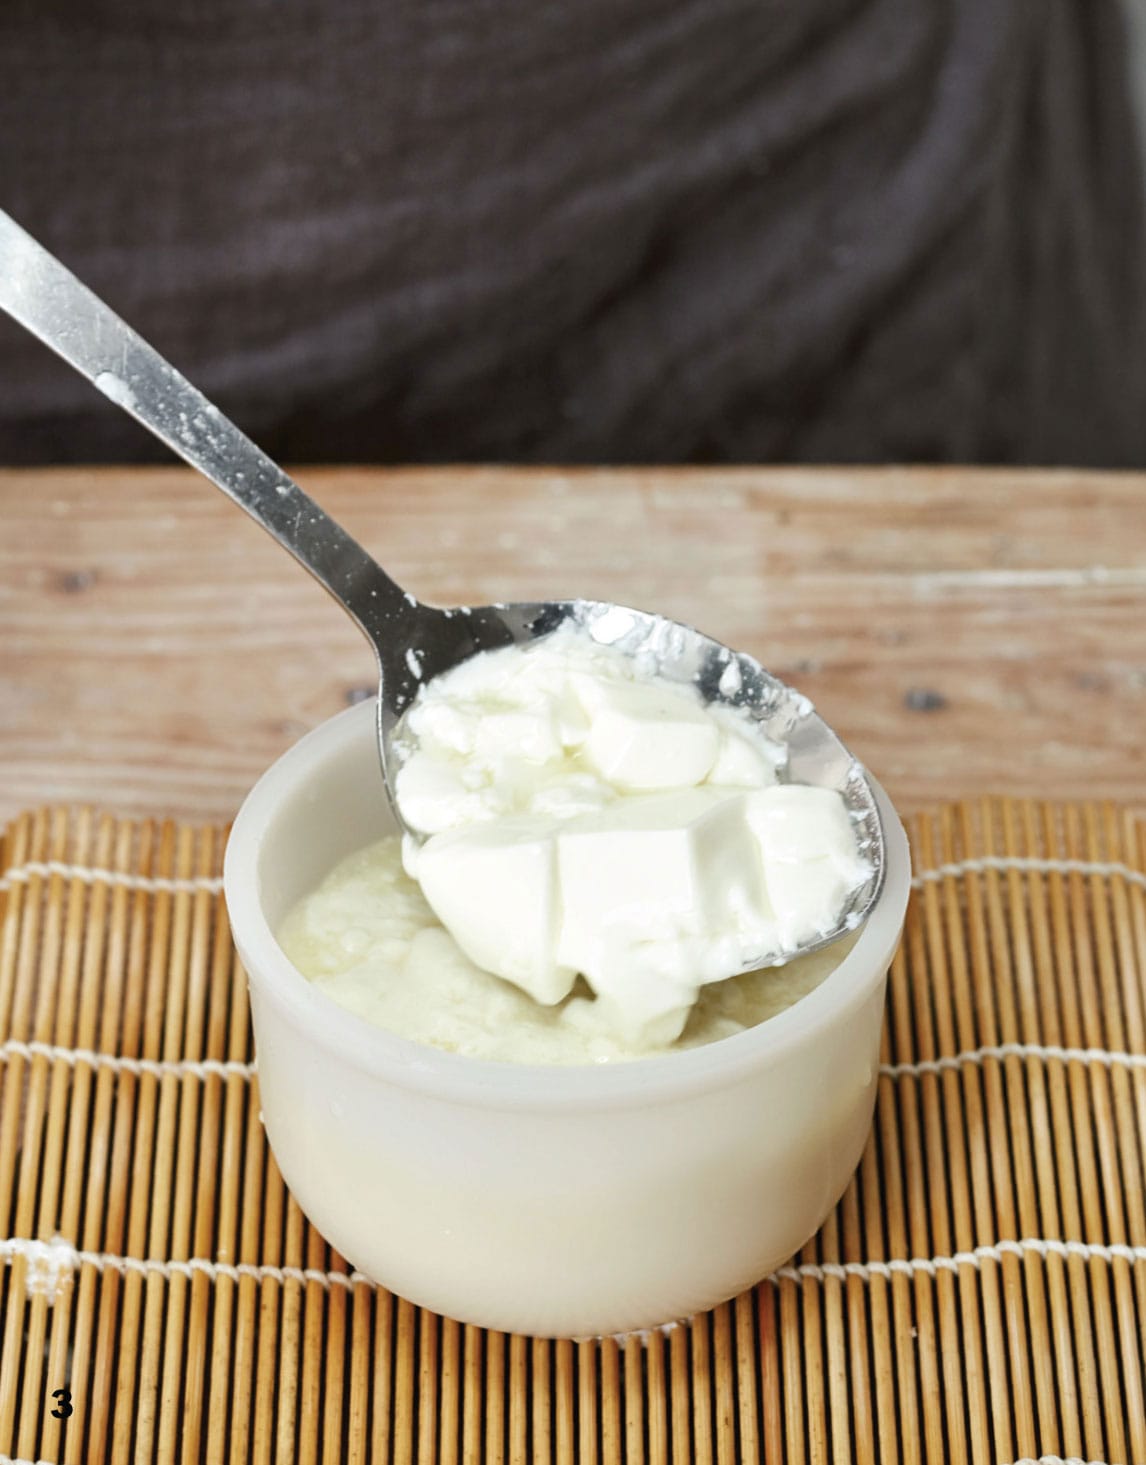
3 Place a tray or plate underneath the mat to catch the excess whey. Place the moulds on your mat, then carefully ladle the curds into the prepared moulds, to the top, being careful not to lose too much curd. Leave the curds to settle for about 20 minutes.
4 After 20 minutes, flip the mould over and let the curds sit for a further 30 minutes. Repeat this two more times, then leave the cheese to sit in the moulds on the mat overnight.

5 In the morning, remove the cheese from the mould and leave it on the mat to let the air get to it for 2–3 hours. It will shrink slightly. When the cheese is firm, wash it in brine, being sure to cover the whole cheese (see here). Leave to dry for 30–60 minutes.

6 To mature your cheese, place it in an area with a temperature of 10–14°C (50–57°F) so that the mould can develop. Keep an eye on the cheese; you should see the mould start to develop after 6–7 days and continue from there. After 13–14 days, the cheese should have a mild rind. Wrap it in greaseproof (wax) paper and leave for a further 10 days.
7 Now your cheese is ready to eat. But the longer you leave it, the stronger it will become, so experiment.

◁ Grilled Brie with Caramelized Apple and Honey
Forget boring cheese on toast. This recipe not only looks beautiful on the plate, but is also so delicious that you will be going back for seconds, thirds … The success of this recipe is down to good-quality ingredients: fresh bread, lovingly made Brie and a stunning honey of your choice. I love lavender or chestnut honey myself.
1 red crunchy apple
150g (5oz) Brie (see here)
50g (13/4oz) butter
2 slices of farmhouse bread
3 tbsp chestnut honey
pinch of salt and freshly ground black pepper
SERVES 2
Wash and core the apple and cut it into thin slices.
Cut the Brie in half, then cut each half into four slices.
In a pan, melt the butter and brown the apple slices for a few minutes until golden.
Lightly toast the slices of bread, then alternate the Brie and apple slices over the toast. Place under a preheated hot grill (broiler) for a couple of minutes to melt the cheese. Drizzle the honey over the cheese and apple slices, then season with salt and pepper.
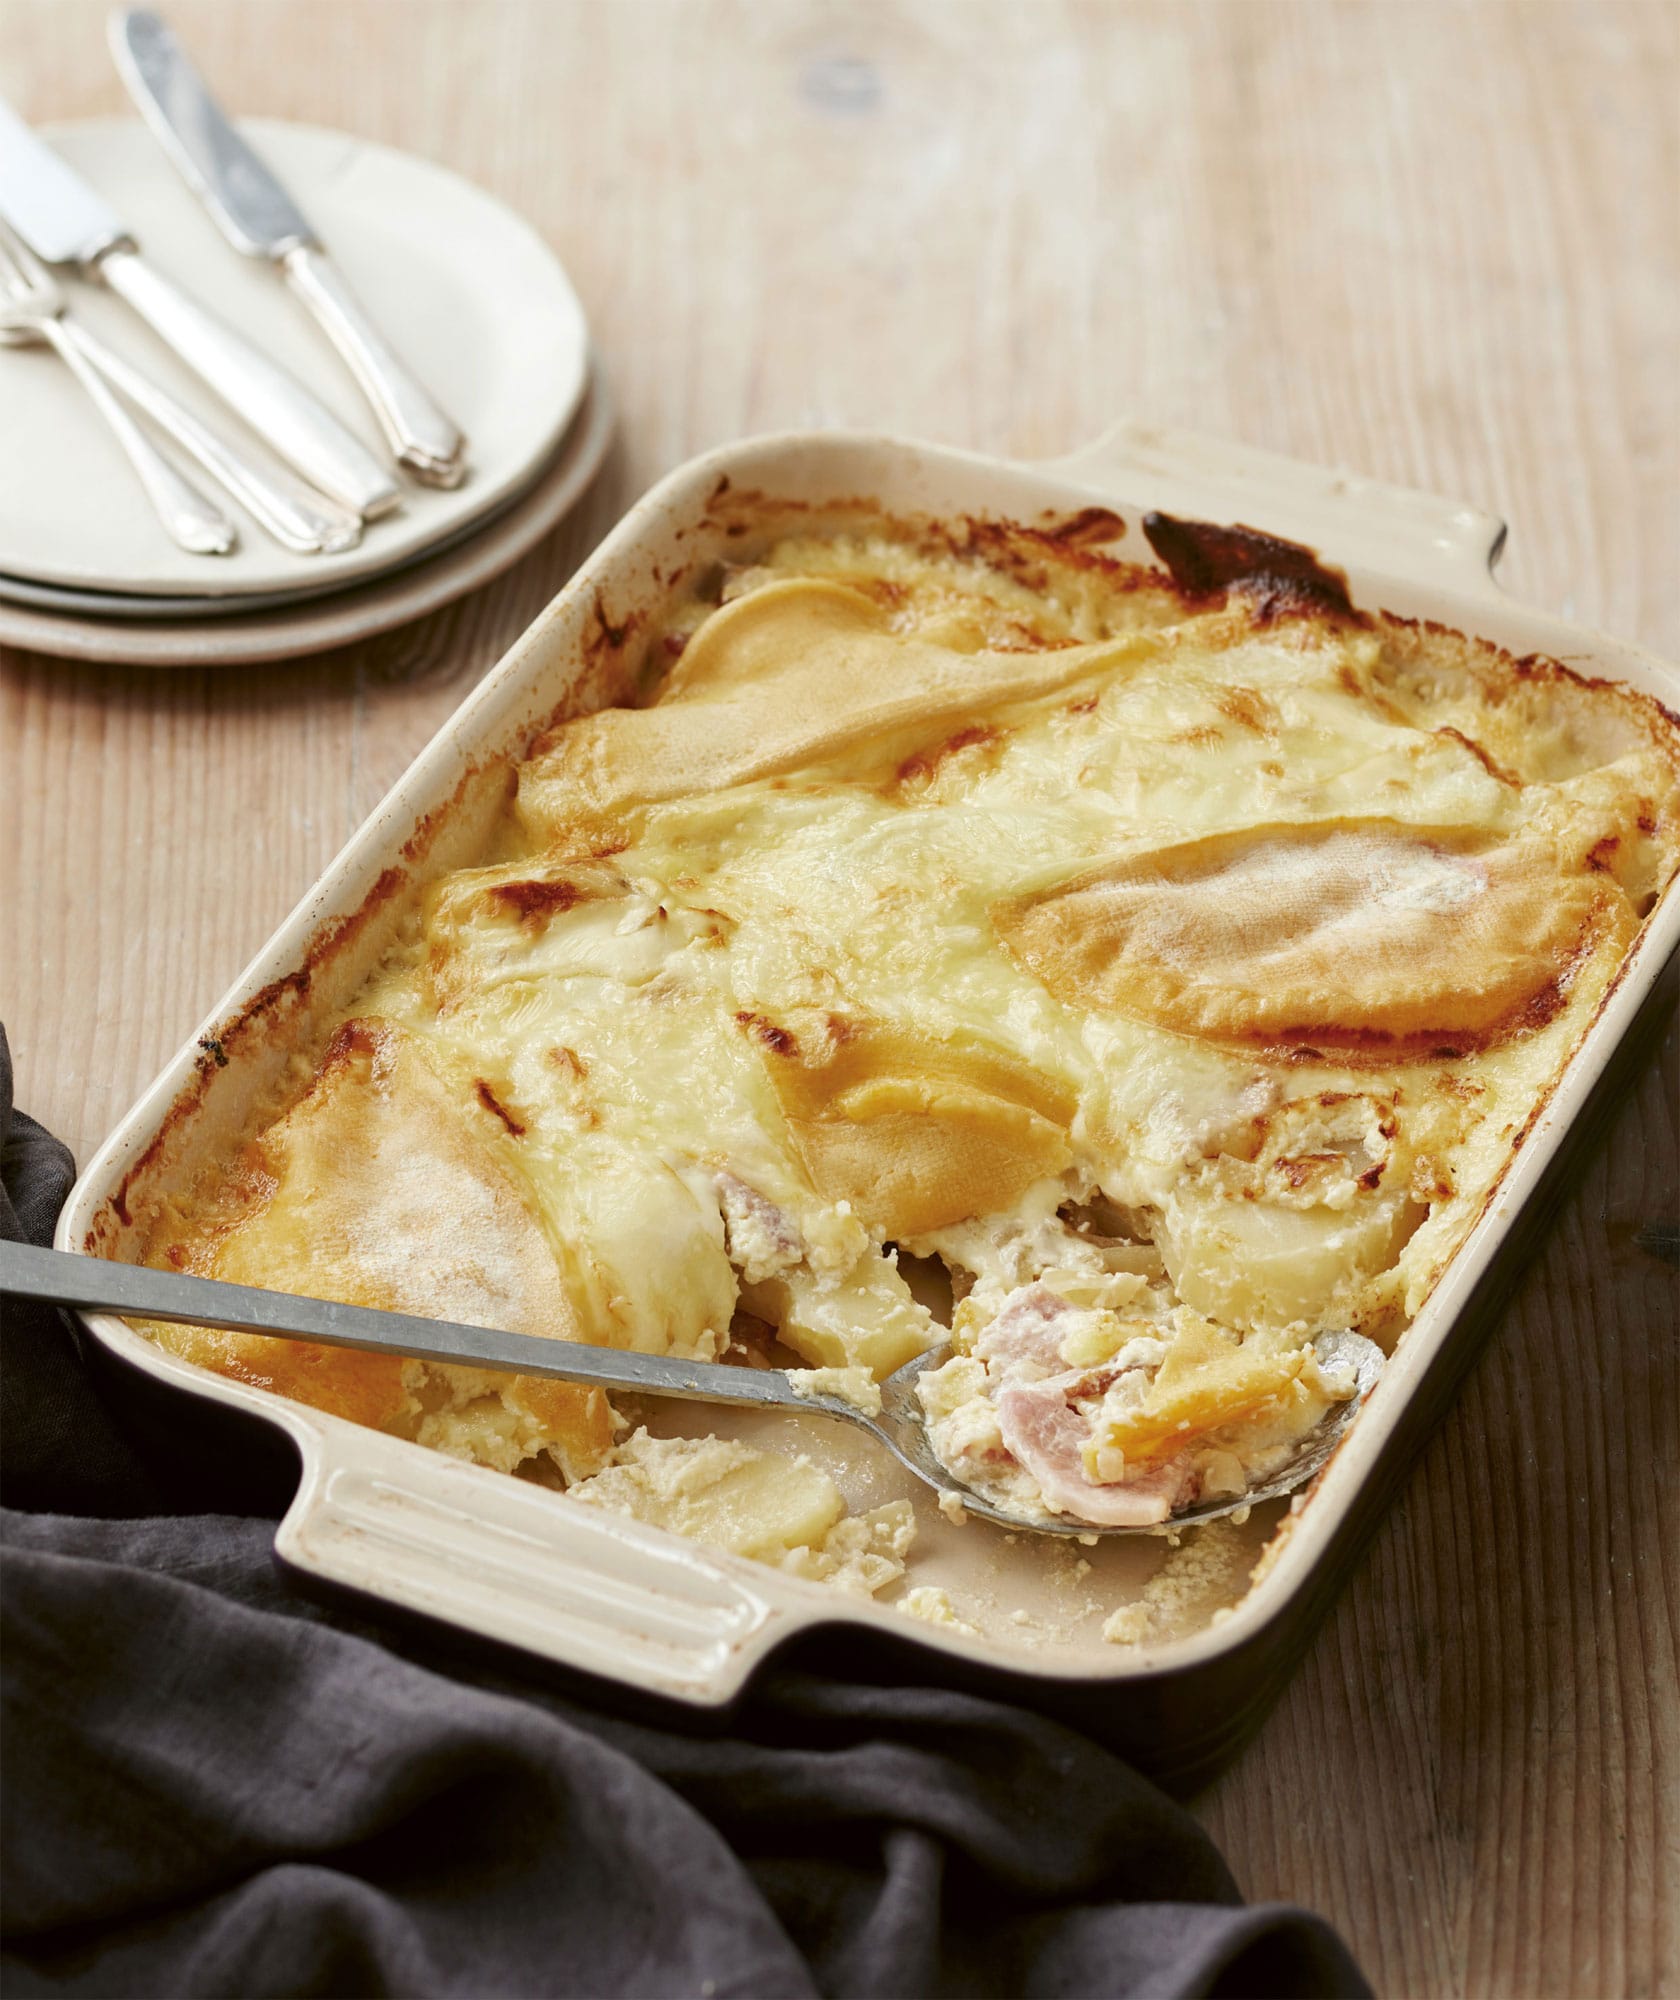
◁ Tartiflette
Can you handle potatoes and bacon cooked with a whole cheese? This classic French dish is not for the faint-hearted. It was created by reblochon cheesemakers as a way of selling more cheese, and in my shop it has certainly worked.
50g (13/4oz) butter, for greasing
1kg (2lb 3 oz) waxy potatoes, skin on
350g (121/2oz) thick-cut bacon, cut into 1cm (1/2-inch) pieces
2 tbsp olive oil
2 large onions, thinly sliced
150ml (5 fl oz/scant 2/3 cup) white wine
450g (1lb) reblochon
150ml (5 fl oz/scant 2/3 cup) crème fraîche
salt and freshly ground black pepper
SERVES 6–8
Preheat the oven to 190°C (375°F/Gas Mark 5). Grease a large baking dish with the butter.
Boil the potatoes in salted water for 15–20 minutes until tender, drain then set aside to cool. In a large pan, fry the bacon in the oil over a medium-high heat until cooked. Add the onions with a little salt and pepper and cook until soft and golden. Add the white wine and cook off the alcohol until the liquid has reduced.
Cut the reblochon in half through the middle, then cut each half lengthways so you end up with four pieces. Set aside. Cut the potatoes into thick slices and lay half in the dish. Add the onion and bacon mix and finish with another layer of potatoes.
Spoon over the crème fraîche, then top with the reblochon. The four pieces should cover nearly all of the dish. Bake for 45 minutes until the cheese is bubbling.