> Using Ready-Made Backgrounds
The color of the background takes on an important role whenever you use photos that don’t fill the page. A background can play a dominant role in the layout of a page or blend in smoothly with the other design elements. Even the apparently simple choice between black and white can give a book a completely different look and feel.
Figure 9.1: This example from Lutz Schnier’s Hagenbeck Zoo shows the difference a black or a white background can make in the look of a page. In this case, black was the obvious choice.
(Photos: Lutz Schnier)
You can, of course, use the same background color for all the pages of your book, or vary it from page to page or section to section. In a book that covers a variety of topics, varying background colors can help to underscore the differences, whereas using the same color gives your book a more cohesive feel.
The three basic background types are single color, graphic pattern, or photo. See section 6.4, “Layout Design Guidelines,” for more details on what to look for when using backgrounds that incorporate their own design or pattern. Generally, it’s best to use a background with little or no fine detail of its own. Reducing opacity is an effective way to keep a background motif subtle while emphasizing the visual elements placed on it.

Figure 9.2: This example shows how reducing opacity can increase the subtlety of a background image
However you decide to adjust it, make sure your background suits the subject. Soft, pastel colors and white are good choices for babies or nature themes, while bold colors are better suited to sports, parties, or travel themes. Some providers allow you to select a background color that matches a detail in one of your photos—a feature that guarantees the background suits the page.
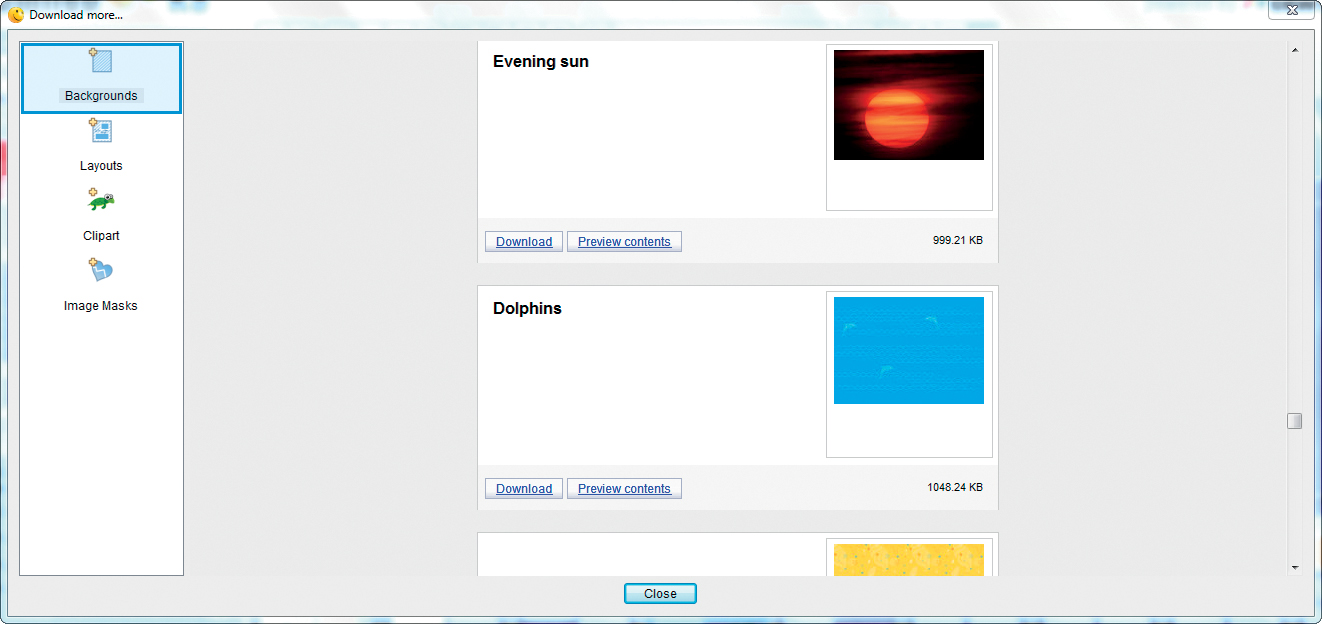
Most provider software has a Background tab or panel with a selection of ready-made colors, patterns, and photos. SmileBooks and Picaboo are two providers that allow you to download additional backgrounds from the web.
Most software has either a dedicated “Background” menu item or a button called something like Add background to current (double) page. Some also use simple drag functionality to apply backgrounds.
Backgrounds can sometimes be applied individually or to all the pages in a layout via the software’s menus or dedicated buttons. SmileBooks even allows you to apply a particular background only to left-hand or right-hand pages. At Picaboo, the Use page background for all pages command is hidden in the Edit menu. At the time of writing, AdoramaPix did not support applying backgrounds to all the pages in a book. As always, if your provider’s software doesn’t support a particular feature, check for software updates before you switch programs or providers.
As an alternative to ready-made backgrounds, you can also use self-made backgrounds in your layout. To do this, Blurb’s software first requires you to switch to Edit Layout mode, whereas most others allow you to create a new, full-page background image box directly within a layout. AdoramaPix includes the very useful Fit to Page and Fit to Spread options, making it simple to apply your chosen background to the whole page. Picaboo and others make it even simpler to apply a background by offering a Set As Background option when you drag an image to a page. At SmileBooks, you can find the Image as Background option in the popup menu that appears when you right-click a photo. All subsequent photos are then automatically placed on top of the new background.
Figure 9.3: SmileBooks lets you download additional themed backgrounds from the web
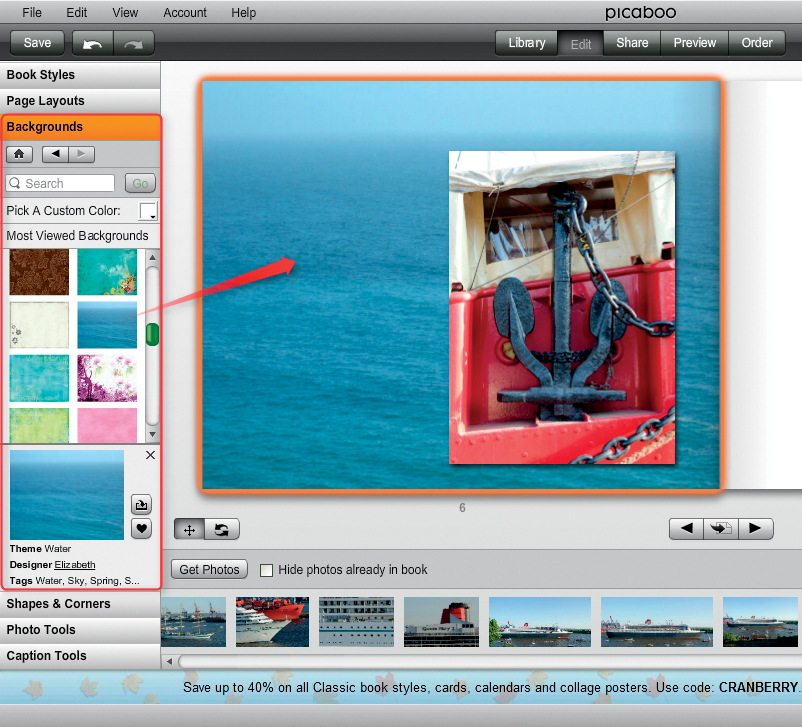
Figure 9.4: The Picaboo Backgrounds panel offers a wide range of ready-made backgrounds that you can enhance with images downloaded from the web. A simple mouse click applies a background to the page.

Figure 9.5: SmileBooks is one of a few providers that offer you the choice of applying a background individually or to all the pages in a layout
TIPS & TRICKS It’s always a good idea to start a page layout with the background and then add your photos, especially when you’re using a background you made yourself. If you start by placing photos on a blank page, it will be much more complicated to navigate through the various layers later on, especially if you’re not yet experienced in using photo book software. 

Figure 9.6: At Picaboo, a single right-click on a photo is all you need to set it as a background image
Any image file can be used as a background, whether it’s a photo, a graphics file, or a simple colored shape. Custom backgrounds are particularly effective when they are used for the pages between chapters or a book’s cover.
TIPS & TRICKS If your provider’s software includes automatic image correction functionality, switch it off for your background image(s). This helps to prevent color shifts and other surprises.
The following paragraphs describe the use of various custom backgrounds. As already mentioned, some providers (Picaboo, Blurb, and AdoramaPix, for example) let you choose a background color to match a specific image detail. If your provider doesn’t support this functionality, you can achieve the same effect using free or commercial image processing software. In addition to the programs already mentioned, HeliosPaint is a great free alternative graphics utility for Mac users. Most programs have similar interfaces, and the tools work in very similar ways.
To create a color-matched background, open your image, select a color with your program’s color picker, and use the fill tool to apply it to a new, empty image box with the same proportions as a page in your book. You can now save the resulting file and use it as a background on as many pages as you like.
Figure 9.7: Paint.NET and other utilities allow you to pick a background color to match a selected image detail

Figure 9.8: Create a new, full-page image file and fill it with your selected color
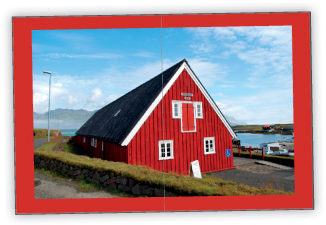
Figure 9.9: The result is a balanced combination of photo and background
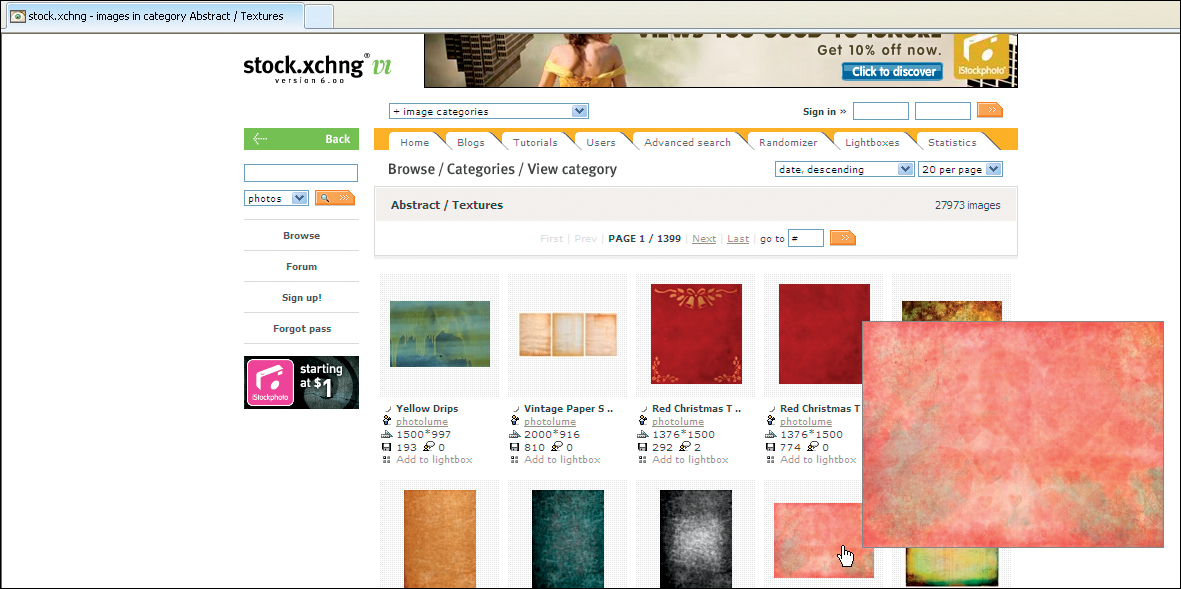
You can also use a pattern instead of a monochromatic color. Photoshop’s Fill tool offers a range of patterns and textures as well as colors. If you know how to use a vector-based drawing program like Adobe Illustrator, you can build your own textures, too. Alternatively, online databases like stock.XCHNG (see also section 3.3, “Third-party Image Sources”) offer a large variety of colored shapes with patterned fills.
You can, of course, use photos as backgrounds. A detail of the subject itself often makes an effective background image: for example, a detail shot of a bird’s feathers or an animal’s coat.
Figure 9.10: stock.XCHNG offers many background patterns and textures for download
There are no limits to the materials and motifs you can photograph or scan for use as backgrounds—for example, handmade paper, leather, napkins, leaves, or any type of fabric. Browse around hobby shops for inspiration, or Google “scrapbook samples” to get an idea of what’s out there. The only difference between a conventional scrapbook and a photo book is that for a photo book, you have to photograph or scan your materials before you can include them in your page design.

Figure 9.11: This page layout uses a close-up of the subject as its background
To ensure that the background image doesn’t dominate the page, it’s often a good idea to increase its transparency. The tools required to do this vary from provider to provider. The simplest method is that offered by MyPublisher and Picaboo. At MyPublisher, click the Background button and use the Background > Pick a file option in the dialog that follows to select your background image. You can then use the Transparency slider to adjust its overall look. The preview update is sometimes a little sluggish, so you may have to wait a little until you can see the results of your adjustments.
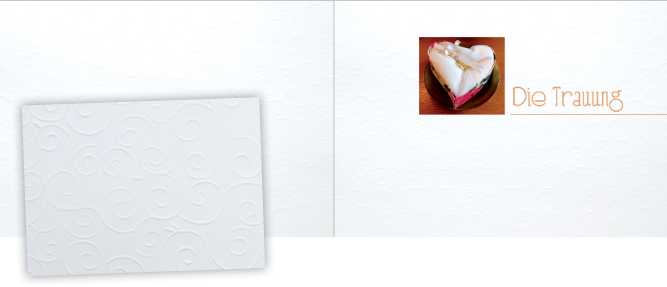
Figure 9.12: This wedding book uses a photo of a piece of embossed, handmade paper as its background
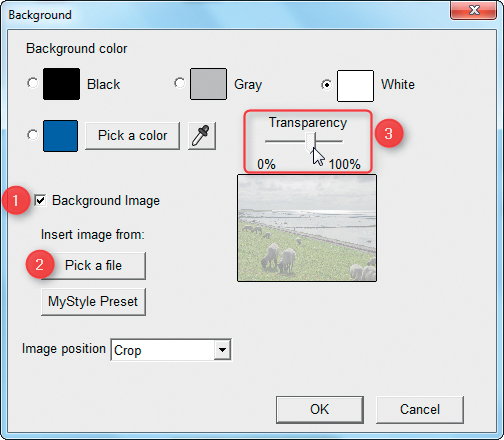
Figure 9.13: MyPublisher allows you to adjust the transparency of each background image individually and steplessly
The Picaboo approach is even simpler. After you use the Set as background command to select a background, you then select the page and navigate to the Photo Tools panel. There, you can use the Fade slider to steplessly adjust background transparency. The AdoramaPix Opacity tool is located in the Toolbox at the top of the page.

Figure 9.14: Picaboo’s stepless Fade slider is located in the Photo Tools panel
At SmileBooks, you first have to select your background image by using the context menu in the image selection window or by scaling a photo to full-page size. Next, double-click the image to open the image editor. Select the Background Image option in the Effects menu to access the Fade effect and click Accept Changes to apply it. There are no other user-controlled settings available.
Figure 9.15: The SmileBooks Background image dialog is located in the image editor’s Effects menu
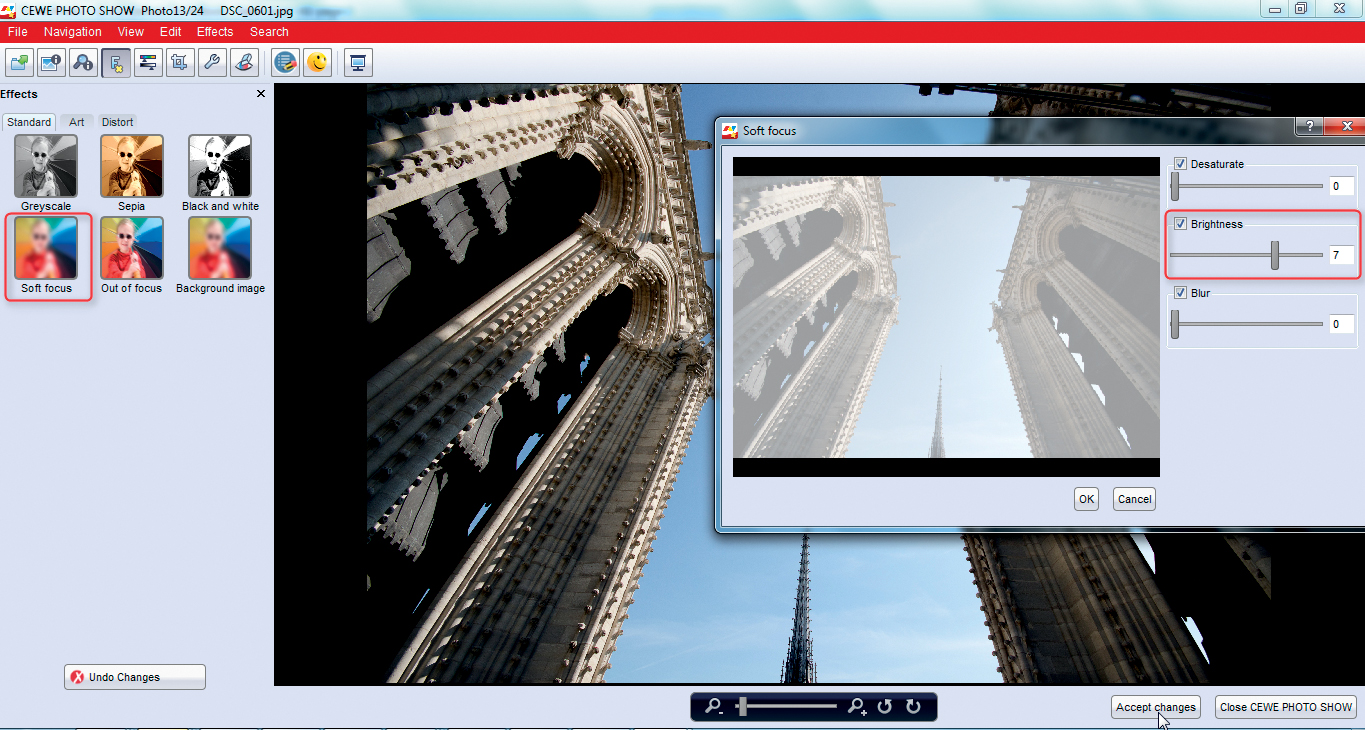
Figure 9.16: The SmileBooks Soft focus effect can also be used to brighten a background image
The Soft focus effect offers more options, including a variable Brightness setting that is much more controllable than the single-setting Background Image effect—try it out and see.
WORKAROUND If your provider’s software doesn’t support fade effects, or if you want to apply an effect that is stronger than your provider’s settings allow, you will have to use a separate image processing program. This work-around shows how to use Photoshop to achieve this type of effect. The process is virtually identical for GIMP.
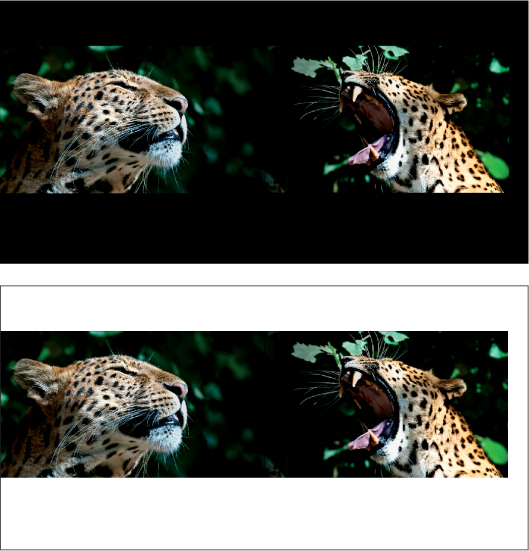
Open your image and create a new layer filled with white. Next, switch the sequence of the layers so that the white layer becomes the background. Now all you have to do is reduce the opacity of the image layer. Double check that you have selected the image layer and not the white background layer before making an adjustment; otherwise there will be no visible result, no matter how far you move the Opacity slider.
There are other ways to adjust the brightness of an image—for example, by using the Photoshop Levels tool. If you have already created custom transparency layers as described in section 10.5, “Text and Text Box Transparency,” you can use these, too, to fade an image. However, this approach is more complex than the method described here. 

Figure 9.17: Reducing the opacity of the image layer is an effective way to reduce the dominance of the background image