LATE SUMMER AND AUTUMN
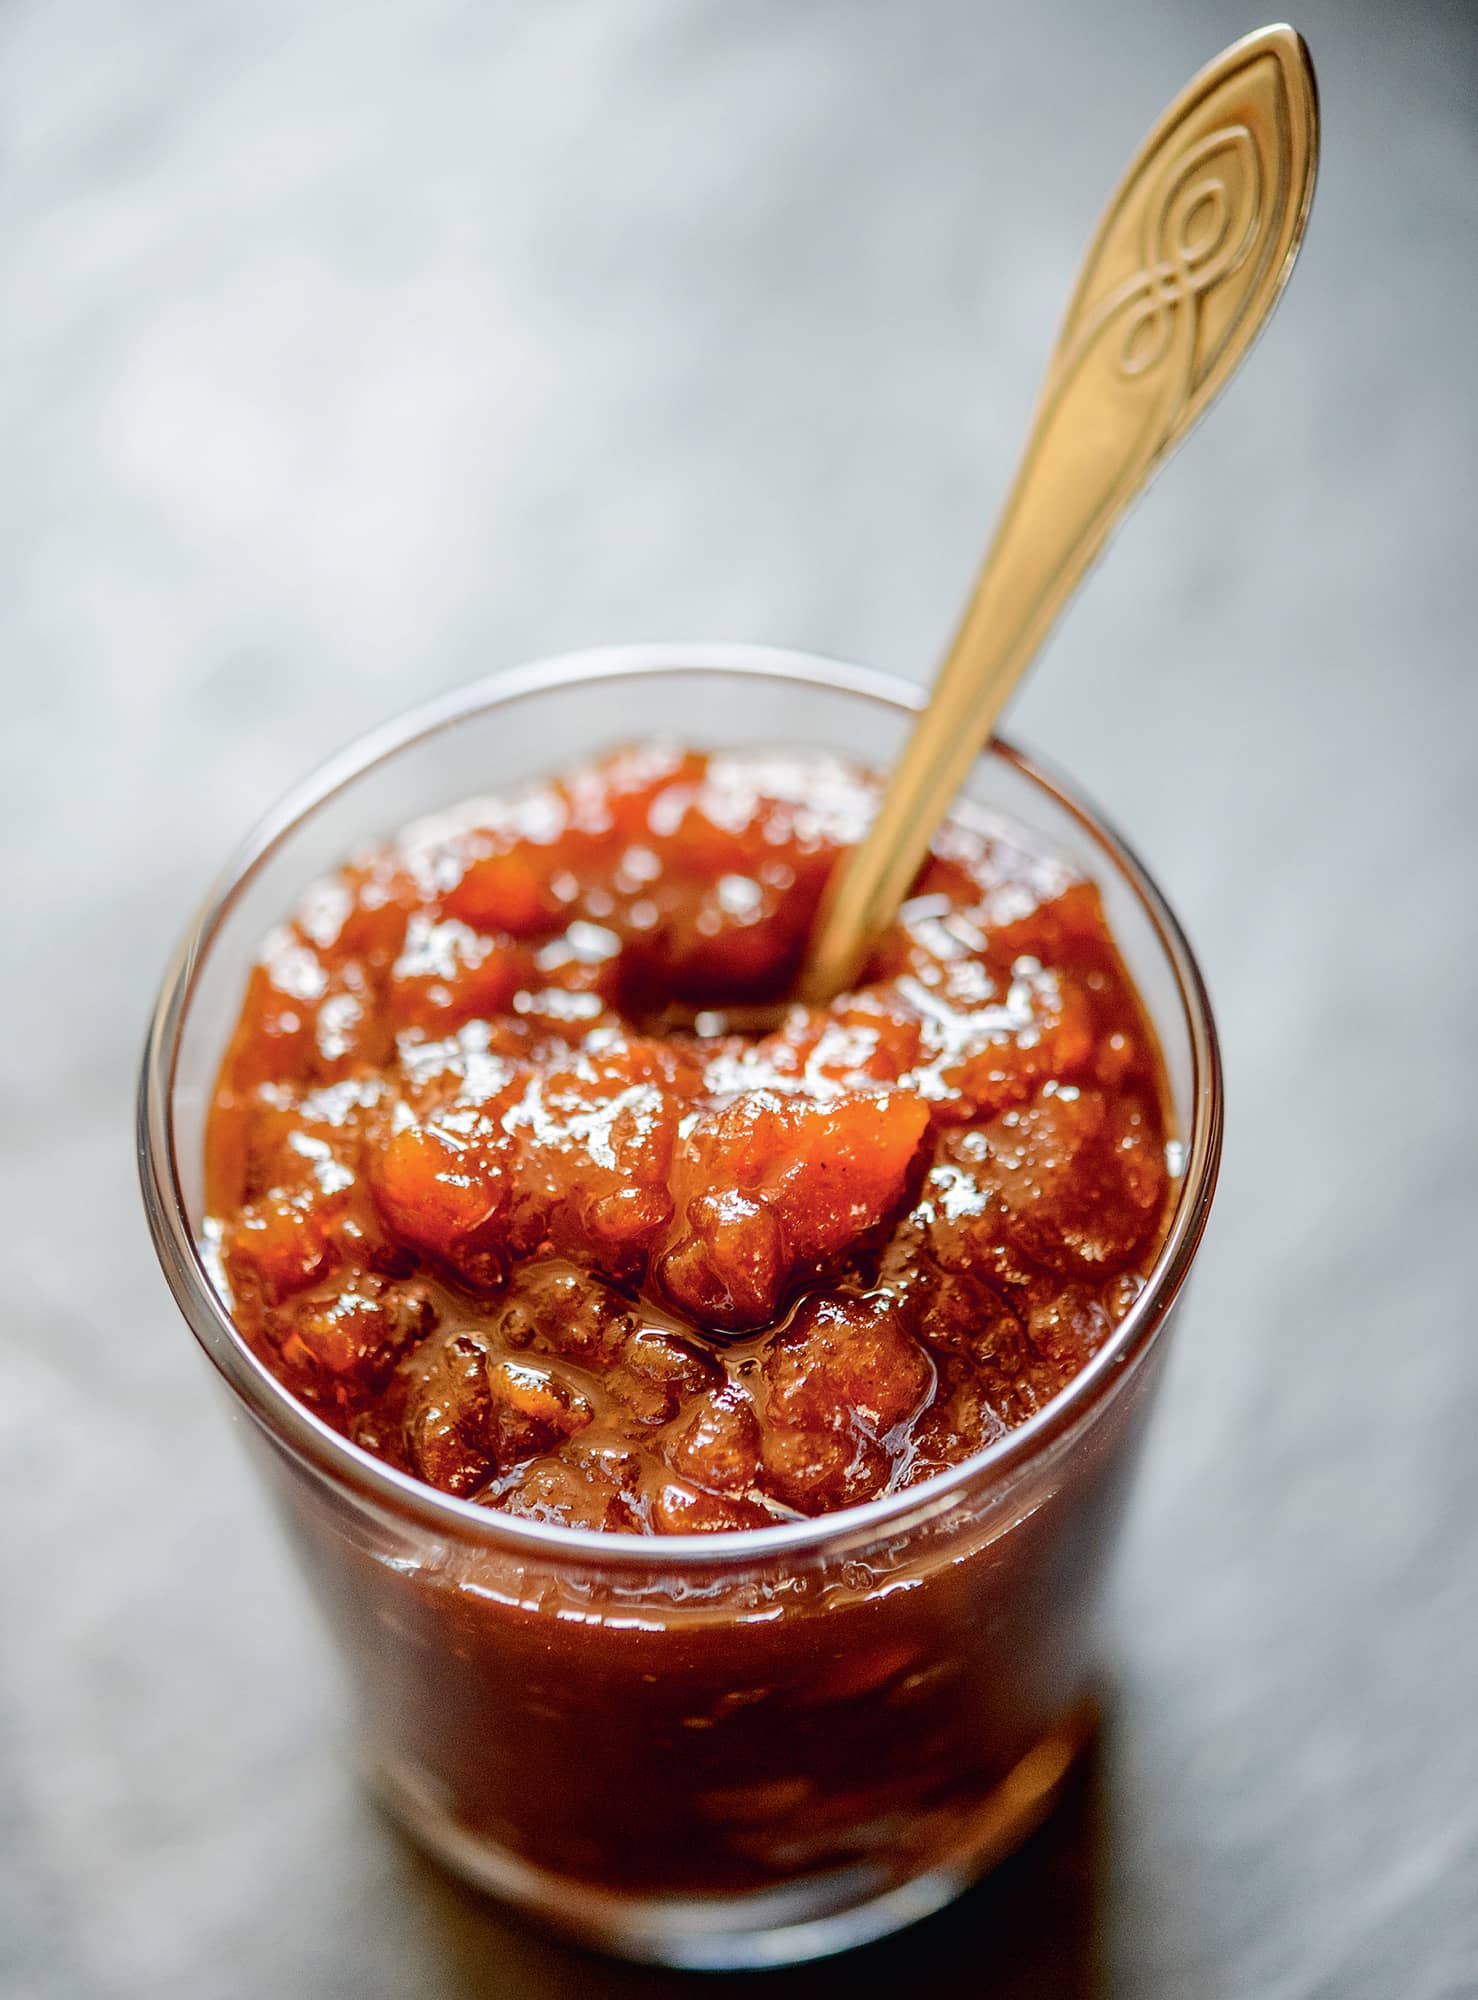
◁ High Dumpsideary jam
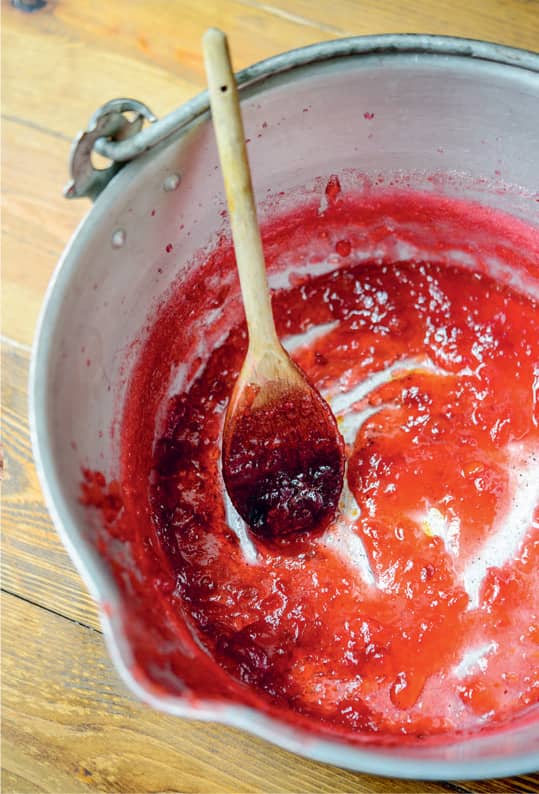
One of those recipes that is steeped in folklore, legend has it this jam was created by a Mr Dumpsideary (or Dumpsidearie) when his wife wanted jam and all they had were a few windfalls and some spices. Whatever the origins, it is a useful one if you have only a little of each fruit. Traditionally the recipe also includes cloves, but I think the hint of cinnamon by itself is just enough to signal the approach of autumn. The jelly bag needs to be nestled in the fruit for the whole time it is in the pan. You may therefore need to use two pans: a deep, smaller one to cook the fruit initially, and a large one once you have added the sugar.
▪ 300g/10oz plums, halved and pitted
▪ 300g/10oz pears, peeled, cored and chopped
▪ 300g/10oz cooking apples, peeled, cored and sliced
▪ 780g/1lb 12oz granulated sugar
▪ Put the plum stones into a jelly bag.
▪ Place the plums, pears and apples in a deep pan. Add the lemon juice to the fruit in the pan and the lemon halves to the jelly bag with the cinnamon stick. Tie up the bag and put it in with the fruit.
▪ Add the water to the pan and cook, covering it and stirring regularly, over a low heat until the fruit is soft and pulpy (squash any larger bits against the side of the pan with the back of a spoon).
▪ Remove the jelly bag and squeeze the liquid out of it back into the pan. Discard the bag’s contents.
▪ Add the sugar to the fruit and stir to dissolve, then bring to the boil.
▪ Boil rapidly until a setting point is reached (see Testing for a set).
▪ Remove any scum and pot into warm, sterilized jars.
Store in a cool, dry, dark place
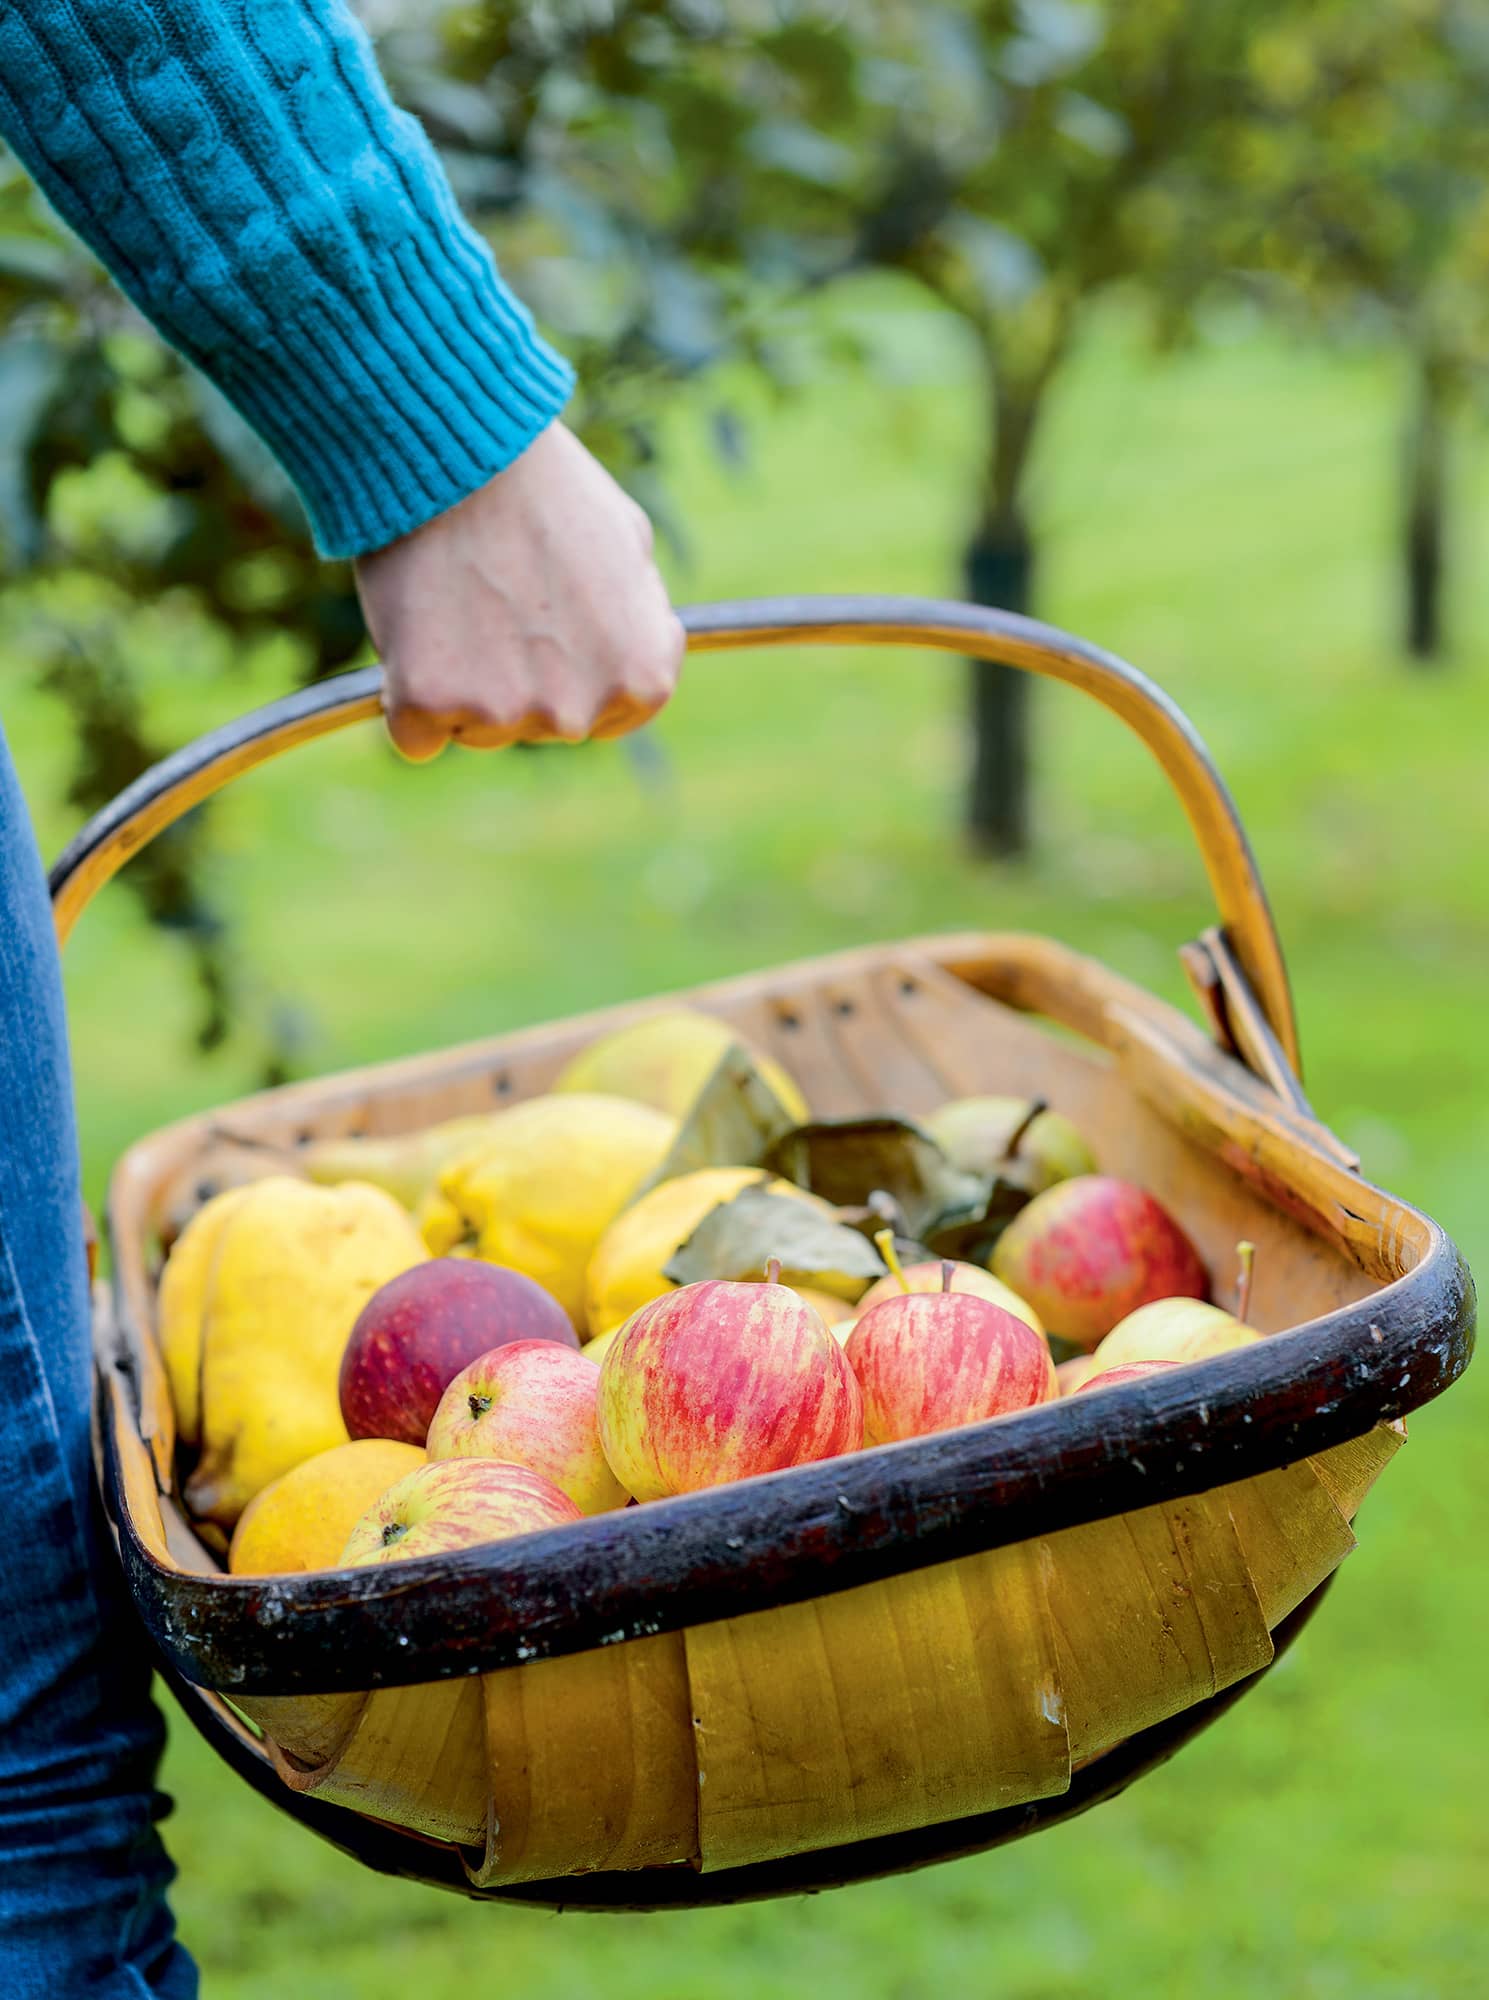
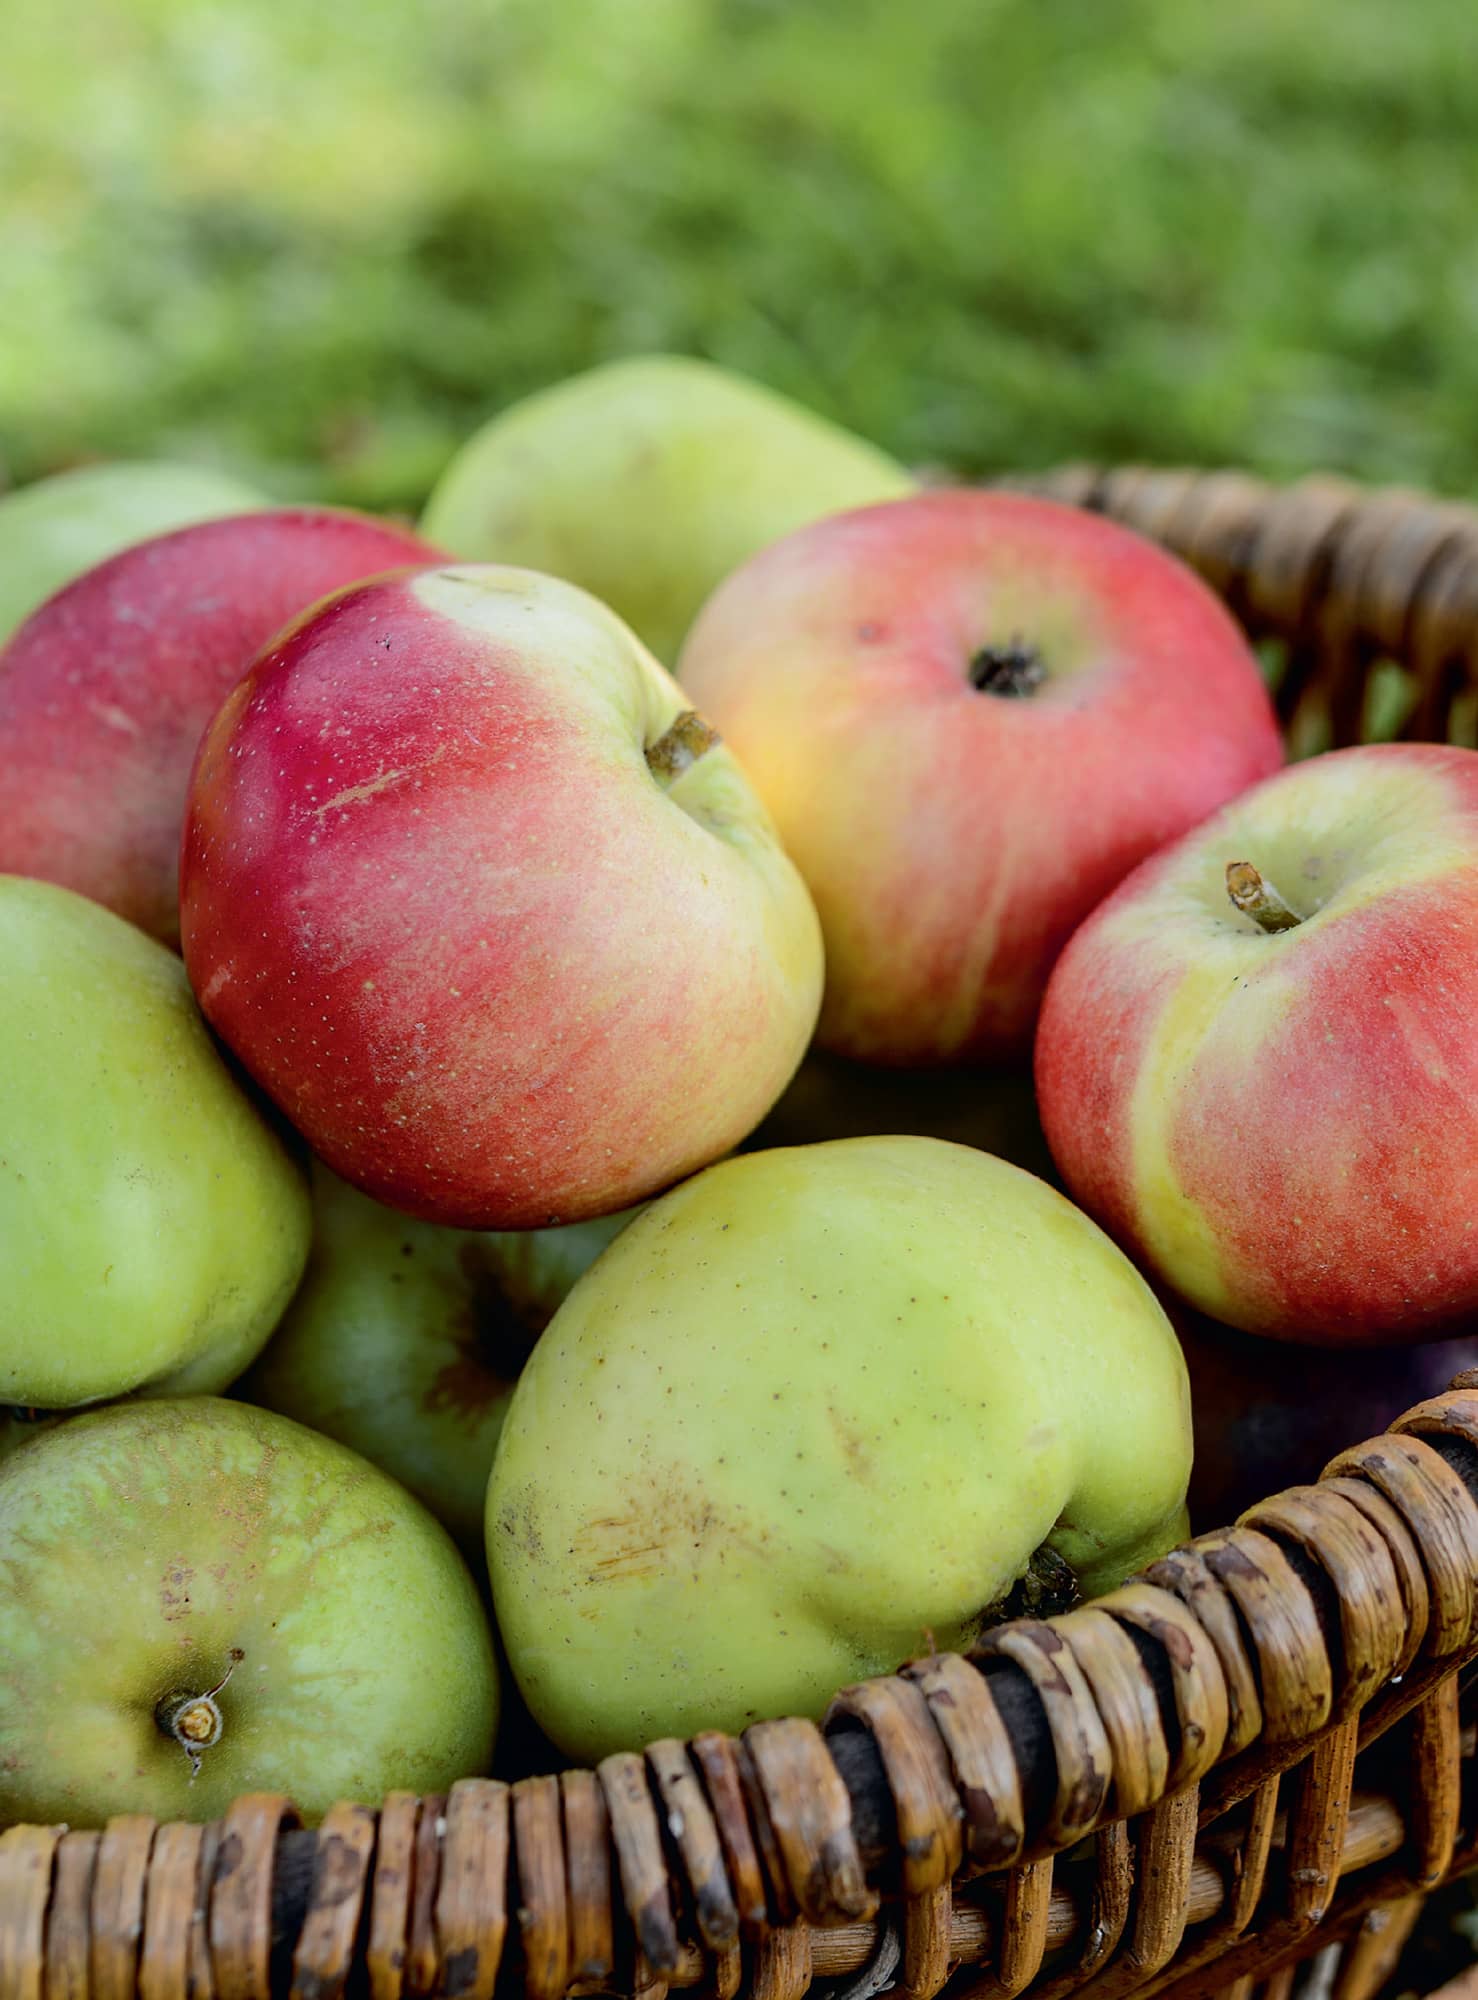
Growing apples
Having a garden large enough to establish an orchard has been one of my long-held dreams. The joy of fresh apples, straight from the tree, and the sheer abundance of fruit cannot compare with buying from even the best farmers’ market. Until that day I will continue to grow my fruit trees in large pots, because lack of space is really not an obstacle when it comes to fruit growing, especially apples, which can be trained in so many ways.
BEST VARIETIES
Both cooking and dessert apples lend themselves to preserving, depending on the recipe. Cooking apples will break down to a mush, while dessert apples hold their form for longer and tend to be sweeter to start with. Check the rootstocks and pollination groups or plant a crab apple as well to aid pollination.
Cooking varieties include the classic ‘Bramley’s Seedling’, or try ‘Blenheim Orange’, which is a good cooking and dessert variety. There are hundreds of dessert apple cultivars and you might like to plant local heritage trees, but my favourites include ‘Cox’s Orange Pippin’, ‘Orleans Reinette’, ‘Ashmead’s Kernel’ and ‘Egremont Russet’.
PLANTING
Apple trees still perform in partial shade but will do better in a sunny site with good air circulation. Plant bare-root trees in the dormant season, and potted trees in autumn or spring. Apples tolerate most soils and situations except boggy ones. Stake or tie to wires for free-standing or trained trees respectively (see here).
MAINTENANCE
Prune free-standing apples between leaf fall and bud burst, and cut back trained trees in summer and then winter as required (see here). Mulch with well-rotted organic matter and some controlled-release fertilizer in spring. Water during dry spells, especially during flowering and fruiting. In midsummer, thin the fruit by removing all but the two or three biggest from each cluster, although the tree will do much of this itself in early summer. Trained trees especially benefit from the fruit being thinned.
HARVEST
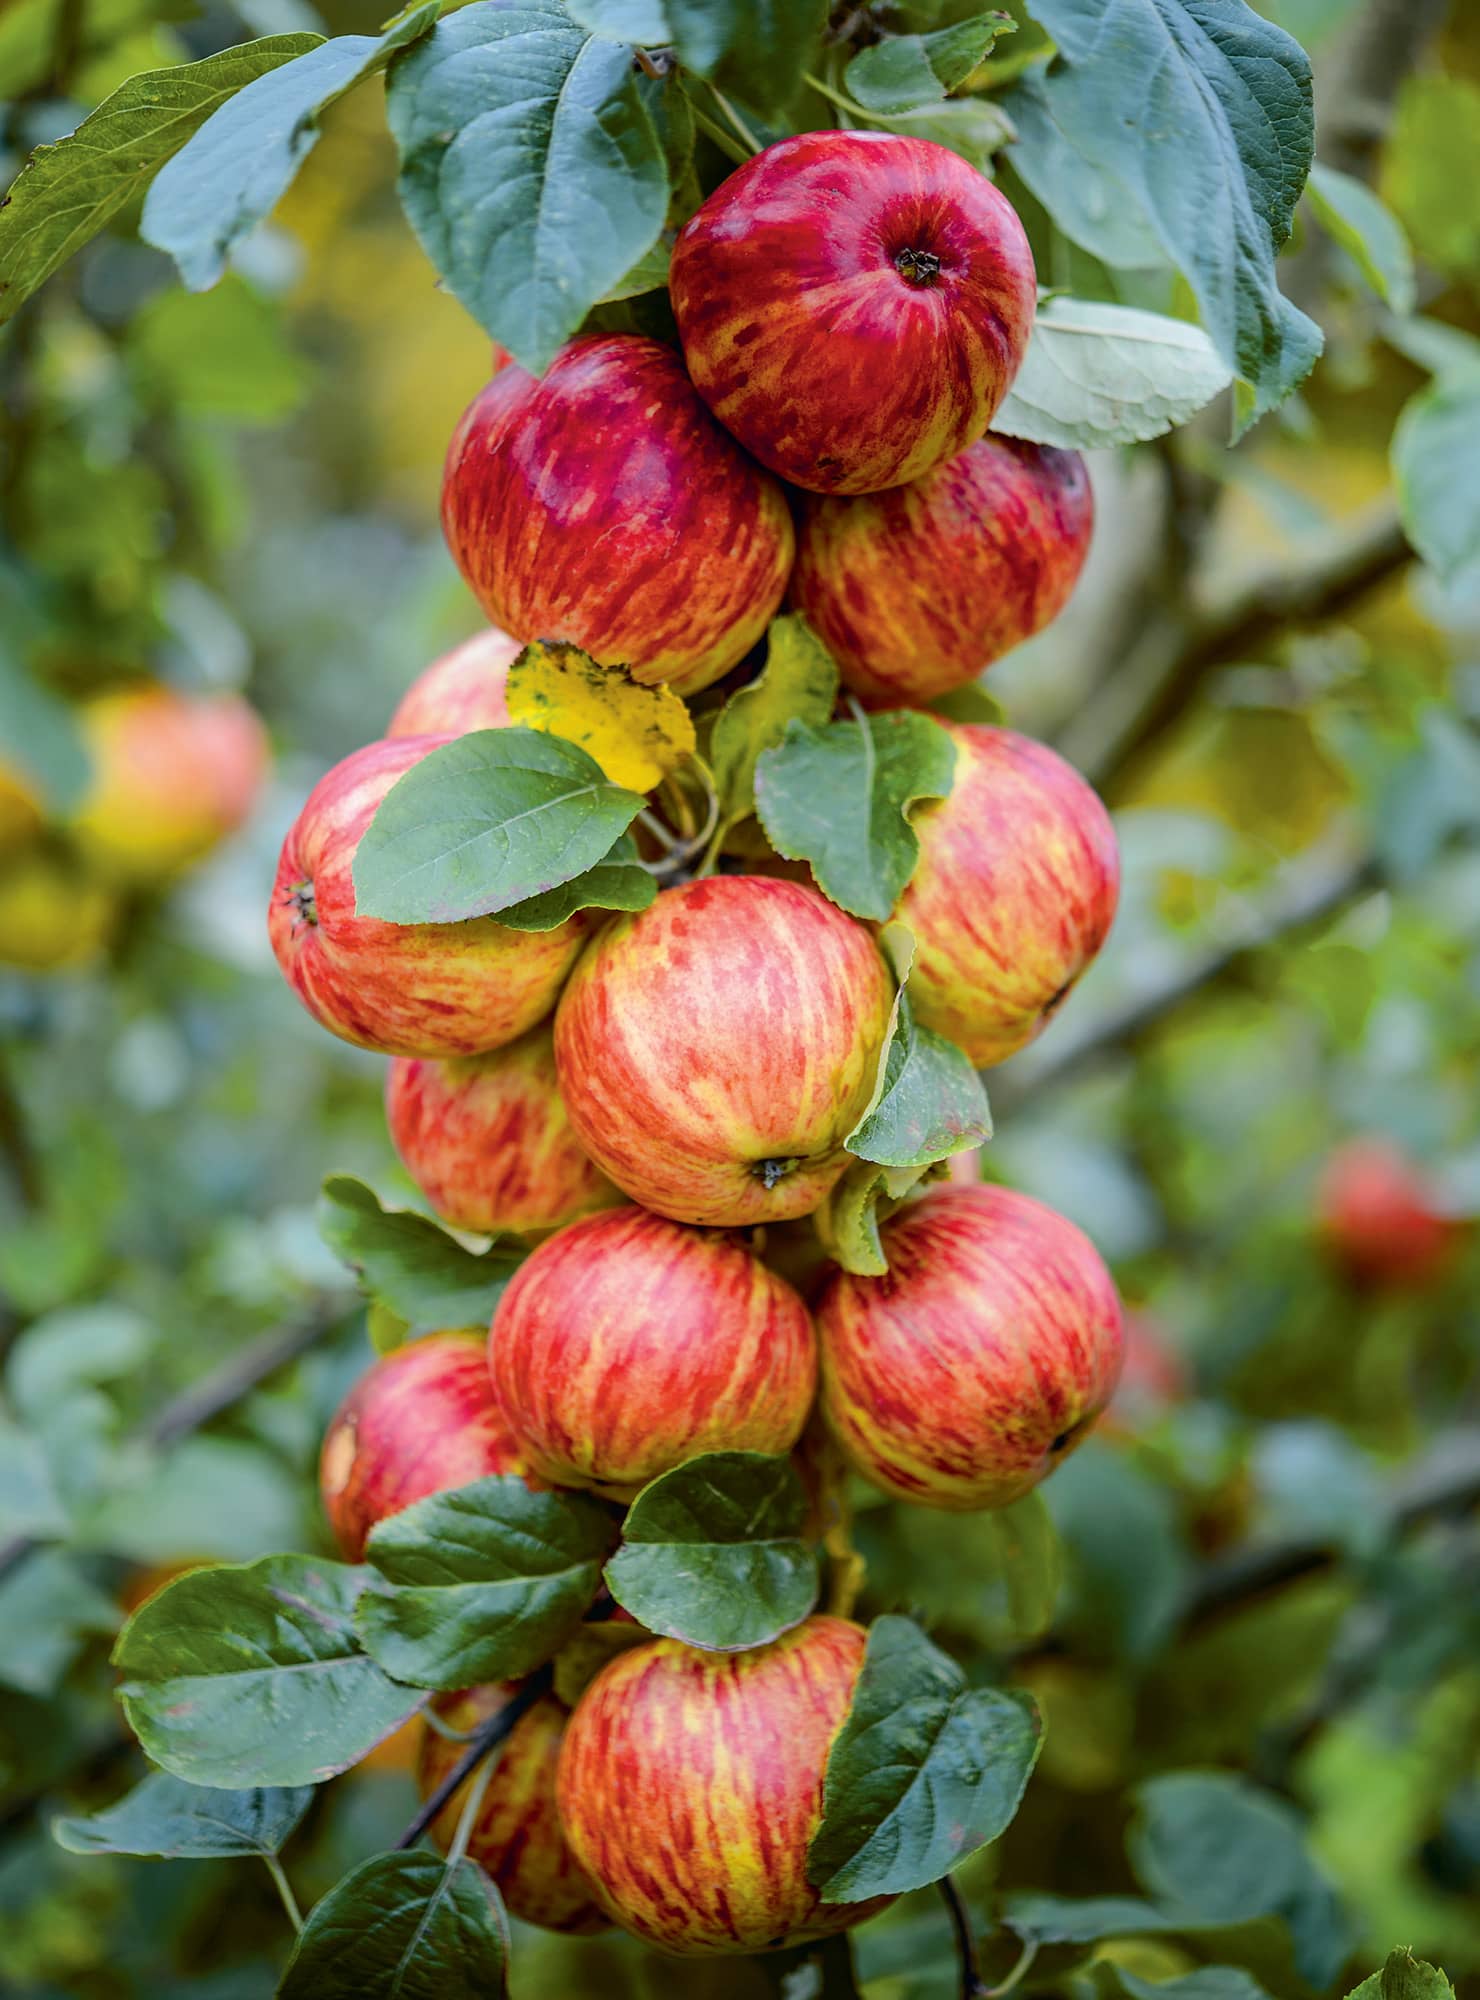
Harvest from late summer to late autumn, depending on the variety. Windfalls will give an indication that the fruit is ripening; apples are ready when the stalk breaks easily from the branch as the fruit is lifted.
CRAB APPLES
Crab apple trees are great for small gardens, producing an abundance of blossom and then fruit that is perfect for preserving. They are better grown free-standing rather than trained. They need minimal pruning – only to remove the 4Ds – and are otherwise cared for just as cooking and dessert apple trees (see above). Good varieties include ‘Golden Hornet’, ‘Profusion’ and ‘John Downie’.
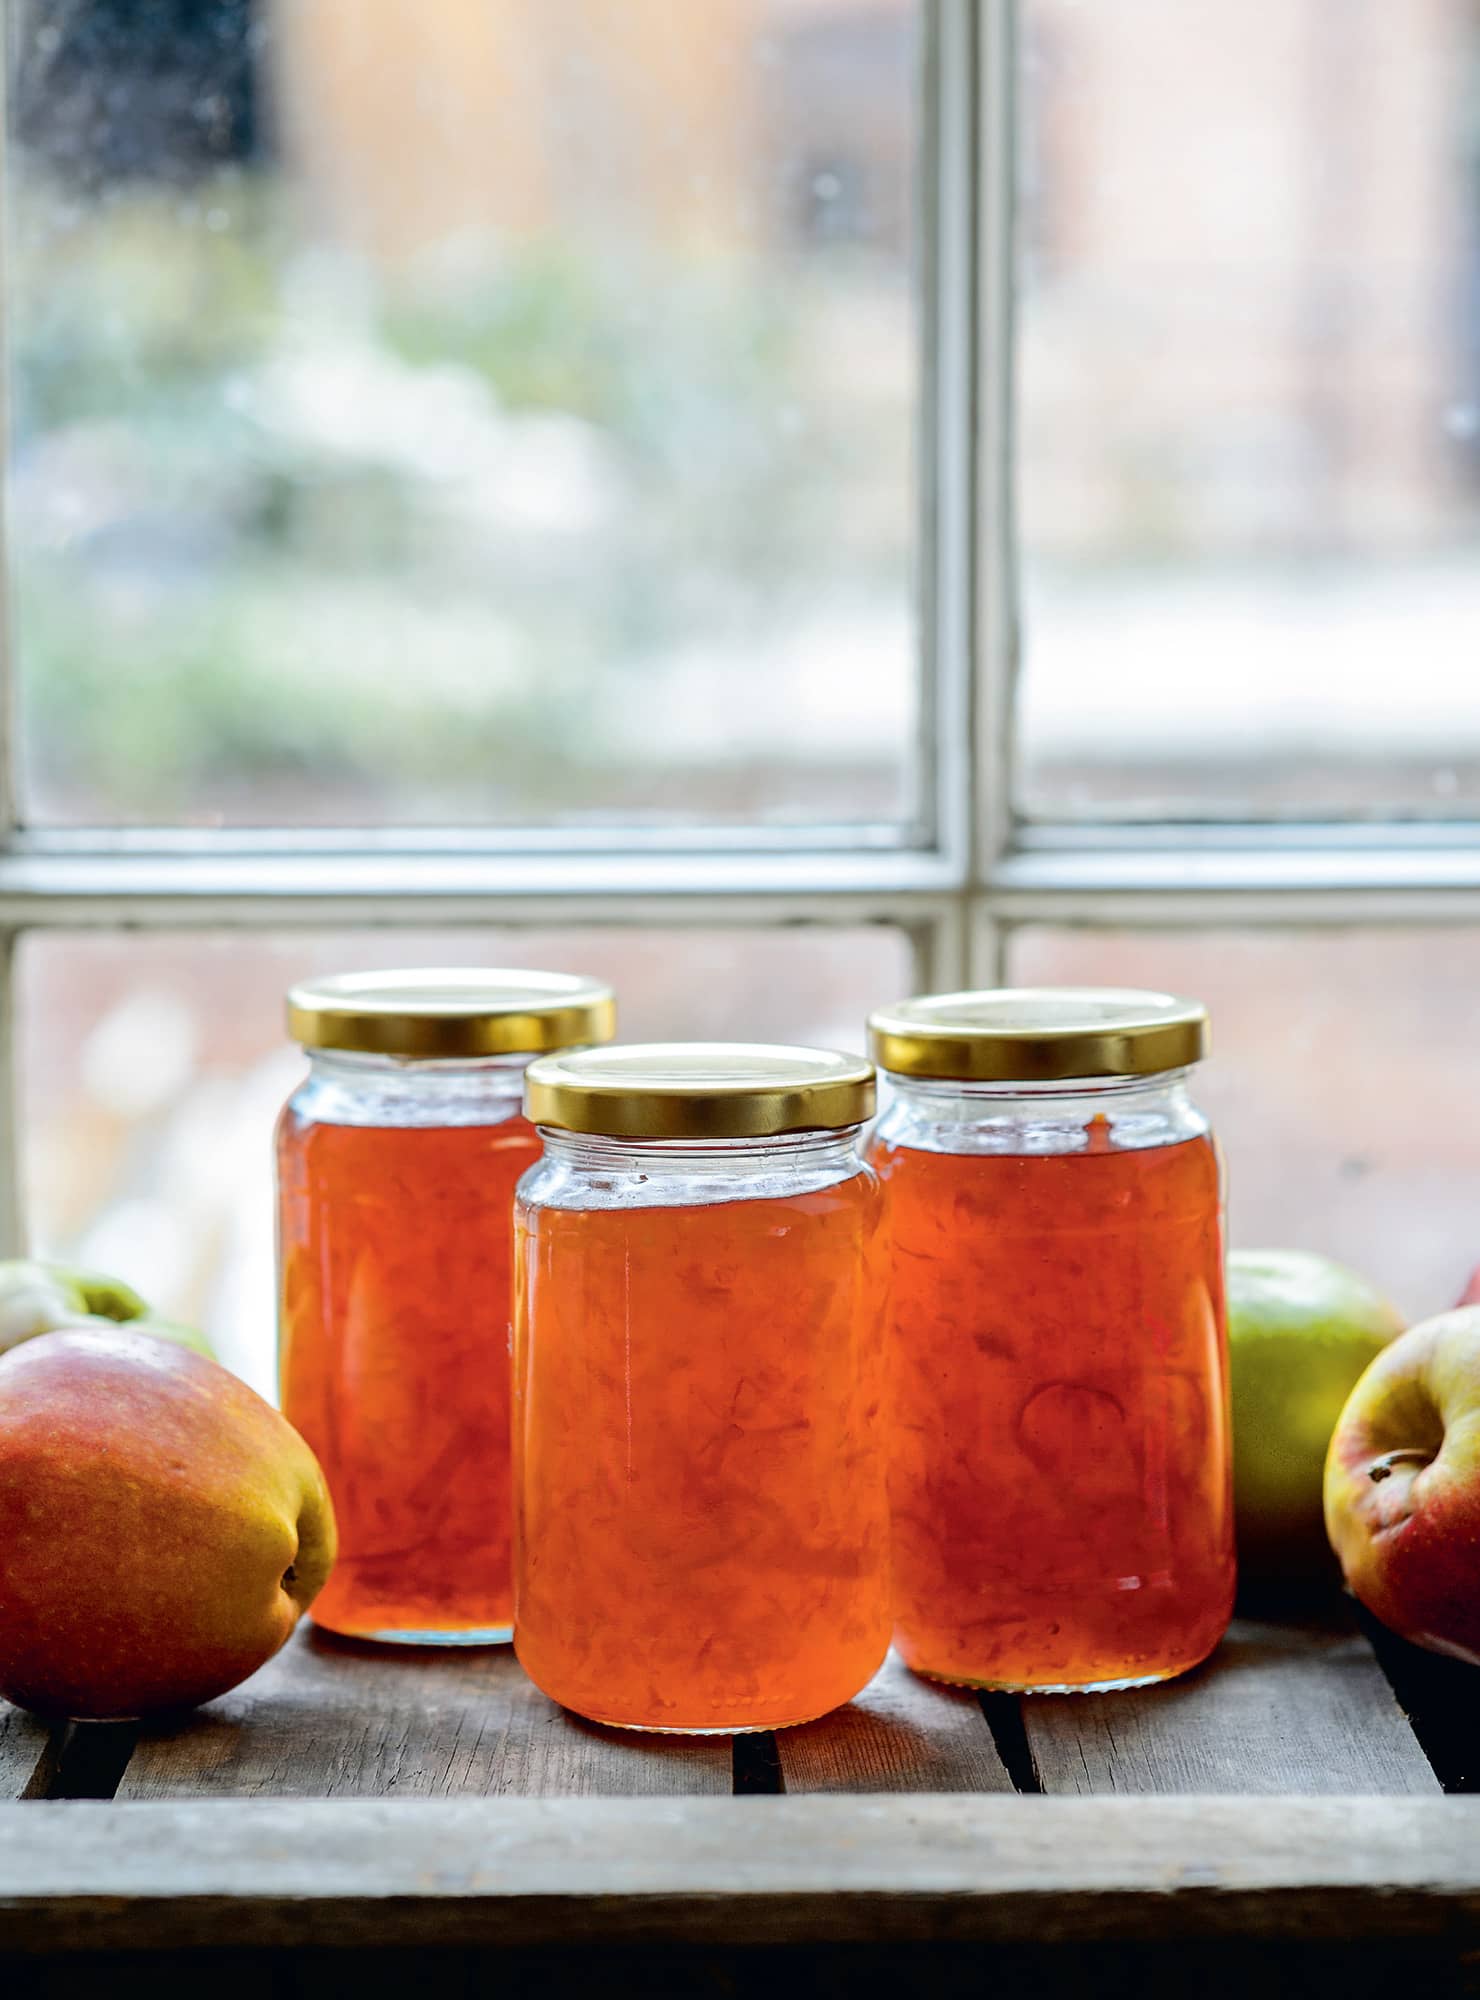
◁ Windfall marmalade
Marmalade ingredients need not be restricted to oranges, and this alternative is a brilliant way to avoid wasting windfall apples. Red grapefruits give this marmalade a traditional colour and provide the shredded peel. As the windfall apples are likely to have large bruises, take out any bad bits before weighing them.
▪ 500g/1lb 2oz windfall apples (cooking or dessert), peeled, cored and sliced
▪ 1.1kg/2lb 6oz granulated sugar
▪ Using a potato peeler, pare the peel from the grapefruit and shred it finely into short lengths. Cut the flesh away from the pith. Put the pith into a jelly bag, and chop the flesh into small pieces, removing any membranes while doing so to prevent them persisting as lumps in the final marmalade.
▪ Add the apple peel and cores into the jelly bag, and place the apple slices and shredded grapefruit peel and flesh in a pan.
▪ Tie up the jelly bag and add it to the pan with the water.
▪ Bring to the boil, then reduce the heat and simmer, uncovered, for around 2 hours until the peel is soft and the contents reduced by half.
▪ Wearing rubber gloves to protect your hands, remove the jelly bag and squeeze as much liquid as possible back into the pan. Discard the contents of the bag.
▪ Add the sugar to the pan and stir until it dissolves, then bring the marmalade to the boil. Boil rapidly until the setting point is reached (see Testing for a set).
▪ Remove the pan from the heat and leave to stand for 10 minutes, to ensure that the peel will be well-distributed through each jar. Stir the marmalade, then pot it into warm, sterilized jars.
Store in a cool, dry, dark place

◁ Apple pie curd
There is of course no actual pie in this apple pie curd, but it tastes just like cooked apples and custard. Serve it in little pastry cases for a quick and easy ‘apple pie’, or use it as you would any other curd or spread. I have not given it a dedicated variation below, but, if you like cinnamon in your apple pie, add some to taste before potting.
▪ 1 large cooking apple (300–350g/10–12oz), peeled, cored and roughly chopped
▪ 50g/2oz unsalted butter, cubed
▪ Put the apple flesh and peel into a small pan with a splash of water (just enough to stop the apple sticking to the base). Cook very gently and uncovered over a low–medium heat, stirring often until the apple flesh is soft and pulpy. Rub the contents through a sieve into a large ceramic or glass bowl. Discard the peel left in the sieve.
▪ Add the lemon juice, eggs, butter and sugar to the bowl. Then fit the bowl over a pan of simmering water on a medium heat – the bowl should sit snugly over the pan but not touch the water itself.
▪ Use a whisk to incorporate all the ingredients (flecks of unmelted butter are fine at this stage). Then switch to a wooden spoon (metal implements can taint the taste) and stir continuously for 10–15 minutes to keep the mixture moving off the base of the bowl and thereby prevent the eggs from scrambling.
▪ The curd is ready when it coats the back of the spoon and a track remains when you draw your finger through it. Leave it to thicken further as it cools.
▪ Pot into warm, sterilized jars.
Apple chutney
This classic autumn chutney is excellent with cheese and pork in particular. The dessert apples and walnuts give it a bit of bite, and there is just a hint of sage. If you prefer a stronger flavour, add more sage to taste.
▪ 375g/13oz red onions, finely chopped
▪ 675g/11/2lb cooking apples, peeled, cored and finely sliced
▪ 225g/8oz dessert apples, peeled, cored and finely sliced
▪ 300ml/1/2 pint cider vinegar
▪ 3 tbsp finely chopped sage leaves (optional)
▪ 100g/31/2oz walnuts, roughly chopped (optional)
▪ Put the onion pieces into a large pan. Add the apple flesh to the pan, together with all the other ingredients.
▪ Over a low–medium heat, stir everything together well to incorporate the ingredients and dissolve the sugar.
▪ Cook at a very gentle simmer, uncovered, for around 2 hours or until the chutney can be parted cleanly on the base of the pan. Stir it regularly during this time.
▪ Pot into warm, sterilized jars and leave to mature for a month before eating.
Store in a cool, dry, dark place; once opened, keep in the refrigerator

◁ Black butter
Black butter, or nièr beurre, is a traditional recipe from Jersey. Although the recipe itself is a closely guarded secret, the ingredients list on the jar I bought gives enough clues – this is my version which comes pretty close to their original. Being dark and treacly, it’s the Heathcliff or Darcy of the jam world, all brooding and intense. Try black butter in mince pies as an alternative to Mincemeat, or spoon it over vanilla ice cream.
▪ 1.2 litres/2 pints cider (sweet or medium)
▪ 1.5kg/3lb 5oz dessert apples, peeled, cored and finely sliced
▪ granulated sugar (50g/2oz per 100ml/31/2fl oz of pulp; see method)
▪ 15g/1/2oz liquorice, very finely diced
▪ Pour the cider into a large pan and bring to the boil. Continue boiling until the volume is reduced to 600ml/1 pint.
▪ Meanwhile prepare the apple slices, tossing them in the lemon juice as you do so, to help prevent them from browning.
▪ Add the apple slices, lemon zest and juice to the reduced cider and cook gently, stirring regularly, until the contents are soft, pulpy and reduced.
▪ (I rather like the odd chunk of apple flesh in the final butter, as it gives it a bit of bite, but if you prefer a smooth consistency blend the contents to a smooth purée at this point.)
▪ Measure the pulp, and weigh out the appropriate amount of sugar.
▪ Return the pulp and sugar to a clean pan and add the rest of the ingredients. Simmer gently over a low heat, stirring frequently to prevent the mixture sticking to the base of the pan, but watch out as it can spit. Remove from the heat once the mixture is thick and there is no free liquid.
▪ Pot at once into warm, sterilized jars.
Store in a cool, dry, dark place
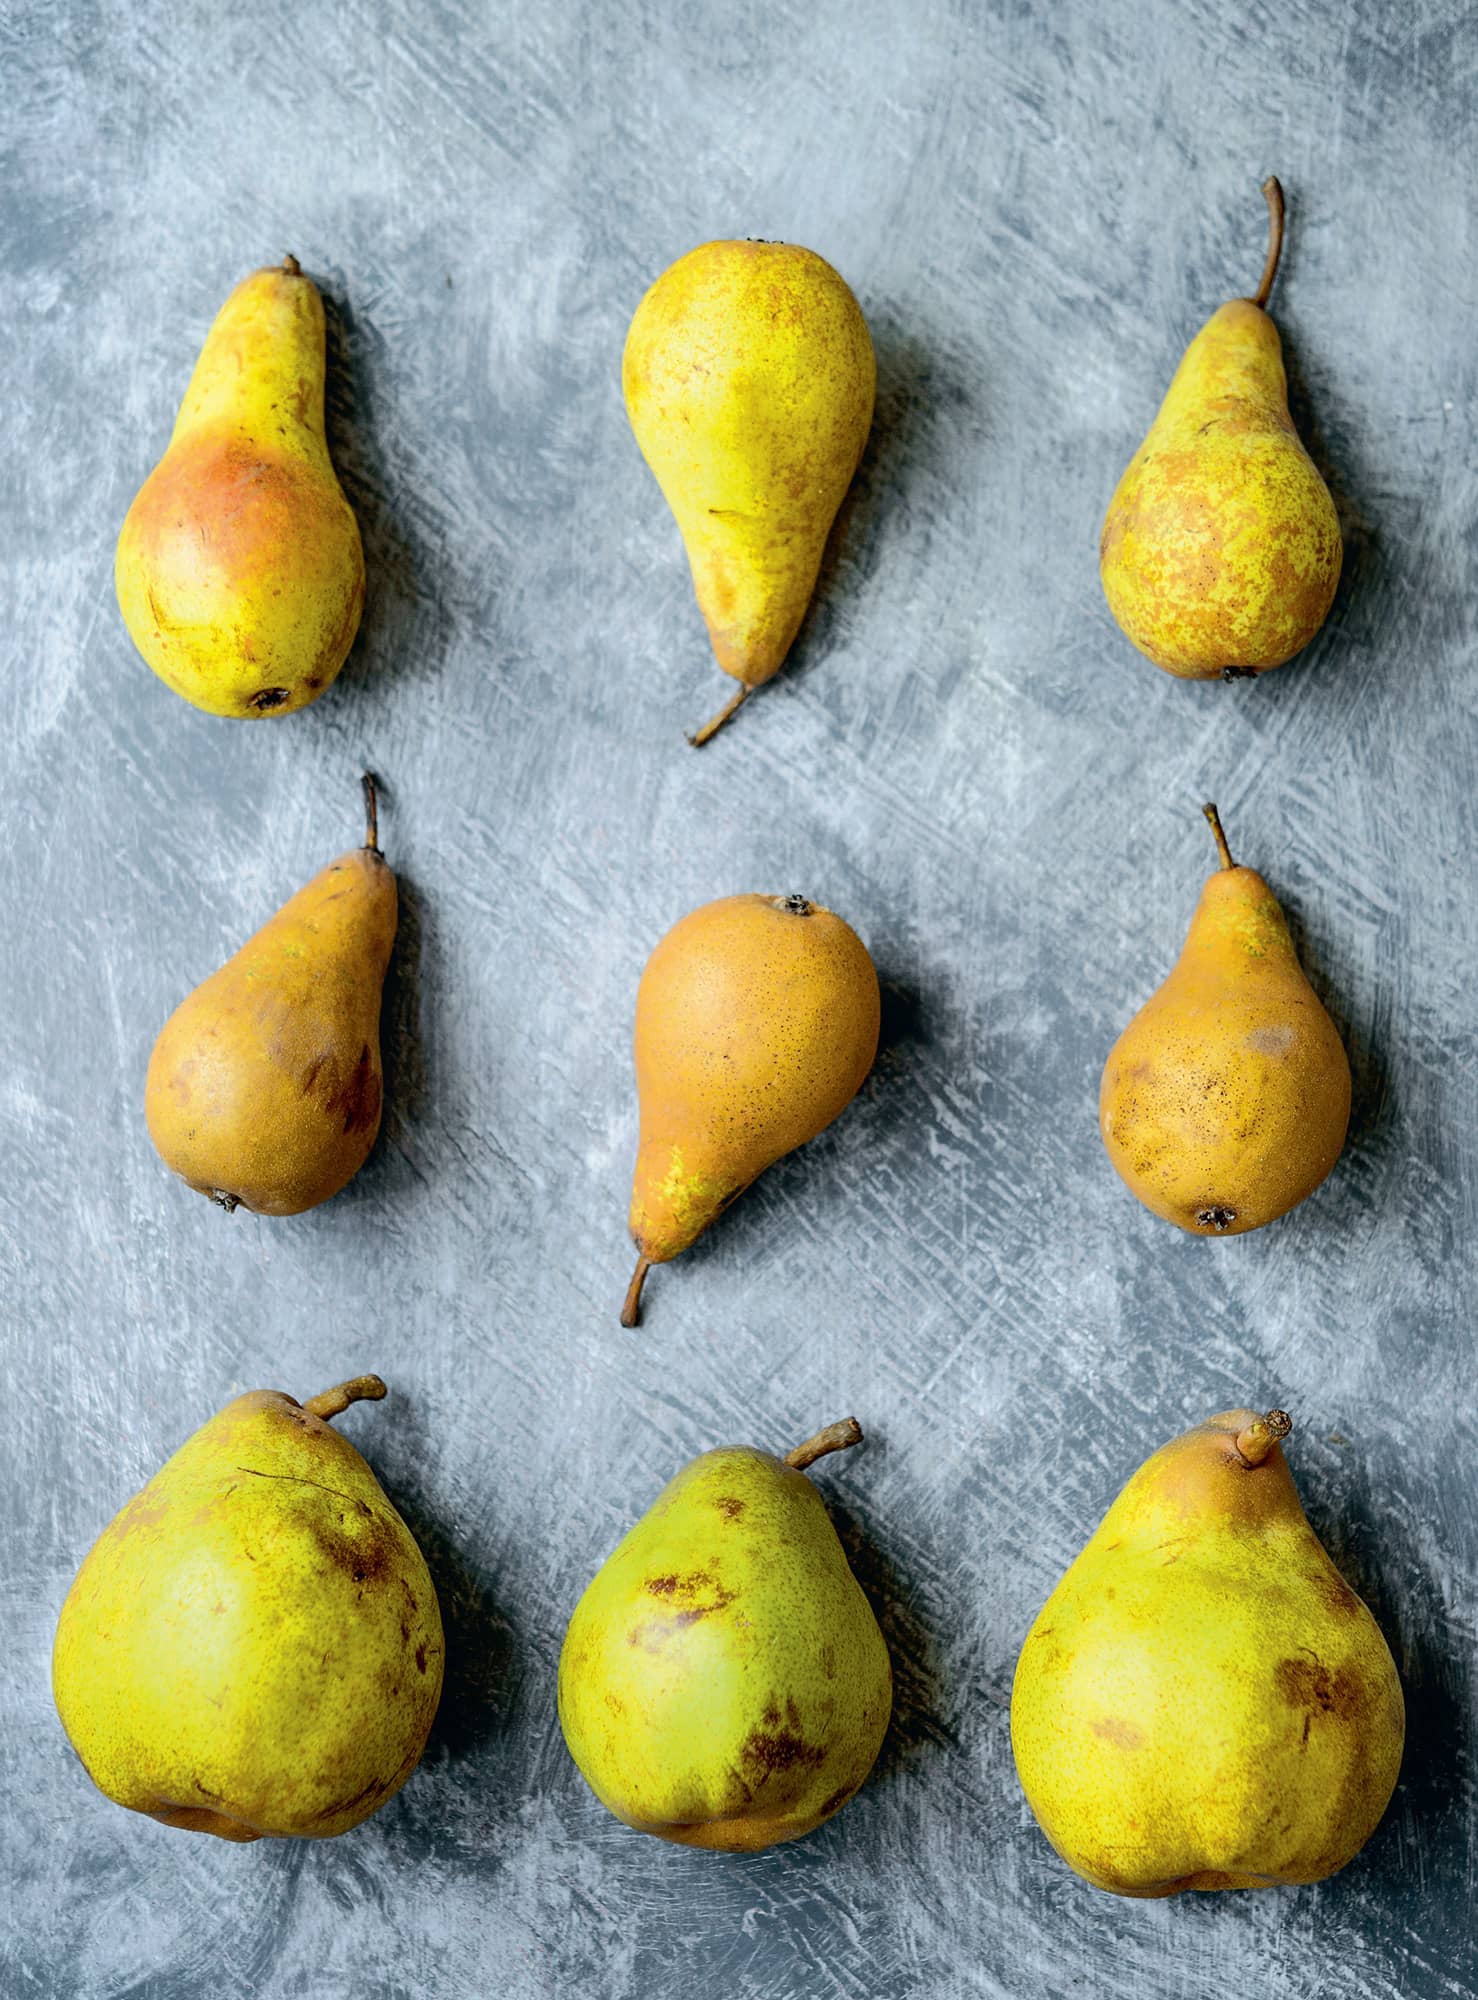
Growing pears
Pear trees can look a little weedy next to apple trees in an orchard setting – they are generally smaller and narrower – but in trained form the blossom and fruit are easier to admire. It will be a few years until your trees bear fruit but once they are mature, and with very little input, you will have pears to eat, preserve and give away every year.
BEST VARIETIES
As with all tree fruit, it is important to make sure you choose varieties from the right pollination groups and on a suitable rootstock for your situation (see here). Pears are split into cooking and dessert varieties, but either is suitable for preserving. Dessert ‘Conference’ is reliable and has a good flavour (explaining why it is so widely available), while dessert pear ‘Doyenné du Comice’ is more temperamental, but the taste is worth the extra trouble. The cooker ‘Black Worcester’ is also a good choice.
PLANTING
Plant bare-root trees in the dormant season, and potted trees in autumn or spring. At the same time attach training wires (if appropriate), and stake free-standing trees. Pears blossom early in the season and their flowers can be damaged by spring winds and frosts, so plant in a sheltered, warm spot.
Pears can also be grown in large pots, but be sure to choose a tree on a dwarfing rootstock.
MAINTENANCE
Water in dry spells, especially once the tree is flowering and then producing fruit. Remove most of the fruitlets in late spring or early summer in any large clusters to allow decent-sized pears to develop. Prune annually, in summer (for trained trees) or winter (for free-standing ones), see here.
HARVEST
Pears are ready to harvest when the stalk breaks naturally from the branch when each fruit is gently lifted. Depending on the variety this can be from late summer to mid-autumn. The flesh will still be hard, and cookers will be a bit gritty, but should taste sweet. Pears will then need a little ripening indoors and will be ready to eat when soft to a gentle squeeze near the stalk.
Mostarda di frutta
This Italian relish is also known as mostarda di Cremona. The Silver Spoon, that bible of Italian cookery, defines mostarda di frutta as ‘an Italian speciality of candied fruit immersed in a syrup of honey, mustard and wine. It may be mild or strong and is eaten with roasted and boiled meat and sharp cheeses . . . for salad dressings and flavouring stews’.
Note: Using plums and red grapes will colour the sugar syrup pink.
▪ 1.3kg/2lb 14oz autumn fruits (dessert apples, pears, quinces, plums/greengages/apricots, grapes – a mixture of some or all of these is best)
▪ 300ml/1/2 pint white wine vinegar
▪ Prepare the fruit: peel and core any apples, pears and quinces, and cut into quarters or sixths; halve and pit any plums, greengages and apricots; and remove each grape from its stalk.
▪ Put the vinegar, sugar, honey and water into a large pan and slowly bring to the boil, stirring to dissolve the sugar and honey. Scoop out any scum from the syrup during this process.
▪ Keeping the syrup at a steady simmer, cook the fruit in batches, turning it often and carefully in the syrup. Do the pale-coloured fruits first, and cook each fruit type until just tender – the quinces will take the longest time to soften, followed by the apples, the pears, the plums/greengages/apricots and finally the grapes. Once each batch is cooked, remove it from the pan with a slotted spoon and put into a large ceramic or glass bowl.
▪ After the final batch of fruit has been removed from the pan, pour the syrup over the fruit in the bowl, cover and leave at room temperature for 24 hours.
▪ Drain the syrup into a pan and bring to a simmer. Add all the fruit and bring to the boil, then remove from the heat.
▪ Scoop out the fruit and transfer it to a warm, sterilized jar (a large Kilner jar is ideal), arranging the different fruit types in layers, yet making sure that the grapes are not the final layer as they will float.
▪ Stir the mustard powder and salt into the syrup until they have dissolved, then return the pan to the heat. Once the syrup is boiling, pour it into the jar until the fruit is completely submerged but there is still clear space beneath the rim.
▪ Seal, and leave to mature for at least 2 weeks.
Store in a cool, dry, dark place; once opened, keep in the refrigerator
Keeps for six months or more; once opened lasts for a month
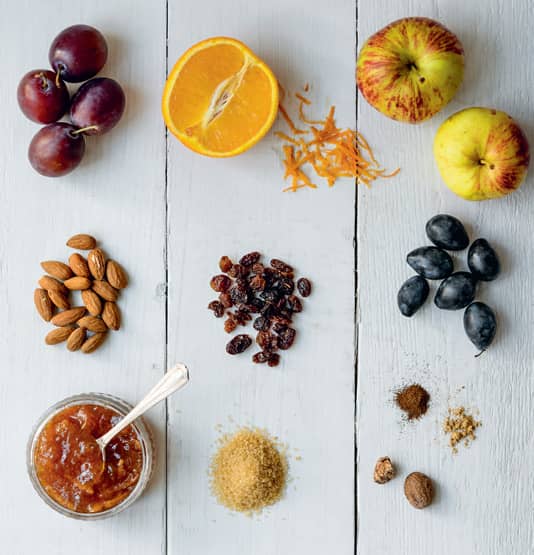
Mincemeat
Home-made mincemeat is so much better than shop-bought that it does not stand real comparison. By potting up this fruity, virtually fat-free version in autumn (and making and freezing some pastry), you can really get ahead for Christmas. A spoonful or two in an apple pie or crumble is also delicious, if you have any mincemeat left over. This is my version of Pam Corbin’s recipe in The River Cottage Preserves Handbook.
▪ 2 large oranges, zest and juice
▪ 750g/1lb 10oz plums, halved and pitted
▪ 500g/1lb 2oz dessert apples, peeled, cored and diced into 1cm/1/2in cubes
▪ 100g/31/2oz almonds, chopped
▪ Put the orange juice into a large pan with the whole damsons and prepared plums. Cook gently until the fruit is tender.
▪ Put the apple cubes, sultanas, marmalade, sugar, spices, almonds and the orange zest into a large baking dish and stir well.
▪ Rub the contents of the damson/plum mixture through a sieve to form a purée. Do this in batches and discard the skins and stones left in the sieve. You will need 700ml/11/4 pints of purée.
▪ Pour the purée over the ingredients in the baking dish, mix well, then cover the dish with foil and leave at room temperature for 12 hours.
▪ Preheat the oven to 130°C/250°F/gas mark 1 and remove the foil from the baking dish. Bake the mincemeat for 21/2 hours.
▪ Mix in the amaretto, then spoon into warm, sterilized jars, prodding regularly as you do so to remove any air bubbles.
Store in a cool, dry, dark place
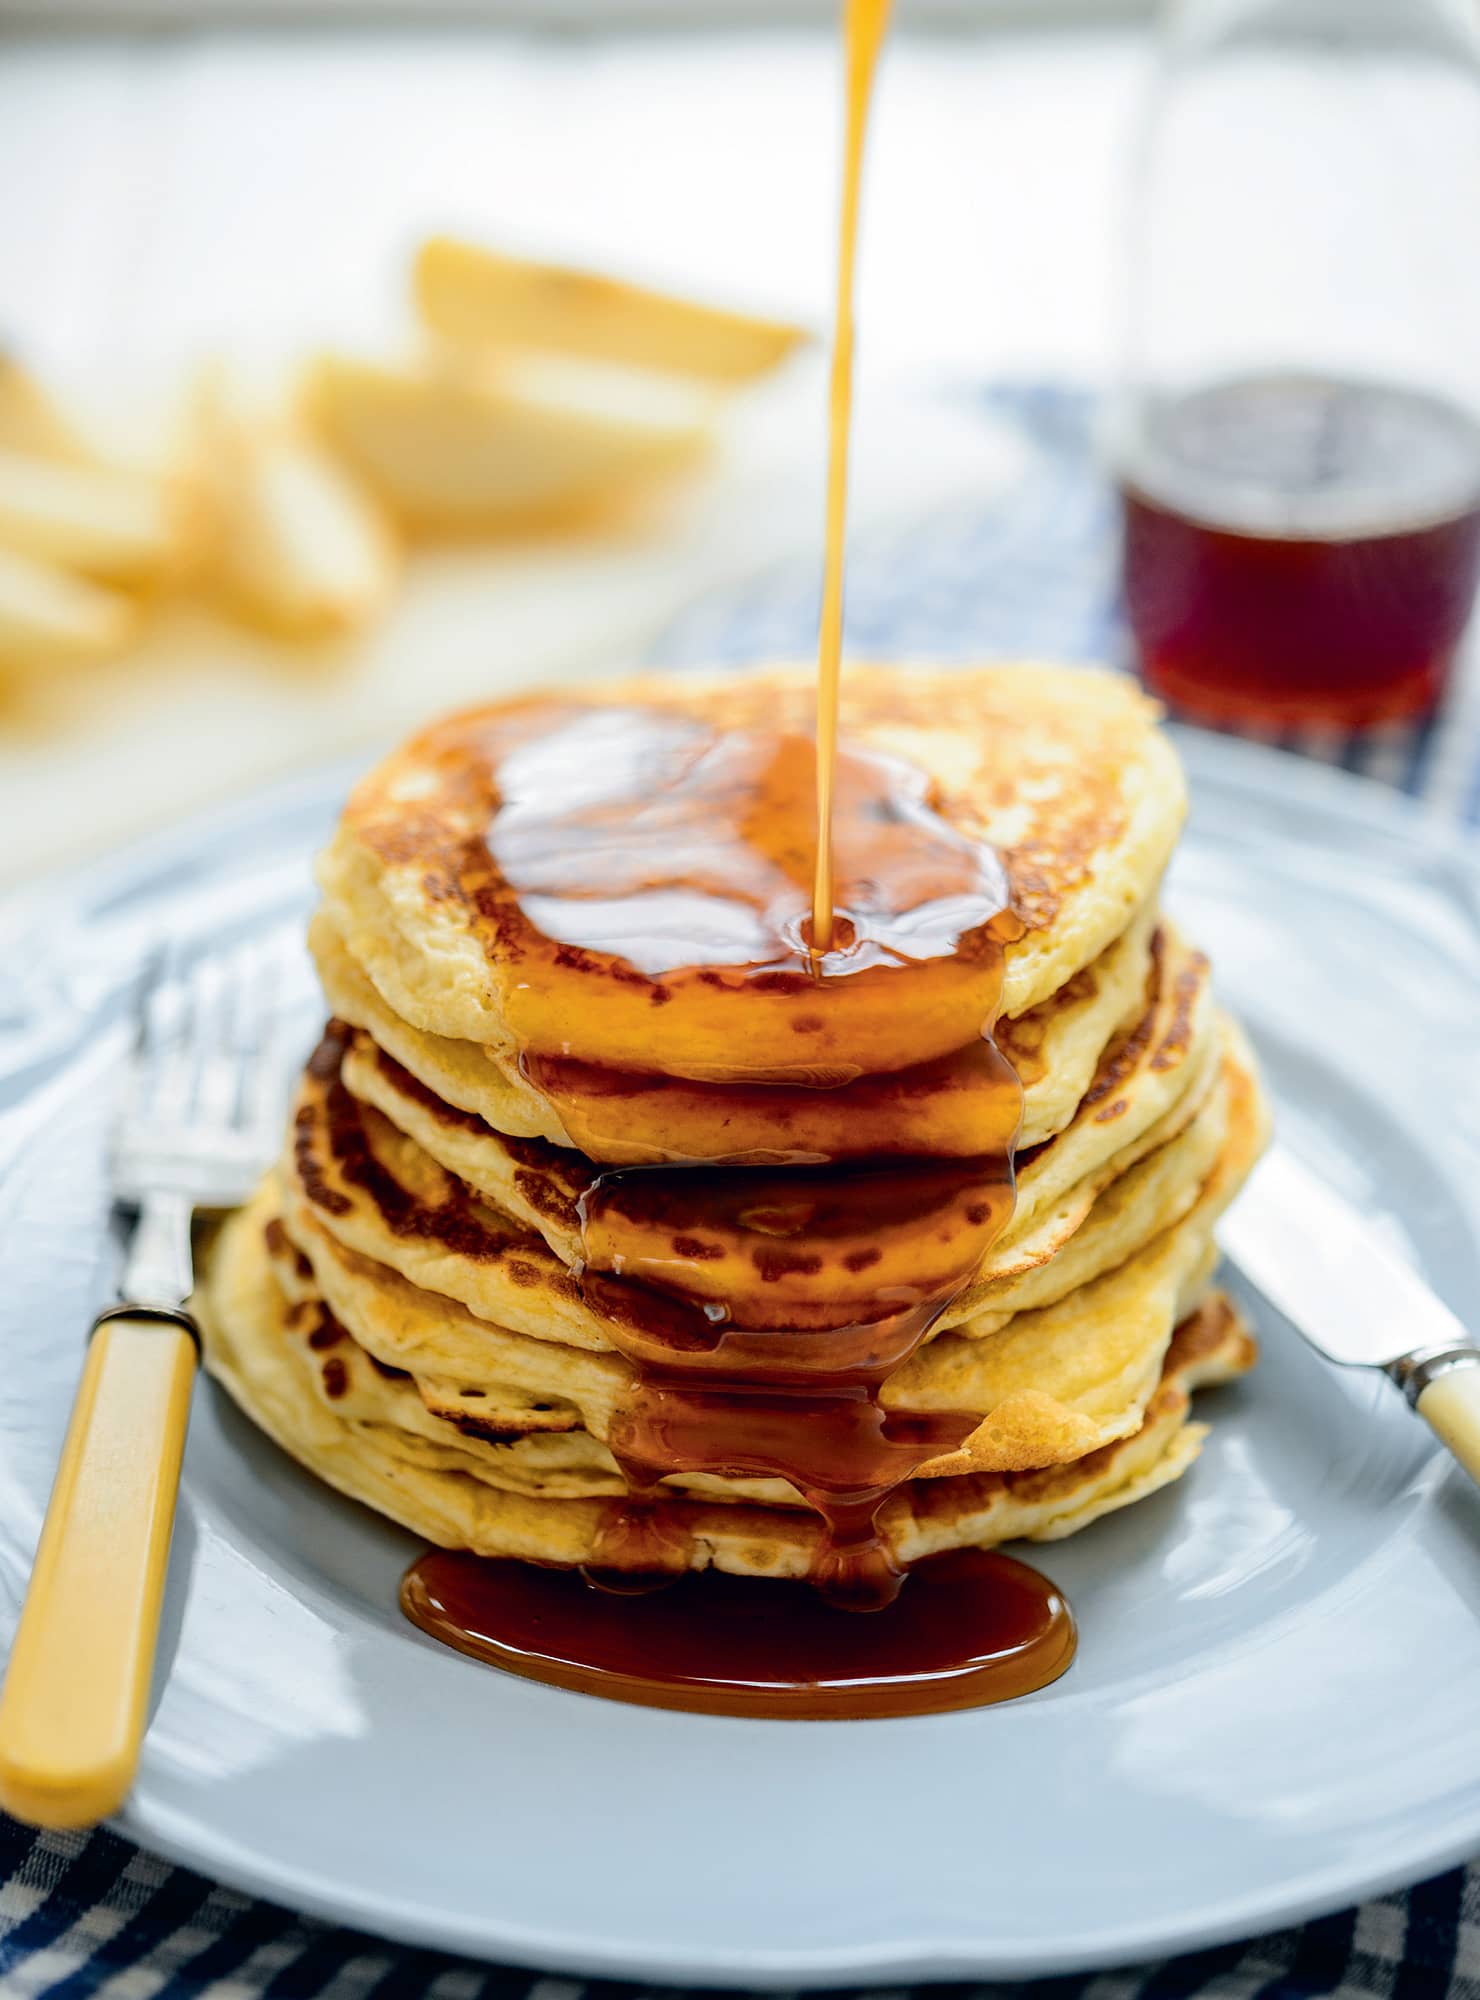
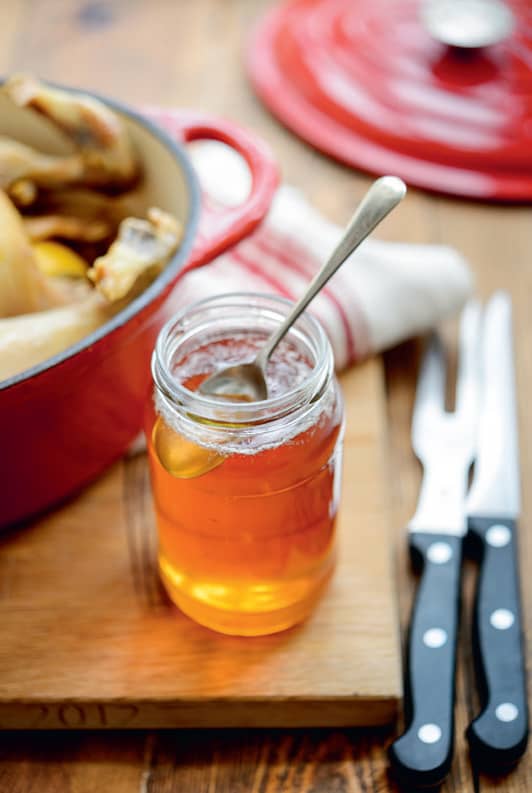
◁ Pear caramel
The delicate flavour of pears is intensified in this gorgeous caramel sauce, which is based loosely on a traditional Belgian preserve called sirop de Liège. Use it instead of maple or golden syrup, particularly for drizzling over pancakes. Pear caramel loses its flavour if kept in the refrigerator, and does not last long once open, so use lots of small jars or bottles rather than one big one.
MAKES 700–800ML/11/4–11/2 PINTS
▪ 1kg/2lb 3oz pears, peeled, cored and roughly sliced
▪ 450g/1lb apples (dessert or cooking), peeled, cored and roughly sliced
▪ 200g/7oz light muscovado sugar
▪ 100g/31/2oz dark muscovado sugar
▪ Place the apples and pears, including their peel and cores, into a large pan and add just a splash of water, enough to lift the fruit off the base and stop it sticking.
▪ Simmer very gently over a low heat for an hour or until the fruit is very soft and disintegrating.
▪ Mash the fruit gently, then put it into a jelly bag placed in a clean pan.
▪ Squeeze the jelly bag gently to extract a smooth liquid without allowing too much pulp into the pan, but there is no need to worry about the juice being clear. There should be 700–800ml/11/4–11/2 pints of liquid. Discard the contents of the jelly bag.
▪ Add the sugar to the liquid and set the pan over a low heat. Bring to a slow simmer, stirring to dissolve the sugar, then continue to simmer for 30 minutes until thickened and syrupy. (It will thicken further as it cools.)
▪ Pour into warm, sterilized bottles, and seal.
Store in a cool, dry, dark place; give the jar a good shake before using each time
Keeps for six months; once opened, 2–4 weeks
Growing grapes
It is perhaps due to the antiquity of grapes as a crop that their cultivation is so shrouded in impenetrable jargon, but grapevines are actually much more accessible for the home grower than their mysteriousness would suggest. These plants tolerate most conditions, but for optimum harvests follow the few simple guidelines below.
BEST VARIETIES
Grapevines are divided into two types: dessert (eating) and wine ones. The former have been bred from the latter to provide larger, sweeter and firmer grapes more suitable for transporting across the world. When growing your own, choose wine varieties: you will get a much wider flavour palette in the grapes and, if you are growing outdoors, a more reliable harvest.
Black grape varieties worth growing include ‘Boskoop Glory’, ‘Pinot Noir’ and ‘Concord Seedless’; for white grapes try ‘Siegerrebe’ and ‘Phönix’.
PLANTING
Grapevines are usually sold as potted plants – put them in the ground in autumn or preferably spring when the coldest frosts have passed. Set them in the sunniest spot you have – trained against a sunny wall or fence is ideal. You could also grow grapevines in a greenhouse, either as a standard in a pot or trained on a framework. However, unless your greenhouse is large, I would plant the grapevine outside and leave the greenhouse to crops that actually need it.
There are all sorts of complicated systems for growing grapevines, but you will still get plenty of fruit and a healthy plant by training each as a cordon/espalier hybrid (see also here). Fix the supporting wires, spaced 30cm/12in apart, before you plant.
MAINTENANCE
For training on a wall/frame allow a single central stem to grow upwards – as tall as you like – and from this stem tie in side shoots to the adjacent supporting wires, removing any side shoots from the stem that fall between these wires. Every winter, cut the side shoots back to two buds away from the central stem.
It is a good idea to prune in summer as well, to improve air circulation, thereby reducing the likelihood of infection from diseases such as mildew. Such summer pruning also allows more light to the fruit, ripening it faster. Snip off the ends of the side shoots so that there is only one bunch of grapes per side shoot, and remove the leaves around the bunches as well (use them for dolmades).
Standard grapevines will need a large pot and a strong cane for support. Keep a clear stem of 1m/3ft and then allow five or six branches at the top to form a lollipop shape. Shorten these branches to two buds in the winter and five leaves in the summer. You may also need to tie the branches to the cane to help support the weight of the grapes.
Water the grapevine well in its first year, and in very dry spells, but otherwise it will need no water or extra fertilizers unless it is growing in a pot.
HARVEST
The grapes are ready when they are a little soft, sweet and fully coloured, and the seeds (if appropriate) are brown. The bunch will ripen from the top down, so test the ones at the bottom before picking in late summer to autumn; slightly unripe fruit can be used for preserving.
◁ Grape jelly
This jelly is so versatile that it is just as comfortable completing a peanut butter and jelly sandwich as it is accompanying roast poultry. Green grapes make a stunning golden yellow jelly, while black grapes turn it deep crimson. Grape jelly is ideal for using those bunches that haven’t fully ripened before they need harvesting.
▪ 1kg/2lb 3oz grapes, de-stalked
▪ 1 large cooking apple, peeled, cored and roughly sliced
▪ granulated sugar (75g per 100ml/21/2oz per 31/2fl oz of juice; see method)
▪ Put the grapes, apple slices and lemon juice into a large pan. Add enough cold water to cover the fruit.
▪ Bring to a gentle simmer and cook, uncovered, until the grapes and apple slices are easily crushed with a potato masher.
▪ Mash the fruit well, then pour the entire contents of the pan into a jelly bag placed in a large bowl.
▪ Hang up the jelly bag to drip into the bowl, and leave for at least 3 hours, preferably overnight.
▪ Discard the contents of the jelly bag and measure the juice.
▪ Pour the juice into a clean pan with the appropriate amount of sugar. Heat gently, stirring until all the sugar dissolves. Then turn up the heat and boil rapidly until the setting point (see Testing for a set) is reached.
▪ Remove from the heat and discard any scum from the jelly, then pot into warm, sterilized jars.
Store in a cool, dry, dark place
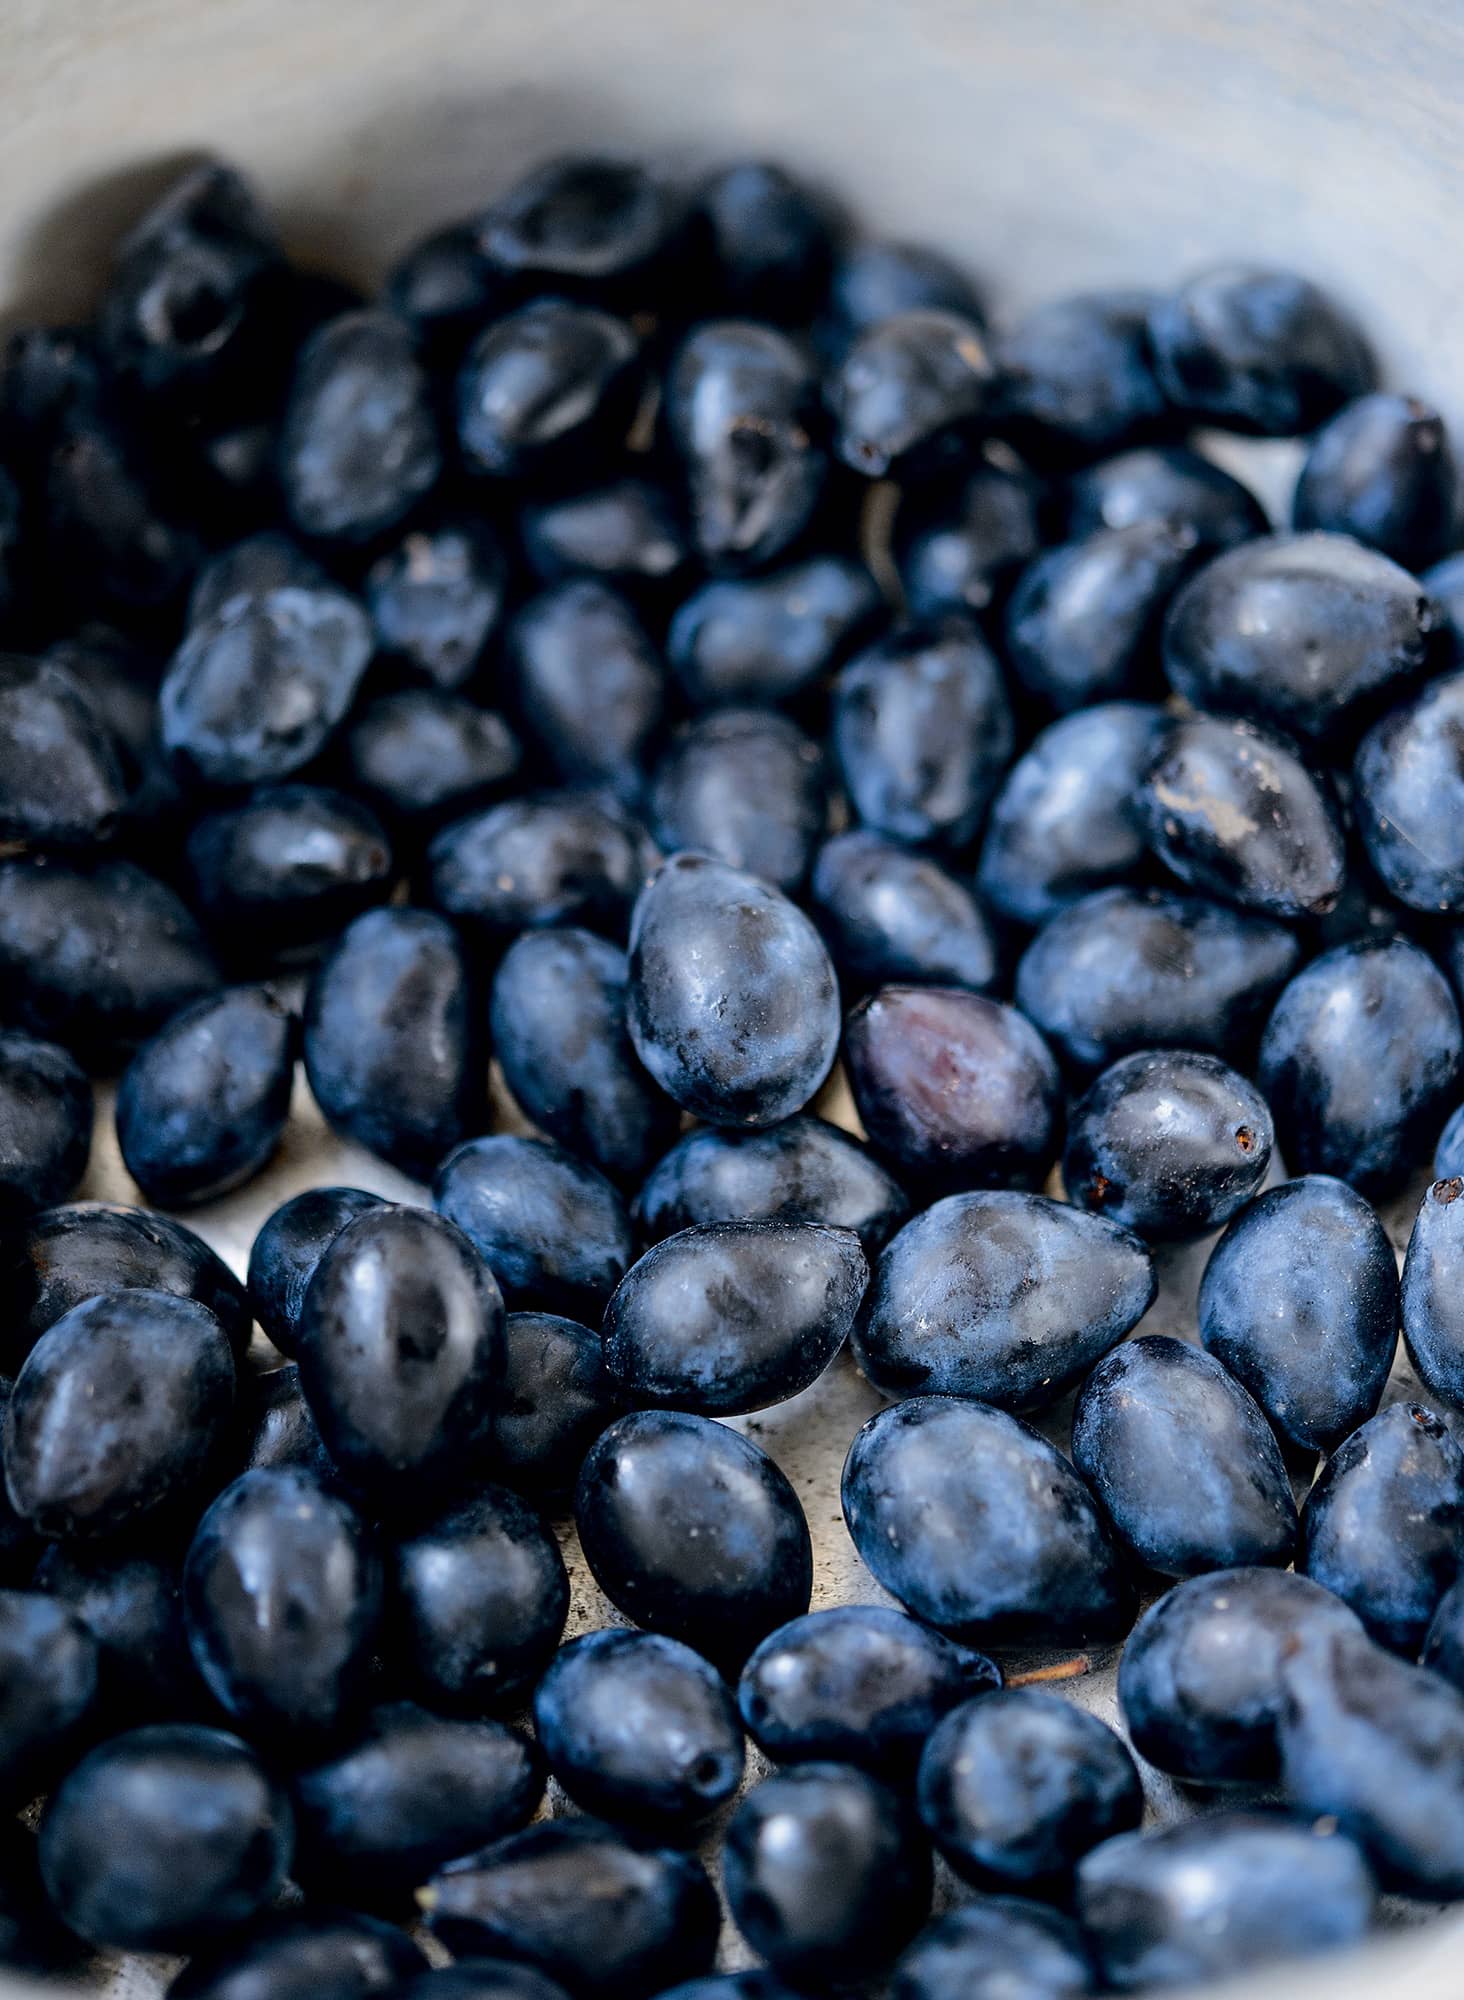
Damson jelly
Damson jam, considered by many as the king of jams for its deeply-fruity flavour, was a staple addition to my childhood porridge. However it is virtually impossible to get all the stones out as damsons cook, and it is a real faff to pit the raw fruit, whereas damson jelly is guaranteed stone-free. Don’t limit its use to sweet dishes though – it is equally good with rich meats such as game.
▪ granulated sugar (75g per 100ml/21/2oz per 31/2fl oz of juice; see method)
▪ Put the damsons in a large pan and add cold water until the fruit is just covered. Simmer without a lid over a medium to low heat until the fruit is very tender (up to an hour), then mash roughly with a potato masher.
▪ Pour the entire contents of the pan into a jelly bag set in a bowl. Hang up the jelly bag to drip into the bowl and leave it for at least 3 hours, preferably overnight.
▪ Discard the contents of the jelly bag and measure the juice.
▪ Pour the juice into a clean pan with the appropriate amount of sugar. Heat gently, stirring to dissolve the sugar, then turn up the heat and bring to the boil.
▪ Boil rapidly until a setting point is reached (see Testing for a set), then remove from the heat, scrape off any scum and pot into warm, sterilized jars.
Store in a cool, dry, dark place
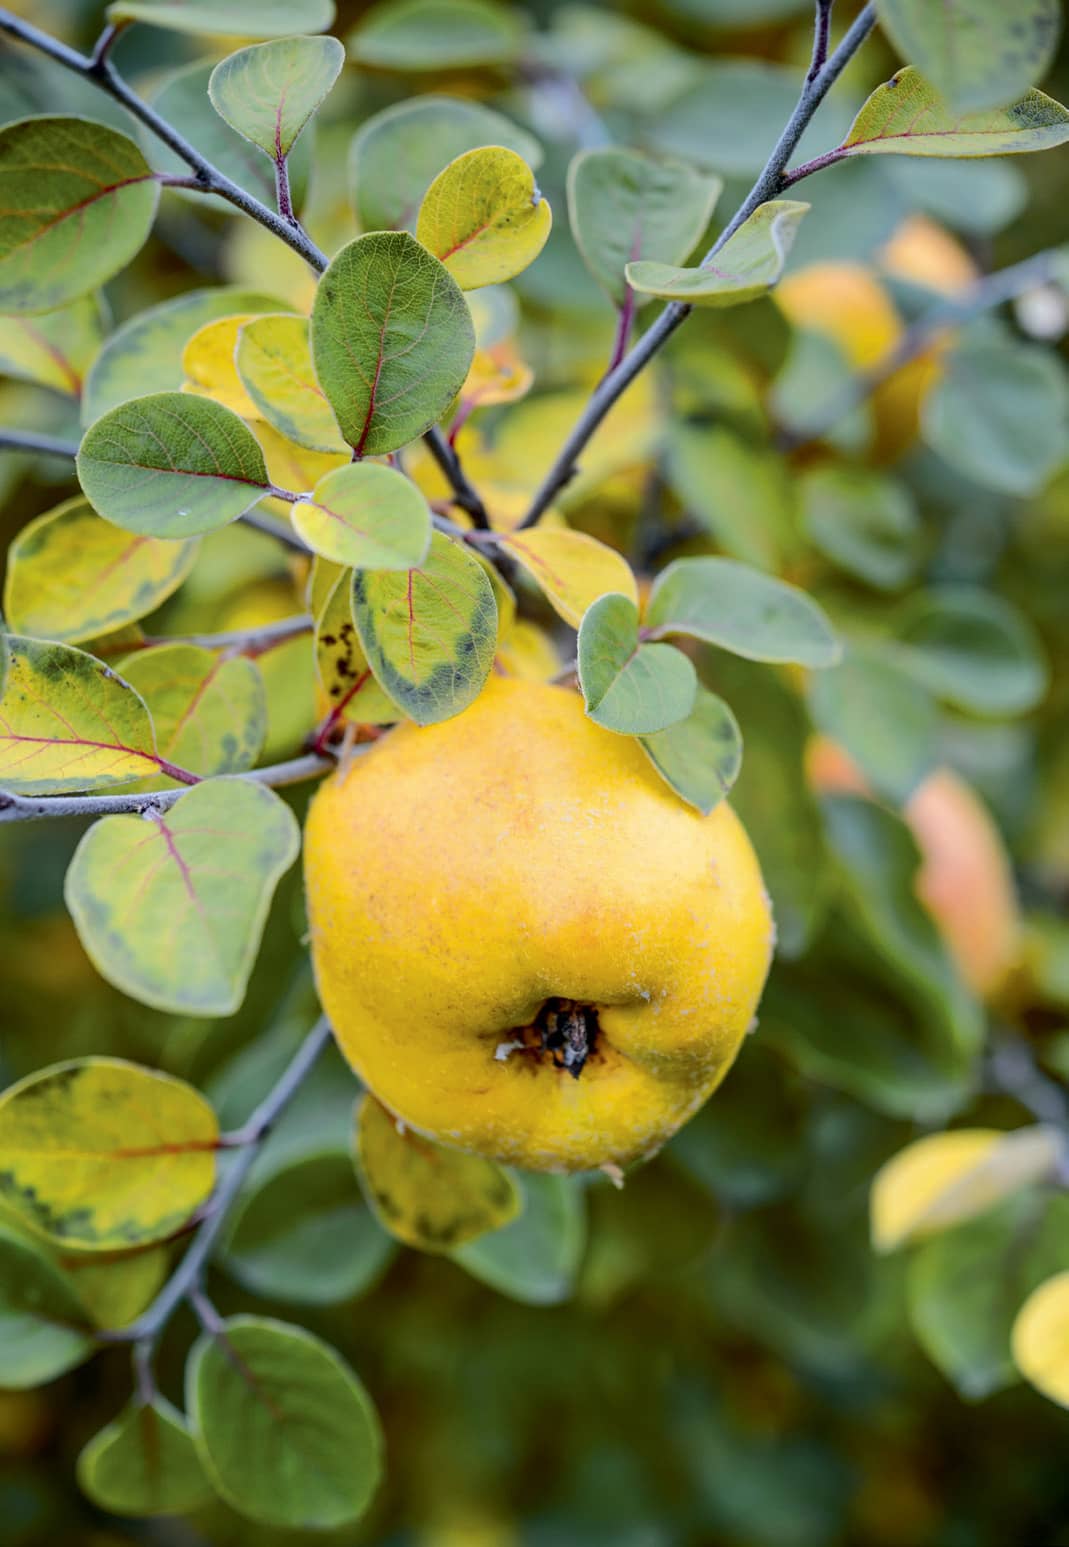
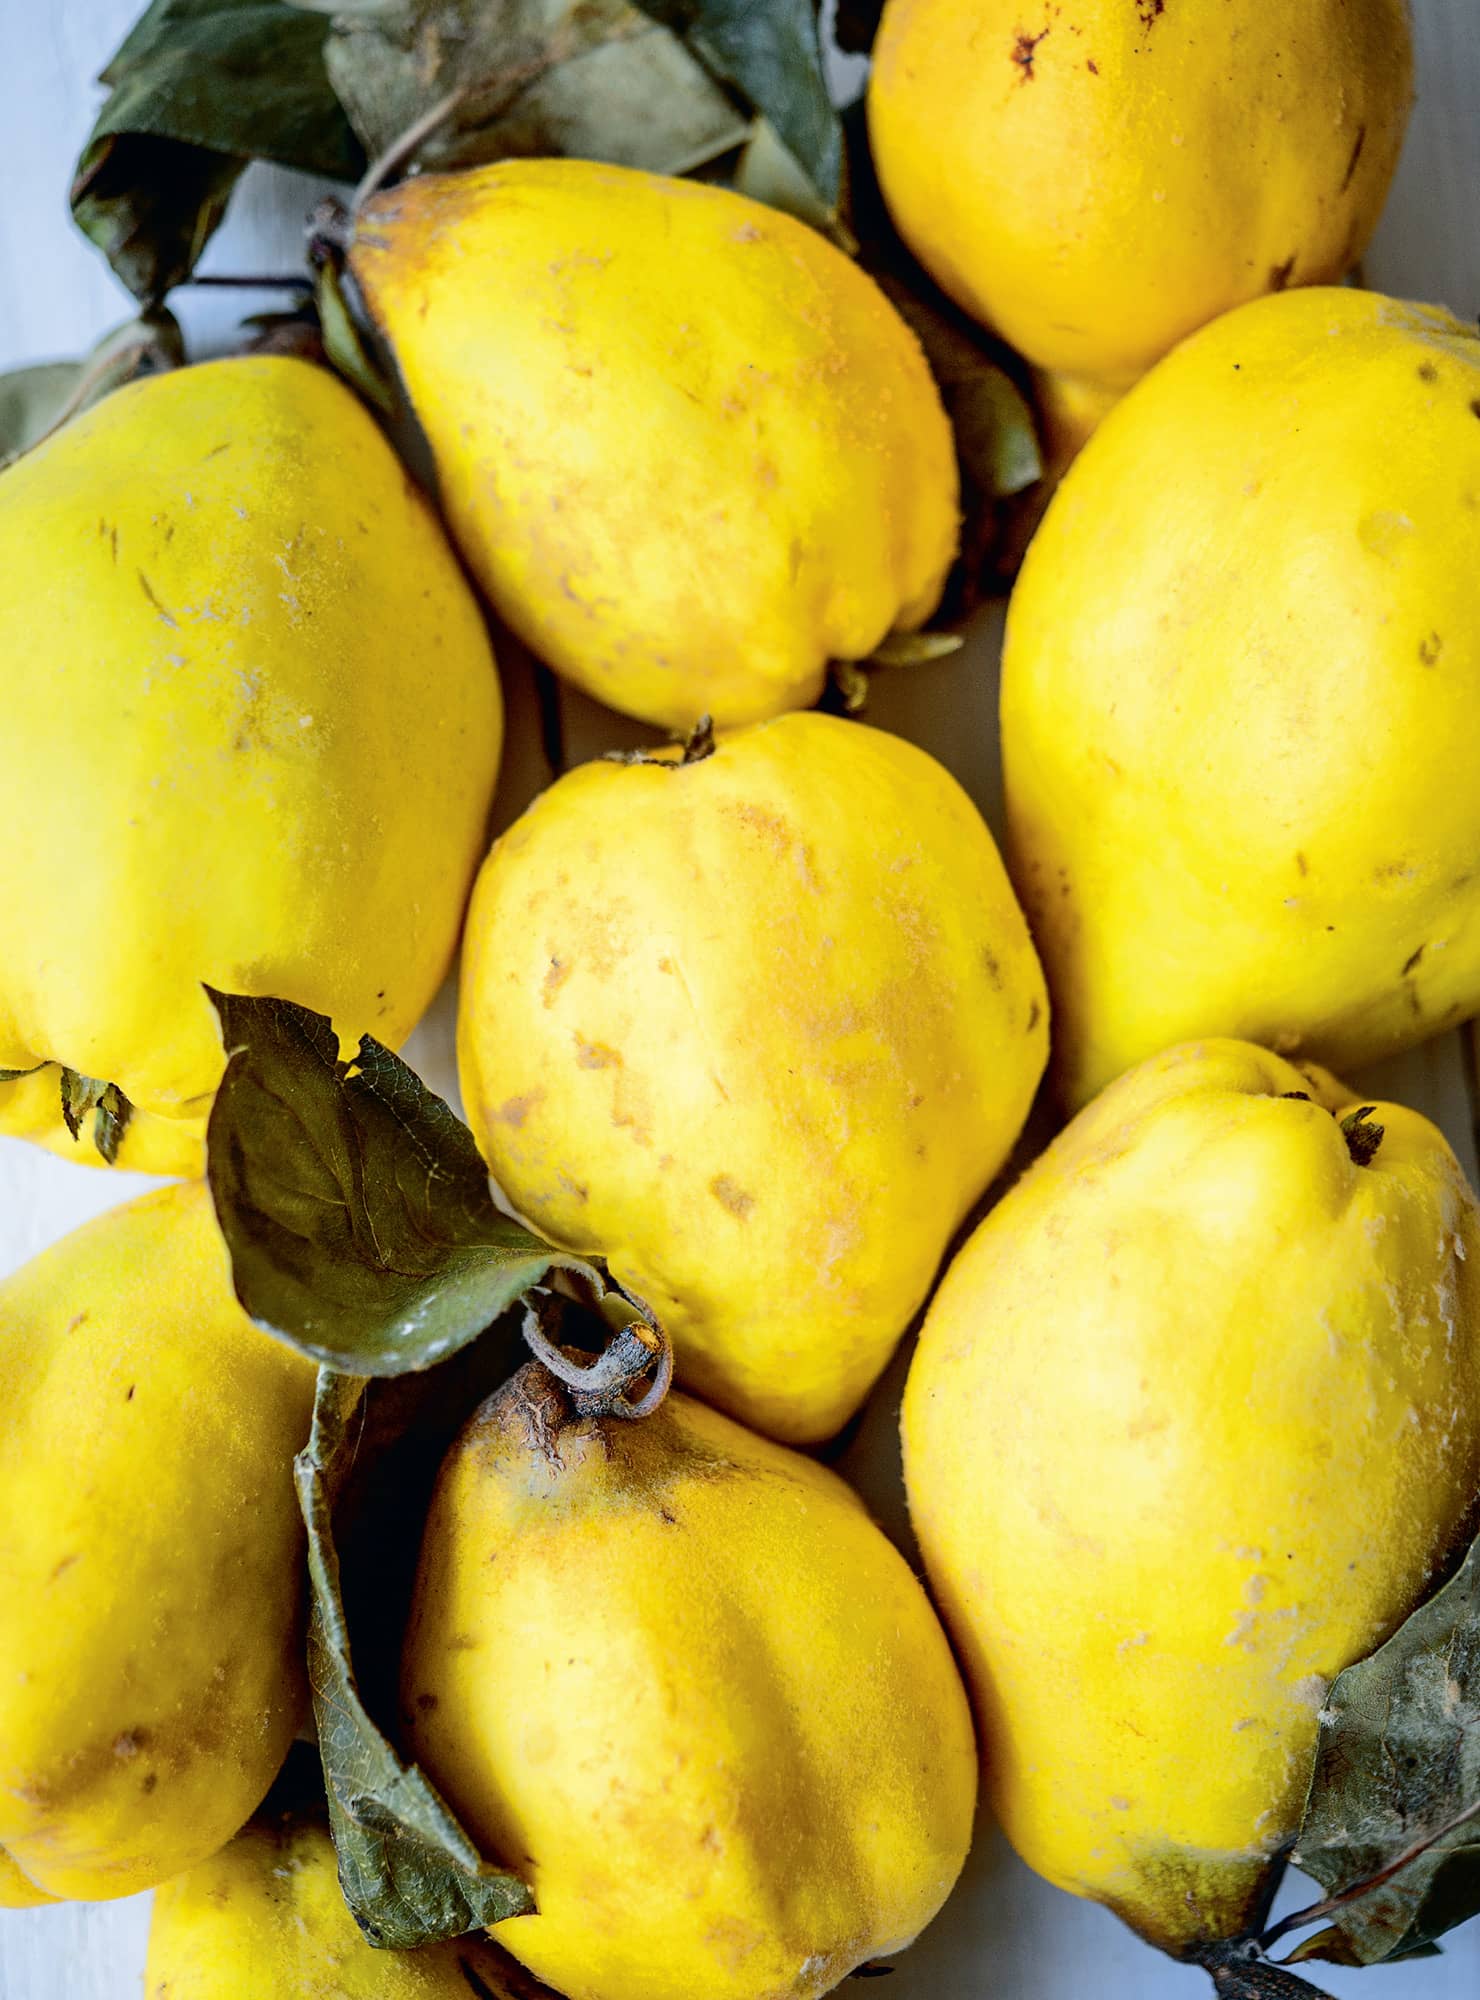
Growing quinces
Quinces, not oranges, were the fruit in the original marmalade (marmelo) paste from Portugal. In their raw form, quinces are completely inedible – hard and gritty, with a downy fluff all over their yellow skins. However this does mean that the fruits will last for ages once picked (‘bombproof’ is how one grower described them to me). When cooked, they have a delicious, honeyed taste. Quinces are also wonderfully ornamental garden trees, with great, if irregular, shapes, and to my mind they produce the prettiest of spring fruit blossoms.
BEST VARIETIES
All quinces are self-fertile so you will need only one tree, which will provide more than enough fruit. It may be difficult to source specific varieties, but there is little difference between them anyway, so buy whichever named variety is available. Do not confuse these quinces (Cydonia oblonga) with Japanese quince (Chaenomeles), which is also edible, but not nearly as nice.
PLANTING
Plant bare-root trees in the dormant season or potted specimens in autumn or spring, in a sheltered, sunny spot. They are not easily trained or restricted, so set in open ground if possible, although a very large pot would suffice for a few years at least.
MAINTENANCE
Mulch annually. Once mature, prune only to remove the 4Ds in winter and ensure no fruit is left rotting on the branches.
HARVEST
Pick once the fruit has turned completely yellow and is already aromatic, in mid- or late autumn. It is worth gathering a few just to leave in a bowl – their fragrance easily perfumes a whole room, and is even strong enough to scent other fruit, so avoid storing them with apples and pears.
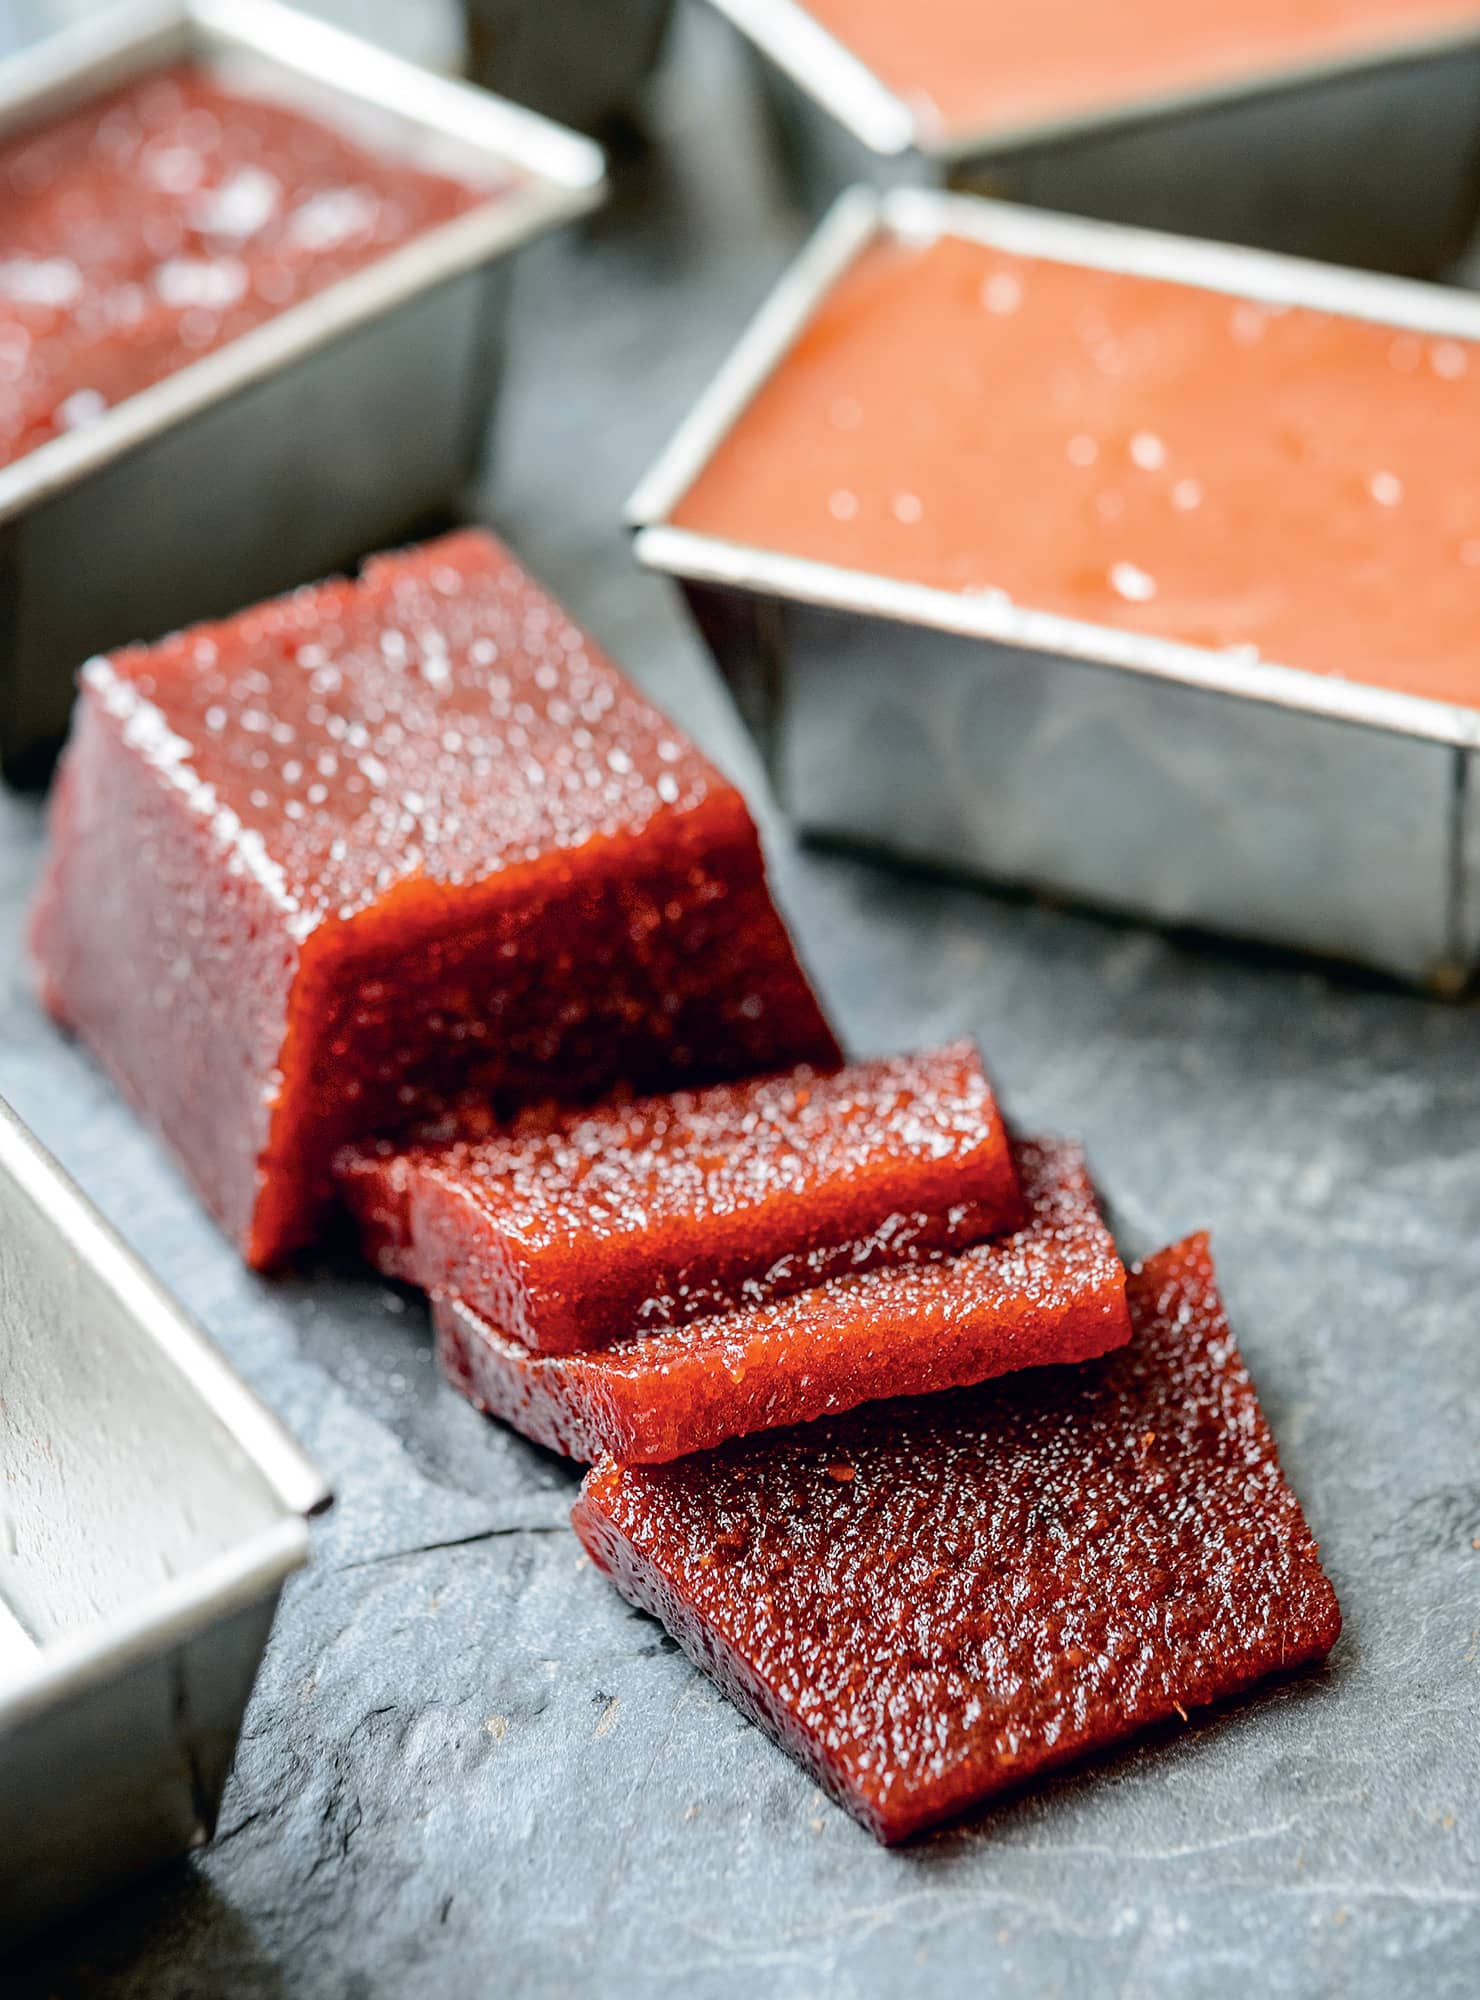
◁ Membrillo
It slices like cheese, can be shaped like cheese, is often sold on a cheese counter, and indeed should be eaten with cheese, but it’s not actually cheese. Membrillo, or quince cheese, is a solid jelly, made and stored in a mould, and then turned out to be sliced. The choice of moulds is entirely up to you – most things will do, though smaller vessels such as ramekins mean you have to unmould less at a time. I favour the mini-loaf tins usually used for cakes. The final colour of the membrillo will depend on the fruit (specifically their tannin levels) and how long it takes to reach the right consistency.
▪ 1kg/2lb 3oz quinces, de-fluffed and roughly chopped
▪ granulated sugar (125g/4oz per 150ml/1/4 pint of purée; see method)
▪ unflavoured oil (e.g. sunflower or canola)
▪ Put the prepared quinces into a large pan and add water so the fruit is only just submerged. Bring to a simmer, uncovered, over a medium heat.
▪ Continue to simmer gently, stirring occasionally, until the fruit is soft and breaking up into a pulp (about an hour).
▪ Rub the contents of the pan through a sieve, then measure the purée. Discard the skins and cores in the sieve.
▪ Put the purée in a clean pan, together with the appropriate amount of sugar.
▪ Heat gently, stirring to dissolve the sugar. Bring to a gentle simmer, then cook uncovered, stirring frequently to prevent the purée from sticking to the base of the pan. Simmer until the purée is much reduced and so thick that it can be parted on the pan base; this could take 1–2 hours.
▪ Meanwhile coat the inside of each mould with a thin layer of the oil, applied with a pastry brush or piece of kitchen paper; be sure to get right into any mould corners. Cut a piece of nonstick baking paper to fit the top of each mould exactly.
▪ Pour the purée into the moulds and smooth down the appropriate piece of baking paper over the top, so there are no air bubbles beneath. If the moulds have no lids, once they are cool wrap them tightly in clingfilm. Ideally, store for a month before using to allow the flavour to develop.
Store in a cool, dry, dark place; once unmoulded/opened, keep in the refrigerator
Pâté de fruit
Pâté de fruit is a popular French confection and has its origins in comfits, which were the original fruit pastilles – being small pieces of jellied fruit rolled in sugar. Any fruit can be used to make pâté de fruit, but I think the delicate flavours of quince and pear work particularly well in this way. Serve a plateful as petits fours at the end of a meal.
▪ 600g/1lb 5oz quinces, de-fluffed and chopped, or pears, roughly chopped
▪ unflavoured oil (e.g. sunflower or canola)
▪ granulated sugar (an equal weight to the pulp; see method)
▪ 30g/1oz powdered pectin or 30ml/1fl oz liquid pectin
▪ Put the fruit in a large pan with cold water to a depth of about 2.5cm/1in. Cover and simmer over a low heat, stirring occasionally, until the fruit is very soft (the quinces will take much longer than pears).
▪ Meanwhile line a shallow baking tin, approximately 10 × 15cm/4 × 6in, with nonstick baking paper and brush with a thin layer of the oil. Alternatively use silicone confectionery moulds to make, for example, individual spheres, but these too need oiling.
▪ Rub the entire contents of the pan through a sieve, discarding the peel and cores left behind. Weigh the pulp and put in a clean pan with an equal weight of sugar, then add the pectin.
▪ Whisk immediately and continue whisking as you bring the mixture slowly to the boil over a medium heat.
▪ Once the sugar has dissolved and the pectin is properly mixed in, continue to boil the pulp until it reaches setting point (see Testing for a set), stirring constantly with a wooden spoon to stop it catching – be careful, the pulp can spit.
▪ Pour the pulp into the lined baking tin to a level layer 1–2cm/ 1/2–3/4in thick, or into the moulds. Leave to set.
▪ Once solidified, cut the confectionery into small squares or diamonds using a hot, dry knife (dip it in boiling water and dry), or unmould, if appropriate. Toss each sweet in caster sugar and store in an airtight tin or box filled with more caster sugar.
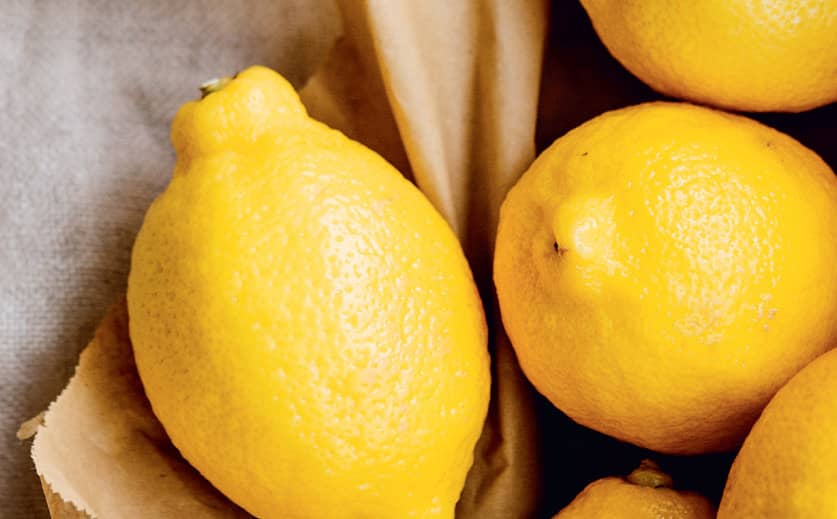
Growing citrus fruits
The citrus family is large and varied, but its cultivation requirements are the same for all the main fruits: lemons, oranges, limes and grapefruits. In good conditions, these plants can produce flowers and fruits year-round (and at the same time), and it is worth having them somewhere you can really appreciate their fabulous fragrance.
BEST VARIETIES
For lemons, the compact and relatively hardy Citrus × limon ‘Meyer’ is one of the most widely available; try C. × aurantiifolia (Persian or Tahiti lime) for limes, as this variety is tolerant of cold weather. Citrus × aurantium Sweet Orange Group ‘Baia’ (syn. C. sinensis ‘Washington’) is a good orange, and C. × aurantium Grapefruit Group ‘Marsh’ a good grapefruit. All are self-fertile. Assuming you will be growing your citrus plant in a large pot, all of these should be on a dwarfing rootstock.
PLANTING
Given its need for frost protection, a large pot is generally the best planting option for a citrus tree in temperate climates, because you can move it between a sunny patio in summer and a light greenhouse or conservatory in winter. Avoid centrally heated rooms as these dry the plant out too much. Citrus plants will be supplied in a pot, rarely bare root. Use multipurpose or specific citrus compost and the largest pot you can safely move, and repot the tree every couple of years to replenish the compost.
MAINTENANCE
A citrus tree does not need much pruning: just remove the 4Ds in late spring (once there is little risk of frosts) and any branches necessary to keep it to a manageable size and to form a pleasing shape. Its rootstock may produce suckers, so remove these to the lowest point possible.
Water as required and do not allow the soil to dry out, as this may cause the tree to shed any fruit. During winter a citrus tree will still need watering, but considerably less than in summer.
Apply fertilizer in spring and summer, but do not add it to the water every time, in order to avoid a build-up of salts. There are some specific citrus fertilizers but otherwise buy a fertilizer that contains all the trace elements and has a high nitrogen (N) and medium potassium (K) ratio.
HARVEST
Fruit can ripen year-round. When ready for harvesting, the fruit will be well-coloured and aromatic. Cut it off the branch, keeping a short stem on the fruit; never pull off the fruit.
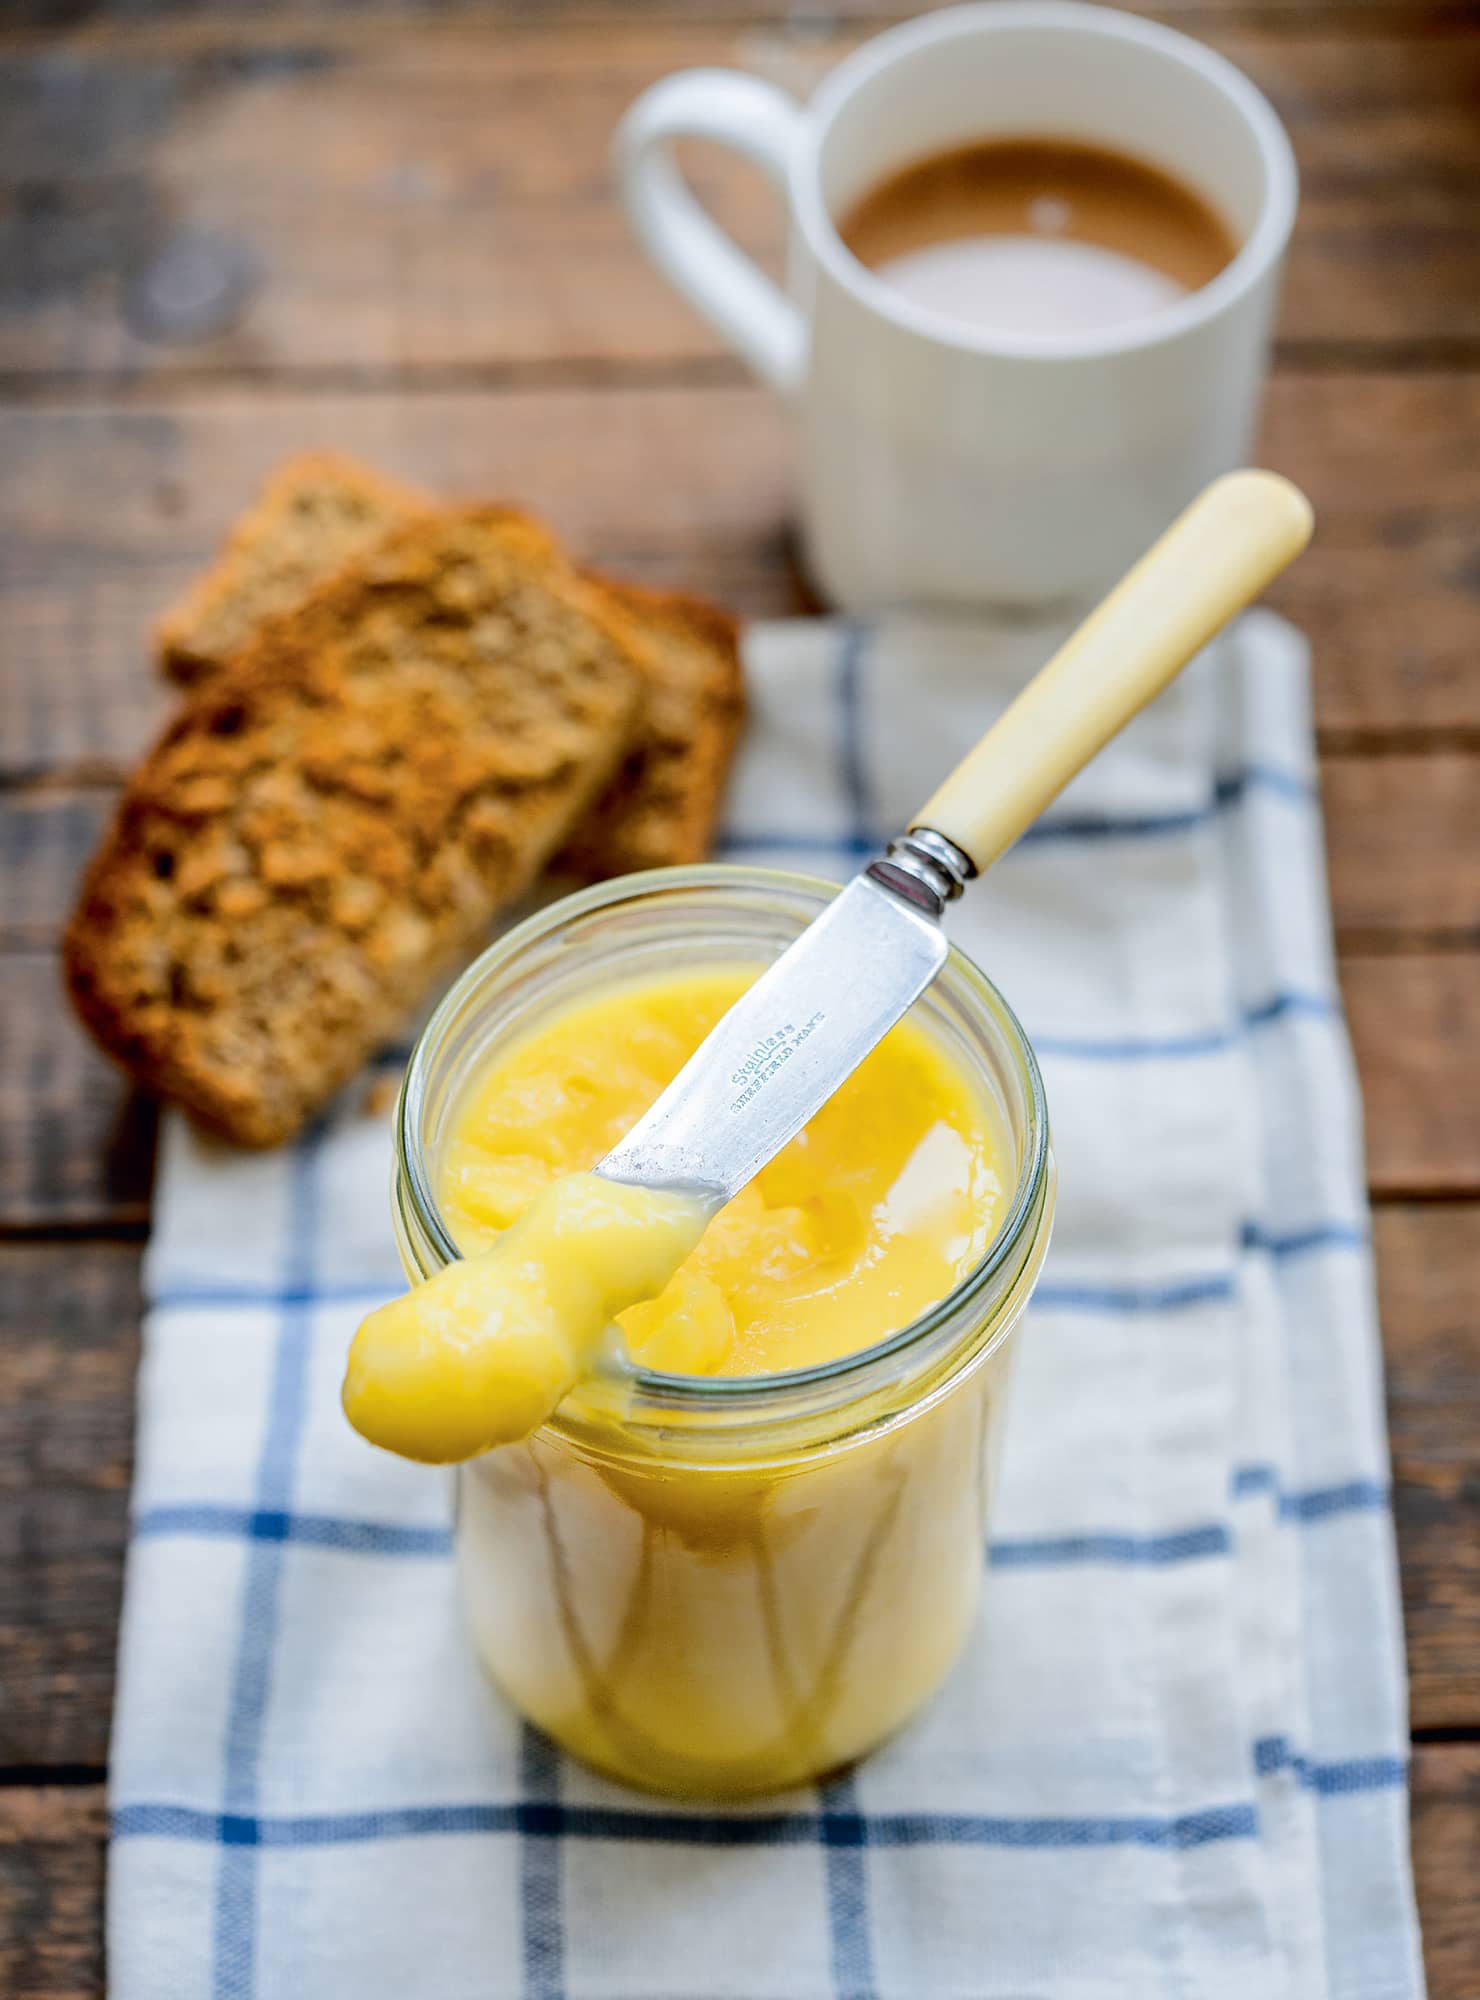
◁ Lemon curd
Being zingy, zesty and a bright sunshine yellow, this recipe is all you want from a lemon curd. Spread it on toast, use it in desserts (it is particularly good with a summer berry pavlova) or eat it straight out of the jar – it’s up to you.
▪ 75g/21/2oz unsalted butter, cubed
▪ Add the lemon zest and juice to a ceramic or glass bowl with the other ingredients.
▪ Set the bowl over a pan of simmering water on a medium heat – the bowl should fit snugly over the pan but not touch the water itself.
▪ Use a whisk to incorporate all the ingredients (flecks of unmelted butter are fine at this stage).
▪ With a wooden spoon (metal implements can taint the taste), stir continuously for 10–15 minutes – stirring from side to side incorporates the ingredients faster and more effectively than going round and round. Once the butter has melted, simply keep the mixture moving off the base of the bowl, to prevent the eggs from scrambling.
▪ The curd is ready when it coats the back of the spoon, and a track remains when you draw your finger through the mixture. It will thicken further as it cools.
▪ Pot into warm, sterilized jars.
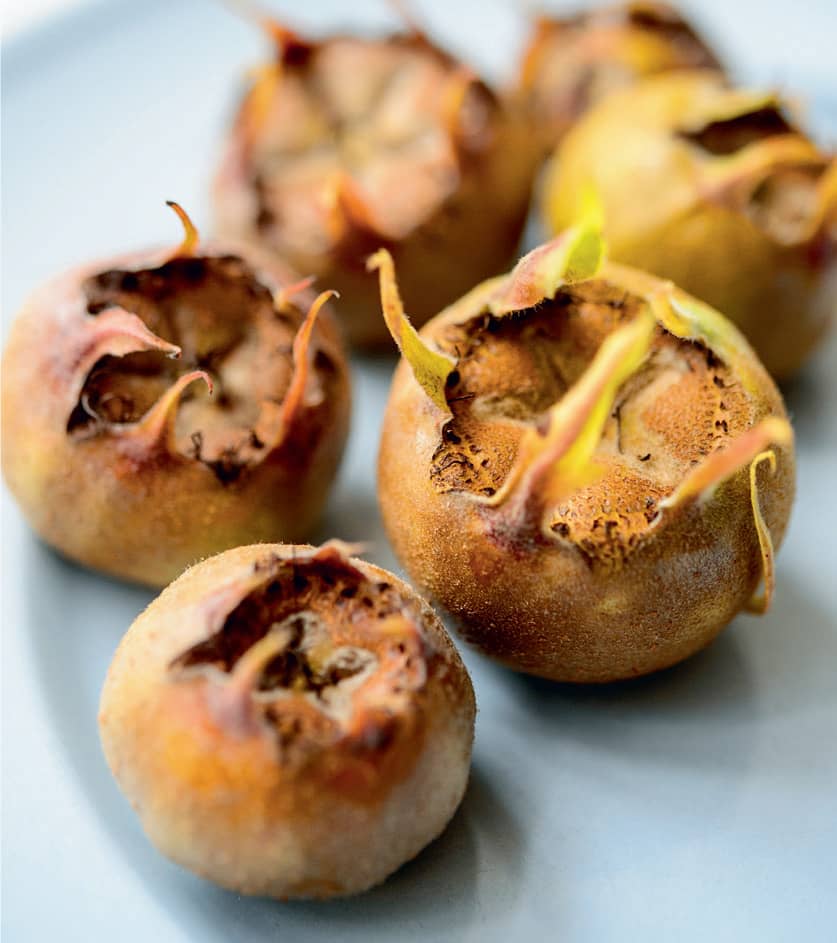
Growing medlars
I always feel a bit sorry for medlars as they are not popular – probably due to their unattractive appearance, generally likened to a dog’s bottom. However they do deserve more recognition not only as a delicious, low-maintenance fruit – especially for preserving – but also as a beautiful ornamental tree.
BEST VARIETIES
There is really little difference between the medlar varieties in terms of flavour, and the choice at many nurseries is usually limited to only one variety. If you can find either of them, ‘Large Russian’ and ‘Dutch’ have bigger fruits than other varieties. Check the rootstock is ‘Quince A’ or ‘BA29’, as these will produce the healthiest, best-sized trees (4–6m/13–20ft high and wide).
PLANTING
Plant bare-root trees in the dormant season, and potted ones in autumn or spring. It is not possible to train medlar trees, so you need plenty of open ground for their spreading habit. They will tolerate some shade and most soils if well-drained. At the time of planting, stake each medlar tree.
MAINTENANCE
Mulch and apply a controlled-release fertilizer in spring, and water in very dry spells, especially while the tree is establishing.
A little pruning in the first few years to create a good framework is all medlars need; thereafter remove the 4Ds as necessary (see here).
HARVEST
Pick medlars from mid- to late autumn, once the fruits are at least 2.5cm/1in across. They will need bletting: setting on a plate so they do not touch and each ‘eye’ is downwards, and leaving in a cool, dry place, until soft. Check regularly for signs of rot and dispose of infected fruit. Some gardeners recommend leaving the fruit on the tree until after a heavy frost, so that the weather blets the fruit for you, but this is a riskier strategy.

◁ Medlar fudge
This is my version of an ancient recipe that, although called fudge, bears no resemblance to the modern confection. Medlar fudge is a sweet, boozy, spiced paste and is traditionally served folded into whipped cream with shortbread biscuits crumbled over the top. You can also drizzle it with honey, but I would recommend that only if you have a very sweet tooth!
▪ 1kg/2lb 4oz medlars, roughly chopped
▪ light muscovado sugar (70g/21/2oz per 100g/31/2oz of pulp; see method)
▪ Put the chopped medlars and lemons into a large pan with the spices and cider. Bring to a gentle simmer and continue simmering, uncovered, until the medlars are soft (about 45 minutes).
▪ Mash the fruit with a potato masher.
▪ Push the entire contents of the pan through a sieve and weigh the pulp (discard what is left in the sieve).
▪ Return the pulp to a clean pan, together with the appropriate amount of sugar. Stir until you have a smooth, chocolate-brown paste.
▪ Bring to the boil over a medium heat and, once it reaches boiling point, pot immediately into warm, sterilized jars.