Growing herbs
A herb patch is an invaluable addition to any cook’s garden: the ability to use really fresh herbs brings another dimension to any culinary effort, including preserving. The herbs detailed here are just the basic ones for adding flavour to various preserves, as well as those that can be preserved in their own right. I would encourage you to seek out and plant as many different herbs as you can.
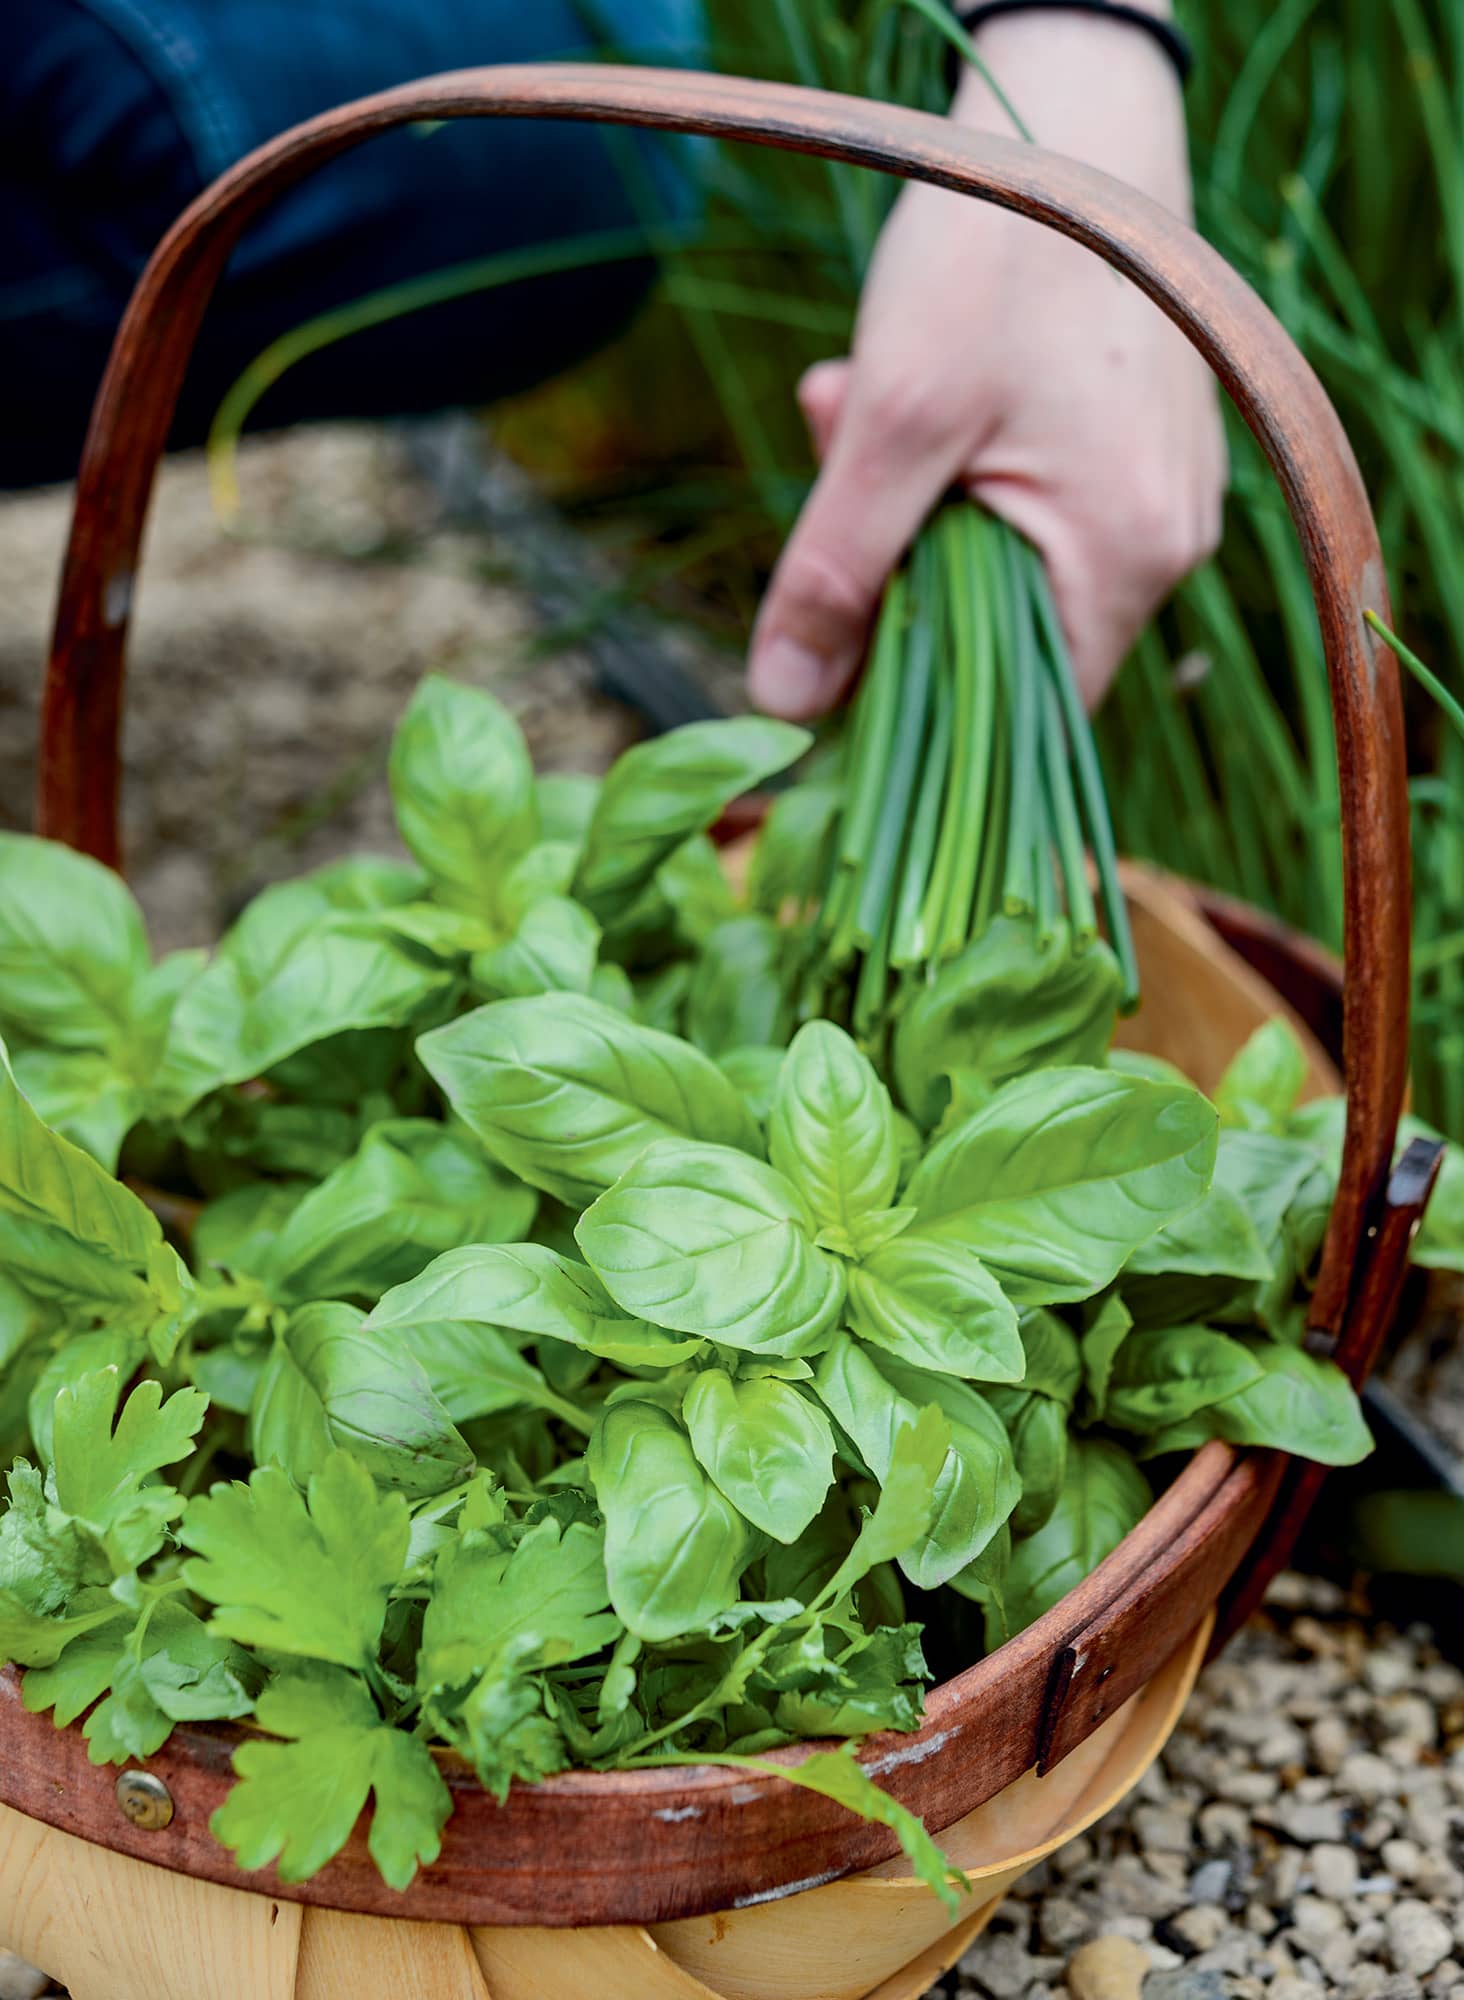
BASIL
(Ocimum basilicum)
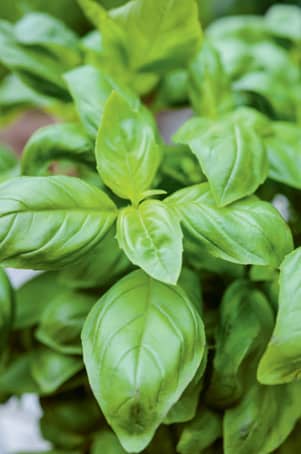
Annual. Assorted varieties are available, from classic sweet basil to other flavoured leaves. A sunny spot in rich soil is ideal, including in pots, and basil makes a good companion plant for carrots and tomatoes. Sow seed in spring and in successive batches until late summer, but do not plant outside until early summer, once there is no risk of frost. Pinch out the growing tips of seedlings, to encourage branching. Water in dry periods, especially to avoid bolting. Pick the leaves as required until the first frosts.
• Pesto
BAY
(Laurus nobilis)
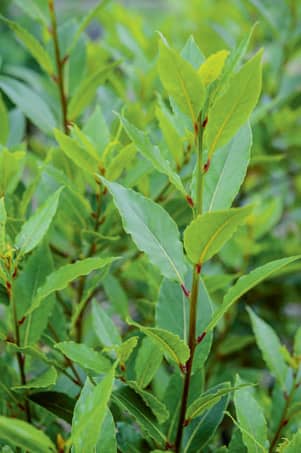
Evergreen shrub. Grow in a sunny, warm area of the garden or in a large container. Buy plants, which are available relatively cheaply when small; larger specimens are often trained as standards. Bear in mind that the smaller the plant the less use you will get out of it for a while, because bay trees are not fast growers. Water as required, and feed plants in pots throughout the growing season. Pick off leaves as needed.
CHIVES
(Allium schoenoprasum)
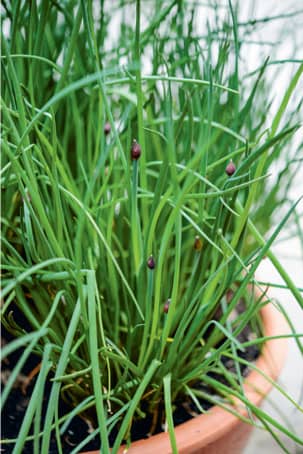
Herbaceous perennial. Buy plants, or start from seed. Chives will grow well in most situations, including moister soils and shadier positions than the Mediterranean herbs (rosemary, thyme and their ilk). Plants require cutting back only once the foliage has died down in autumn. However cutting back after flowering as well will produce a fresher head of leaves for the rest of the summer. Garlic chives are also a good investment. Cut leaves from the base as needed (flowers also edible).
• Pesto
CORIANDER
(Coriandrum sativum)
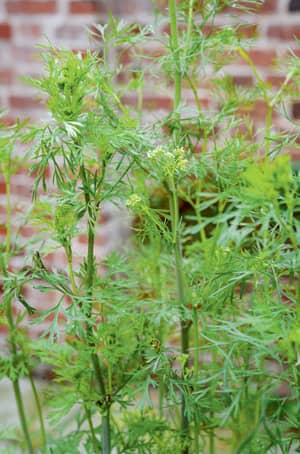
Annual. Sow and grow as for basil (see left). Varieties include those specifically for leaf (‘cilantro’), because many others tend to go to seed rapidly (bolt). However if it is the seeds you want, such bolting is no problem. Harvest the seeds when they have dried to brown, and dry further by storing in a paper bag in a cool, dry place before putting into an airtight jar.
DILL
(Anethum graveolens)
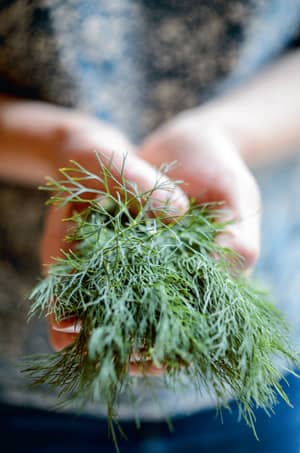
Annual. Sow as for basil (see opposite). Grow in partial shade to prevent dill from bolting too early; when this does occur, remove the flower stems. Cut leaves as needed.
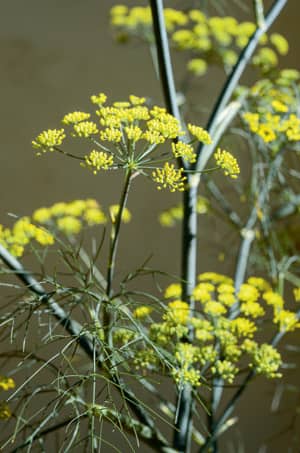
FENNEL
(Foeniculum vulgare)
HORSERADISH
(Armoracia rusticana)
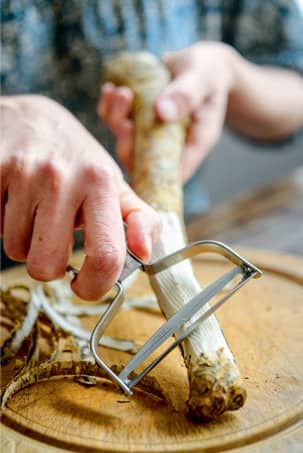
Herbaceous perennial. Horseradish will grow well in most soils and is happy in partial shade. This vigorous plant is virtually impossible to eradicate once it has established, so give some thought as to where you plant it in the garden. Alternatively put horseradish in a large pot raised on feet to ensure the roots do not spread downwards into the ground (they can penetrate brick and paving). Buy potted plants or ‘thongs’ (pieces of root) and plant in spring. Harvest the roots year-round, as required, but they are at their most pungent from mid- to late autumn. Dig out what you need and leave the rest.
LEMON VERBENA
(Aloysia citrodora)
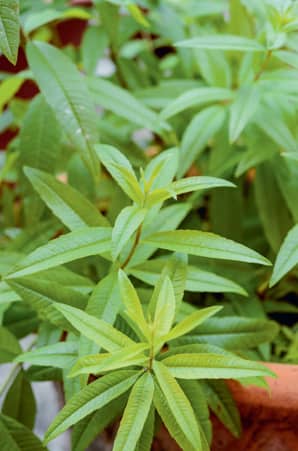
Tender deciduous shrub. Buy in pots and plant out into a sunny border or larger container. The latter is better if you need to move the plant under cover for winter – it will just about survive outside in temperate climates if in a sunny, free-draining position and it is given a mulch in autumn to insulate the roots. Regular picking keeps the plant to size (unchecked and in a good spot it will easily reach 2.5m/8ft tall and wide). Prune in spring to re-establish a good framework of branches if necessary. Pick leaves as required.
Lemon balm (Melissa officinalis) makes an acceptable, fully hardy, substitute to lemon verbena and also has a lime variety – M. officinalis ‘Lime Balm’. Grow as for mint, although the roots will not spread.
MINT
(Mentha)
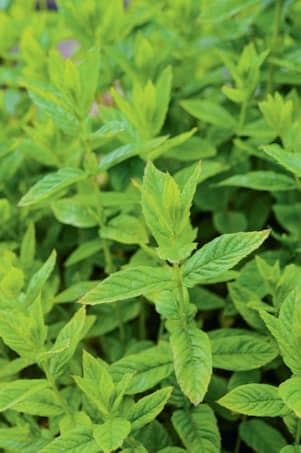
Herbaceous perennial. Tolerates partial shade and prefers damp, well-drained soil. Many different flavoured cultivars are available including peppermint, chocolate mint, spearmint and strawberry mint. Grow in a pot or where you do not mind the plant spreading – the stems will readily root along the ground. Cut back after flowering for fresher leaves in late summer and autumn, then cut back the dead stems in late winter. Pick leaves as required.
NASTURTIUMS
(Tropaeolum majus)
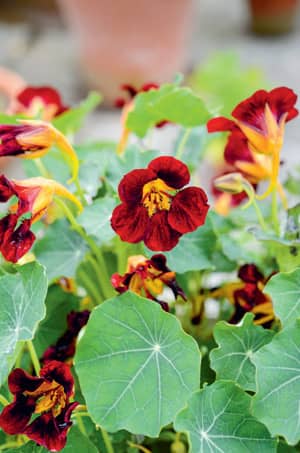
Annual. Nasturtiums will grow in any soil in a sunny position. Bushy or spreading varieties are available; the latter are good for trailing over the edge of raised beds or hanging baskets but they can reach more than 1.5m/5ft long. Sow seeds in mid-spring in modules or station sow; and plant out in late spring. Water as required, and remove the dead plants in winter. Pick the leaves when needed. The flowers are also edible, but let some develop into seeds.
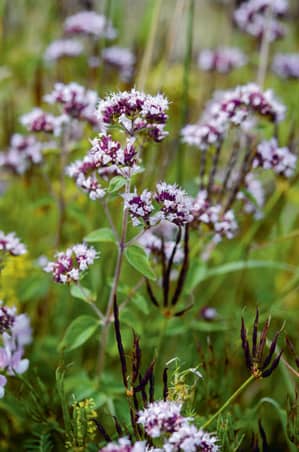
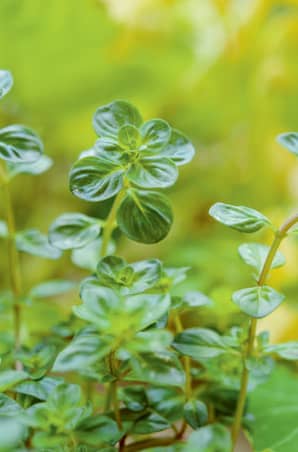
OREGANO/MARJORAM
(Origanum)
PARSLEY
(Petroselinum crispum)

Annual/biennial. Moist soil and a sunny position are ideal, although parsley tolerates a little shade. Flat leaf or curly varieties are available. Sow in spring and in successive batches until late summer (the leaves will overwinter if given protection from a cloche or tunnel). This herb makes a good companion plant for carrots and onions. Pick leaves as required and remove plants once they start flowering.
• Pesto
ROSEMARY
(Rosmarinus officinalis)
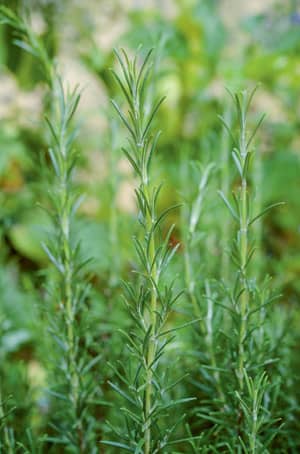
Evergreen shrub. Buy as potted plants and put into a sunny position in well-drained soil. Upright and compact varieties are available that are suitable for container growing. Snip off stems as needed, and remove flowered stems in early summer. Try and resist taking too many stems in the first year. If you allow the plant to reach a good size before picking, it will reward you with stronger growth and bigger harvests for longer. Plants live for many years, but are often best replaced after five.
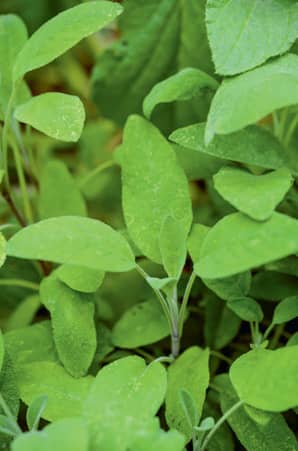
SAGE
(Salvia officinalis)
THYME
(Thymus vulgaris)
WILD GARLIC
(Allium ursinum)
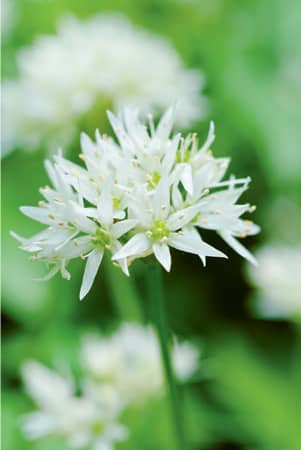
Bulbous perennial. Plant in dappled shade and moist soil (it thrives in woodlands). Sow seed or plant bulbs, either dry in autumn or in the green during spring. Remove the flowers of wild garlic, also known as ransoms, to prevent self-sowing, if desired. Cut the leaves as required; the flowers also are edible.
• Pesto

Pesto
Home-made pesto is a different beast to the jars in the shops: it is punchier, and the individual ingredients more obvious than in the smooth sauces you can buy. By growing a variety of different leaves, you can make fresh pesto year-round. Use the basic recipe for the quantities, then refer to the variations below for the different leaves and so on to substitute for each one.
▪ 1 garlic clove, crushed (optional, see variations, left)
▪ 50–100ml/11/2–31/2fl oz extra-virgin olive oil
▪ 50g/2oz Parmesan cheese, finely grated
▪ Toast the nuts in a dry frying pan over a medium heat until aromatic, moving them constantly (this will take 5 minutes or less).
▪ Put the nuts with the fresh leaves, garlic clove (if using) and lemon zest into a food processor and pulse until the leaves are finely chopped. Add 50ml/11/2fl oz olive oil and blitz further to a paste.
▪ Stir in the cheese and then season with salt and pepper.
▪ Pack into sterilized jars, then add more olive oil to cover the top with an oil layer 0.5–1cm/1/4–1/2in thick. This will help preserve the pesto and keep it from browning. Add more oil over the top every time you take out some pesto.
Note: You can add more oil to the pesto to your desired consistency, especially if you are using it straight away. However because the pesto is stored with oil in the jar, I find it easier (and more economical on oil) to use less in the pesto itself, because extra is inevitably scooped up from the preservation layer when you take it out of the jar. Getting the pesto to the right consistency and then storing it with more oil makes it oilier than Popeye’s best gal.
Keeps for a month or more; once opened, lasts for a few weeks
Horseradish sauce
For some, a roast beef dinner is not complete without horseradish sauce. It is easily one of the most pungent, intense condiments around and, as you might expect, it’s better to stay upwind of the grated root as far as possible! The sauce is actually made in two stages: first the raw root is preserved in vinegar, then when it is required some of the horseradish is scooped out and mixed with a creamy base to form the actual sauce.
Note: Read the recipe through and prepare all your ingredients and utensils before you start to avoid any potential discoloration of the horseradish, which can occur once it is peeled.
MAKES ABOUT 225G/8OZ OF PRESERVED HORSERADISH
▪ 300ml/1/2 pint white wine vinegar
▪ 200–250g/7–8oz horseradish root (a medium to large one)
▪ 3 tbsp preserved horseradish
▪ crème fraîche or double cream, whipped (see method)
▪ caster sugar, to taste (optional)
▪ For the preserved horseradish, put the vinegar, peppercorns, bay leaf and sugar into a small saucepan and bring to a gentle simmer, stirring to dissolve the sugar. In a separate saucepan, stir the salt into the water until dissolved, then bring to the boil and remove from the heat. Peel the horseradish and immediately grate it directly into the hot, salted water. This prevents it from browning. Once it is all grated, drain it through a sieve and pat dry with clean kitchen paper. Pack the grated horseradish into warm, sterilized jars and pour over the strained vinegar, then seal immediately.
▪ For the horseradish sauce, scoop out the preserved horseradish (leave the vinegar behind) and stir through crème fraîche or double cream to your desired consistency. Stir in a pinch of mustard powder and the salt and pepper. If you want a smooth sauce, blend it all together. You could also add lemon juice and/or, as is recommended in The Closet of Sir Kenelm Digby Knight Opened of 1669, a ‘very little sugar, not so much as to be tasted, but to quicken (by contrariety) the taste of [the horseradish]’.
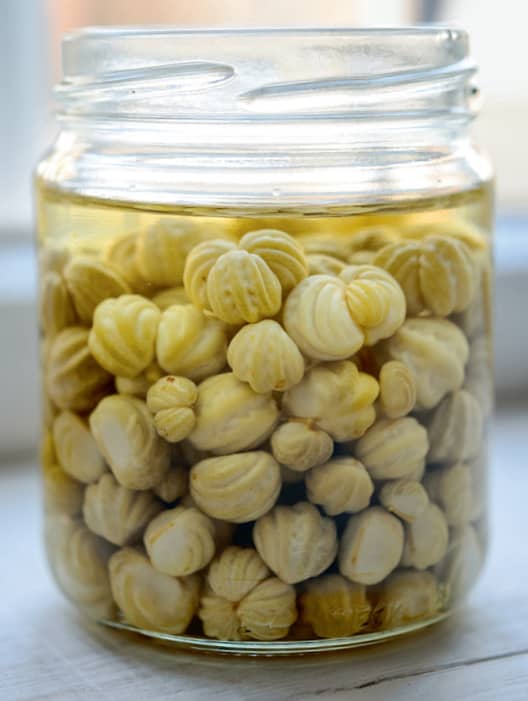
◁ Pickled nasturtium seeds
‘Poor man’s capers’ is the other name for pickled nasturtium seeds, and it could not be more accurate: the little green seeds do taste remarkably like capers once preserved (they are OK raw, but better pickled). As a bonus, harvesting the green seeds means you are less likely to have nasturtiums cropping up where you don’t want them next year. The quantities here are deliberately non-specific to allow for as many or as few jars as you are able to fill from your plants.
▪ enough green nasturtium seeds to fill your jar(s)
▪ Wash the seeds in a sieve under cold running water. Put them into a bowl and cover with water, then drain, measuring how much water was needed to cover the seeds. Leave the seeds to dry on a clean tea towel.
▪ Make a brine using a pinch of salt to every tablespoon of water it took to cover the seeds in the bowl. Stir the salt into the water until it is dissolved.
▪ Put the dry seeds back into the original bowl with the brine and cover. Leave at room temperature for 24 hours.
▪ Drain the seeds through a sieve and rinse under cold running water, and again leave to dry on a clean tea towel.
▪ Tip the seeds into a sterilized jar(s), and pour over enough white wine vinegar to cover them completely, tapping the base of the jar(s) gently on the work surface to release any trapped air bubbles.
▪ Seal and store for 3 weeks before eating. (I prefer to rinse the seeds before using them.)
Store in a cool, dry, dark place
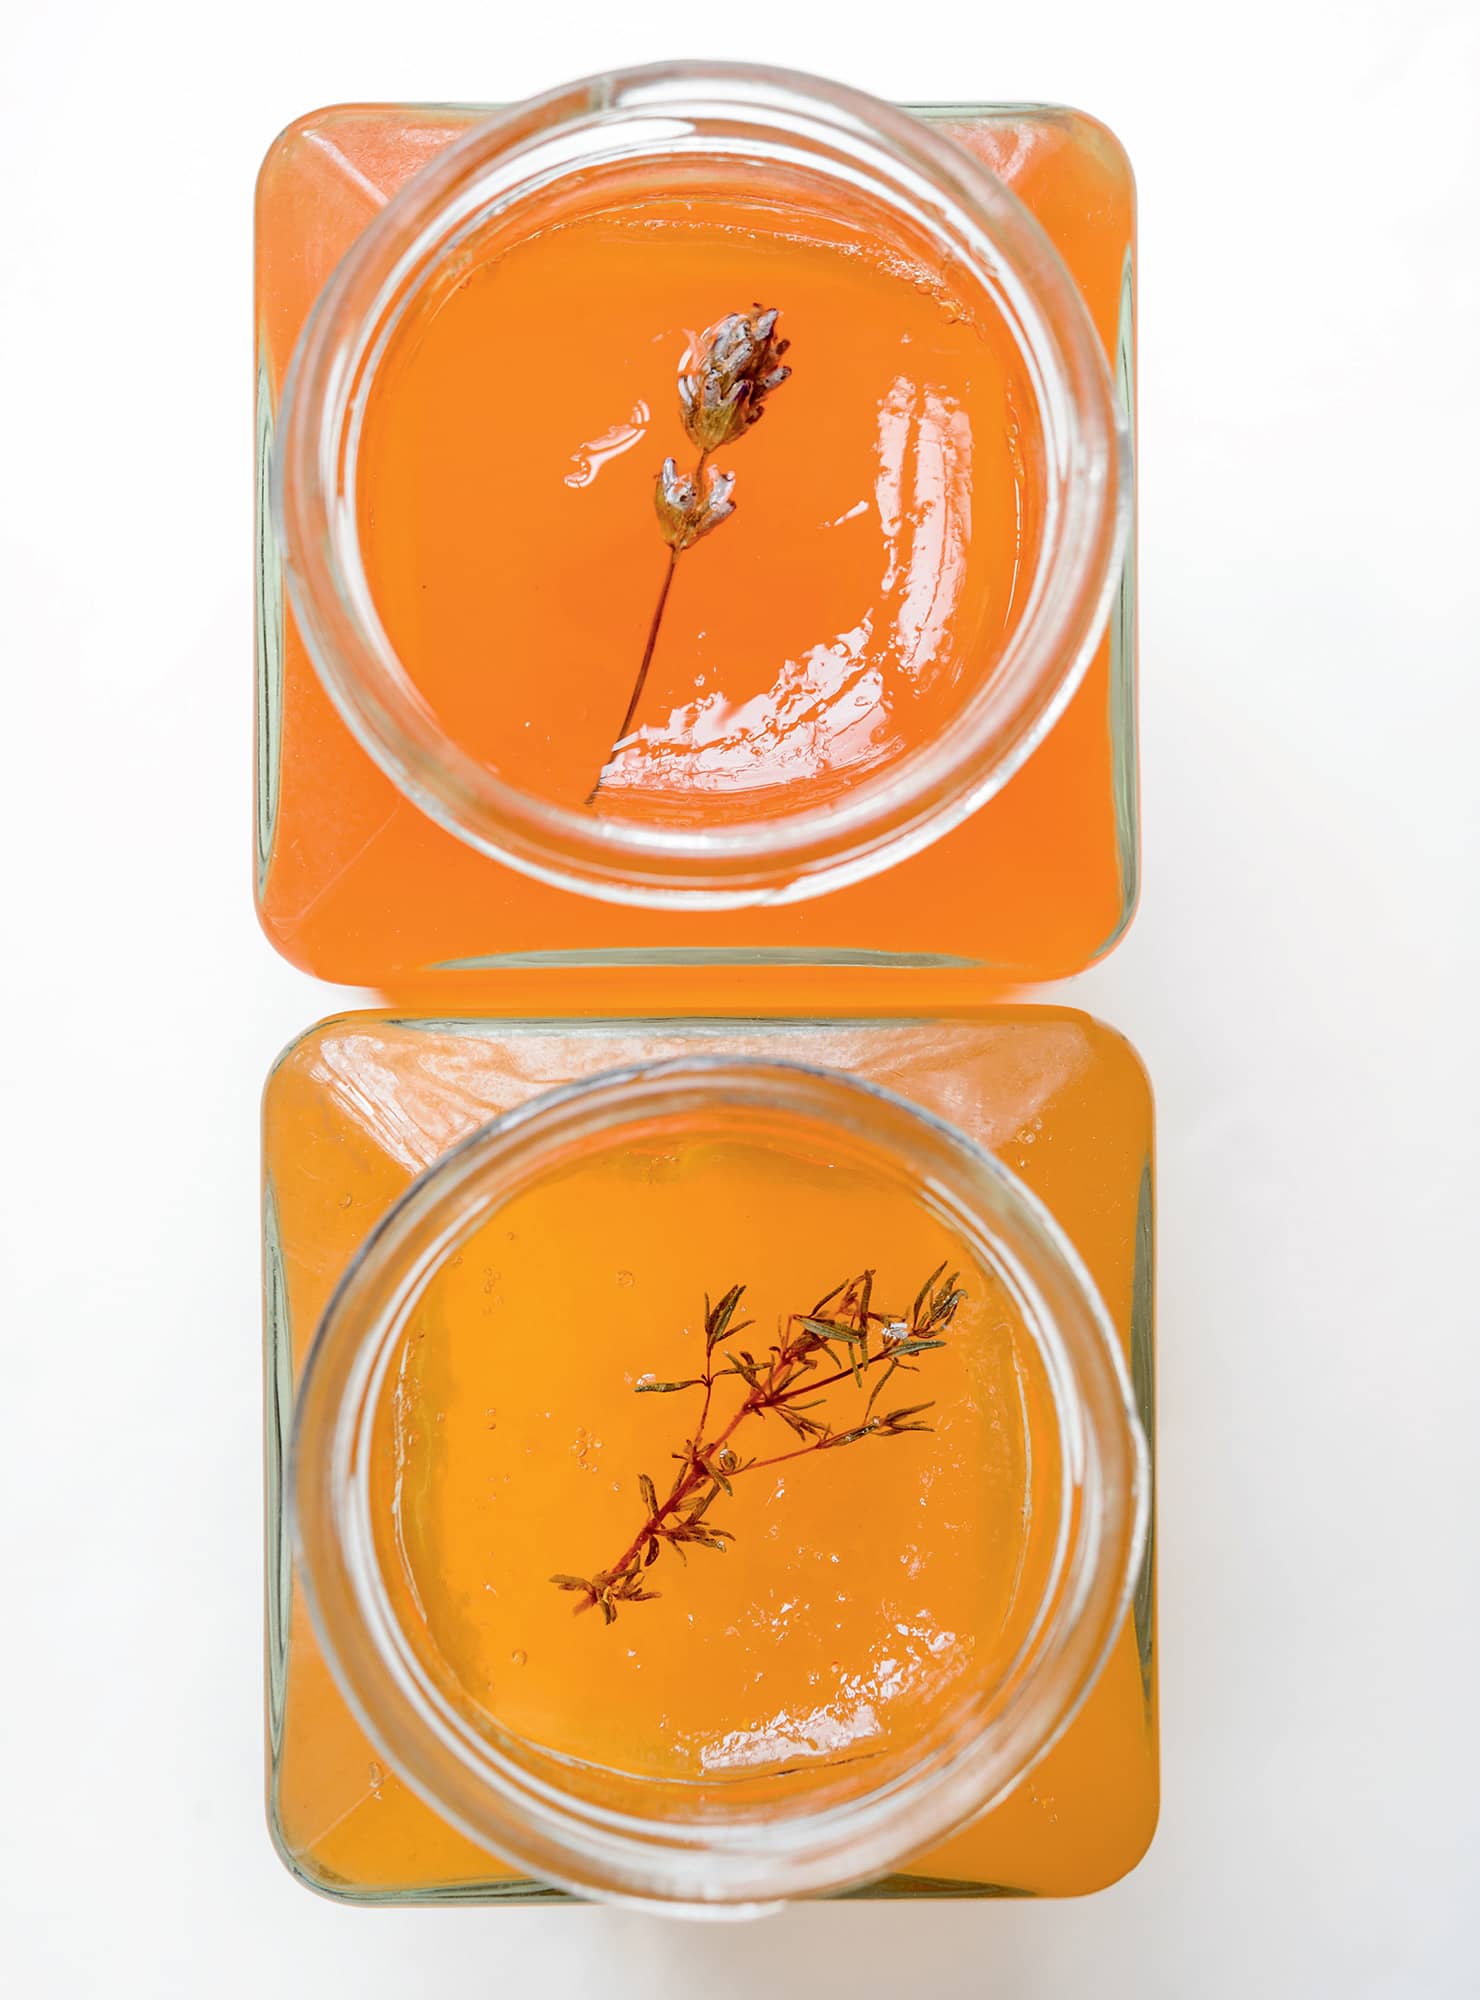
◁ Herb and flower jellies
As an accompaniment to a roast dinner, a savoury jelly is an excellent thing (alternatively, whisk a spoonful into the gravy). Sweet jellies can be served by the spoonful with a plain biscuit and some Earl Grey tea. Crab apples are a great base for these jellies, but cooking apples are a fine substitute in the savoury ones and actually better for the flowers and sweet herbs. The best herbs for these jellies are the really aromatic ones such as rosemary (Rosmarinus), thyme (Thymus), sage (Salvia), mint (Mentha), lavender (Lavandula) and rose (flowers).
MAKES ABOUT 500G/1LB 2OZ (USING CRAB APPLES); ABOUT 900G/2LB (USING COOKING APPLES)
▪ 1kg/2lb 3oz crab apples, halved, or cooking apples, roughly chopped
▪ large bunch of flowers/herbs
▪ granulated sugar (100g per 150ml/31/2oz per 1/4 pint of juice; see method)
▪ 75ml/2fl oz cider vinegar (for savoury jellies only)
▪ small bunch or a few sprigs of herbs/flowers, finely chopped (optional)
▪ Put the apples into a large pan with the bunch of herbs and just enough water to cover the fruit.
▪ Cover the pan with a lid and bring to a gentle simmer over a low–medium heat and cook until the fruit is very soft.
▪ Mash thoroughly with a potato masher, then tip the entire contents of the pan into a jelly bag.
▪ Hang up the bag and leave it to drip for at least 3 hours, preferably overnight.
▪ Discard what is left in the jelly bag. Measure the juice into a clean pan with the appropriate amount of sugar and (if a savoury jelly) the vinegar. Heat gently, stirring to dissolve the sugar.
▪ Once it is dissolved, bring to the boil and boil rapidly until it reaches a setting point (see Testing for a set).
▪ Stir in the finely chopped leaves if you are using them; if so, leave the mixture to stand for 5 minutes before stirring again and potting into warm, sterilized jars. Alternatively pot straight away and poke in a small sprig of the herb or flower into the top of the pot, ensuring it is completely submerged in the jelly.
Store in a cool, dry, dark place
Herb and flower syrups
These syrups are simple and quick to make and are easily the best way to preserve the essence of an individual herb or flower. The quantities below give enough to drizzle over a cake, pudding or ice cream, or to make a round of drinks (try them in cocktails or mocktails as well as a cordial substitute). This recipe works for any herb or edible flower you can think of – sweet or savoury – but my favourites are rose, elderflower (Sambucus nigra), lemon verbena (Aloysia citrodora), scented pelargonium, blackcurrant leaf and lemon thyme (Thymus citriodorus).
▪ handful of herb leaves or edible flowers
▪ Put the sugar into a small saucepan with the water and, over a low–medium heat, stir to dissolve the sugar, then bring to the boil.
▪ Reduce the heat and simmer for 5 minutes (uncovered).
▪ Take the pan off the heat and add the herb leaves or flowers. Stir to coat them in the syrup, then cover the pan and leave it to infuse for at least 30 minutes, and preferably 11/2 hours.
▪ Strain the syrup through a sieve into a jug, pressing the flowers/herbs to extract every last drop of flavour.
▪ Pour into warm, sterilized bottles.
Store in a cool, dry, dark place; once opened, keep in the refrigerator
Growing flowers
Many flowers are edible, and deserve more recognition in the kitchen. The ones described here are my favourites to use as flavourings or to preserve as syrups, jams and jellies in their own right. They can all also be included in scented sugars (see Making scented sugars).
ELDERFLOWER
(Sambucus nigra)
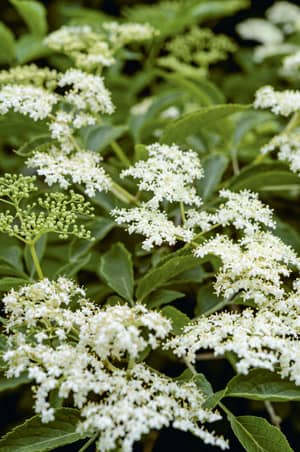
Large, deciduous shrub or small tree. Grows in most soils and situations. It can make a pretty garden shrub, and is easily managed by pruning hard when necessary. The UK native S. nigra is ubiquitous in hedgerows and scrubland, both rural and urban, largely because birds love the berries and scatter the seed everywhere. Other species – there are black-leaved and pink-flowered types too – also have edible flowers. If you forage for the flowers, start scouting locations in late spring, but avoid dusty roadsides and other potentially polluted flowers. Growing your own can avoid this hazard. Pick heads that have three-quarters of the flowers open and are in full sun for the best flavour, but do not take them all – leave some to develop into berries for yourself or the birds. Always cook both flowers and berries.
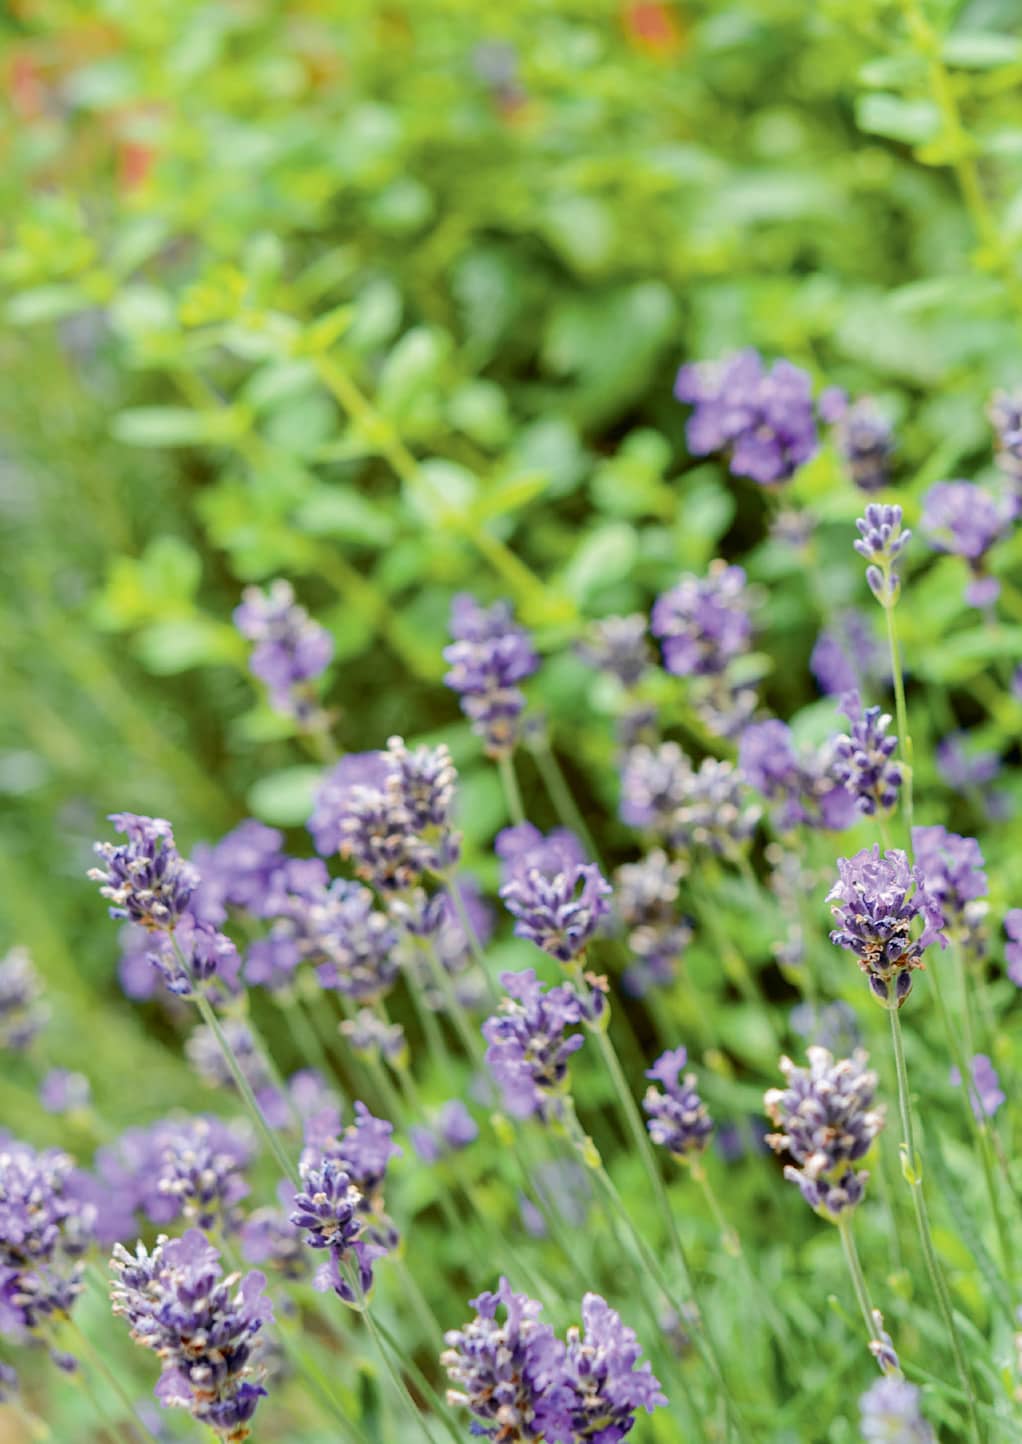
LAVENDER
(Lavandula angustifolia)
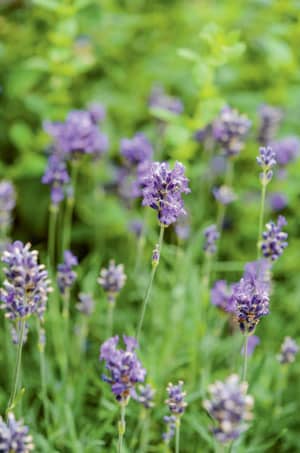
Evergreen shrub. When cooking, always use L. angustifolia, rather than French or butterfly lavender (L. stoechas), which is poisonous. Any of the cultivars of L. angustifolia can be chosen, such as the more compact ‘Hidcote’ for smaller sites. Buy potted plants and put into a sunny position and well-drained soil. Harvest the flower spikes just as the lowest buds on the spike begin to open; tie them in bunches and hang upside down to dry before rubbing the flowers off the stems and storing in an airtight container. To avoid the plants becoming straggly shorten all the stems after flowering, making sure you leave some green growth. Replace lavender bushes every five years.
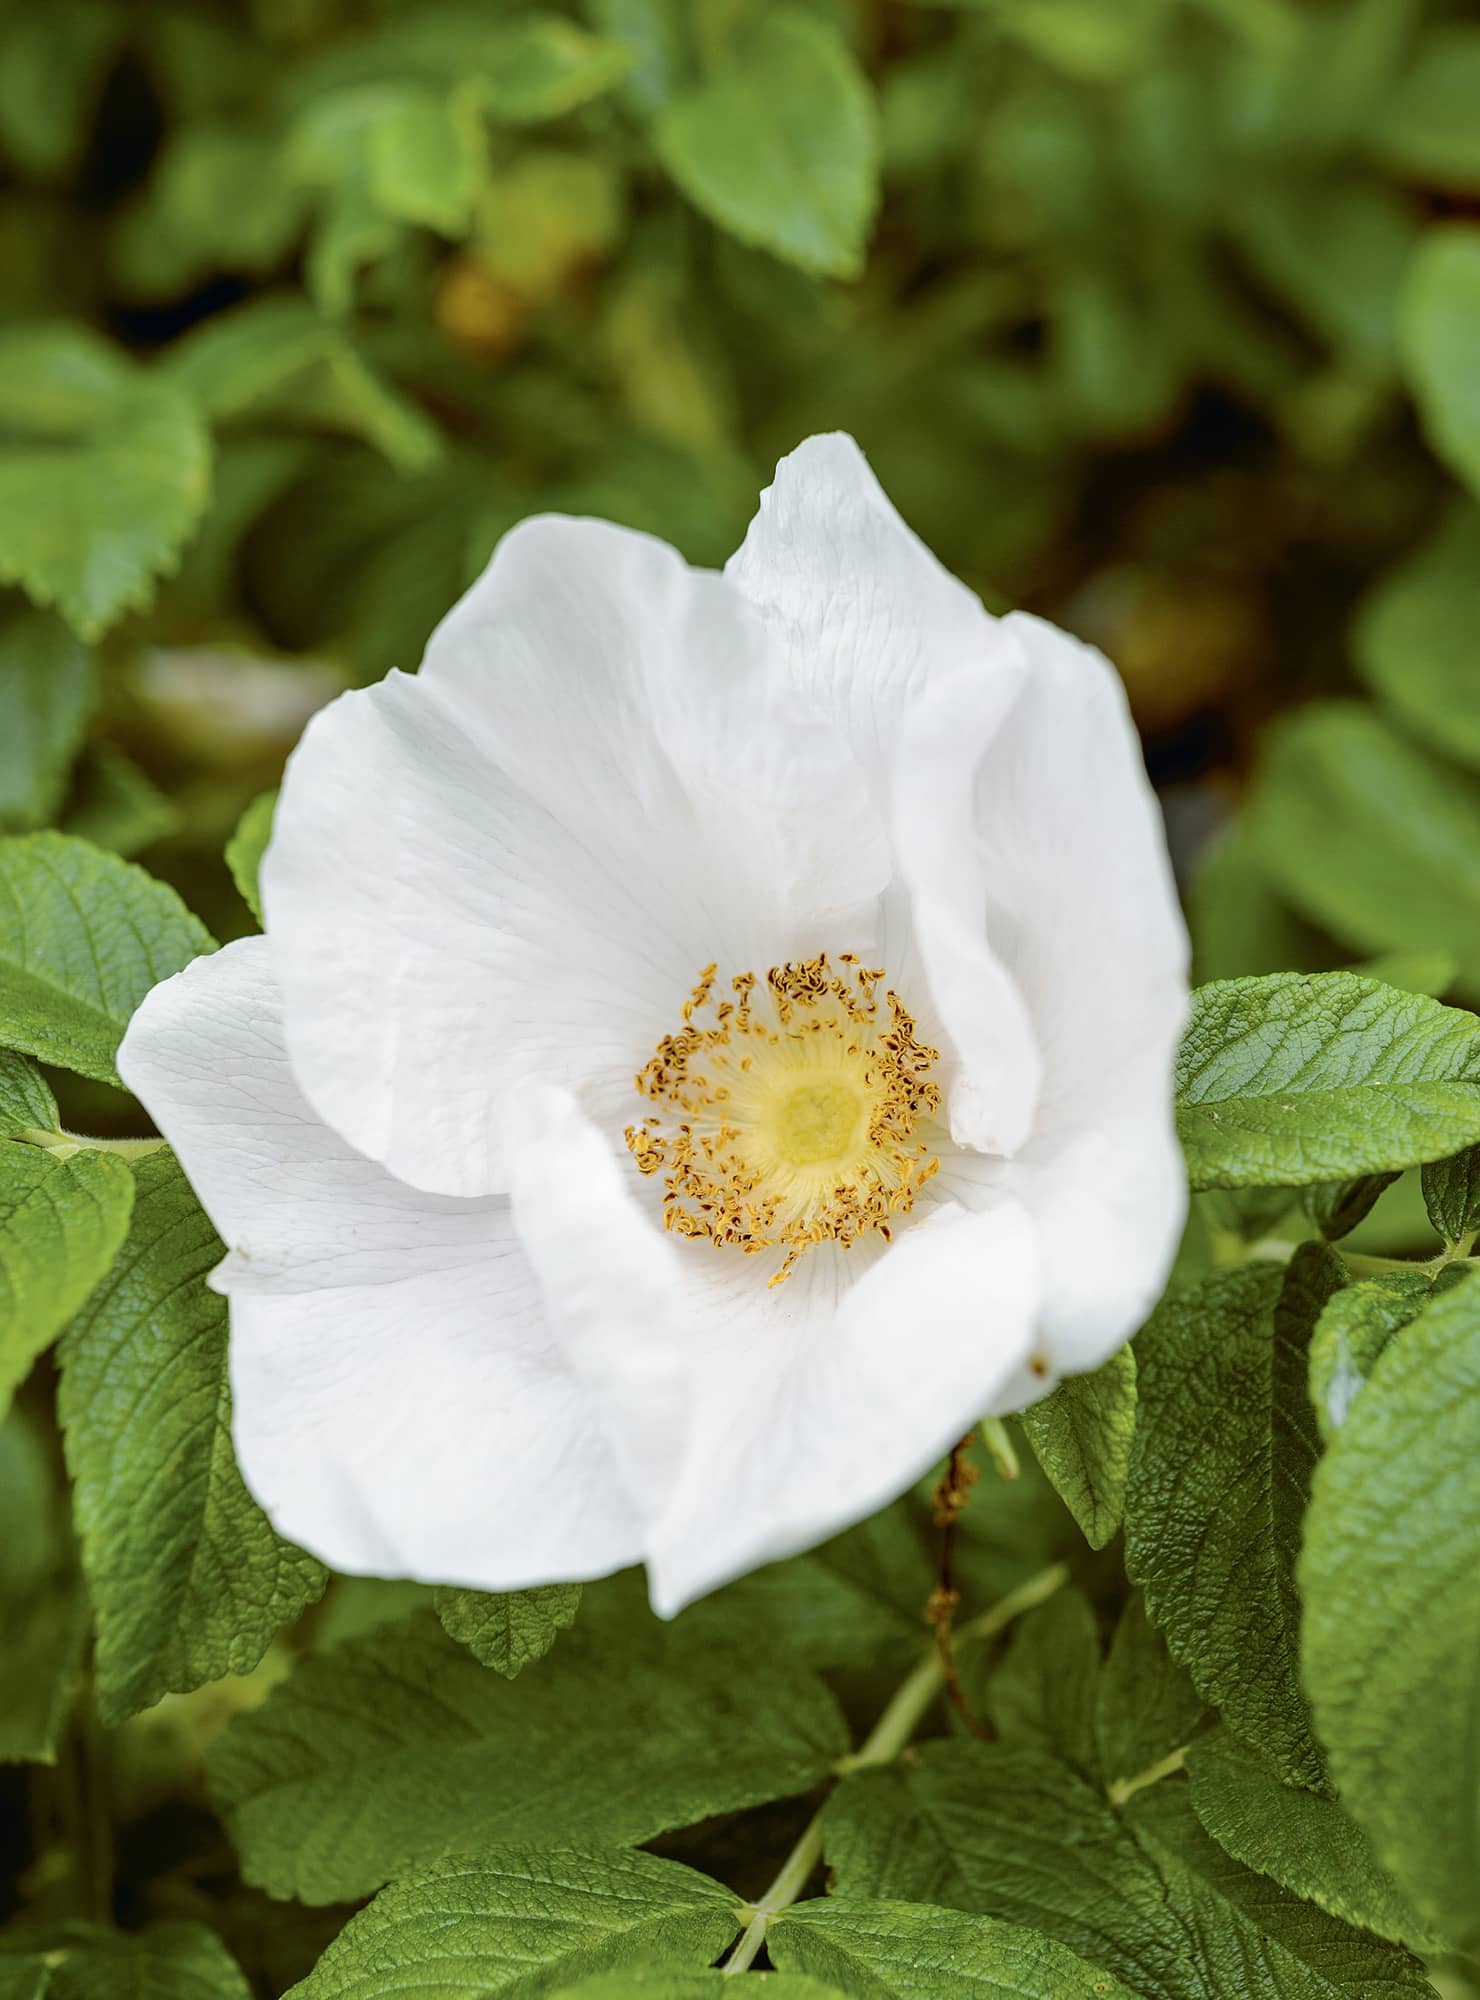
HEDGEHOG ROSE
(Rosa rugosa)
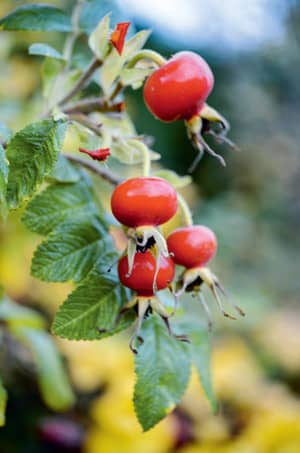
Deciduous shrub. Grows in most soils in full sun or partial shade. Although other roses such as dog rose (R. canina) and the moyesii hybrid R. ‘Geranium’ produce good hips, hedgehog rose’s excellent flavour in both flowers and hips means it is the most efficient choice for a herb garden. Standalone plants reach about 1.5m/5ft in height and spread. Hedgehog rose is a slightly untidy-looking plant so is best put in a mixed border if you want only one or two bushes. It makes a good hedge too – plant 60cm/2ft apart for this. The flowers are deep pink, but there is also a white form (‘Alba’), and a magenta pink (‘Rubra’). Aside from taking off the tips of each stem and removing any dead wood in late winter, hedgehog roses need no pruning. Pick the flowers as required, but leave some from mid- to late summer to develop into hips, which will be ready when just softening and a deep orange-red. Always cook the hips first (see Rosehip syrup) because they contain millions of tiny hairs that badly irritate the throat if eaten raw. If you are harvesting from a friend’s garden, make sure they have not sprayed their flowers.
SCENTED PELARGONIUMS
(Pelargonium)
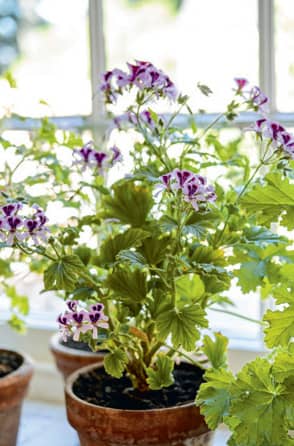
Tender, evergreen subshrub. In cool-temperate climates grow in pots as houseplants for a sunny windowsill in winter, moving them outside for the frost-free part of the summer. In warmer areas they can be grown outside in pots or the open ground year-round: they will prefer well-drained soil and full sun. The leaves of these plants come in a huge range of the most amazing perfumes, from rose to lemon to nutmeg and more, but all develop the distinctive pelargonium base. The citrus and rose scents are my favourites – ‘Attar of Roses’ is one of the best for a rose fragrance, and there are many lemon, lime and orange varieties to choose from. Cut back to a good framework of stems about 15cm/6in high in spring, and repot every couple of years. Pick the leaves as needed; you can use the flowers too.
SWEET VIOLETS
(Viola odorata)
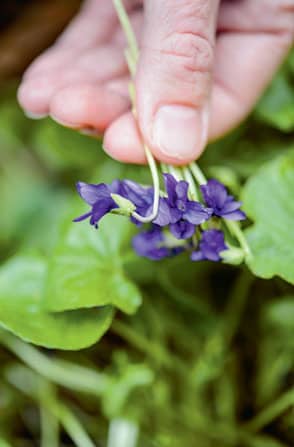
Evergreen perennial. This low-growing plant favours moist soil and shade, and makes excellent ground cover under fruit bushes. Buy as potted plants and double-check you are getting the right plant, and not another Viola. Small, purple flowers are borne in late winter and early spring. Other than an optional tidy up of the leaves in summer, sweet violet plants need no maintenance. They like to spread and colonize, so be sure you want them where you plant them.
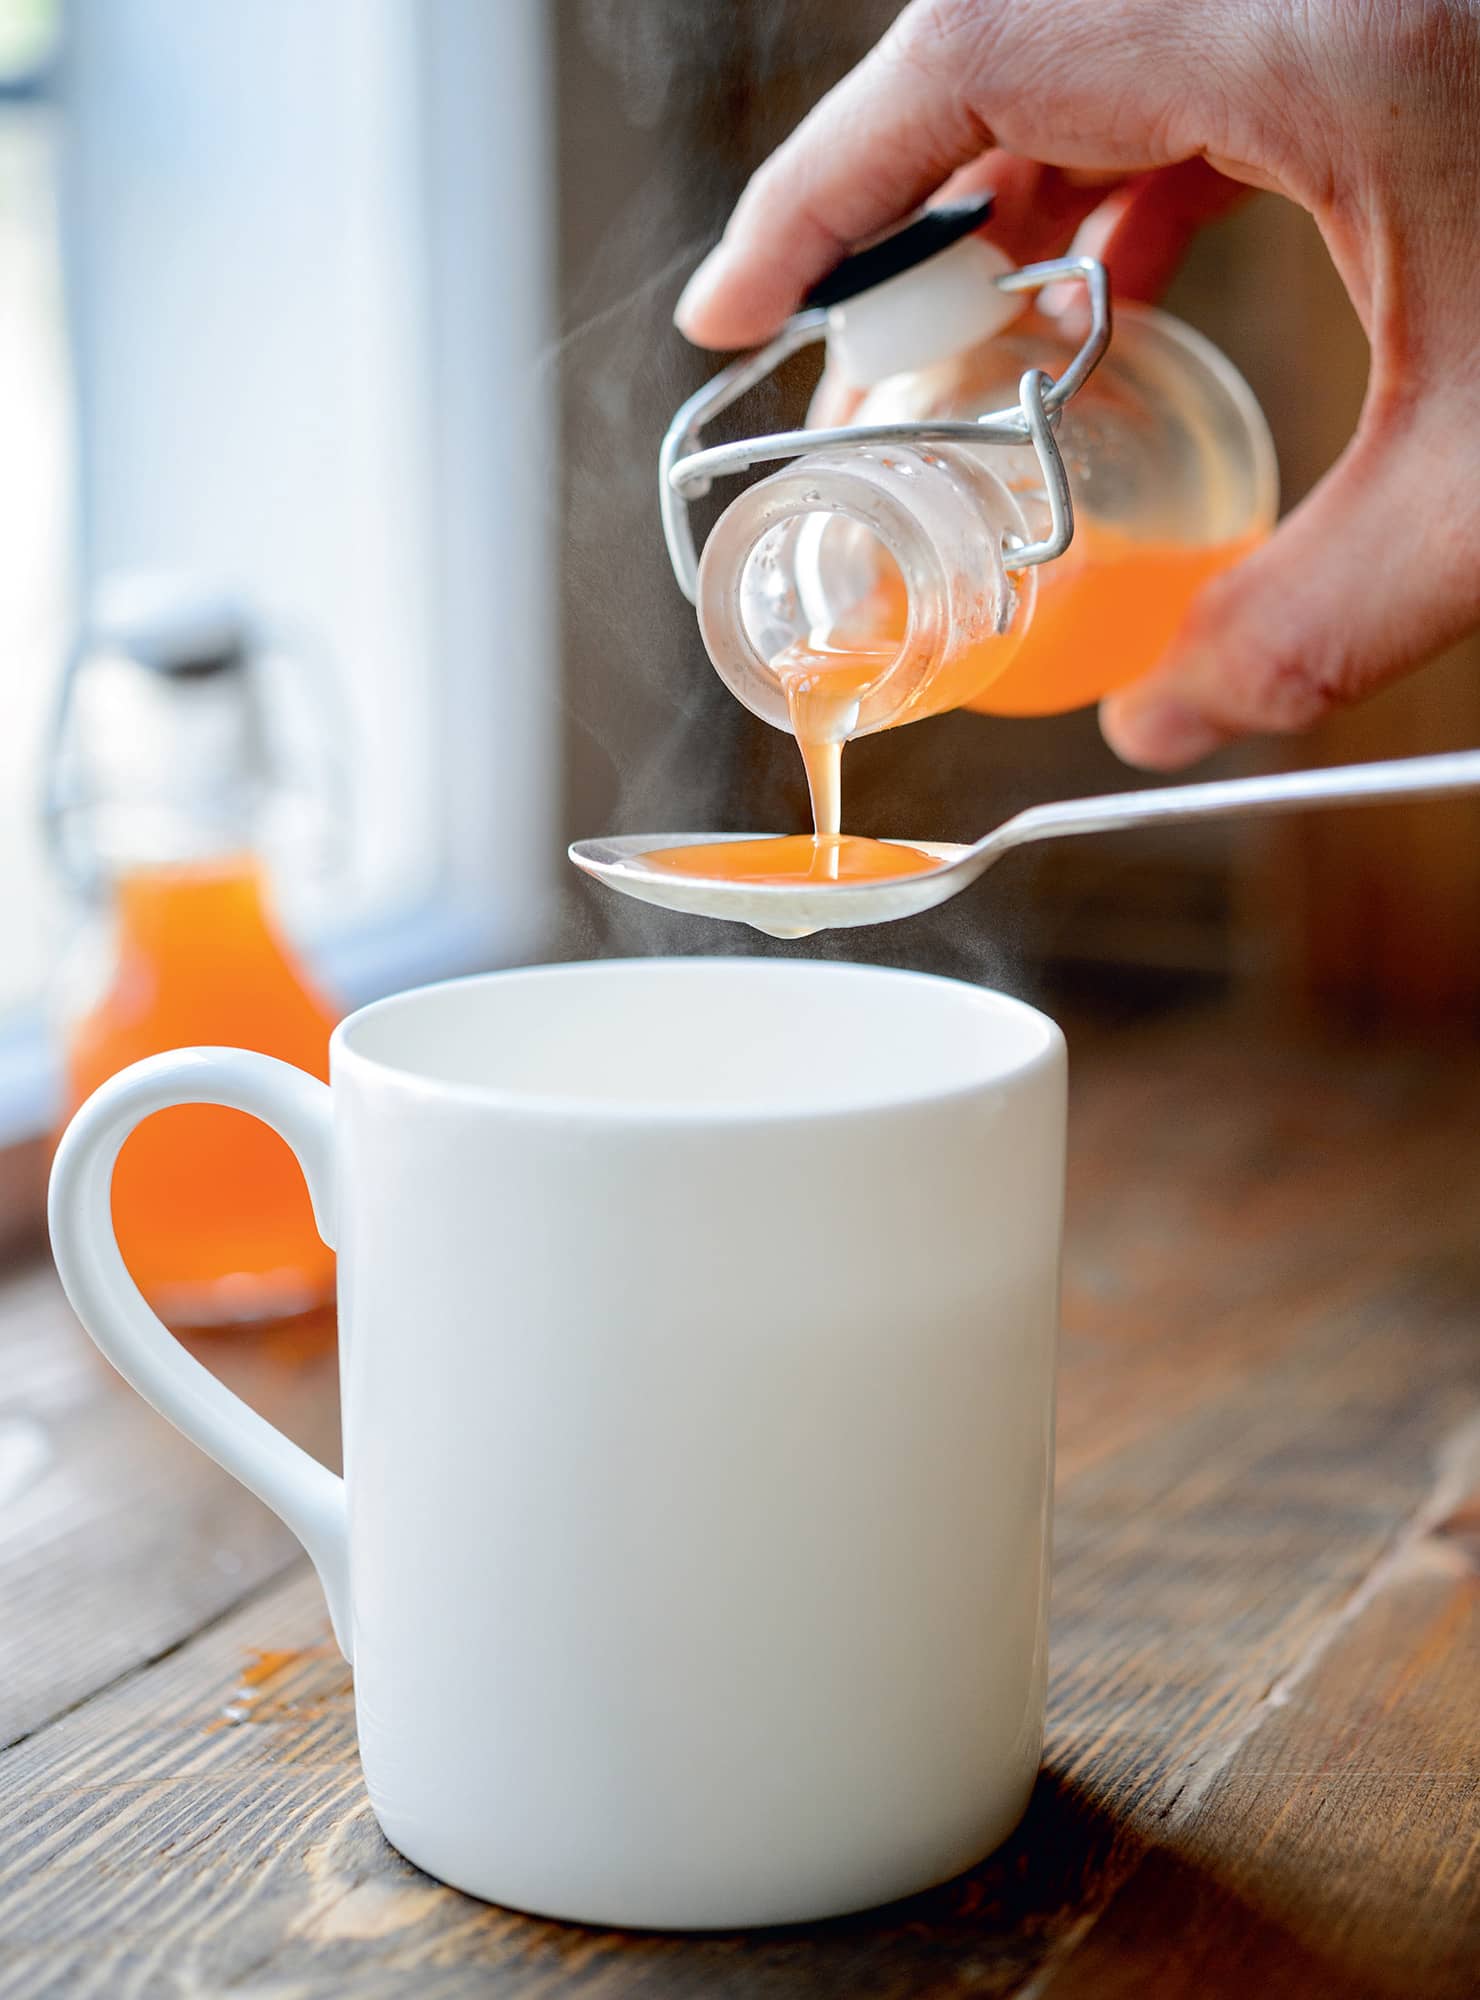
◁ Rosehip syrup
The Good Housekeeping Complete Book of Home Preserving (1981) recommends rosehip syrup ‘as a pleasant way to improve a diet lacking in vitamin C’. Make this syrup then dilute a teaspoonful or two with hot water (or add it to a cocktail) for a great winter drink. Hedgehog rose (Rosa rugosa) hips give the best flavour, but any rosehips could be used.
▪ 100g/31/2oz rosehips, de-stalked and cleaned
▪ Very finely chop the rosehips, using a food processor if you have one.
▪ Bring 160ml/1/4 pint of the water to boil in a small saucepan, then add the chopped hips.
▪ Bring it back to the boil, then remove the pan from the heat. Leave it to stand (covered) for 20 minutes.
▪ Strain the entire contents of the pan through a jelly bag, leaving it until it stops dripping – do not squeeze the bag. Set aside the juice.
▪ Put the pulp that remains in the jelly bag back into the saucepan with the remaining cold water. Bring it to the boil, then remove the pan from the heat and leave to stand (covered) for 15 minutes.
▪ Clean the jelly bag and then strain the contents of the pan through it and leave it to drip, but this time discard the pulp once it has stopped dripping.
▪ Combine the two lots of juice in a clean saucepan over a medium heat and add the sugar, stirring to dissolve it.
▪ Bring it to the boil and boil for 4 minutes, then pour into warm, sterilized bottles. Because this syrup does not keep long once opened, use several small bottles rather than one large one if you are making it in quantity. Shake the bottle before using as the syrup separates out in storage.
Store in a cool, dark place; once opened, keep in the refrigerator
Keeps for nine months or more; once opened, lasts for about a week