Chapter 5. Parts Is Parts
OK, enough introductions and tours and histories and whatnot; you’re probably itching to get to the building of the rover. With that in mind, let’s take a look at the parts used to build it. I’ve included a section just for sensors; remember that you can add or take away from these as you like. The more sensors you pack on board, however, the more like a rover your machine becomes. I’ve also, where applicable or possible, added the links to where you can buy these parts online.
Remember: you don’t have to use the parts I list here. For instance, I’m using the wheels from a Power Wheels Escalade, but you may decide to use larger or smaller tires (especially if you make your rover’s body quite a bit smaller than mine).
For that matter, you can change the design to make a smaller rover, which has its advantages: a smaller rover needs less wood, so it will be lighter in weight, which probably means you can use smaller motors, and so on. That being said, there’s not much as impressive as a big beefy rover driving around, putting all of the RC cars in the neighborhood to shame. Plus, if you want a lot of sensors on your rover, you’re going to need more space to put them…
Body
The following is a list of materials you may end up using for the body of the rover:
- Wood (1 × 4), 6’
- Used for the walls of the rover body. Use something lighter in weight like pine or even balsa. Oak or mahogany are probably not good choices.
- Plywood, 4’ × 4’
- Used for the bottom of the rover. Again, lighter is better.
- Plexiglass, 2’ × 4’
- This is totally optional. I wanted to put a lid over the rover’s contents, but thought it would be cool if you could still see the guts. It’s purely for aesthetics, as the thickness I used (1/16”) is much too thin to offer any structural protection. If you live in a particularly warm or sunny climate, you may find that the plexiglass gives a sort of greenhouse effect to your rover, with the unwanted side effect of heating up your electronics; experiment and use with caution, perhaps with a few holes cut for venting, along with the cuts necessary to mount the robotic arm.
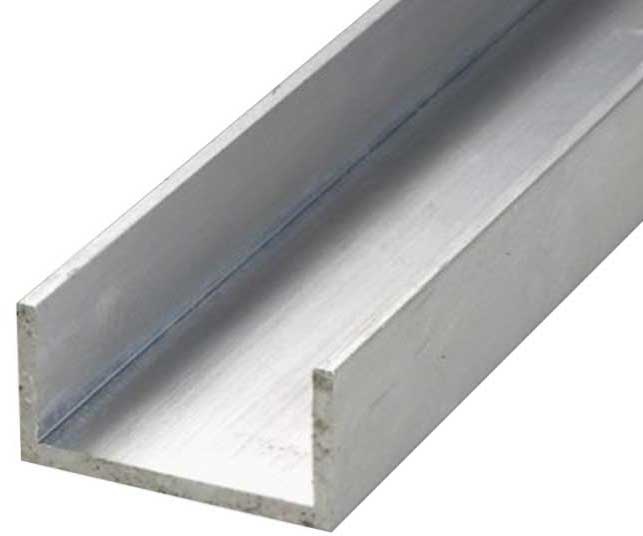
- Aluminum channel, 2’
- Used for the robotic camera arm (Figure 5-1). Also called C-channel, this is often used to surround glass or plexiglass in building projects. Get something as light as you can, yet beefy enough to hold the camera(s) and run the cables through.
- Small hinges (2)
- Used to attach the plexiglass lid to the main body.
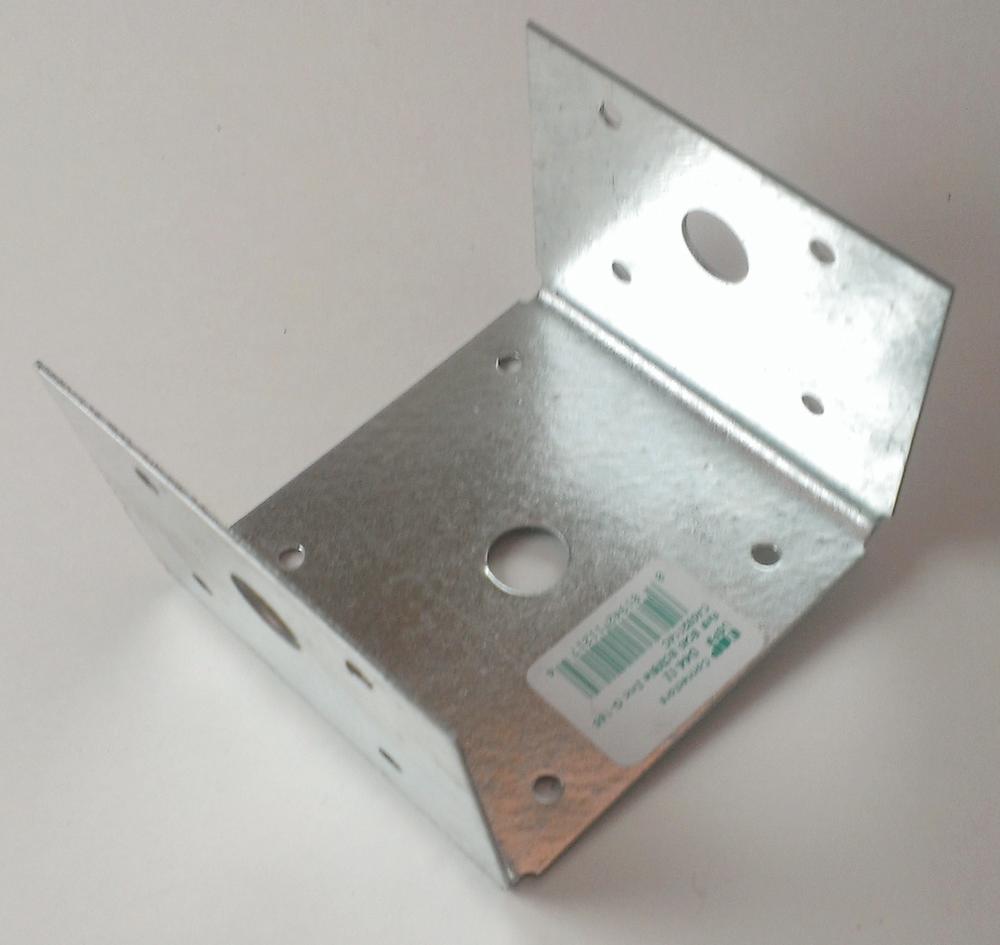
- Angle brackets (2)
- Used to mount the motors to the body of the rover. This may take some creativity on your part, as every rover motor and body will differ slightly. After much thought, I ended up using the brackets shown in Figure 5-2, with some modifications that you’ll see in Chapter 7.
Wheels, Motors, and Power
The following is a list of materials you’ll need to get your rover powered up and moving:
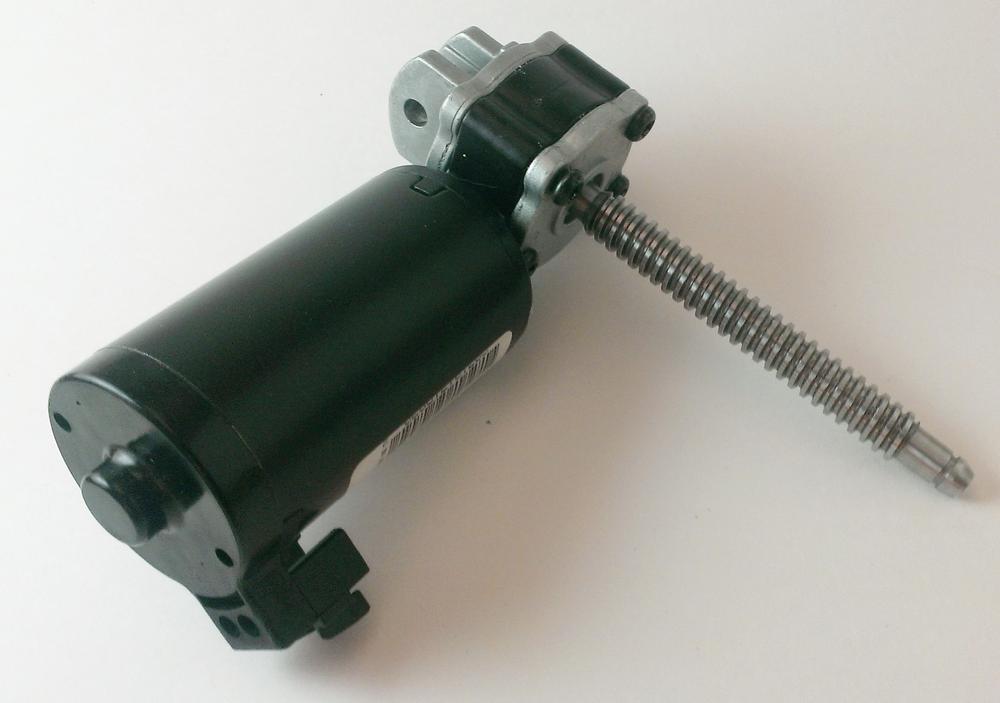
- Motors (2)
- I picked these up on Amazon for about $25. They are designed to move electric seats in a car, and the long motor shafts make them ideal for attaching to a wheel (Figure 5-3) or an axle shaft.
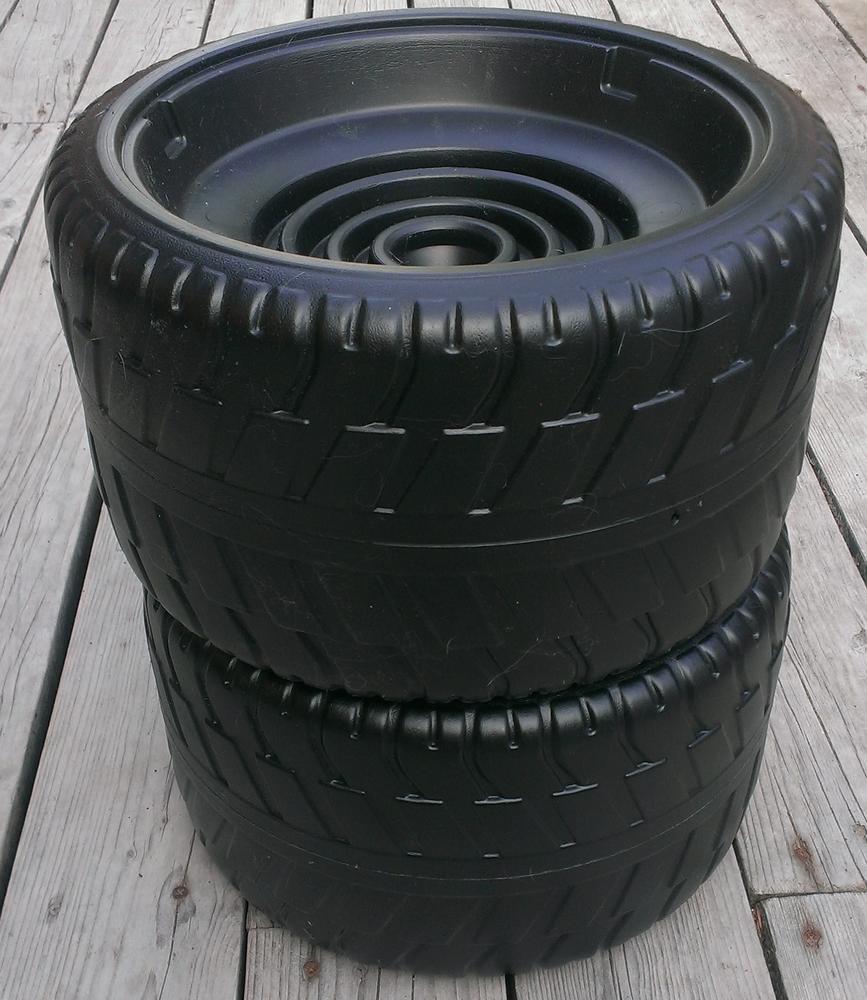
- Power Wheels wheels (4)
- I used wheels from a Power Wheels Cadillac Escalade model. They’re oversized for the rover, measuring 8 inches thick with a 14-inch diameter, but they do resemble the tires on NASA’s rovers, so there’s that (Figure 5-4).
- Aluminum axle
- From any hardware store. I used stock with 1/2” diameter, in order to fit the wheels (Figure 5-5). You’ll need only one of these, for the front wheels. The rear wheels are direct-powered by the motors.
- Bearings (2)
- Again, from a hardware store, with a 1/2” inner diameter to fit around the axle and small enough to fit inside the hub of the wheel.
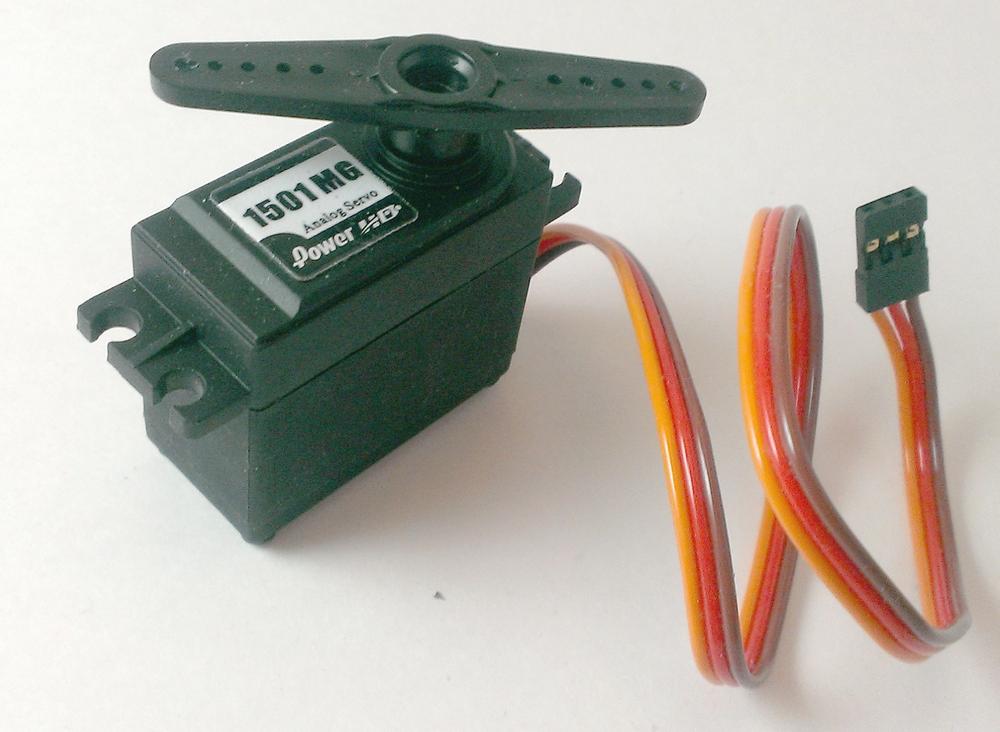
- High-torque servo
- Used for the robotic camera arm. The high-torque version is necessary because the arm is pretty heavy, even if it is made of aluminum (Figure 5-6).
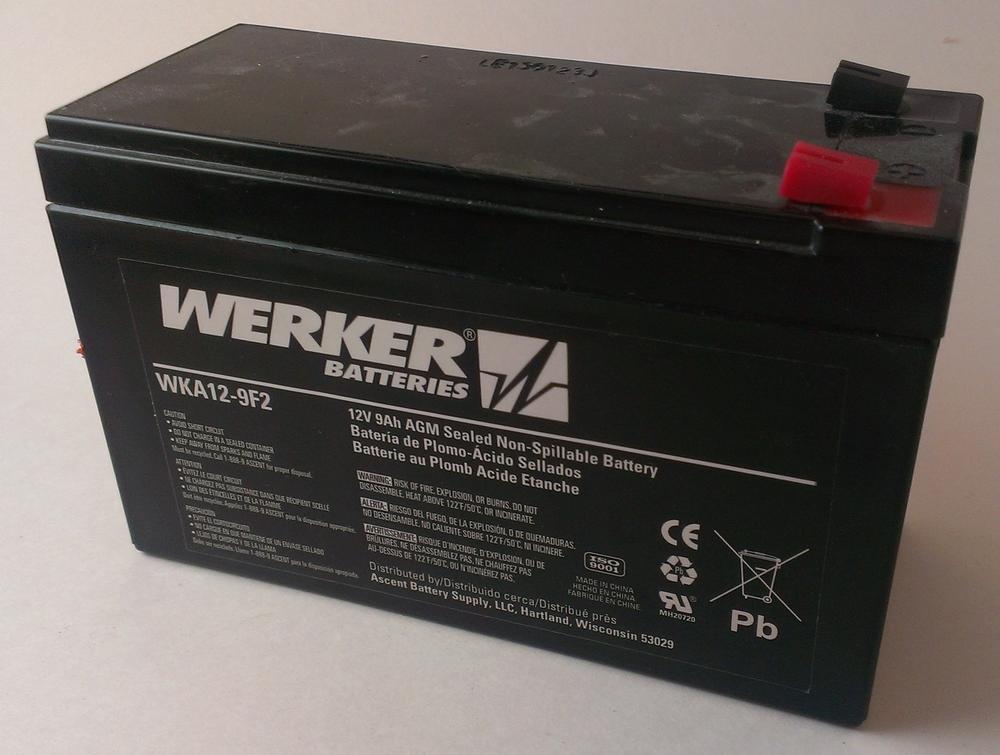
- 12V battery
- Purchased from a battery supply store. Get one that’s used for things like electric scooters and wheelchairs. It should be large enough to power your motors for a decent amount of time (Figure 5-7). If you have the means, get two batteries, as more power is never a bad thing.
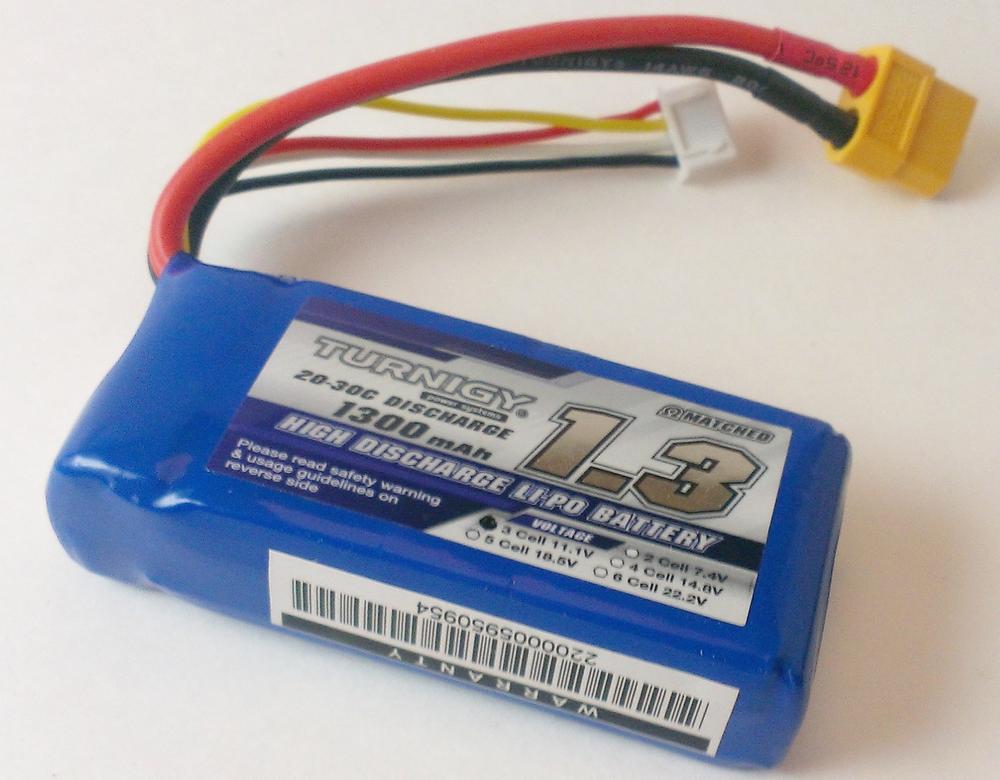
- Li-Poly RC battery
- Used for powering the Pi. You don’t need an especially powerful or big one. I use 1.3 milliampere-hour (mAh) battery packs, which are incredibly small and light and last for well over an hour on a single charge (Figure 5-8).
Don’t forget to purchase a charger that’s compatible with whatever battery you choose. Keep the voltage under 12 volts, as the voltage regulator we’ll be using (the Pi has no onboard regulator) can safely handle that much, but not less than 5 volts. 1.3 to 1.8 mAh should be plenty, as the Pi draws about 1A.
The lithium polymer (Li-Poly) batteries used for remote-control vehicles pack a lot of power into a small package. Be extra careful when you connect them to make sure you don’t short out the leads. Li-Polys have been known to burst (some say explode) or catch fire when shorted. That could put a big dent in your rover-building plans.
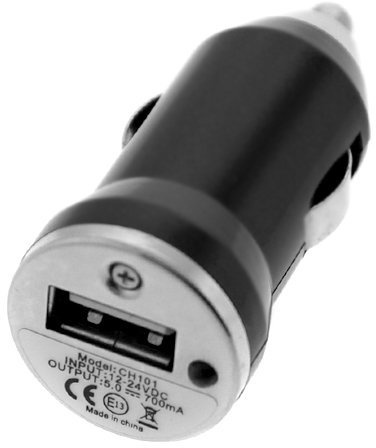
- USB car charger
- These are nice because they have a built-in voltage regulator that can bring the incoming voltage down to the Pi’s required 5 volts (Figure 5-9). To this, add a short USB cable (USB type A to USB micro).
- Female cigarette lighter socket
- To this, add a few connectors for the type of Li-Poly battery that you use (XT60, for instance). They should be available at the same place you bought your battery pack. I’ll show you how to connect everything to give yourself a quick-connect setup in Chapter 7.
Sensors
Some of these sensors are bought individually, such as the GPS unit and the SHT15 thermometer. However, you can also order a 37-in-1 sensor pack from a company called Deal Extreme for under $40. This great deal includes a temperature sensor, IR sensor, rotary encoder, Hall effect sensor, and on and on. You can pick and choose which ones you’d like to add to your rover, and you’re limited only by room and power requirements.
At the bare minimum, I suggest the following:
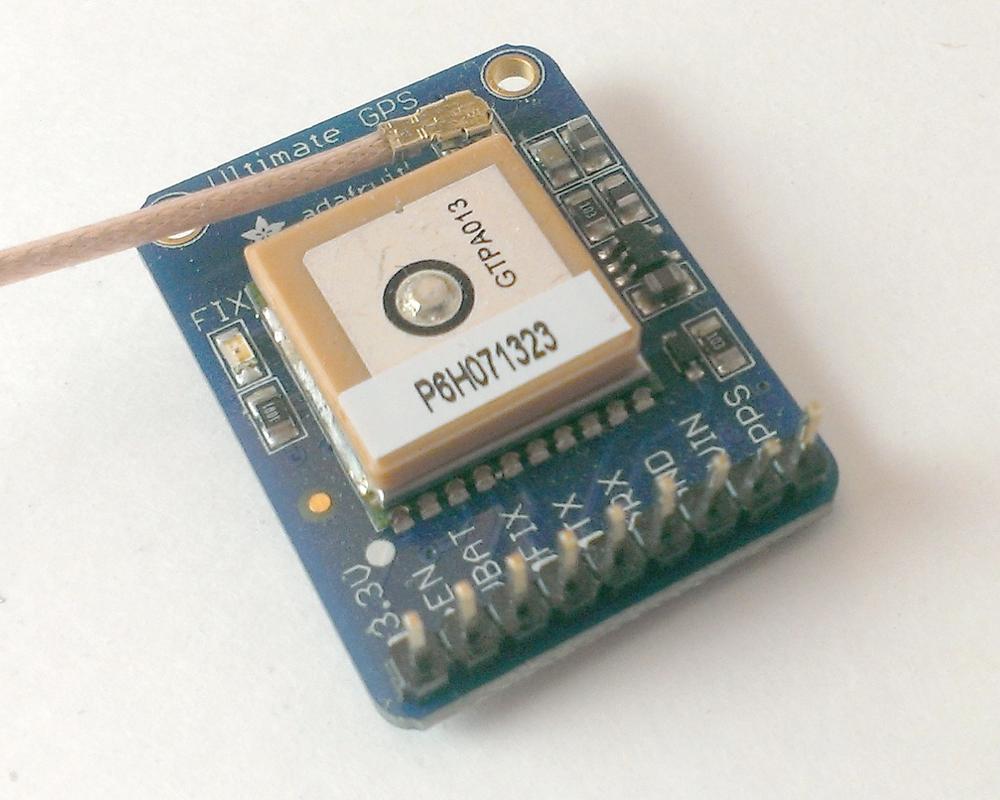
- GPS unit
- See Figure 5-10.
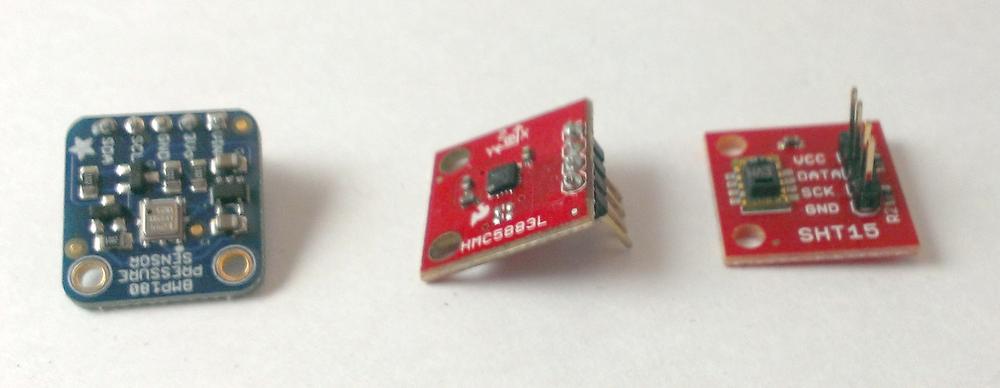
- SHT15 temperature sensor
- See Figure 5-11.
- BMP180 barometric pressure sensor
- See Figure 5-11.
- HMC5883L magnetic field sensor
- See Figure 5-11. This sensor, similar to a compass, can tell you how it is oriented with respect to the Earth’s magnetic field. It’s especially nice because it can be programmed to read in three dimensions, rather than just two.
- Accelerometer
- This sensor is similar to what you find in your smartphone. It detects acceleration in any direction, including that due to gravity, which means it can detect which way is “down” and let you know if your rover is on a slope, or flat ground, or upside-down.
- Webcam
- This may require some experimentation on your part before adding it to the rover, as so many brands and models of webcam are out there, and some work better than others on the Pi. At home, when my Pi is plugged into main power, I use a Logitech C510 webcam because it has pretty good image quality. In the field, when I’m running the Pi on batteries, I have a battered old webcam of unknown origin. (Honestly—I’ve had it forever, and the make and manufacturer are worn off the casing. It barely draws any power, however, so I keep using it.)
- Photoresistor
- This is a resistor that changes its amount of resistance based on the amount of ambient light. As the amount of light increases, the resistance decreases. It’s a handy way of making a device light-activated, for instance, or determining whether your rover is in the shade. They’re available from any electronics store, including RadioShack, if you happen to have one nearby.
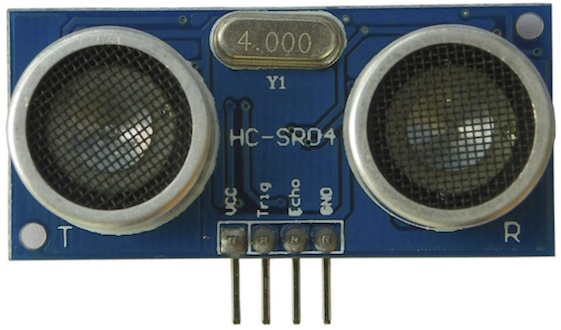
- Ultrasonic rangefinder
- This handy little device, shown in Figure 5-12, uses ultra-high frequency sound waves to determine the distance to an object in front of it. It is useful for determining whether your rover is about to run into a wall.
- Magnetic field sensor (Hall effect sensor)
- This device senses changes in the surrounding magnetic field, and is often used to detect movement between pieces of metal or on a sliding or rotating sensor platform.
- Infrared motion sensor
- This sensor detects motion by sensing changes in the surrounding IR field.
Miscellany
The following lists other miscellaneous parts you may need during construction:
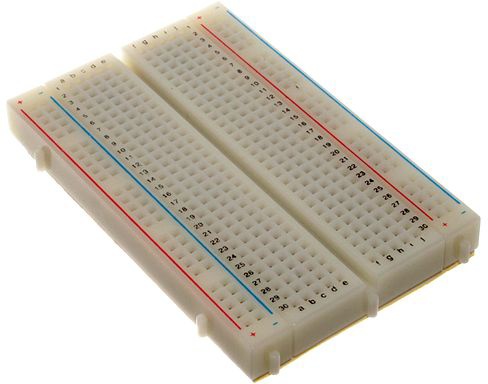
- Breadboard
- If you’ve done any electronics work, you probably have at least one of these floating around your workshop (Figure 5-13). They’re great for connecting parts without soldering, allowing you to move and redesign your circuit as many times as you like. They also make it easy to have a common power and common ground line, and if you have several sensors that use the I2C protocol (Chapter 10), it’s a handy way of connecting them all to the I2C bus.
- Jumper wires
- Used to connect parts on your breadboard. I recommend checking eBay for a pack of wires with male-male, male-female, and female-female ends.
- MCP3008 analog-to-digital chip
- This chip is used to convert the analog signals received from some sensors, like the photoresistor, to digital signals that the Pi can understand.
- Edimax EW-7811UN wireless adapter
- Or a similar one with a compatible chipset—see Chapter 6.
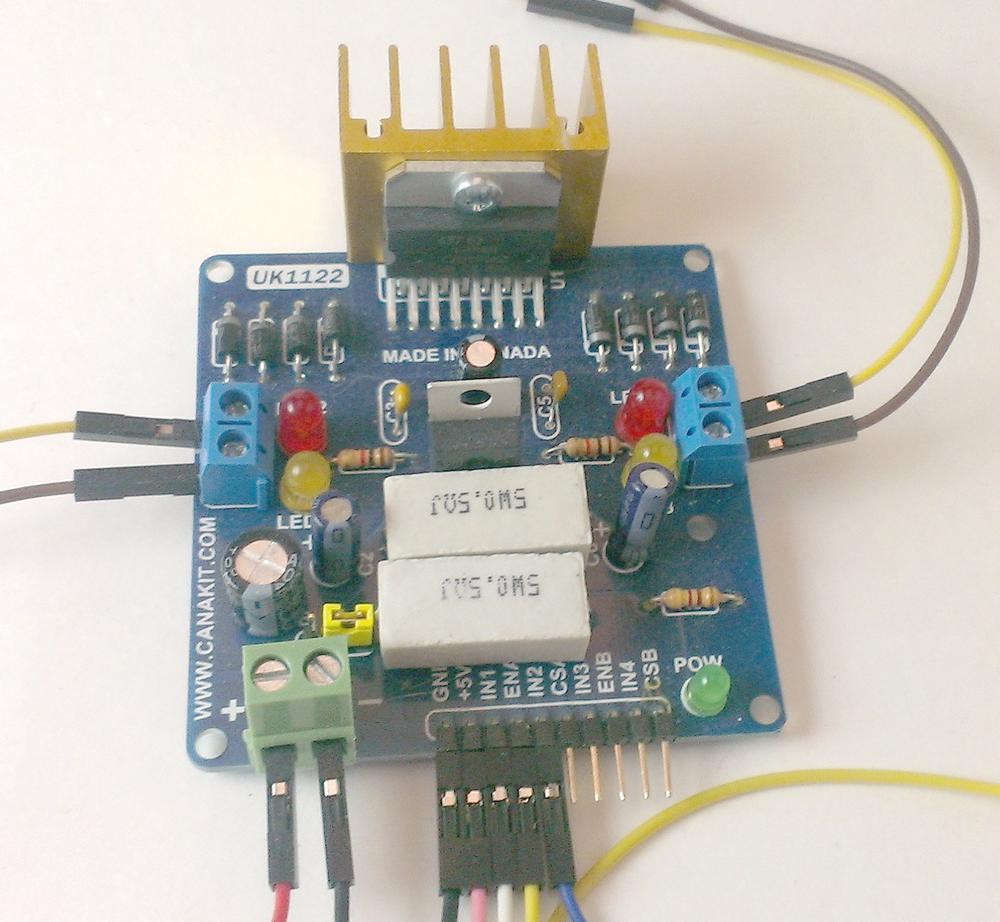
- Dual H-Bridge L298H motor controller
- This handy motor-controller board, shown in Figure 5-14, can control two motors using a power source completely separate from the Pi. In other words, you can power your Pi with a small 1.3mAh battery pack, and simultaneously power your motors with a beefy 12V 9Ah battery, all without worrying about burning out your Pi by channeling too much current through it. It’s based on the common L298 chip, and I’ll go over how to use it in Chapter 8.
- Common workbench supplies
- Glue, paint, screws, etc.
Tools
In addition to all of these items, you’ll need some standard tools:
- Dremel multitool
- Soldering iron (I use a Weller, but all I recommend is that you get a high-quality iron that allows you to adjust the temperature of the tip. Your projects will thank you.)
- Hacksaw
- Cordless drill
- Pliers
- Wire cutters
- Screwdrivers
A good workspace, where you can spread out and lose things/get organized, is invaluable. If you can’t get a large work area to call your own, an understanding spouse/roommate who will let you use a common space is the next best thing. Just remember to clean up afterward.
