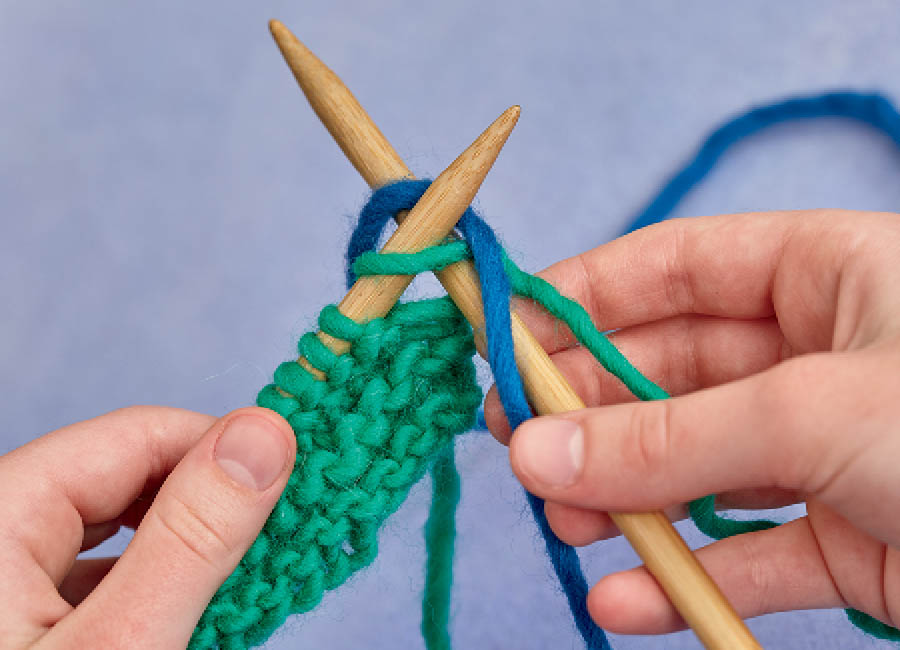
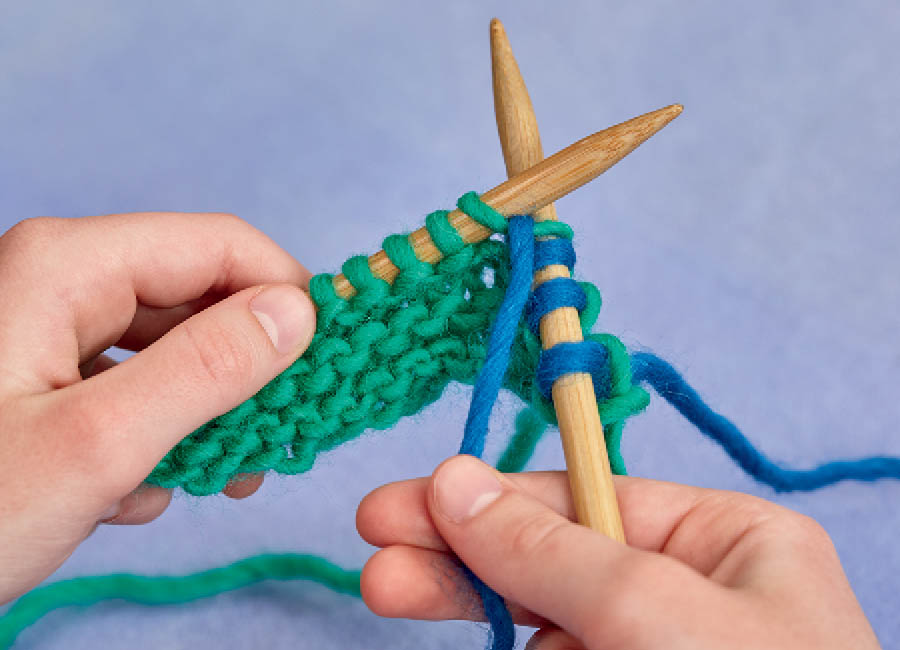
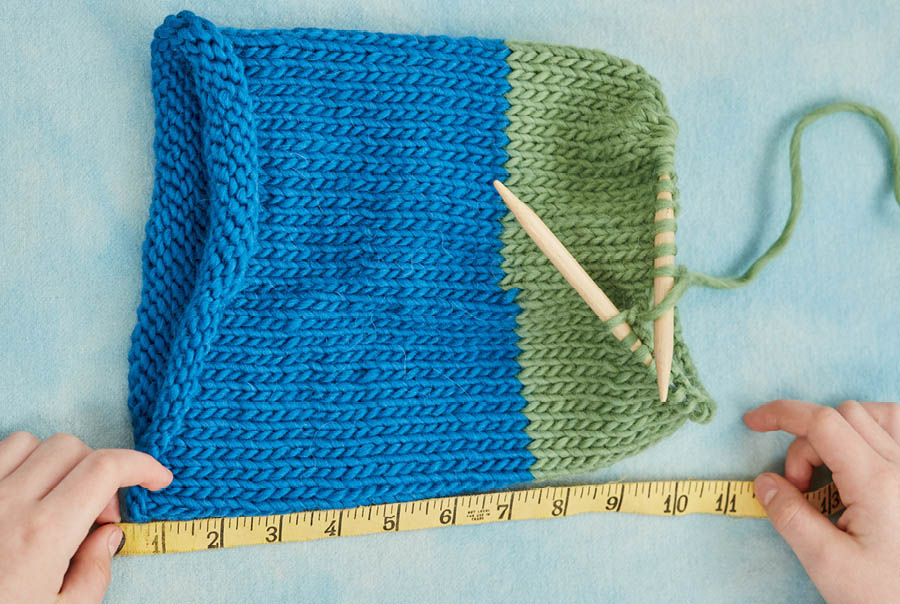
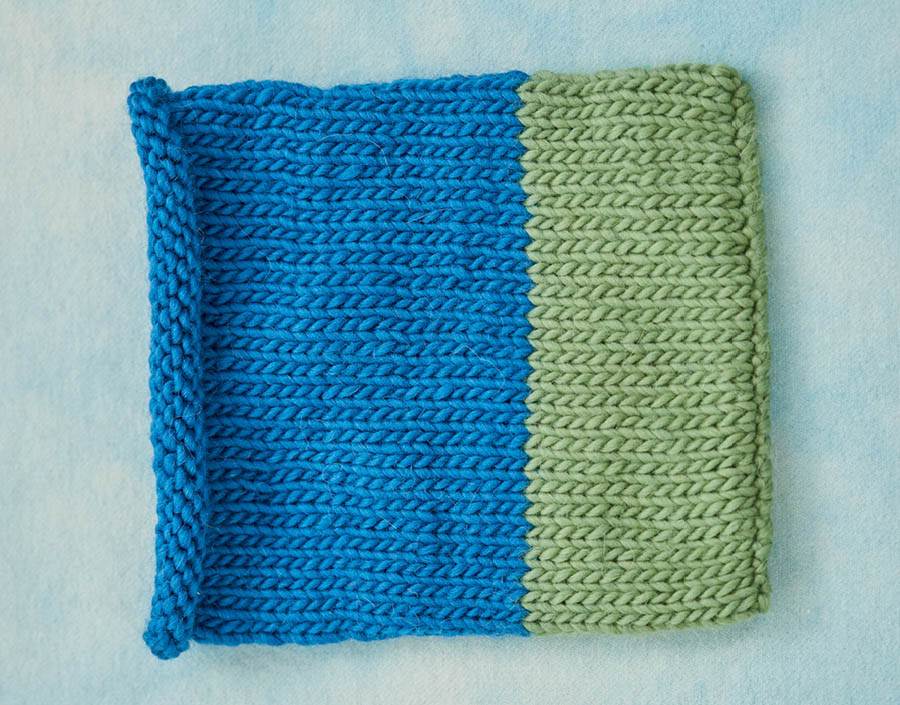
On one side of the finished fabric, the colors will be cleanly separated; on the other side, there will be two thin lines of alternating color between the two colors. Use whichever side you like best!


If you want to change colors at any point, it’s easy! We show making the swap at the beginning of a new row, but you can do it whenever you like.


On one side of the finished fabric, the colors will be cleanly separated; on the other side, there will be two thin lines of alternating color between the two colors. Use whichever side you like best!


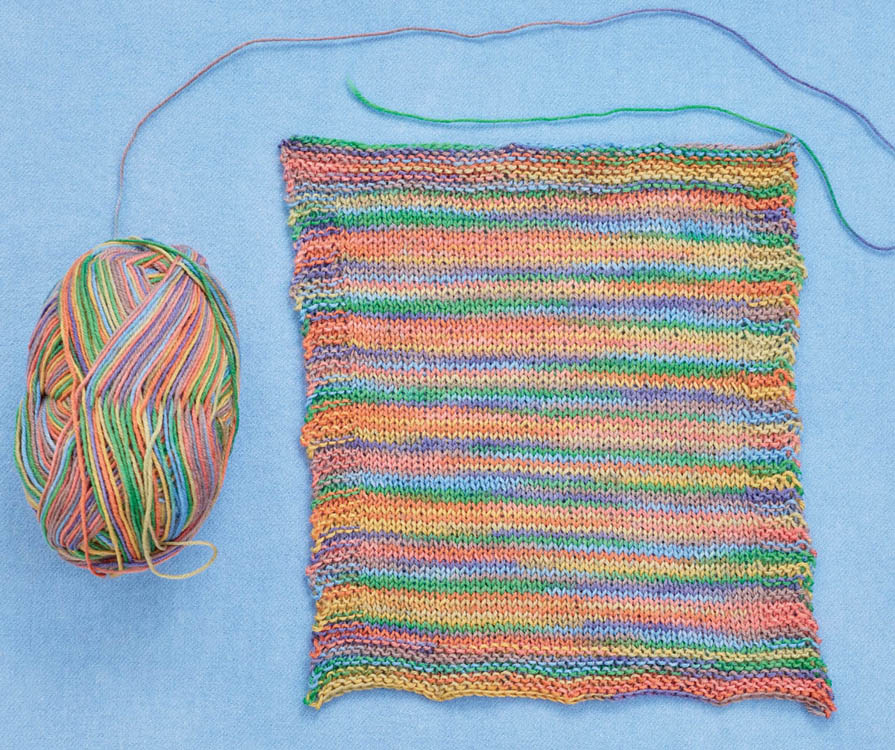
Variegated yarn is dyed with multiple colors, which results in color changes as you knit. It’s so much fun to work with because your knitting automatically turns into colored stripes, without your doing anything to make it happen!
Also, if you are inclined to grow a little bored while knitting, the color change gives you something to look forward to. True, you’re not, like, getting a horse or something — but maybe your favorite color is coming up, and that will be fun to knit with for a while! We especially love variegated yarn for long, narrow knitting projects — scarves, I-cords, and even the Phone Sweater — since the bands of each color are wider and more dramatic that way.
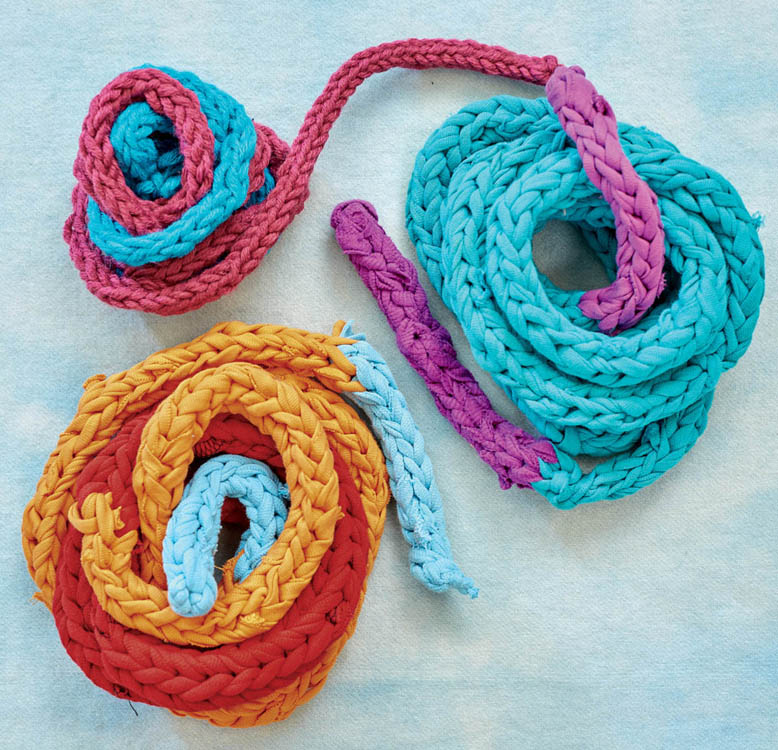
I-cord sounds like something you’d download from a tech website, but really it’s just a skinny knitted tube that you can use for all kinds of things: a pair of shoelaces; a weird cozy for your pencil or the handle of a wooden spoon; a headband, bracelet, or belt; a decorative garland or a bow for a present; or a tube top or dress for your doll or stuffed animal!
If you’ve ever used a knitting spool or a Knitting Nancy, you basically made an I-cord — but we’re going to teach you to make one using two double-pointed needles (if you have a pair of short, circular needles, you could use those instead). The weight of the yarn you use will depend on your project: you’ll want to use fine yarn for shoelaces, for example, and bulky yarn for a jump rope.
The more stitches you cast on (and the heavier your yarn), the bulkier your tube will be. If you’re making something super narrow, like a shoelace, use the minimum number of stitches; if you’re making something a bit wider, like a pair of leg warmers for a doll, cast on more stitches.


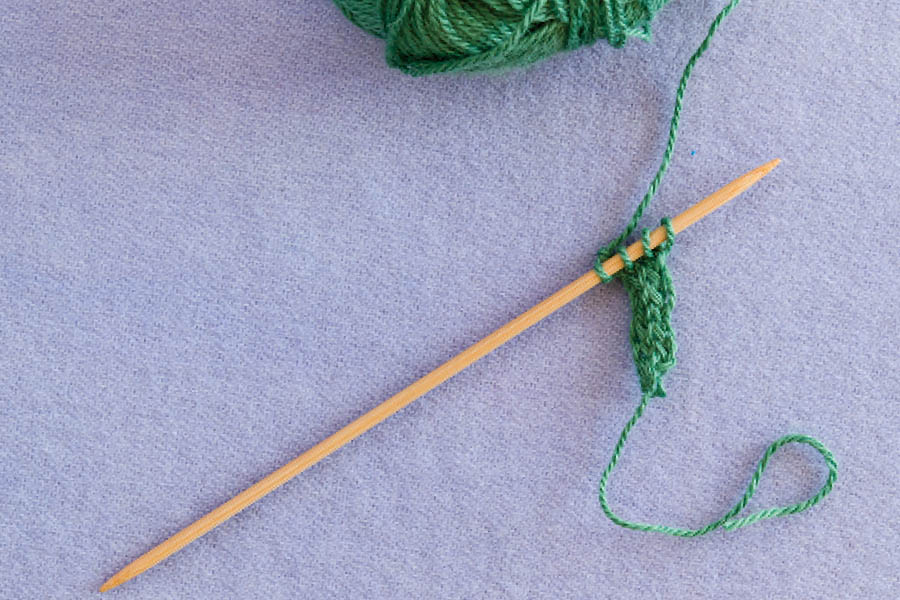
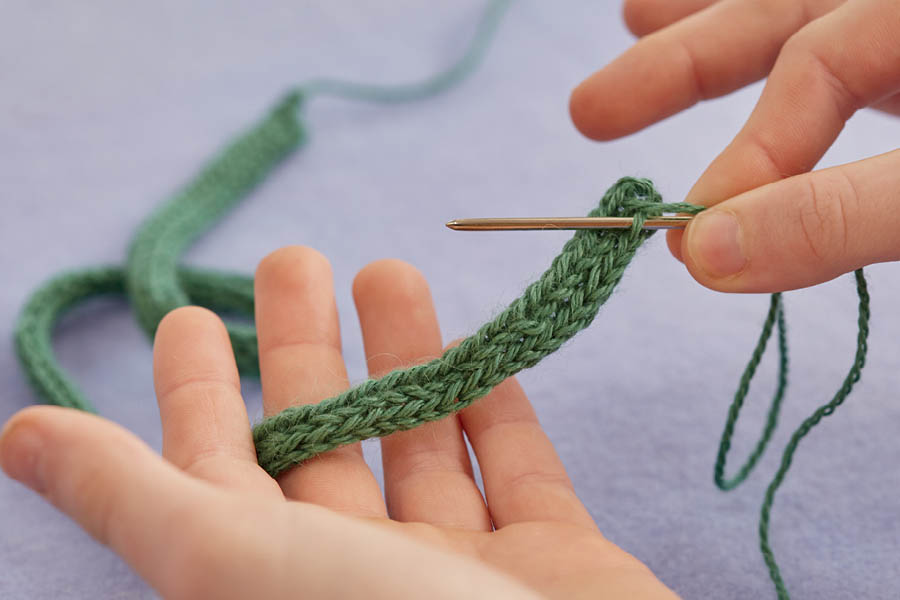
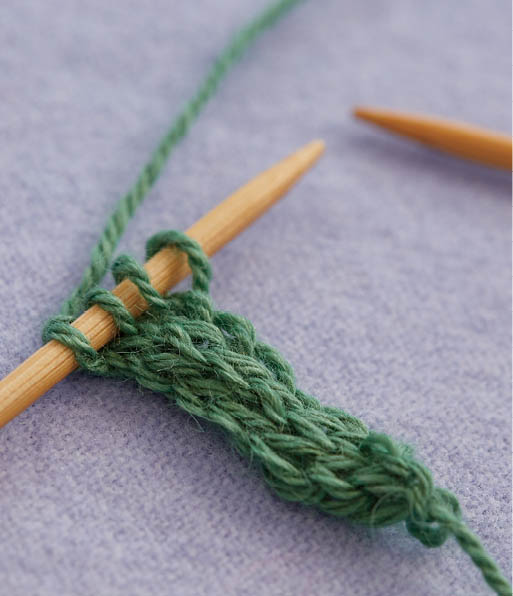
When you’re knitting an I-cord, if you stop and need to know where you are, the needle with the knitting on it will be pointing to the right, and the working yarn should always be coming from the far left when you start the next row.
If you get super into fiber crafts, you might find yourself producing more hats, scarves, sweaters, blankets, and toys than you can gift to friends. There’s a great solution: give them away. Lots of charitable organizations solicit useful goods from crafters for people in need: blankets for homeless people, stuffed animals for refugees, even superhero capes for kids living in shelters.
Catherine’s daughter sewed baby hats for a hospital in Haiti, and she loved the feeling it gave her — the double-positive boost of making something and giving it away. We are loath to share website information in a book, given how quickly online information becomes outdated, but if you Google crafting for charity, you will find a number of websites looking for generous makers of things. Just be sure the website ends in “.org,” so you know you’re involved with a nonprofit organization.
If you use T-shirt yarn (see Cut a T-shirt into a Continuous Strand), it will make a really nice, heavy jump rope for skipping over. But you don’t need to! Bulky-weight yarn will work, too. Just don’t use leftovers from the baby slippers your mom was knitting: that yarn will be too thin and light, and it will take forever to knit.


Our tall friend here needs to keep knitting.
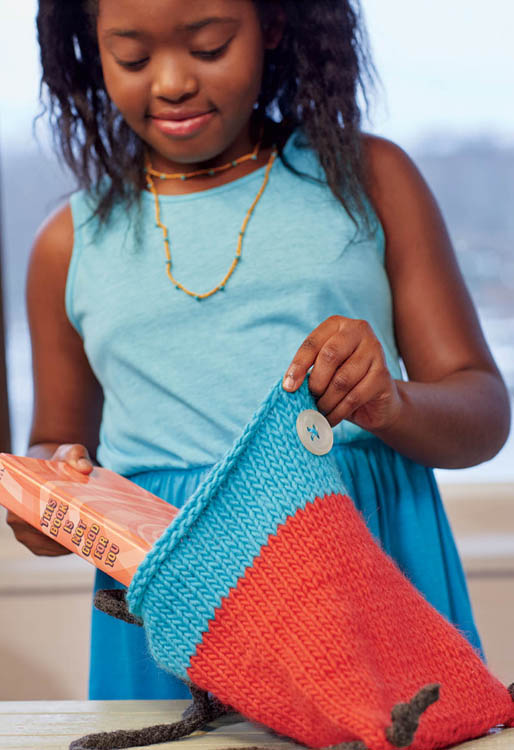
You’ll make this useful pack “in the round,” which means knitting it as a tube on circular needles. Think of all the tubes you could knit once you learn this method! Leg warmers or arm warmers, or a cozy for your neck or water bottle. We’ll also show you how to tweak this backpack to make a really simple hat — with pom-poms! — in the variation that follows.
After knitting the main part of the bag, you’ll knit and felt an I-cord, which does double duty as a button-loop fastener and strap.


If you only have straight needles, you can still make this project: knit a rectangle by casting on half the number of stitches you would for the tube. Keep knitting until the rectangle is twice as long as we call for in the tube instructions, then fold the rectangle in half and stitch up the sides.
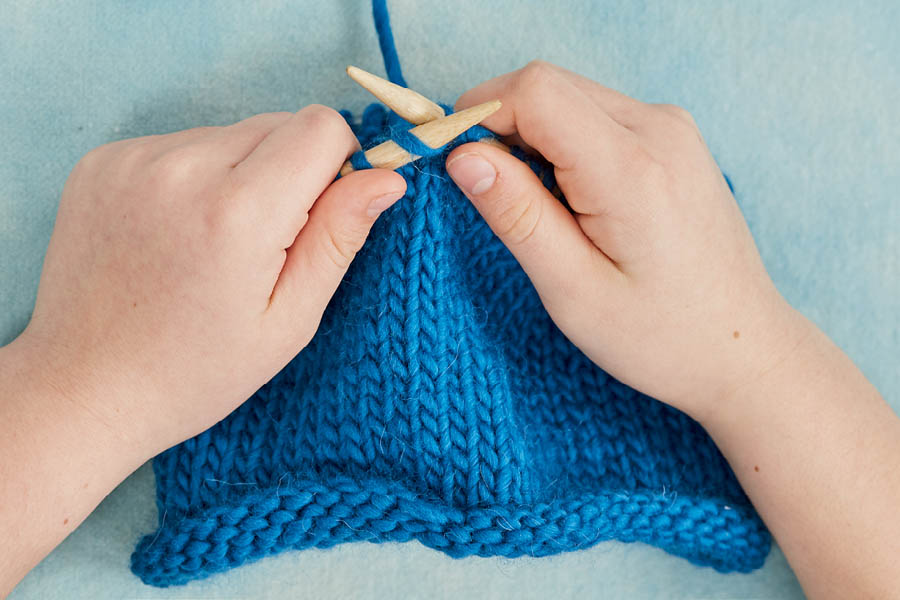
Arrange the cast-on stitches so they are all oriented in the same direction and not twisting around the needles. This will prevent you from making a twisted circle, or Möbius, when you join your stitches. (If, as you knit, you find that you have accidentally created a twist, search the Internet for how to fix a twist circular knitting and watch a video about it. It’s actually not too hard to fix!)


This is called knitting meditation because once you get into the groove, you don’t really have to think at all. Shake your hand out when it gets crampy, and add another color at some point if you want, but the stitch never changes.
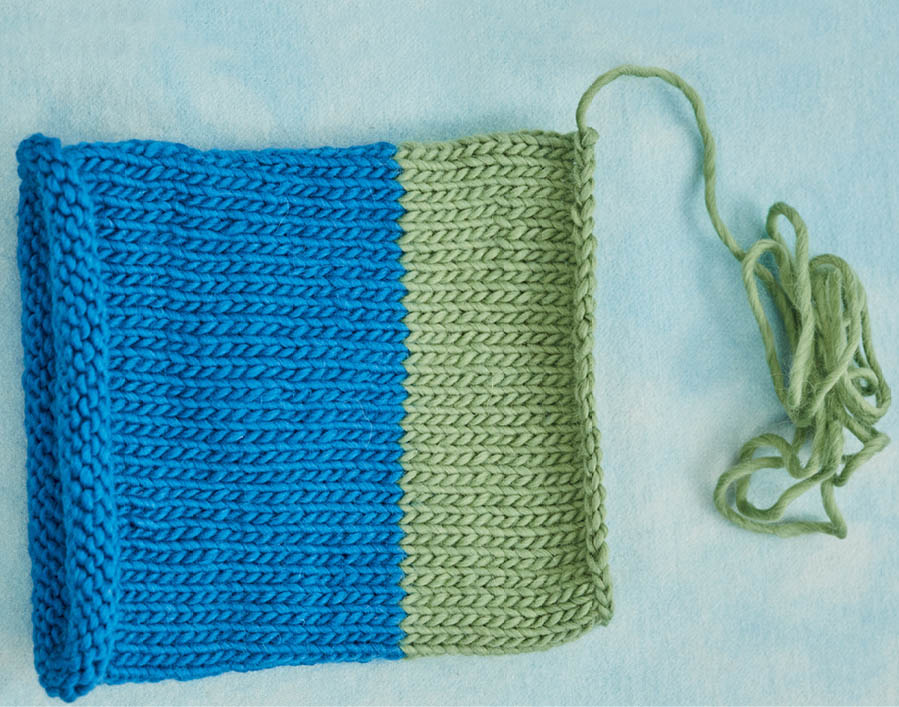
Weave the ends into the back of the fabric (see How to Weave In Ends), starting and ending on the inside so the knots won’t show.
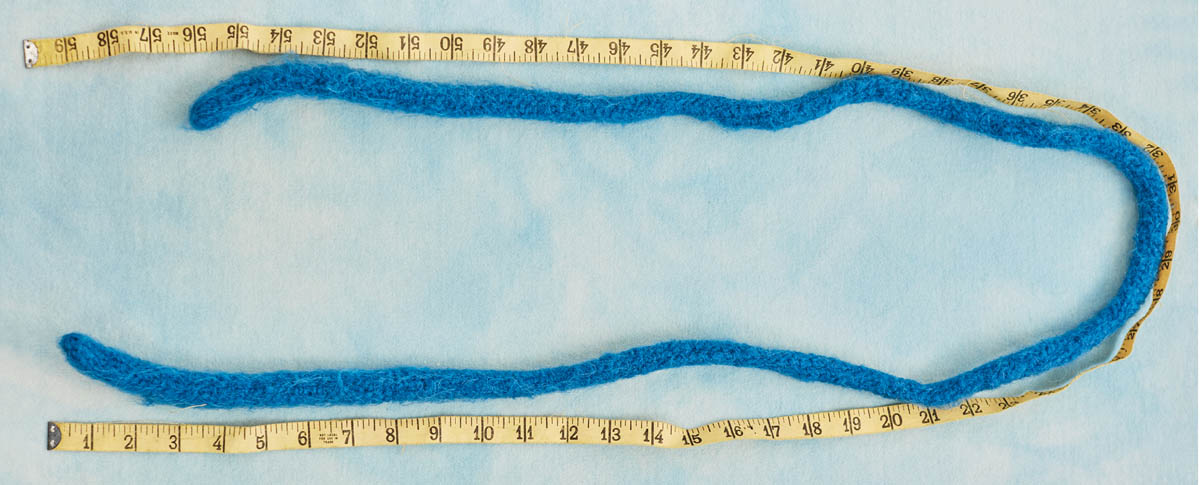
We’ve found that an I-cord usually shrinks in length by about a third when you felt it: when we felted a 60-inch I-cord, for example, we ended up with a 40-inch felted strap.
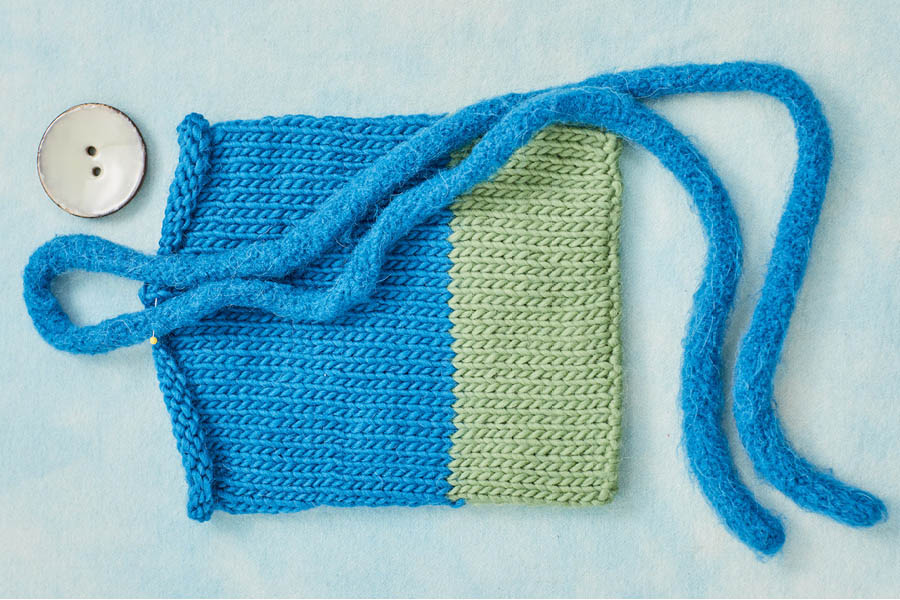
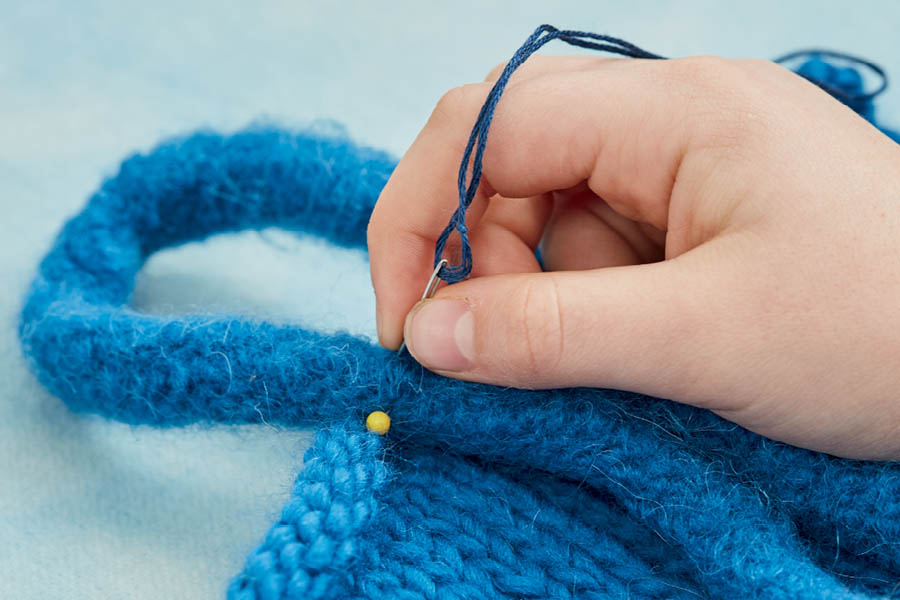
Repeat this process twice more, so you have 3 stitches firmly connecting the I-cord and the bag. Tie the embroidery floss on the inside of the bag (see Tie Off the Thread), and snip off the excess.
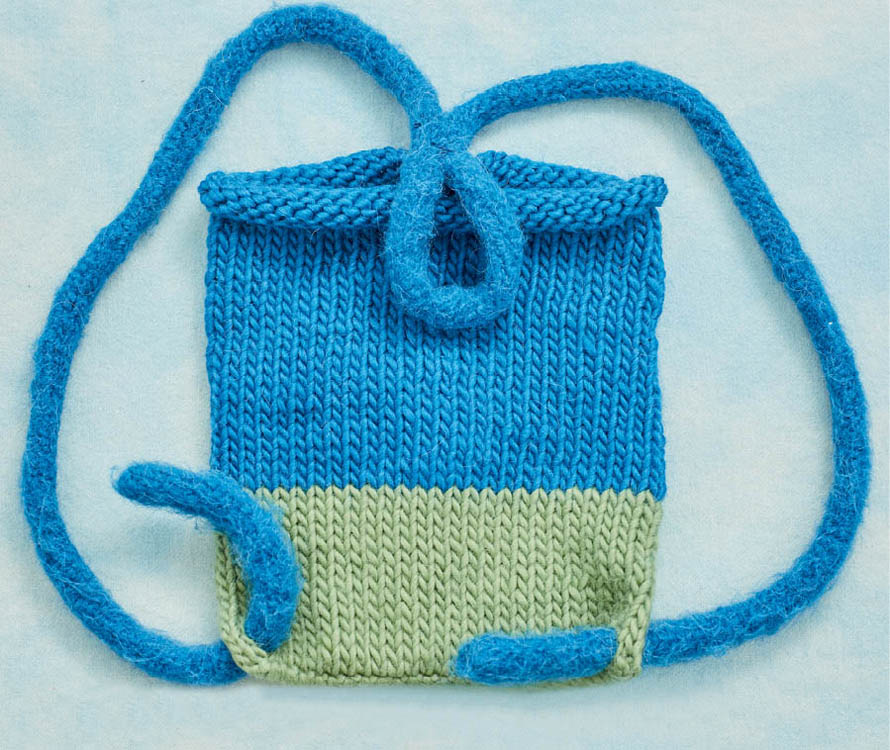
Repeat with the other side, making sure it’s the same length as the first strap.
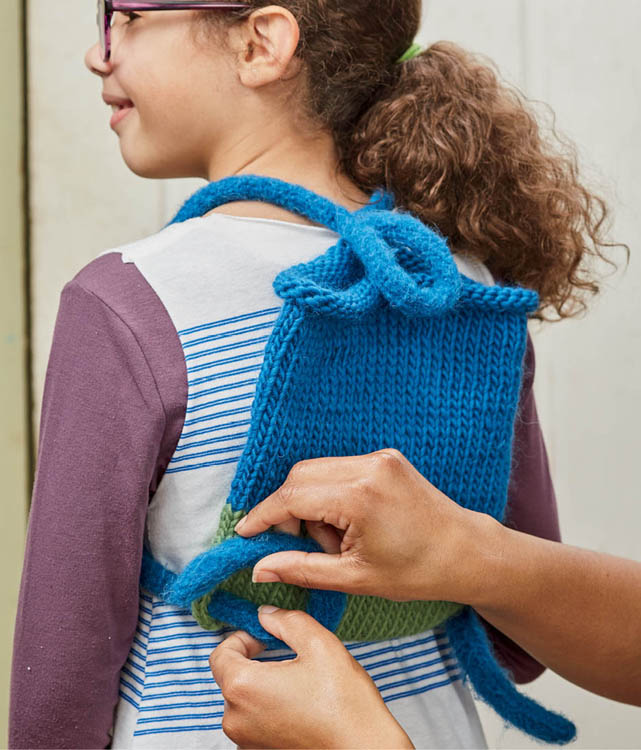
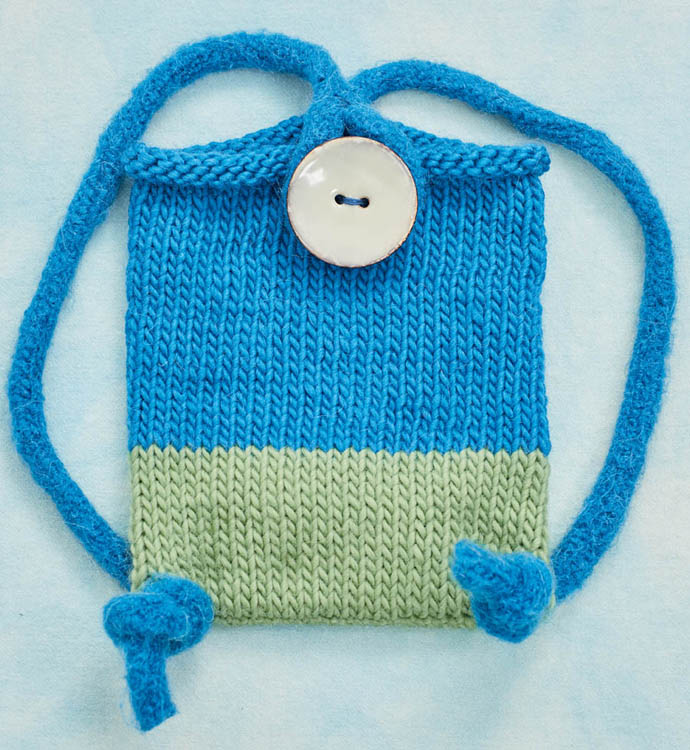
To make a simpler shoulder bag, skip adding a button and after step 2, attach the I-cord to the two sides of the bag’s opening. Or, for either type of bag, skip the I-cord and instead use a 40-inch length of nylon or cotton strapping (the strong, ribbon-like material you make belts or straps out of) or nylon climbing rope.
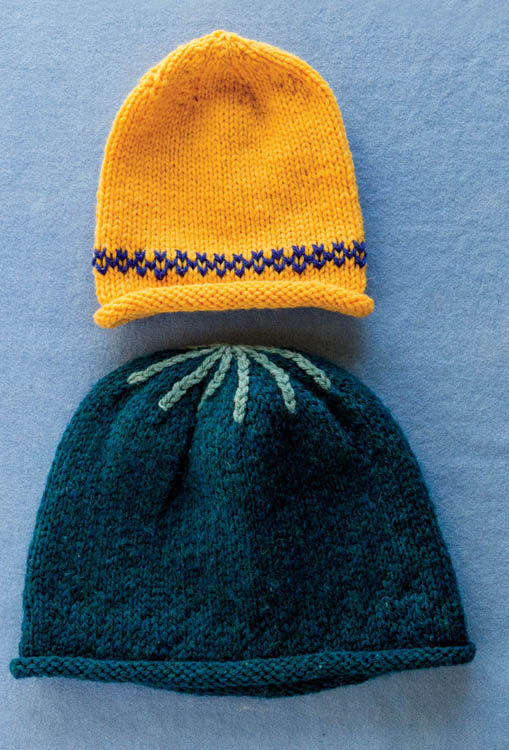
To make a hat instead of a backpack, work the directions from How You Make It: Bag through step 6 — casting off and sewing up when the tube seems like it’s the right length for a hat. (Try it on as you go!) This will be the body of your hat.

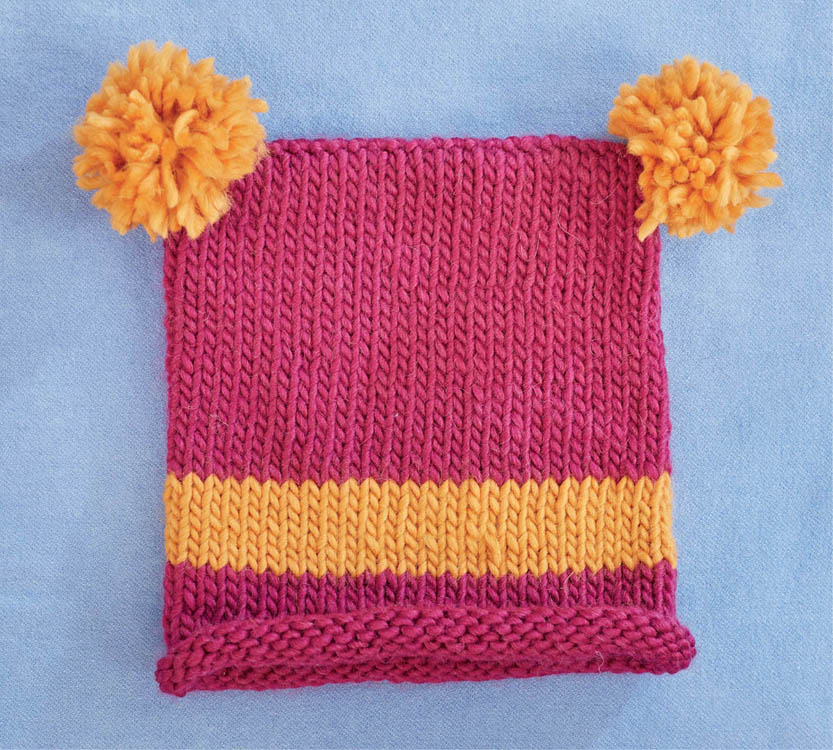

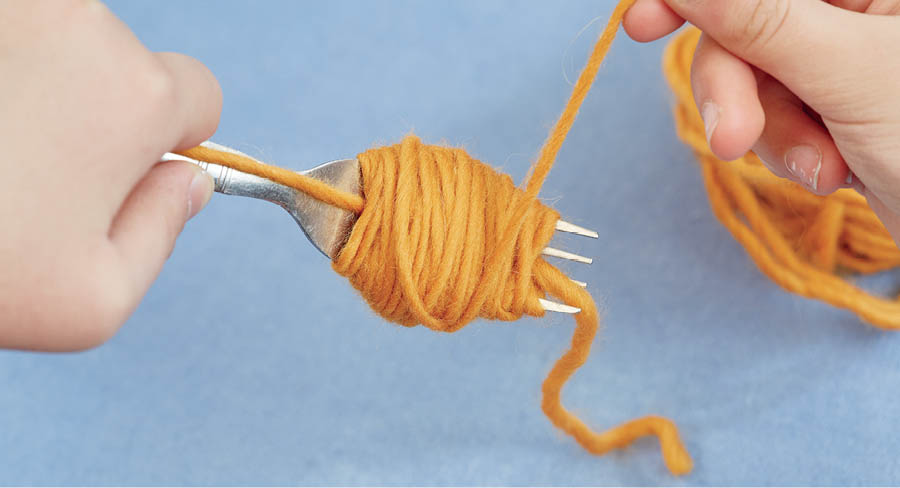
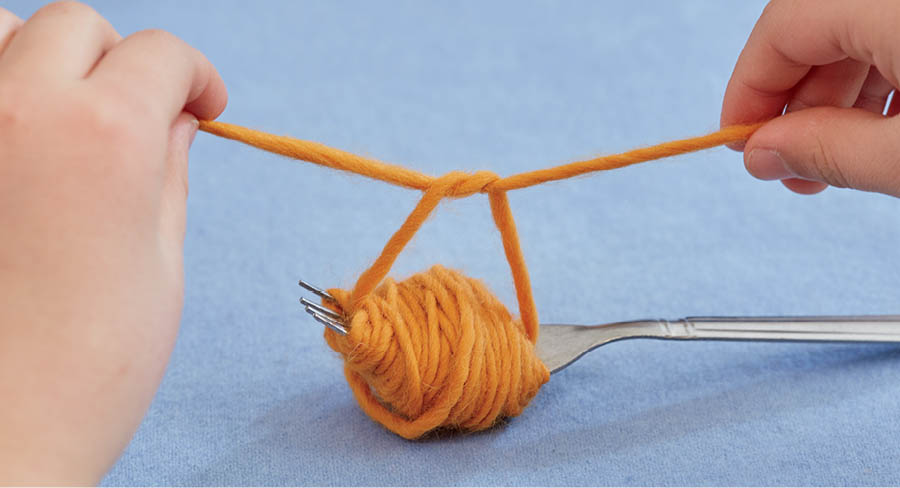


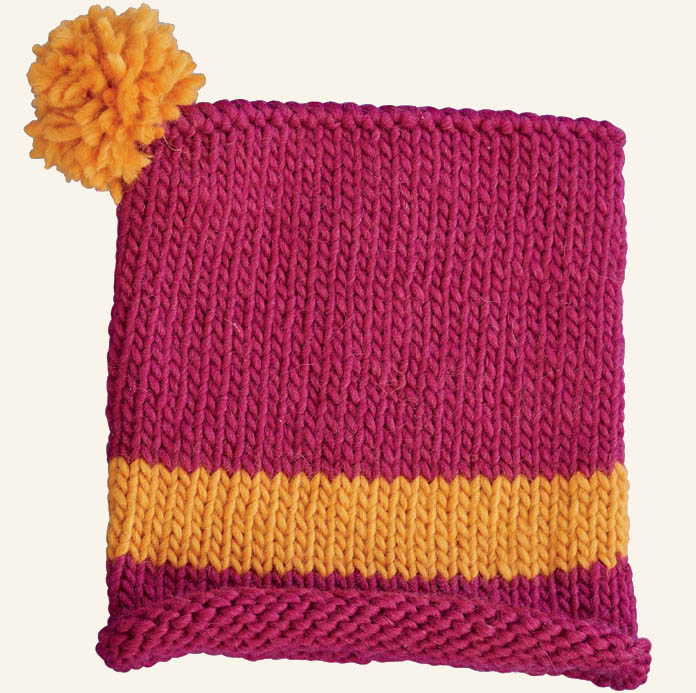
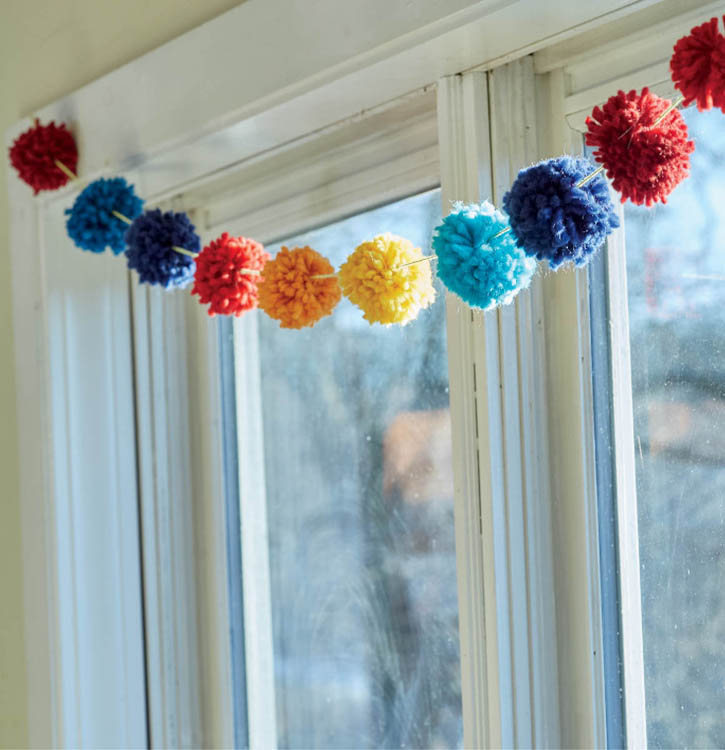
You can use puffy pom-poms in plenty of other ways: decorate your skate laces, adorn a barrette or headband, or fancy up your bookmark or ukulele strap! Embellish pillow corners, wrapped gifts, or your Christmas tree. Or make a garland to decorate your room — just thread a length of yarn onto a needle and push it right through the pom-poms to string them up.
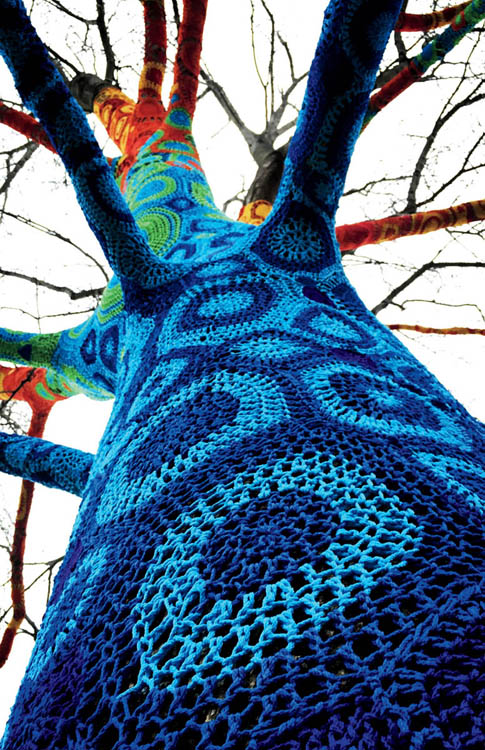
Yarn bombing, also known as guerrilla knitting or graffiti knitting, is a kind of street art made by knitters and crocheters who cover unlikely objects and surfaces — telephone poles, tree trunks, benches, and bridges — with their colorful craft. As yarn bombers see it, everything is better with a nice cozy. The art is practiced worldwide, and while it’s technically illegal in some places, all it takes to remove the yarn is a pair of scissors!
